Stamping

Technique Tags – Fabric Fun & Water Mist

If you are jumping in on this post series,  you might want to see all the techniques,  and you can find them here. You also might be interested in knowing that one lucky winner (USA only) will received the set of tags I created and photographed for this series.  (Information at the end of the post!)

Intro & cardstock tearing

Background Stamping & Sanding Cardstock

Tissue Inking & using sponges

Pockets & Tags

Faux Stitches & Patchwork

Pop Dots & Window Panes

Sponge Backgrounds & Crinkling

Random Stamping & Doodling

Today’s techniques are ones I don’t use often,  but they definitely make a statement on my project when I do.

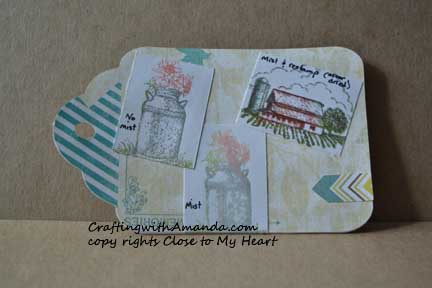
The first one is Water Mist.  This is done with a stamp, ink & some water in a fine mist spray bottle.
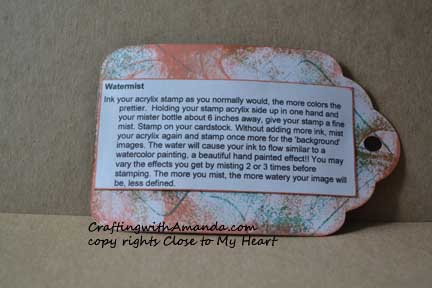
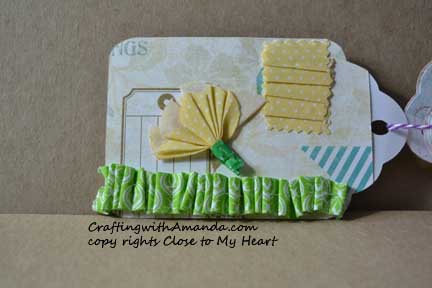
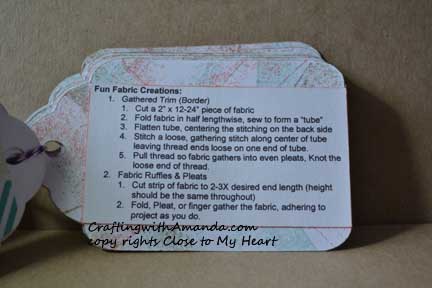
watermist_ins watermist_imgThe next one is fabric fun,  and although it adds a lot to a project or page,  I don’t do it often as I don’t yet have a sewing machine set up or ironing board for that matter.  Hand stitching is not my favorite thing  🙂

FunFabric_ins FunFabric_img


Now you might want to know how you can earn chances to win These tags.   There are several ways.  Write a comment on this post.  (1 entry)   Share this post link on your Facebook post and let me know on my FB page Crafting with Amanda that’s you’ve done it.  (1 entry per share).  Like my FB page.  (3 entries)  If you’re a pinterest person, for every technique tag you pin, you receive an entry.  (up to 35!)    At the end of the contest I will assign each entry a number and using a random number generator will pick a winner.  I will announce the winner on this blog, and then contact them to get the address where the tag book should be sent.

If you would like a copy of my technique instructions file,  leave a comment with your email and I will send it to you.

Happy Crafting and Good Luck!

Technique Tags – Sponged Backgrounds & Crinkling

A few months ago I started a series of blog posts showing off different techniques,  and promised when I got to the end I would select a lucky winner to receive (USA only) the book of tags featured in this blog.   Today I am picking up where I left off.  If you want to see the other posts,  they are:

Intro & cardstock tearing

Background Stamping & Sanding Cardstock

Tissue Inking & using sponges

Pockets & Tags

Faux Stitches & Patchwork

Pop Dots & Window Panes

Today’s techniques are a mixed bag.  I seem to use one or the other periodically when I craft,  but typically not my go to techniques.   In fact,  I was creating some thank you cards,  and almost crinkled some of the layers to add interest to the card,  but decided not to when it was all said and done.  (or it didn’t get done as I thought about it,  got distracted and when I sat back down to glue the pieces to the card base I didn’t think about crinkling again.)

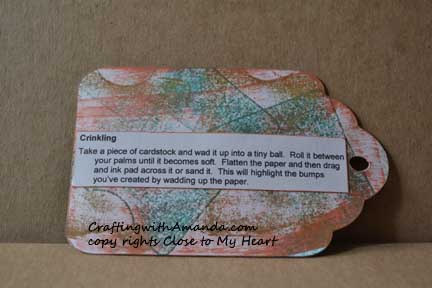
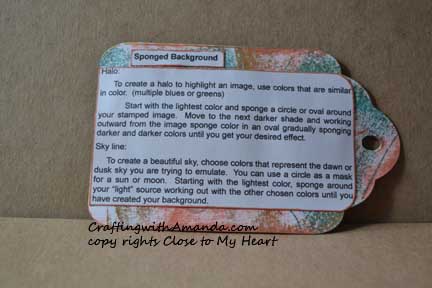
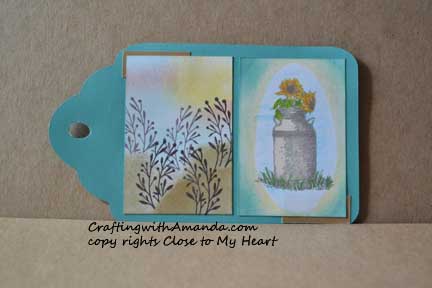
Crinkling_ins This technique will work with non white core paper,  but instead of sanding the paper to help the wrinkles show,  you would need to ink it instead.crinkling_imgBackground sponging can add so much to any project.  Create a sunset or a spooky sky,  shade in some sand dunes. . .  only your imagination is the limit.

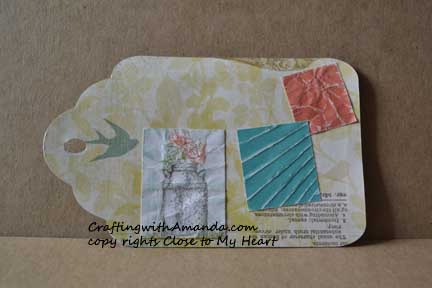
spongeBck_InsCreating an old fashion “halo” to help highlight an image is easy with sponges!

Sponge_bck_img

Now you might want to know how you can earn chances to win this great prize.   There are several ways.  Write a comment on this post.  (1 entry)   Share this post link on your Facebook post and let me know on my FB page Crafting with Amanda that’s you’ve done it.  (1 entry per share).  Like my FB page.  (3 entries)  If you’re a pinterest person, for every technique tag you pin, you receive an entry.  (up to 35!)    At the end of the contest I will assign each entry a number and using a random number generator will pick a winner.  I will announce the winner on this blog, and then contact them to get the address where the tag book should be sent.

Happy Crafting!


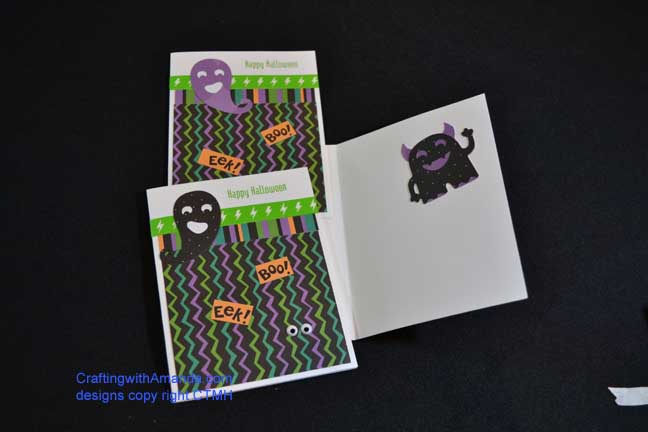
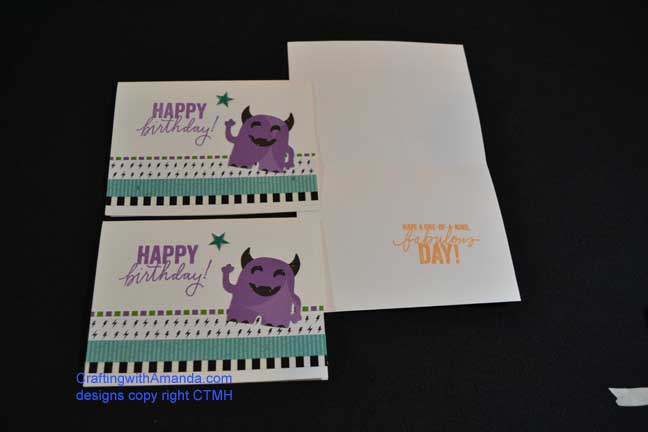
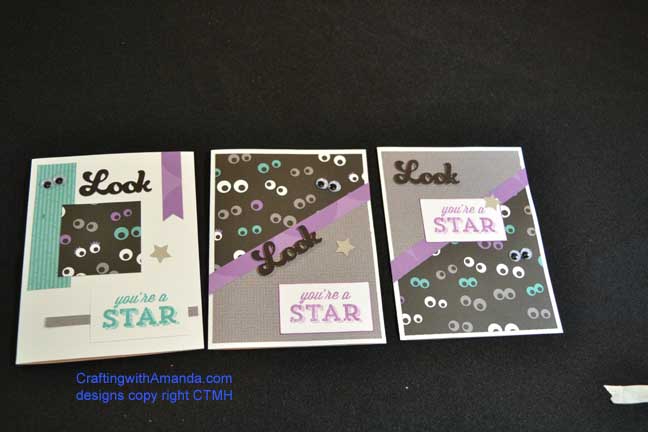
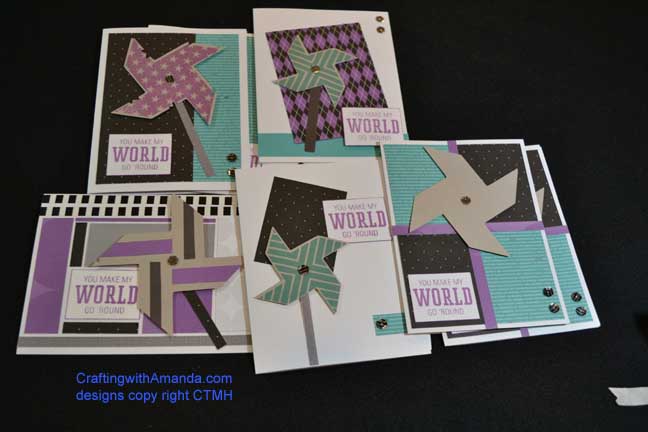
Jeepers Creepers – Workshop Part 2 – Cards

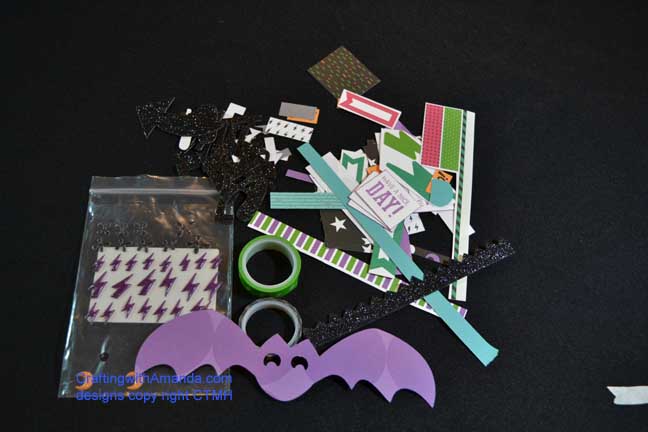
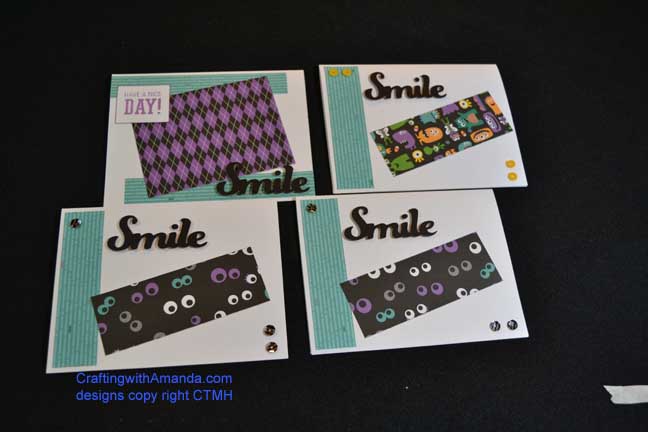
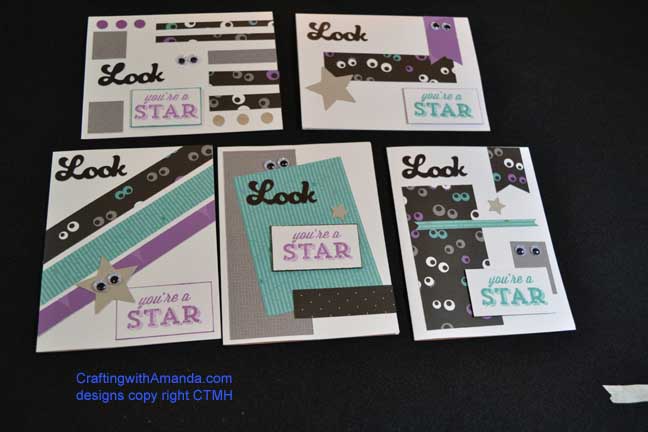
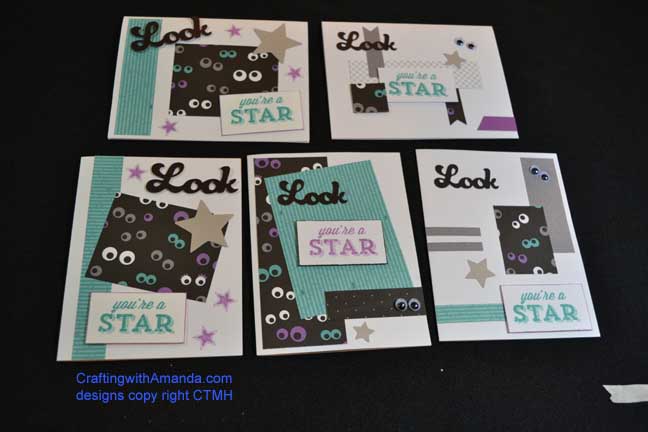
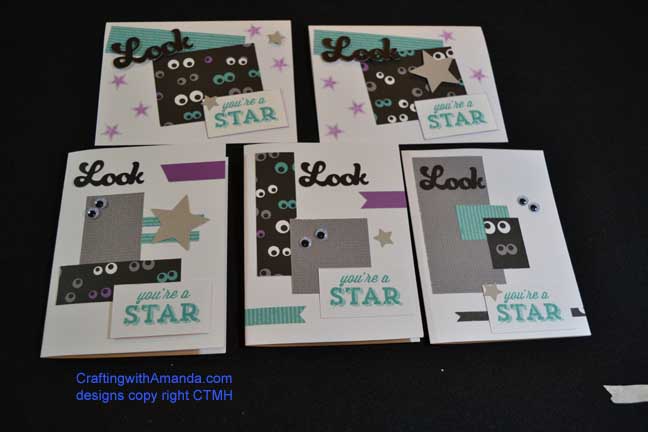
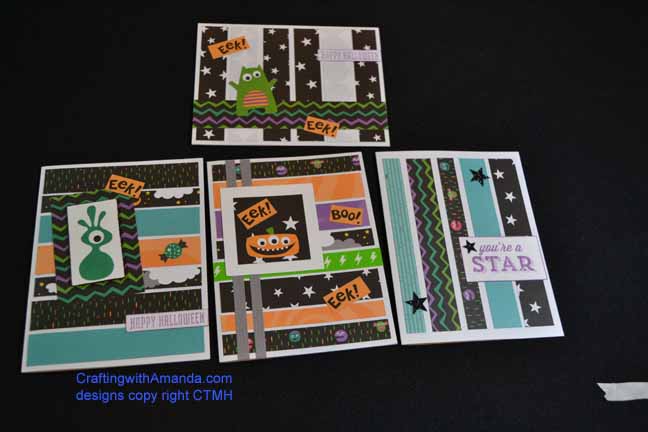
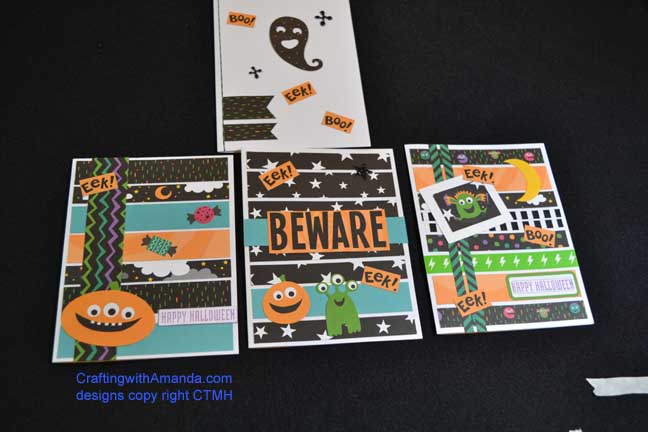
So,  with one paper pack and a few extra colored cardstock piece and bases,  I was able to create six 2page layouts and 47 cards!   This was every bit of paper that was left from the workshop your way kit when I was done.  (phew)

jc12

Nine of the cards were cut from the workshop instructions,

jc8 jc9 jc10

Some of the cards were cut from the Kathern’s 6×6 pattern and another one I found (Previous posts)

jc4 jc11 jc3

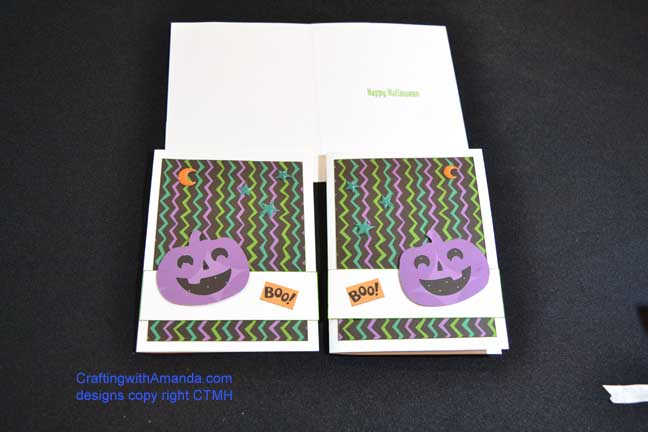
Others were just what struck my fancy at the time I was creating!

jc7 jc6 jc5 jc2 jc1

Happy Crafting.

Faux Stitching & Patchwork Techniques

Here they are,  the next two techniques in our series. (See the information at the end of this blog to learn how you could win all 35 of these technique tags in this series.)  Summer life is very busy around here,  now that school is going we are back into a routine and I have carved a little of time out to do some creating!

I also managed to take a few more photos of the completed technique tags. (Still have some craft time in my future to finish the rest! yay) That means I have some more techniques to share with you. I’ve really enjoyed being able to re-visit techniques that I have forgotten about, or just haven’t taken the time to do them.

You may have noticed that I’ve used the same stamp sets and colors for all of the tags. Part of that is so the completed book is prettier, but most of all it was to show the versatility of stamps when you employ different techniques as you use them.

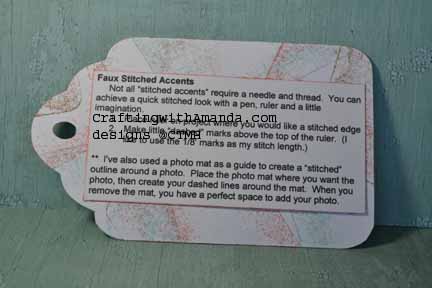
tag_fauxstitch_ins

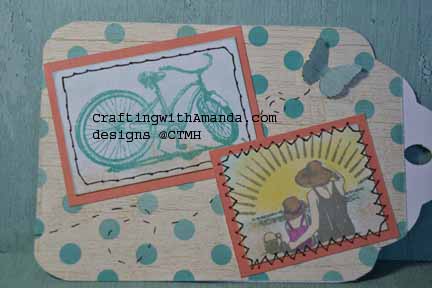
Faux Stitching is a fast and fun way to add some framing or interest to your project. After I finished the “stitching” around the bicycle, I wish I would have done it closer to the edge of the white paper, but I do think it looks pretty real.

tag_fauxstitch_samp

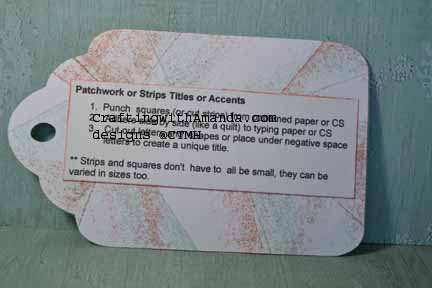
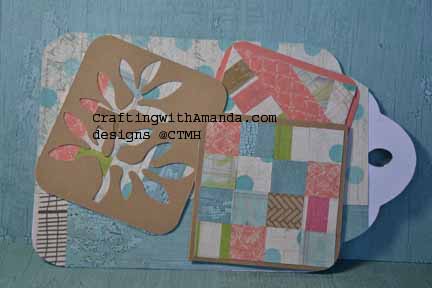
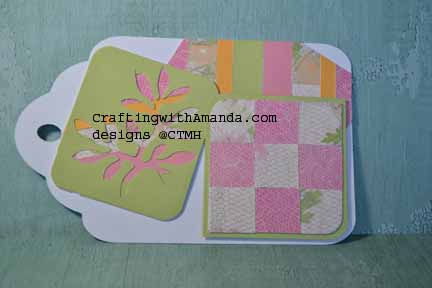
I really like this patchwork for using up scraps too. I will attach strips of left over paper to typing paper then cut it up as accent pieces on my project.

tag_patchword_instag_patchwork_samp

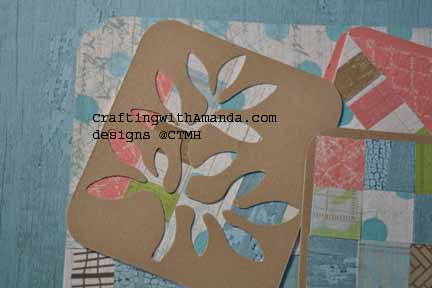
If you don’t want to cut out (or punch) an image, you can always use it to fill in the negative space of a punched image.

tag_patchword_samp2

Club night samples:CraftingwithAmanda.com Patchwork Technique

CraftingwithAmanda.com Faux Stitching

Here are the stamp sets I’ve used in this example, and many of the other tags that we will be looking at in the upcoming posts:

C1605 Happy to Be Friends

D1632 Amour

I also used Seaside papers (X7192B)

Our awesome markers were also put to use throughout this process of creating the technique tags.

Contest Information:

Now you might want to know how you can earn chances to win these tags.   There are several ways.  Write a comment on this post.  (1 entry)   Share this post link on your Facebook post and let me know on my FB page Crafting with Amanda that’s you’ve done it.  (1 entry per share).  Like my FB page.  (3 entries)  If you’re a pinterest person, for every technique tag you pin, you receive an entry.  (up to 35!)    At the end of the contest I will assign each entry a number and using a random number generator will pick a winner.  I will announce the winner on this blog, and then contact them to get the address where the tag book should be sent.

If you would like a copy of my technique instructions file,  leave a comment with your email and I will send it to you.

Happy Crafting and Good Luck!
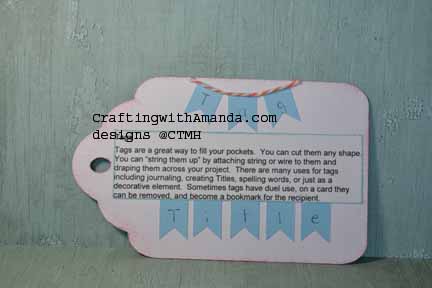
Pockets & Tags – so many uses

Two more great techniques today! They aren’t ones that I use all the time,  but when I do I love the results. (See the information at the end of this blog to learn how you could win all 35 of these technique tags in this series.)

Pockets & Tags (to put in those pockets.) That’s what we will talk about today.

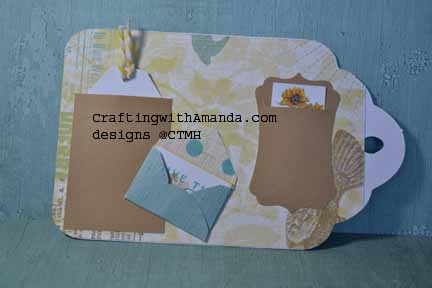
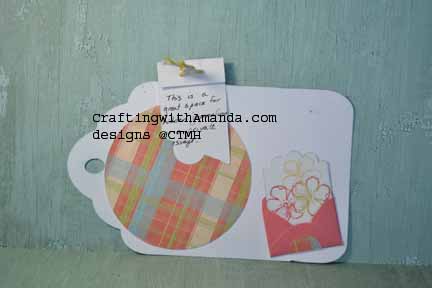
Sometimes it’s fun to have an “inside joke”tag_pockets_samp as part of a card or scrapbook page. By using pockets, you can easily accomplish this. There are also times when journaling is very personal, and you don’t want to leave it out, but you don’t want it displayed either. (Some photos are better in pockets so the squeamish can be protected.)
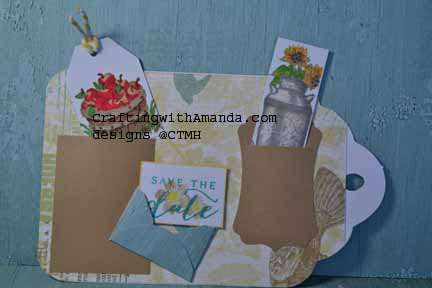
In this Seaside sample, I created pockets with a simple rectangle glued on three sides, a mini envelope and a shaped cut out in which I cut a slit.

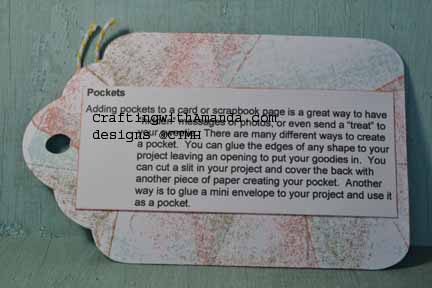
Here’s another look with the contents of the pockets pulled out of their hiding places. tag_pockets_samp2tag_pockets_ins tagclub_pocketsYou can also cut a slit in your project itself and line the back with paper to create your hidden pocket. So many fun things to do to create pockets. You can see on my club night tag that I used a circle element to create the base of my pocket. Did you notice the circle punch out in the circle pocket to make it easier to pull out the journaling?

Now that we know how to make pockets, let’s move onto tags to put in those pockets.

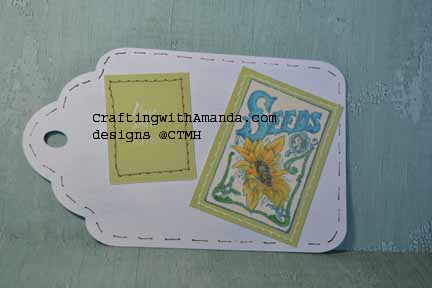
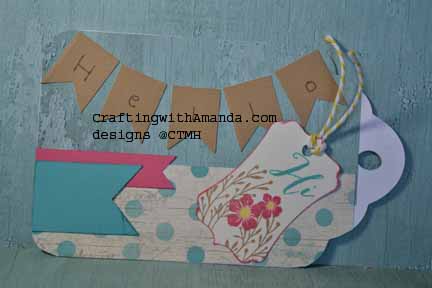
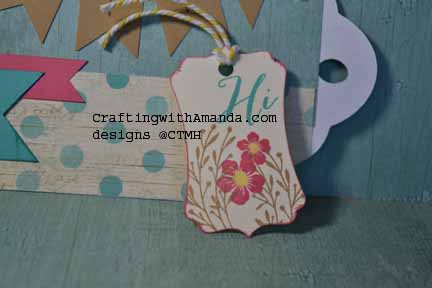
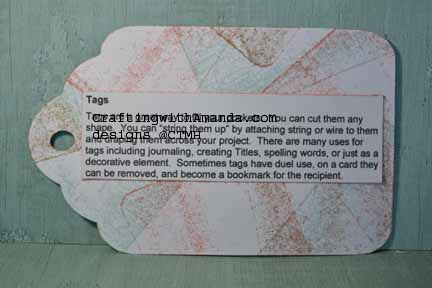
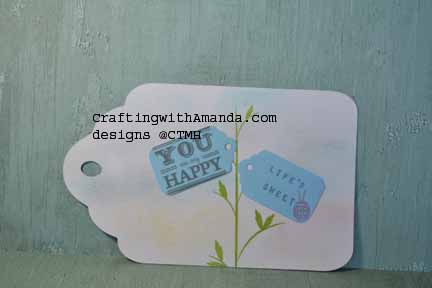
tag_tags_sampI used tags to make my tag title “Hello” and created a removable bookmark tag as well.tag_tags_bkmark

tag_tags_insHere are the stamp sets I’ve used in this example, and many of the other tags that we will be looking at in the upcoming posts:

C1605 Happy to Be Friends

D1632 Amour

I also used Seaside papers (X7192B)

Our awesome markers were also put to use throughout this process of creating the technique tags.

I’ll leave you with the tag samples from our club night book, and the information how you could win all 35 tags that will be shown in this series of technique tips blog.

tagclub_tags2 tagclub_tags1Contest Information:

Now you might want to know how you can earn chances to win these tags.   There are several ways.  Write a comment on this post.  (1 entry)   Share this post link on your Facebook post and let me know on my FB page Crafting with Amanda that’s you’ve done it.  (1 entry per share).  Like my FB page.  (3 entries)  If you’re a pinterest person, for every technique tag you pin, you receive an entry.  (up to 35!)    At the end of the contest I will assign each entry a number and using a random number generator will pick a winner.  I will announce the winner on this blog, and then contact them to get the address where the tag book should be sent.

If you would like a copy of my technique instructions file,  leave a comment with your email and I will send it to you.

Happy Crafting and Good Luck!