Hi Everyone,
Our local library is located in our school and serves as both a community and a school library. Every year that I’ve lived here, they’ve held a silent auction to raise money for the library. In the past I’ve participated by donated a decorated tree (won an unexpected prize for that) and homemade cards. Some of the items donated have included homemade canned goods, craft items, gift certificates for local businesses, quilts and a variety of knick knacks. I have felt nudged to do something, so this fall when CTMH put the Spellbound papers on sale I decided to do a scrapbook. Our school’s colors are Orange and Black, so this seemed like a great fit.
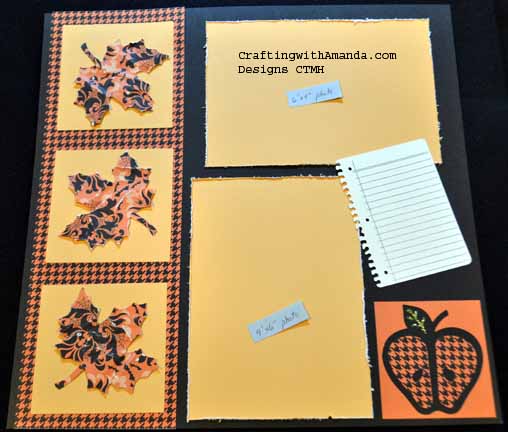
Now that you know the history, here is a look at some of the pages. Many of these pages were created from the workshops for the current papers. I would do my sample pages, but on the day of the workshop when we would walk through cutting all the pages, I would use Spellbound papers and cut for this scrapbook. I’ve enjoyed this project so much, I’ve started another one with the retired Scholastic papers for personal use. There are a few pages that are unique to each book, and the Scholastic layouts aren’t all finished. I just cut 3 more layouts at the Huntington Workshop this week. (And yes, I will post the Huntington Layouts soon.)
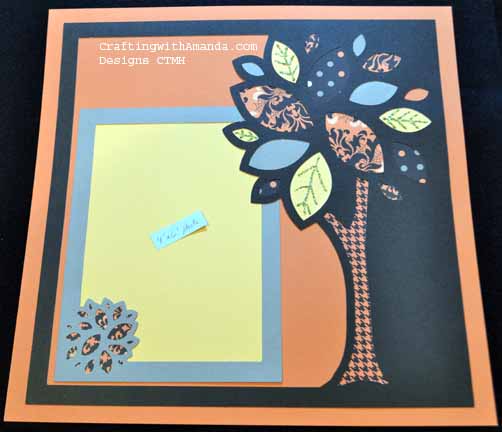
The covers are very similar and are actually the “negative” cuts from another layout. They were cut using the Artbooking Cartridge.

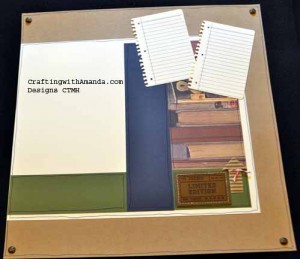
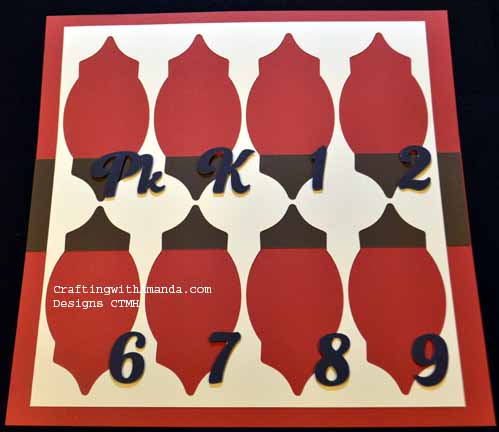
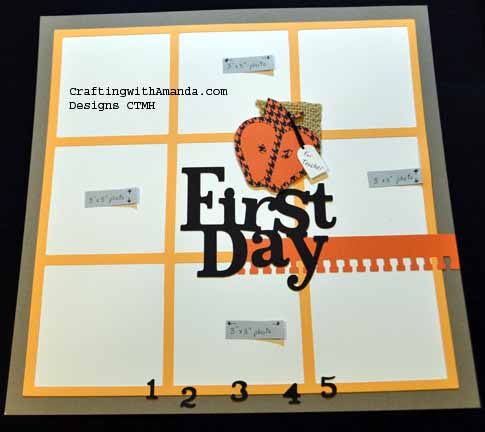
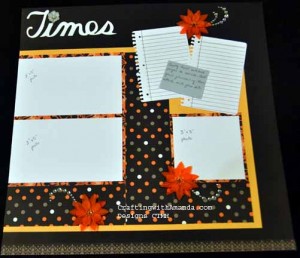
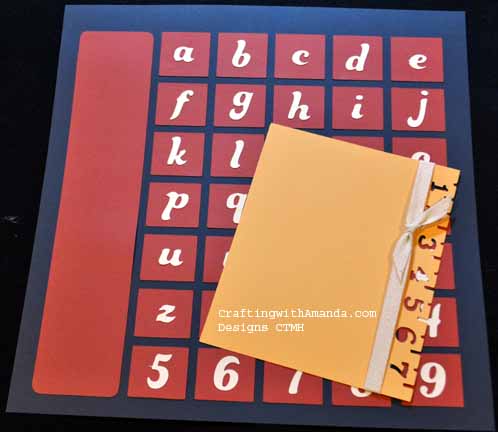 I rotated the “calendar” counterclockwise and provided capital & lowercase letters so the students name can be listed in the rectangle on the left. On the
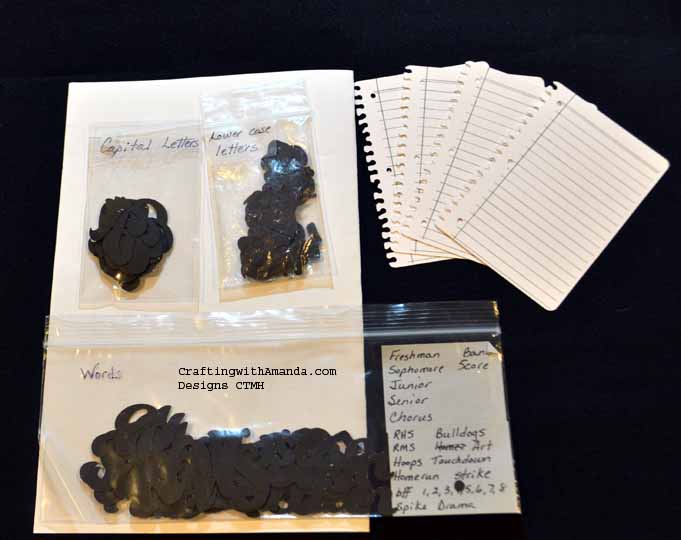
 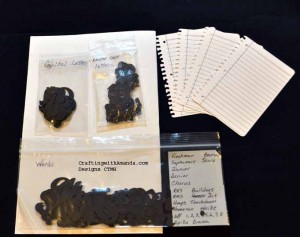 Spellbound pages, the white cs represents where a photo would go. The instructions that will go with the book will explain that. As I am good with photo editing, I left a spot for an odd size (4.5 x 6.5) photo to go on the crème brulee mat. Here’s a peak at the letters and words that I am including with the scrapbook “kit.”
I’ve also included some extra “journaling” pages incase they need more or make a mistake.
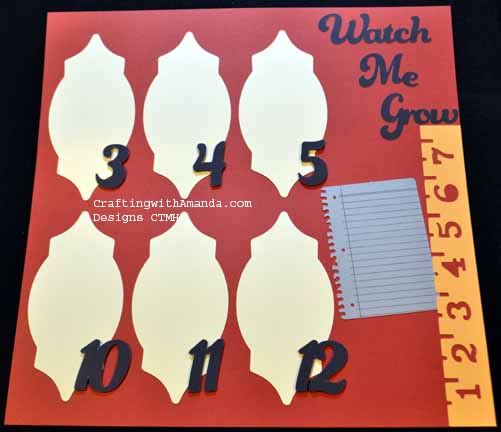
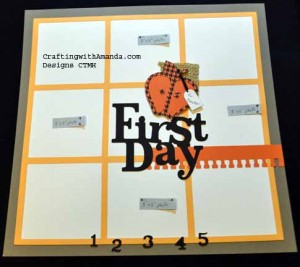
Now you’ll see the “Calendar” page that I paired with the “first day” page. We have many students that ride the bus, so I included many spaces for photos.
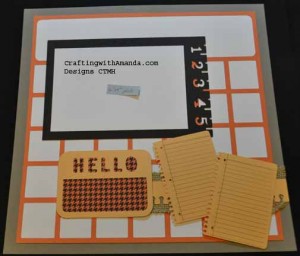
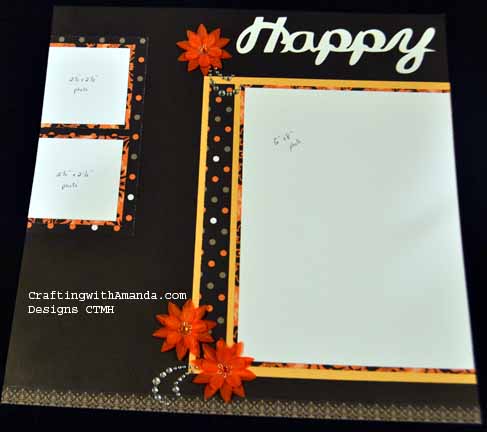
By matting my “calendar” frame on white daisy it helped it pop. I haven’t done this page from the scholastic papers yet, but I’m thinking I’ll stamp school images in the squares. Maybe even sneak in a photo or two.

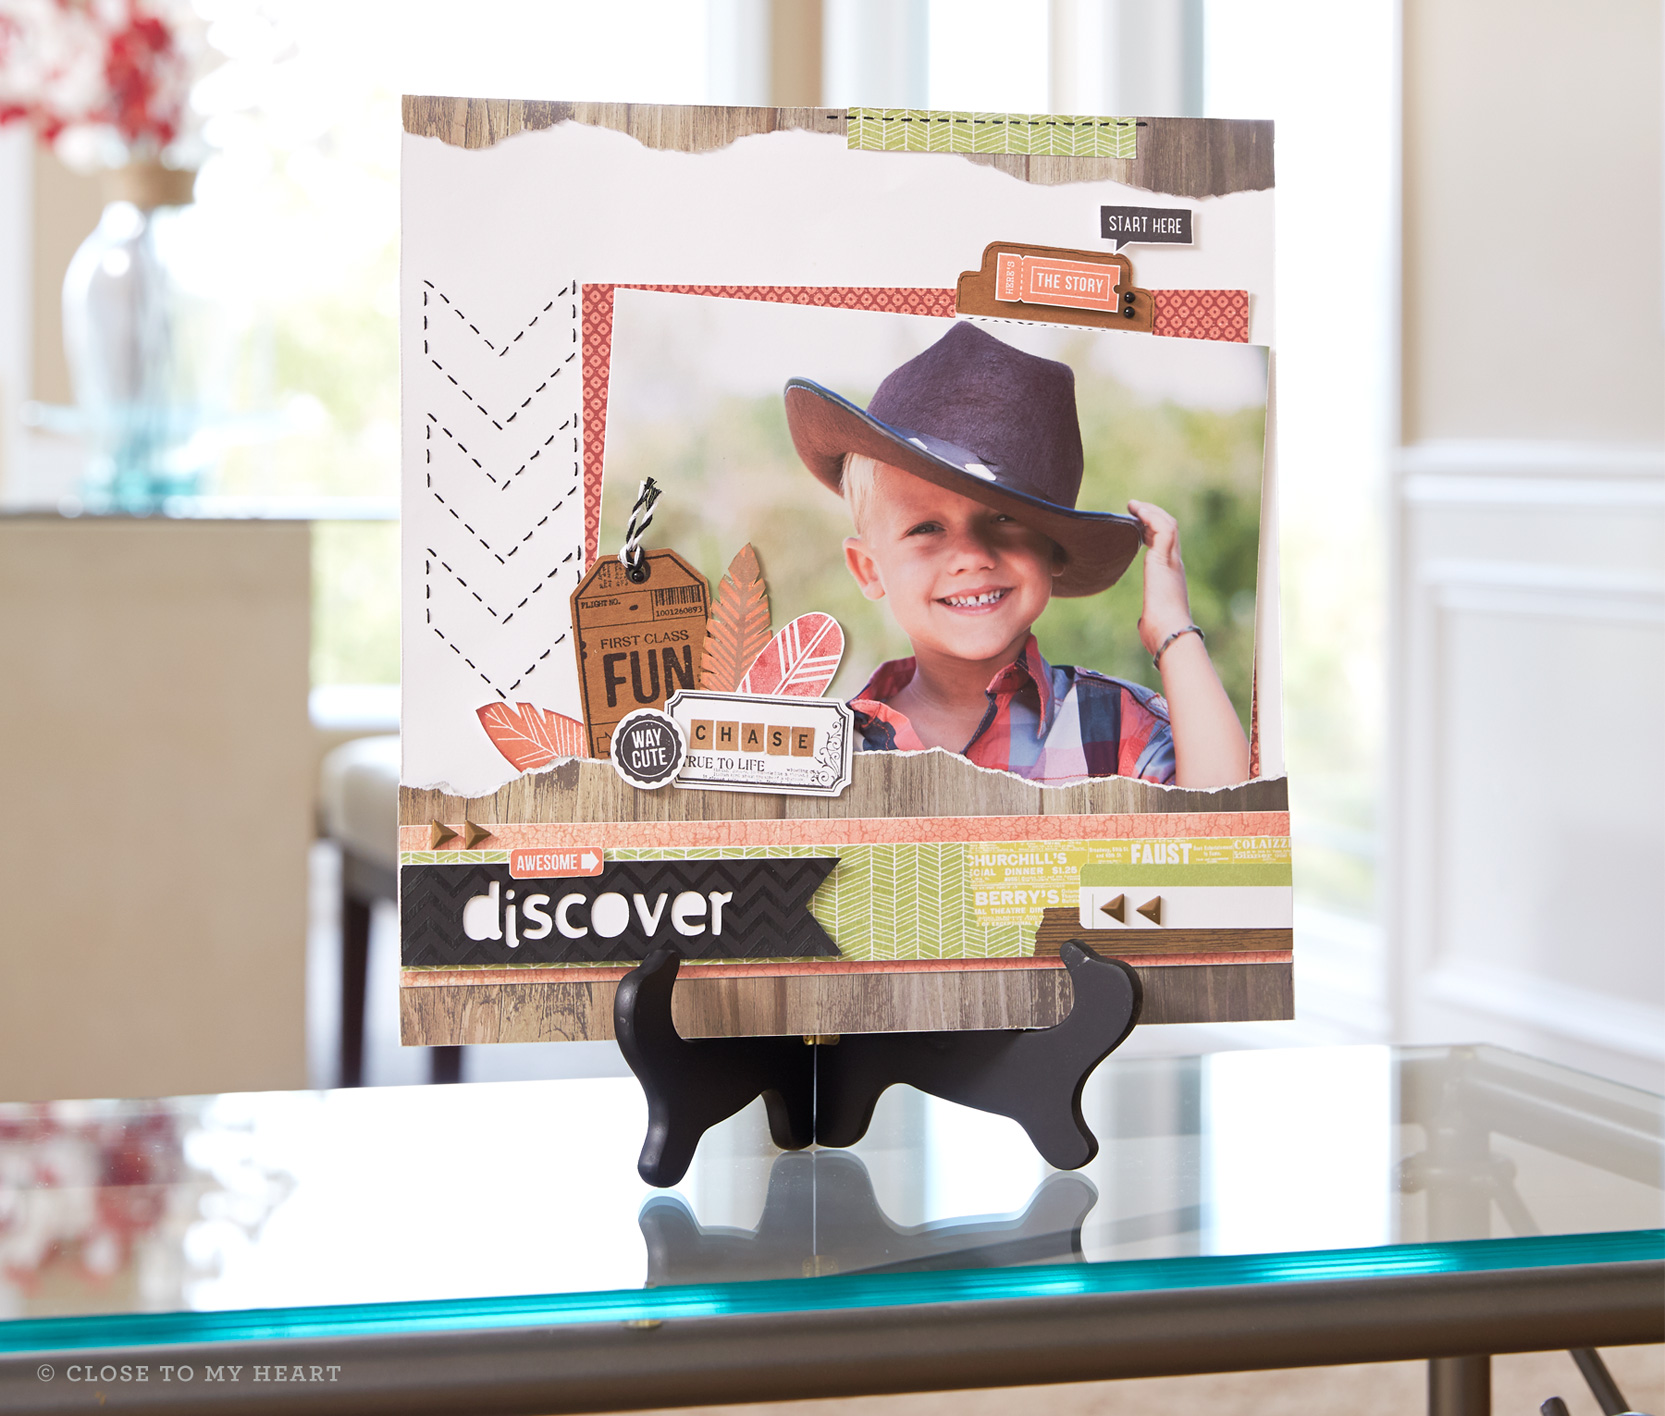
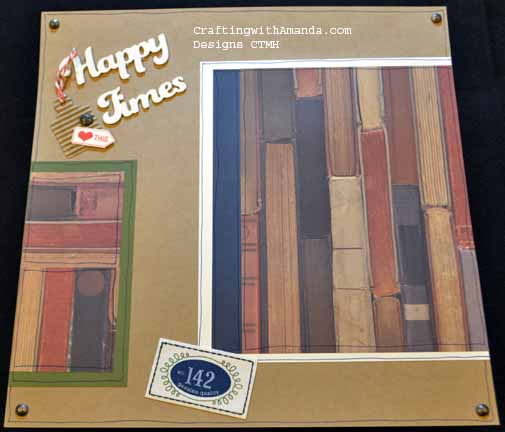
These two layouts are from the same Make It From Your Heart Layout, but with the different colors and the use of Kraft paper as a background, I think it’s hard to see it right away. I added hand drawn lines around all the different pieces on the scholastic layouts. Gives it a hand stitched feel. Love the durable studs!
More pages to come. Happy Crafting!