Scrapbook

Technique Tags – Fill Negative Space & Generation Stamping

If you are jumping in on this post series,  you might want to see all the techniques,  and you can find them here. You also might be interested in knowing that one lucky winner (USA only) will received the set of tags I created and photographed for this series.  (Information at the end of the post!)

Intro & cardstock tearing

Background Stamping & Sanding Cardstock

Tissue Inking & using sponges

Pockets & Tags

Faux Stitches & Patchwork

Pop Dots & Window Panes

Sponge Backgrounds & Crinkling

Random Stamping & Doodling

Fabric Fun & Water Misting

Accordion Medallion & Baker’s Twine

DTP Inking & Dry Embossing

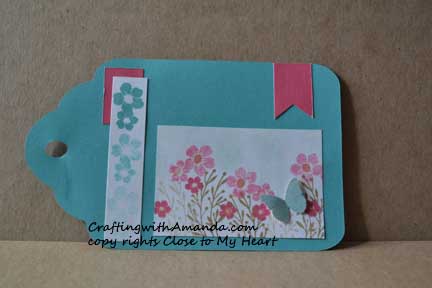
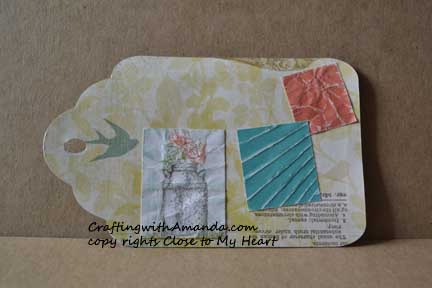
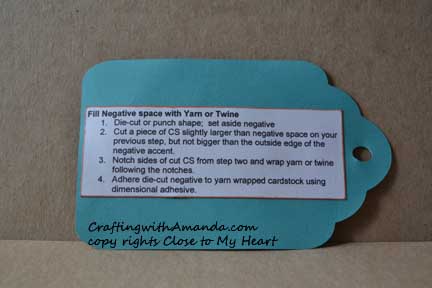
Filling in Negative Space speaks to my inner frugal child.   I know that I have enough craft supplies, paper and embellishments,  but there is just something so satisfying in using a scrap of paper that I cut another image out of and use it and create something cool!

fillneg_ins fillneg_img

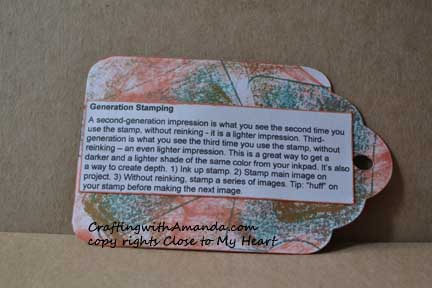
Speaking of frugal,  what is more frugal than using all the ink on a stamp while creating some depth in your project?    My head tells me that I save not only ink,  but the cleaner too.  Yes,  I think these things!

generation_ins generation_img

Now you might want to know how you can earn chances to win These tags.   There are several ways.  Write a comment on this post.  (1 entry)   Share this post link on your Facebook post and let me know on my FB page Crafting with Amanda that’s you’ve done it.  (1 entry per share).  Like my FB page.  (3 entries)  If you’re a pinterest person, for every technique tag you pin, you receive an entry.  (up to 35!)    At the end of the contest I will assign each entry a number and using a random number generator will pick a winner.  I will announce the winner on this blog, and then contact them to get the address where the tag book should be sent.

If you would like a copy of my technique instructions file,  leave a comment with your email and I will send it to you.

Happy Crafting and Good Luck!

Technique Tags – DTP inking & Dry Embossing

If you are jumping in on this post series,  you might want to see all the techniques,  and you can find them here. You also might be interested in knowing that one lucky winner (USA only) will received the set of tags I created and photographed for this series.  (Information at the end of the post!)

Intro & cardstock tearing

Background Stamping & Sanding Cardstock

Tissue Inking & using sponges

Pockets & Tags

Faux Stitches & Patchwork

Pop Dots & Window Panes

Sponge Backgrounds & Crinkling

Random Stamping & Doodling

Fabric Fun & Water Misting

Accordion Medallion & Baker’s Twine

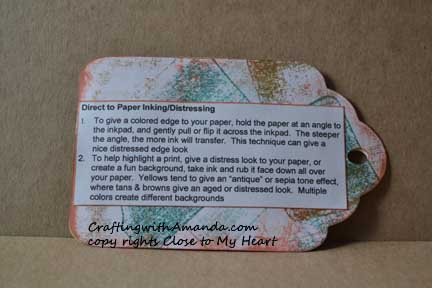
DTP Inking.  Direct to Paper Inking for us that don’t do well with remembering what DTP means.  This technique is something I use all the time.   I mean it ALL THE TIME!  It adds depth, it creates interest, it can soften a hard edge or help colors work together by creating a unified hue.  Like I said,  this is a technique I use all the time.

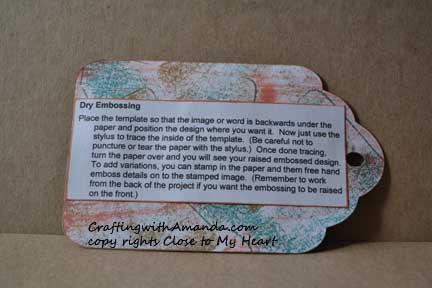
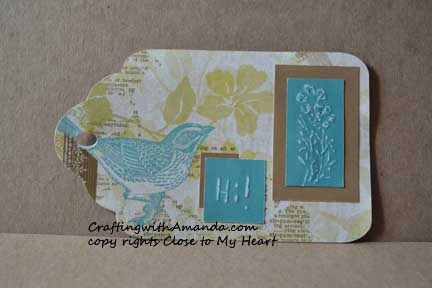
DTP_ins DTP_imgNow, dry embossing is something I use from time to time, and when I do, I love the results.  You can do dry embossing with embossing folders, embedded embossing, or by hand writing words, outlining stamped images, or sanding over a hard object.

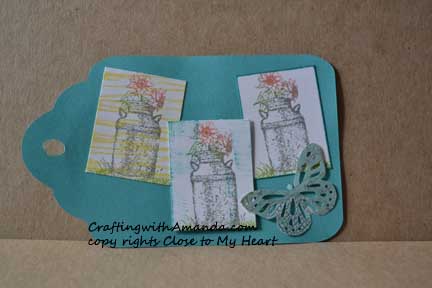
dryemb_ins dryemb_img

Now you might want to know how you can earn chances to win These tags.   There are several ways.  Write a comment on this post.  (1 entry)   Share this post link on your Facebook post and let me know on my FB page Crafting with Amanda that’s you’ve done it.  (1 entry per share).  Like my FB page.  (3 entries)  If you’re a pinterest person, for every technique tag you pin, you receive an entry.  (up to 35!)    At the end of the contest I will assign each entry a number and using a random number generator will pick a winner.  I will announce the winner on this blog, and then contact them to get the address where the tag book should be sent.

If you would like a copy of my technique instructions file,  leave a comment with your email and I will send it to you.

Happy Crafting and Good Luck!
Technique Tags Accordian Fold & Bakers Twine

If you are jumping in on this post series,  you might want to see all the techniques,  and you can find them here. You also might be interested in knowing that one lucky winner (USA only) will received the set of tags I created and photographed for this series.  (Information at the end of the post!)

Intro & cardstock tearing

Background Stamping & Sanding Cardstock

Tissue Inking & using sponges

Pockets & Tags

Faux Stitches & Patchwork

Pop Dots & Window Panes

Sponge Backgrounds & Crinkling

Random Stamping & Doodling

Fabric Fun & Water Misting

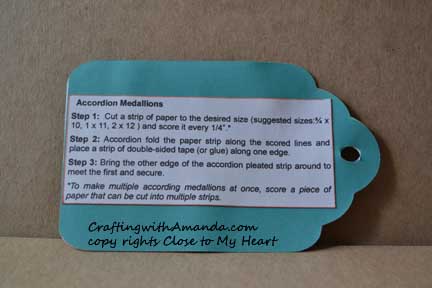
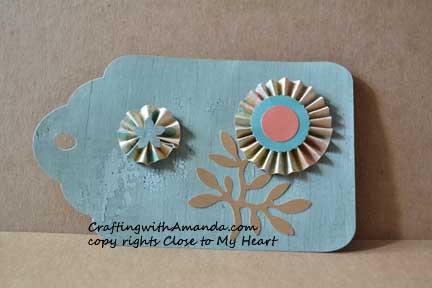
The according fold medallions are great.  They can be tiny to huge, and can make a wonderful addition to many projects.  I’ve used them as the base of name tags for a craft retreat and as a “lollipop” on a layout

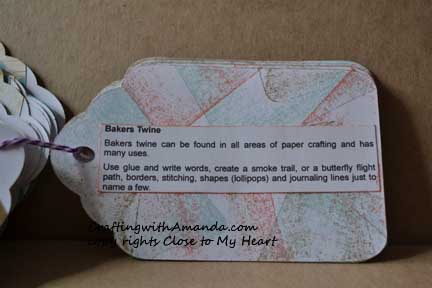
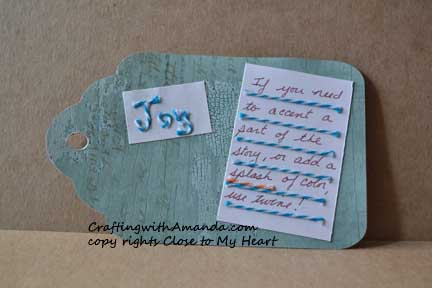
accordian_ins accordian_imgBaker’s Twine is not just for cooking or wrapping around cute packages,  it is also good for creating beautiful embellishments!  I choose to show examples using words and journaling as I find I use twine more for a ribbon replacement or showing the flight of a butterfly,  and less for words.  Continuing to broaden my horizons!

bakerstwine_ins bakerstwine_img

Now you might want to know how you can earn chances to win These tags.   There are several ways.  Write a comment on this post.  (1 entry)   Share this post link on your Facebook post and let me know on my FB page Crafting with Amanda that’s you’ve done it.  (1 entry per share).  Like my FB page.  (3 entries)  If you’re a pinterest person, for every technique tag you pin, you receive an entry.  (up to 35!)    At the end of the contest I will assign each entry a number and using a random number generator will pick a winner.  I will announce the winner on this blog, and then contact them to get the address where the tag book should be sent.

If you would like a copy of my technique instructions file,  leave a comment with your email and I will send it to you.

Happy Crafting and Good Luck!
Technique Tags – Sponged Backgrounds & Crinkling

A few months ago I started a series of blog posts showing off different techniques,  and promised when I got to the end I would select a lucky winner to receive (USA only) the book of tags featured in this blog.   Today I am picking up where I left off.  If you want to see the other posts,  they are:

Intro & cardstock tearing

Background Stamping & Sanding Cardstock

Tissue Inking & using sponges

Pockets & Tags

Faux Stitches & Patchwork

Pop Dots & Window Panes

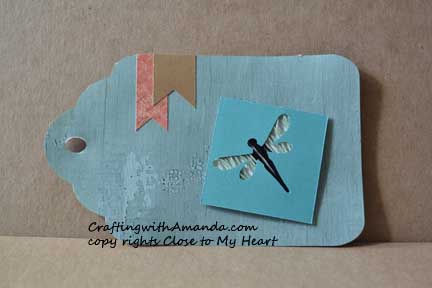
Today’s techniques are a mixed bag.  I seem to use one or the other periodically when I craft,  but typically not my go to techniques.   In fact,  I was creating some thank you cards,  and almost crinkled some of the layers to add interest to the card,  but decided not to when it was all said and done.  (or it didn’t get done as I thought about it,  got distracted and when I sat back down to glue the pieces to the card base I didn’t think about crinkling again.)

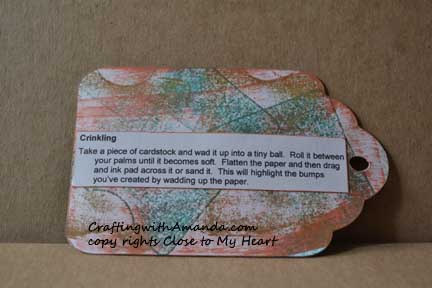
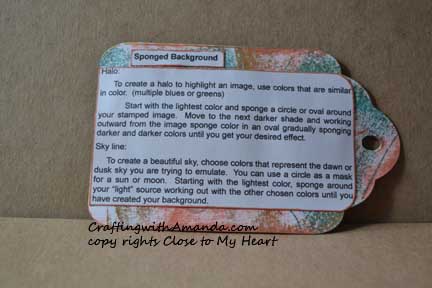
Crinkling_ins This technique will work with non white core paper,  but instead of sanding the paper to help the wrinkles show,  you would need to ink it instead.crinkling_imgBackground sponging can add so much to any project.  Create a sunset or a spooky sky,  shade in some sand dunes. . .  only your imagination is the limit.

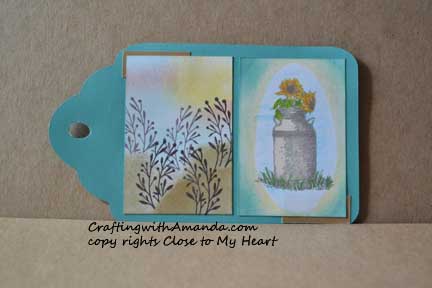
spongeBck_InsCreating an old fashion “halo” to help highlight an image is easy with sponges!

Sponge_bck_img

Now you might want to know how you can earn chances to win this great prize.   There are several ways.  Write a comment on this post.  (1 entry)   Share this post link on your Facebook post and let me know on my FB page Crafting with Amanda that’s you’ve done it.  (1 entry per share).  Like my FB page.  (3 entries)  If you’re a pinterest person, for every technique tag you pin, you receive an entry.  (up to 35!)    At the end of the contest I will assign each entry a number and using a random number generator will pick a winner.  I will announce the winner on this blog, and then contact them to get the address where the tag book should be sent.

Happy Crafting!


It’s time to begin using your 2017 planner.

Don’t you just love new things?  I do.   I sometimes get bogged down in silliness and don’t want to use up something new as then I won’t have it anymore.   I am beginning to realize that if I don’t use new stuff,  I am losing out on some “joy” moments in my life.  So,   I am cracking open my new pages for 2017 planning and recording our family activities.  Good, bad, ugly.  Hopefully there will be more ups than downs!

As I was writing this post,  I realized my plate is pretty full today and I was thinking I won’t have any time to start this,  I’ll do it tomorrow.    I put the brakes on those thoughts and began going over my plans.   I will have a full 30 minutes while I wait for my daughter to be done with an appointment she has.   Guess what?!?  That means if I take about 2 minutes now and pull out some fun colored pencils, which I got for Christmas, bag up some washi tape and a few other small supplies,  I can begin to mark up my planner and start recording our events for 2017.  Yay.  If I am remembering correctly,  I will even pull out a dedicated planner bag and put all my supplies in there and can have it all together for future out of the house down times.  (Which happen from time to time with kids!)

In the meantime as I open all the bills and mail from holiday back up,  I think I will watch this video and see if It gives me more inspiration on my new 2017 journal endeavor.  If you don’t have a 2017 planner yet,  you can find what  I’ll be using here.

Happy Crafting.