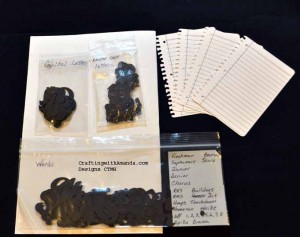
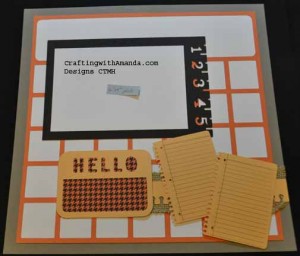
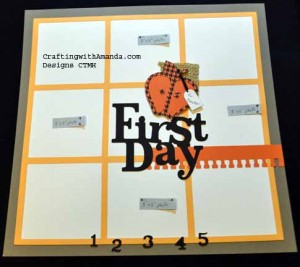
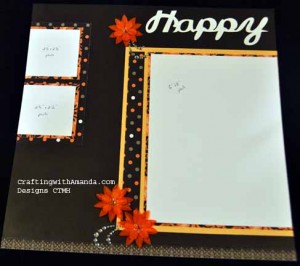
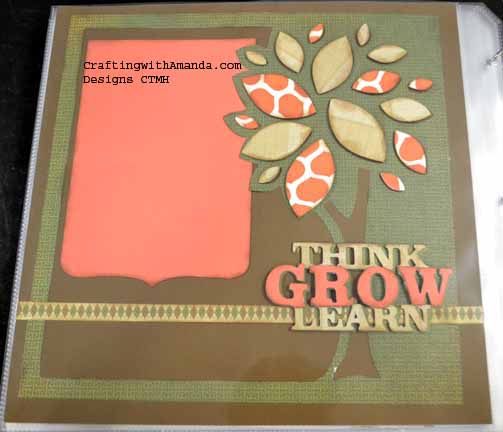
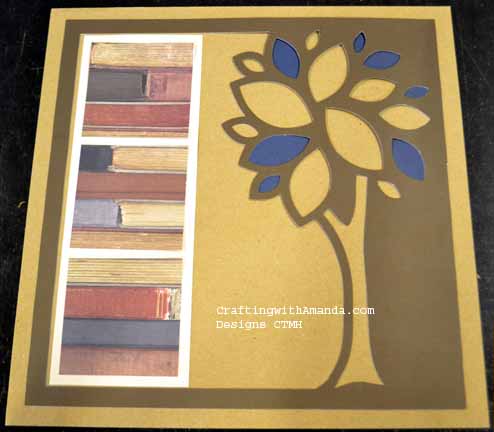
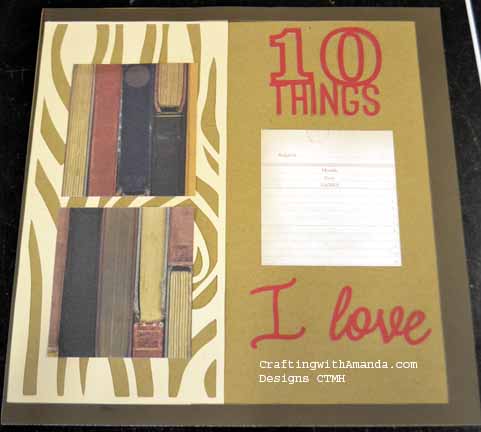
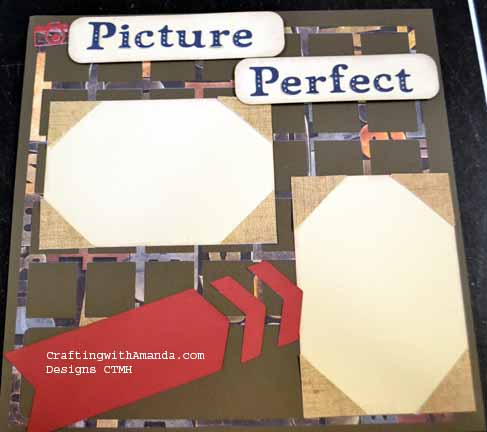
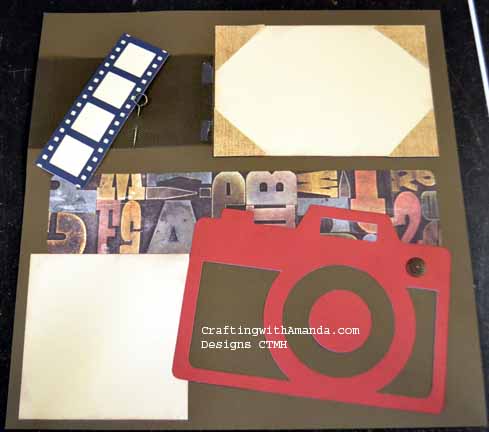
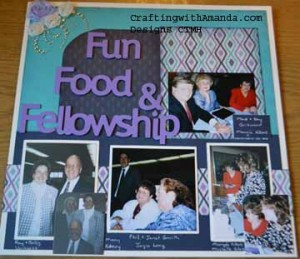
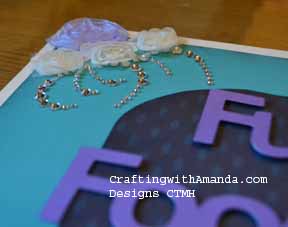
I forgot to mention this the other library Auction post, but if you want to see the layout in more detail, you should be able to click on the photo and it will give you the full size version of it. Then use your “back” button to continue viewing the rest of the blog.
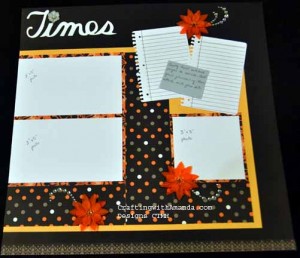
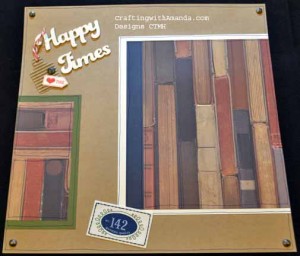
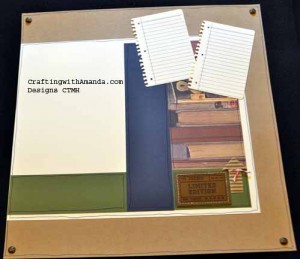
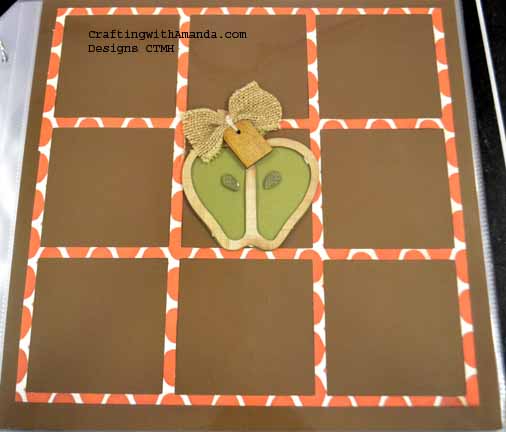
Here are a few more pages for your crafting inspirations.
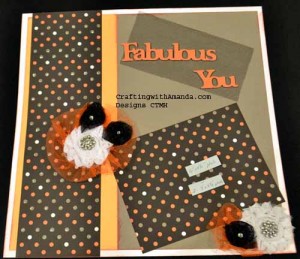
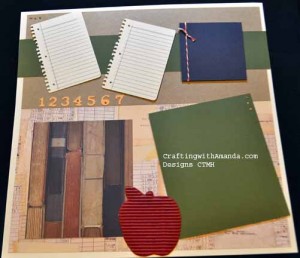
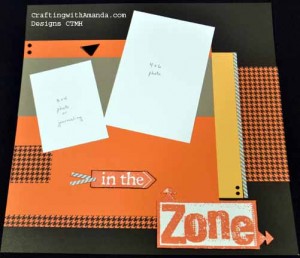
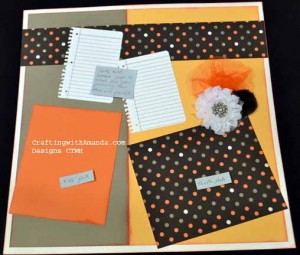 You might not see it right away, but both of these layouts were cut using the same instructions. It still amazes me how much paper and embellishment choices (along with title and placement) really change the looks of a page.
If you haven’t figured it out yet, since I know, or atleast have a really good idea what photos I will be putting on these pages, I can be more specific with my embellishments!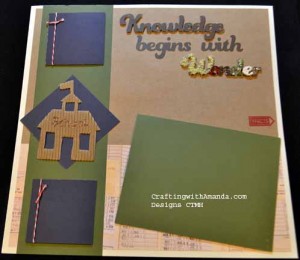
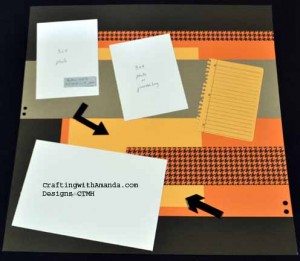 Here is the left side of the “In the Zone Layout.” Where you see the white cardstock, it represents my recommended photo placement. I think this will look great when the white is removed and some sport action shots are taking that space!
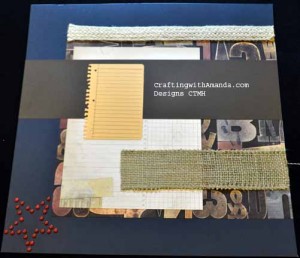
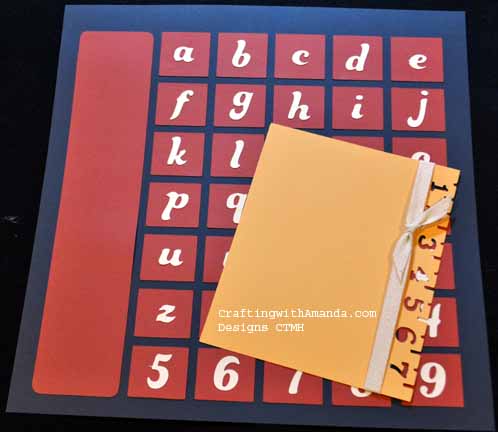
Now, once again these layouts use the same pattern, but instead of paper for everything, I used some burlap ribbon. I also changed my title to the learning zone as I will be filling this with school pictures for my own albums.
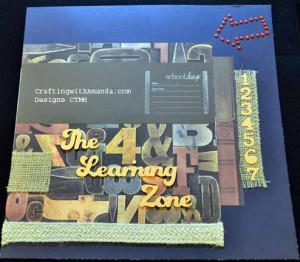 Did you see ALL the cranberry brads I used to create the arrow and star? (I used cardstock cut out on the Cricut Artbooking and poked holes around the outside edge, then filled each of the holes with brads.)
Hopefully I’ll get some more photos edited this week.
We are coming back from a great weekend celebrating our Nephews wedding, so I haven’t been able to do any computer work for the last few days. We are staying home for a quiet Thanksgiving and perhaps I’ll get some more “work” done then?!
Happy Crafting!

