Scrapbook

Techniques #6 & #7

Pockets & Tags (to put in those pockets.)  That’s what we will talk about today.

Sometimes it’s fun to have an “inside joke”tag_pockets_samp as part of a card or scrapbook page.  By using pockets, you can easily accomplish this.  There are also times when journaling is very personal, and you don’t want to leave it out, but you don’t want it displayed either.  (Some photos are better in pockets so the squeamish can be protected.)
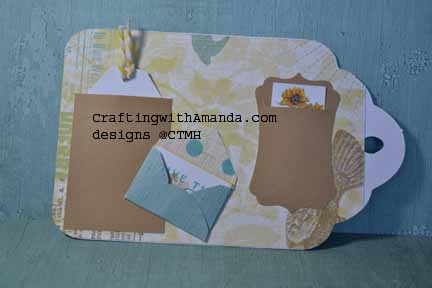
In this Seaside sample, I created pockets with a simple rectangle glued on three sides, a mini envelope and a shaped cut out in which I cut a slit.

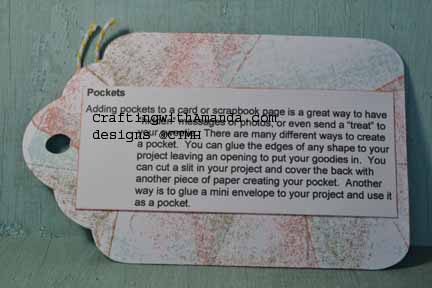
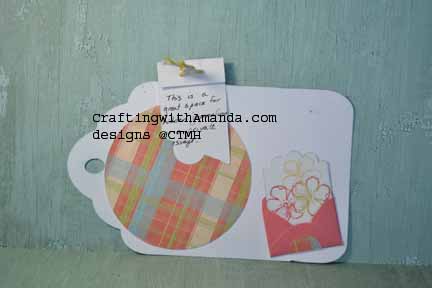
Here’s another look with the contents of the pockets pulled out of their hiding places. tag_pockets_samp2tag_pockets_ins tagclub_pocketsYou can also cut a slit in your project itself and line the back with paper to create your hidden pocket.  So many fun things to do to create pockets.  You can see on my club night tag that I used a circle element to create the base of my pocket.  Did you notice the circle punch out in the circle pocket to make it easier to pull out the journaling?
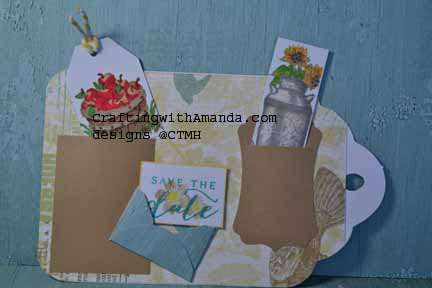
Now that we know how to make pockets, let’s move onto tags to put in those pockets.
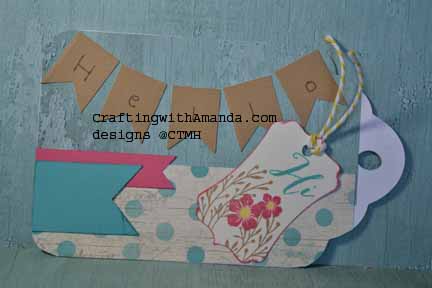
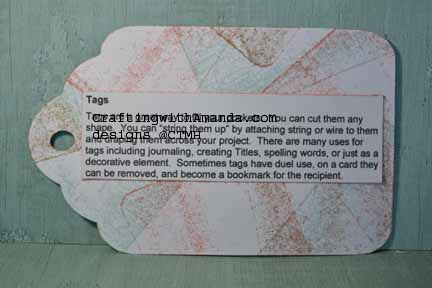
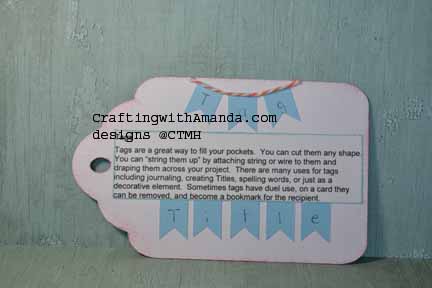
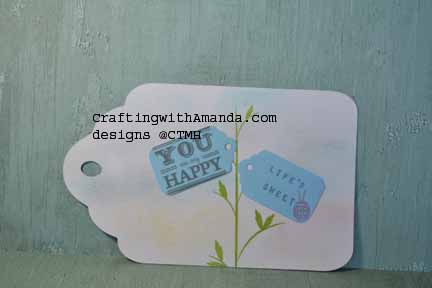
tag_tags_sampI used tags to make my tag title “Hello” and created a removable bookmark tag as well.tag_tags_bkmark
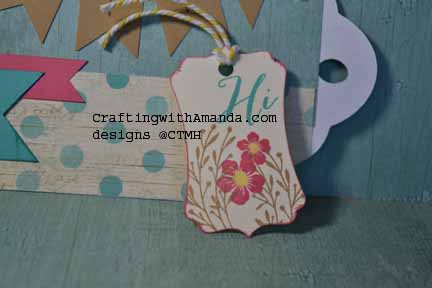
tag_tags_insHere are the stamp sets I’ve used in this example, and many of the other tags that we will be looking at in the upcoming posts:

C1605 Happy to Be Friends

D1632 Amour

I also used Seaside papers (X7192B)

Our awesome markers were also put to use throughout this process of creating the technique tags.

I’ll leave you with the tag samples from our club night book, and the information how you could win all 35 tags that will be shown in this series of technique tips blog.

tagclub_tags2 tagclub_tags1Contest Information:

Now you might want to know how you can earn chances to win this great prize.   There are several ways.  Write a comment on this post.  (1 entry)   Share this post link on your Facebook post and let me know on my FB page Crafting with Amanda that’s you’ve done it.  (1 entry per share).  Like my FB page.  (3 entries)  If your a pinterest person, for every technique tag you pin, you receive an entry.  (up to 35!)    At the end of the contest I will assign each entry a number and using a random number generator will pick a winner.  I will announce the winner on this blog, and then contact them to get the address where the tag book should be sent.

If you would like a copy of my technique instructions file,  leave a comment with your email and I will send it to you.

Happy Crafting and Good Luck!

All New Rolling Tote

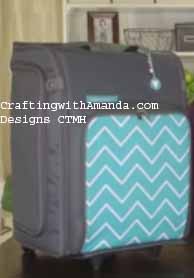
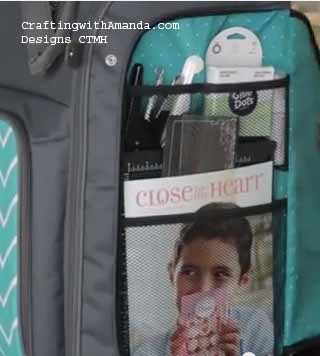
It’s here, it’s here!  The new Close to My Heart Rolling Tote has arrived

CTMH Rolling Tote Craftingwithamanda.ctmh.com

If you hurry it could be under your tree for Christmas!  CTMH has put a lot of thought into how this will incorporate with our organizing totes as well as how to keep our papers flat and out of harms way.

rolling tote center

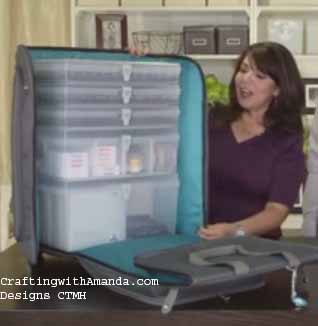
Here it is shown with one large, one medium and three small organizing totes.  How great is that?

I can see me with one large organizer of stamps, another large organizer with embellishments, my medium with my re-inkers and pearl paint for spritzing the exact right color and my small organizers so I don’t have to be without my pigment inks.  Yay!

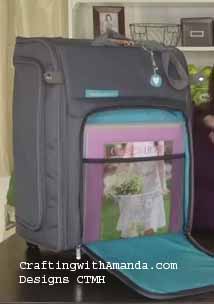
rolling tote front The front pocket is HUGE.  Look at all the room for paper, card stock, Annual inspirations or Wishes book.

If you haven’t already seen the video, it’s on youtube.  Just search for CTMH Rolling Tote.   The new Shoulder tote is shown at the end of the video too.  I might actually be able to look like I have my act together and be color coordinated!

rolling tote pocket 1


Did you see that both side pockets are large as well.  It has shows it with the score board (which by the way is amazing) and another idea book.  I think I could take both my Make it from the Heart books, my cutter, score board and still have room for more.

If you’re like me and ready to order yours today, visit my website!

Happy Crafting.

Glimpses from the Weekend

It’s a new week.  I’m not sure why the Friday post didn’t get updated until Monday, but there it is.

Had another great weekend talking with creative ladies and seeing some beautiful artwork.

I might not have finished the samples for even one scrapbook workshop, but  I was pleased with what I managed to get done.

Scaredy Cat 1lt


This Layout is from Magic pg 28 (I think).  I cut the branches out of black glitter paper using the Artfully Sent Cartridge.  (Not just for cards!)

Scaredy Cat 1rt


CTMH glitter paper cuts beautifully too!

Here is the right side of this layout.  I don’t have a title yet, but I love the little tassel on the hidden journaling spot.

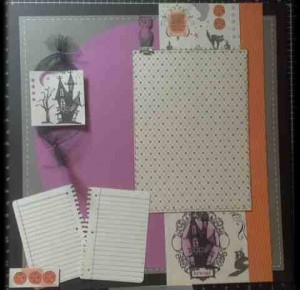
This next layout embraces the fun of the Scaredy Cat paper.

It too comes from Magic.  (I think page 48)

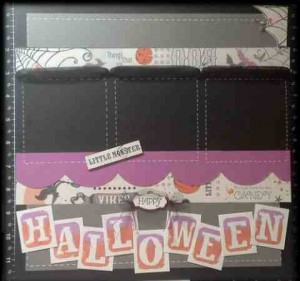
Scaredy Cat 2ltThe square house is on black tulle and was cut from one of the patterned papers.  I also cut the owl, three pumpkins, little monsters sign (right page) and spider web too.

To ink the two tone “HALLOWEEN” I used sunset & thistle.  I inked thistle on the top of the stamp, then (because I could see through) I did the other part in the sunset.

Scaredy Cat 2rt

Really like the effect on this themed Layout.

I used a Gel White pen and made “stitch” marks around the edges of the slate CS and to highlight the photos on the right hand page.  It still amazes me what the little touches do to highlight photos!

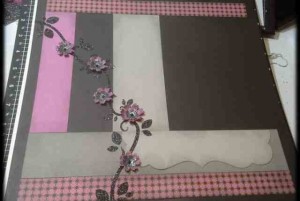
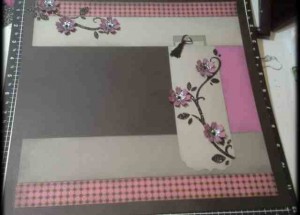
Hopefully I’ll find some time this weekend to finish the floral pages and put together the third LO for this workshop.

Happy Crafting!

Amanda


Crafting Weekend Project

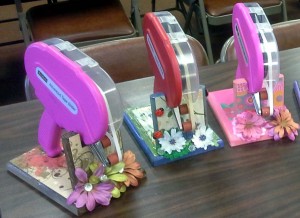
Here’s the photo of one of our crafting weekend projects. It’s an adhesive Tape Gun (ATG)  holder.  The funny thing is that after I had decorated my own (the red ATG with ladybugs),  it took using it about 3x before I was completely lost without it.  If you own an ATG, it’s a must have.  Wow.  I’m truly surprised with how much easier it is to use the adhesive gun with it standing up in the holder.
ATGleft3
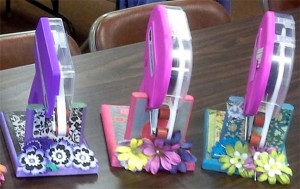
To color the base, I used about 30 drops of re-inker with 1/4 cup of rubbing alcohol to make a stain for mine.  The holder on the left used a brown walnut stain and the pink one on the right used acrylic paint.  The painted ones needed to dry overnight, but the stained ones could have paper applied and sealed with liquid glass right away.   I recommend using non paper flowers as they will hold up better.  The vertical part of the holder can be removed from the base for travel.

ATGright3
The purple gun in the above photo is a bit smaller and needed a custom vertical peice.  Thankfully the owner of the purple gun is the wife of the gentleman that cut these all out for me, so it wasn’t a problem!
So, do you think I should do a give away for one of the extra’s I have.  I’ll have to decorate a few of them so the winner would have a choice of colors. . .  Let me know what you think.

Happy Crafting.

Great Crafting Retreat

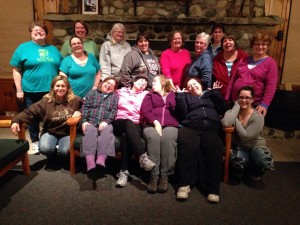
Cedarville gangHere’s the group of us that enjoyed a wonderful crafting retreat in Wiloughby Lodge.   From early twenty’s to pushing 70, all ages had fun.  (All ages also had sore laughter muscles as we did a LOT of that this weekend.)

Here’s a glimpse of our lighter side.   I’ll have more photos of our projects soon!

Cedarville goofy


Happy Crafting!