Archives for Tutorial

Scrapbooking & Random Stamping

You would think, that someone that loves random stamping as much as I do, would actually do it more often than I do! Thankfully, yesterday as I was creating this layout, I decided the background was plane and needed something.
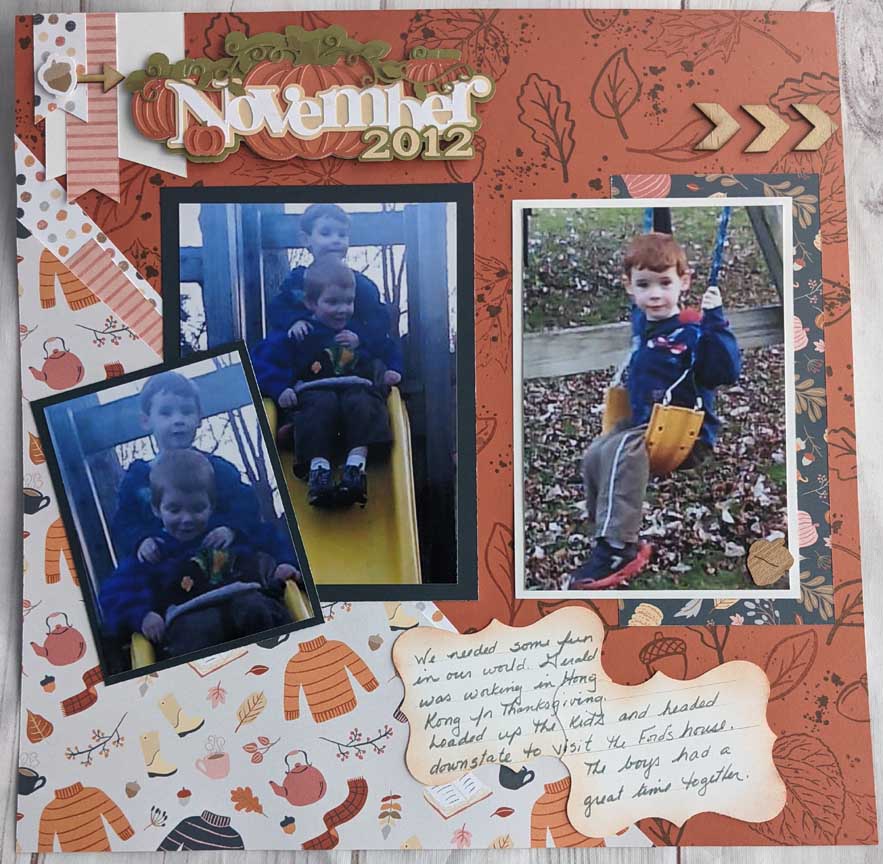
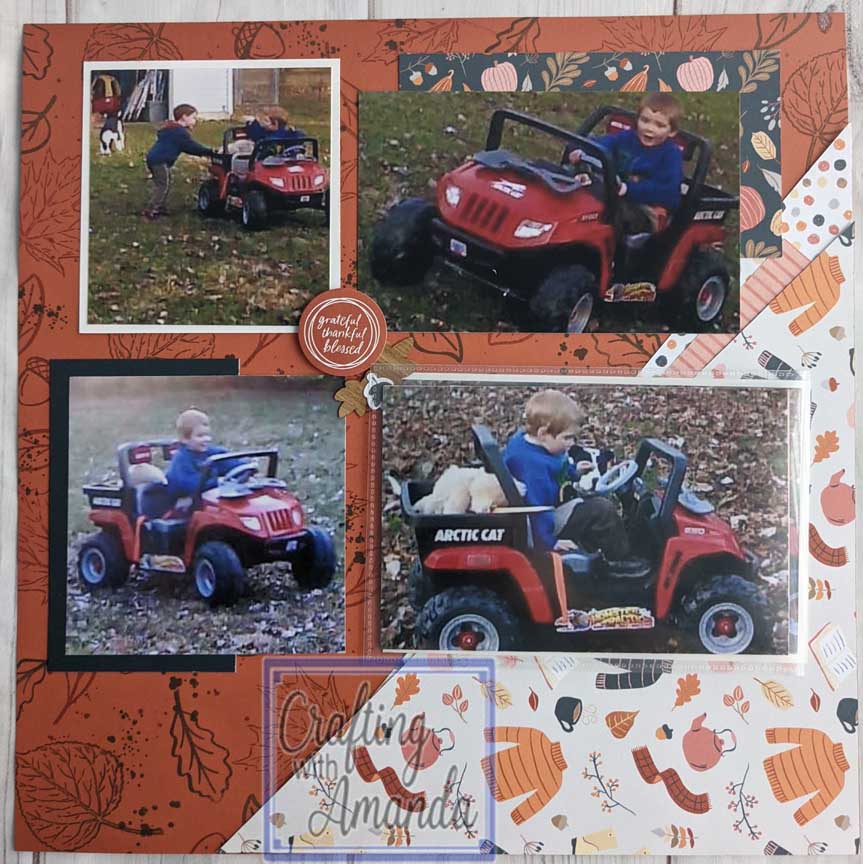
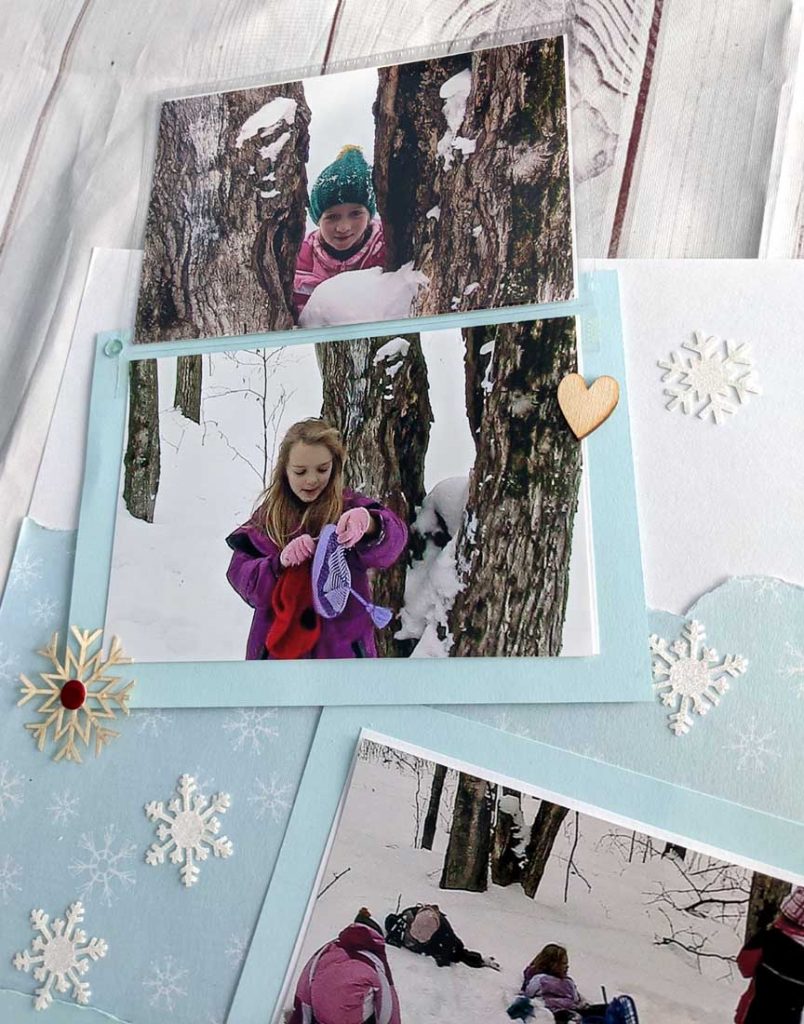
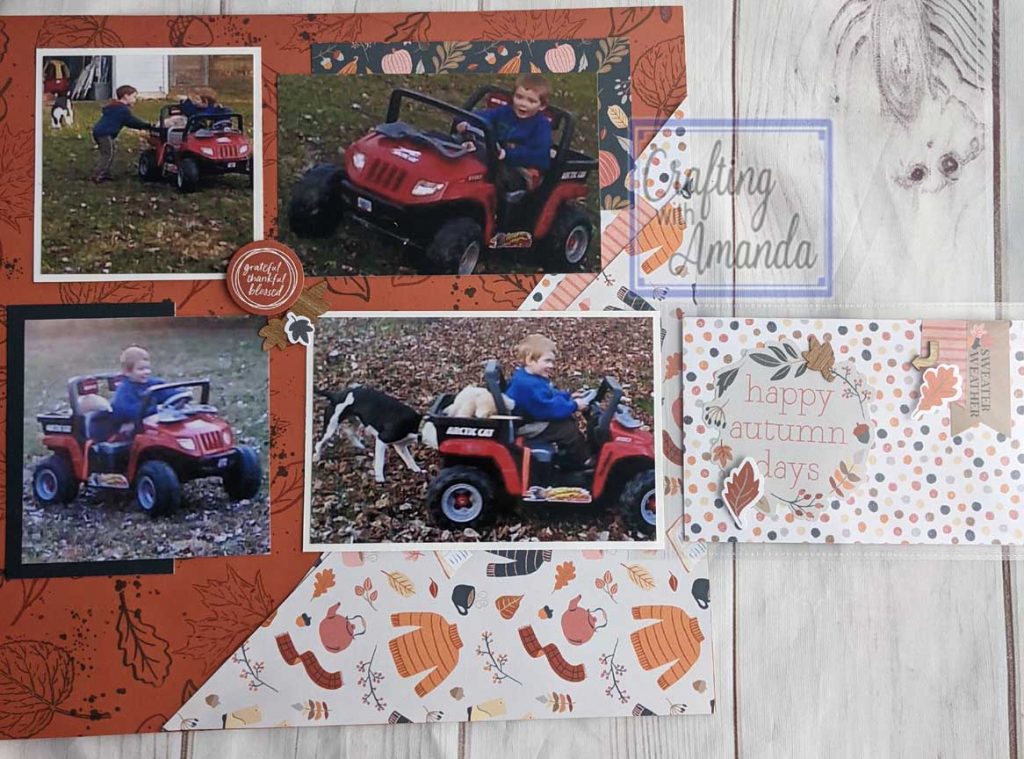
IF you’ve been following my posts/videos lately, you might have noticed that I use many flip flaps in my layouts. I just love how they can hide journaling, (or a sensitive photo), let me add more photos without cluttering the page, and even make a fun interactive element.
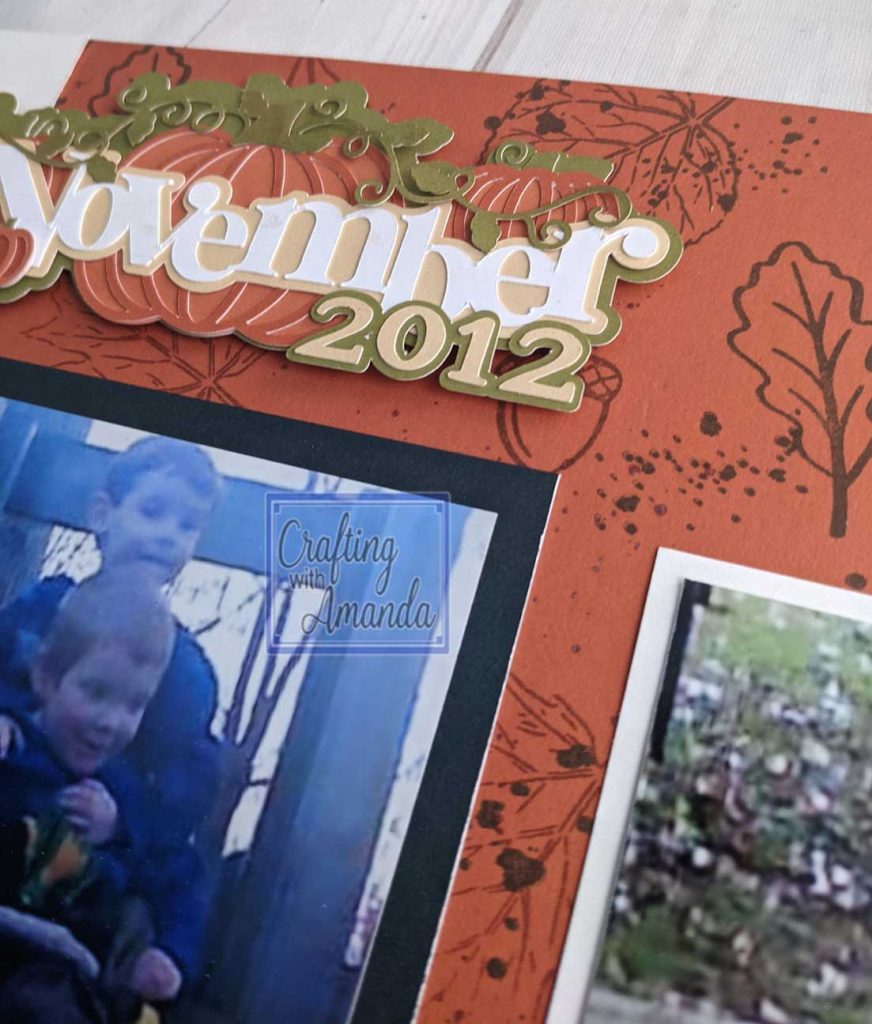
Also, the “title” in the top left corner of the left page is a $1 SVG from Close to my Heart, and I’ve used the pumpkins from it on several other projects. Just love the diversity!
Here’s the process video if you would like to see that.

Happy Crafting!

Fun Fold Friday – Cascade

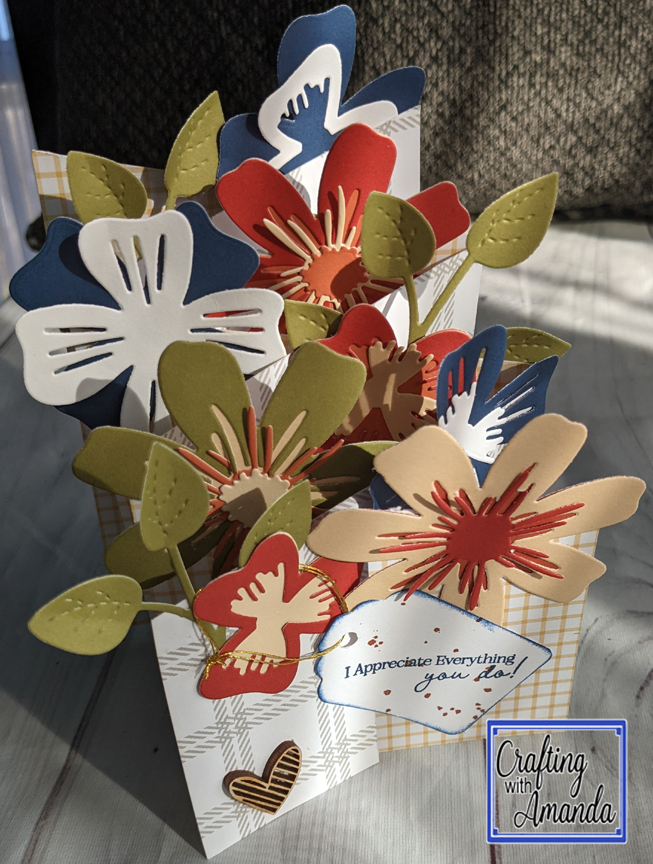
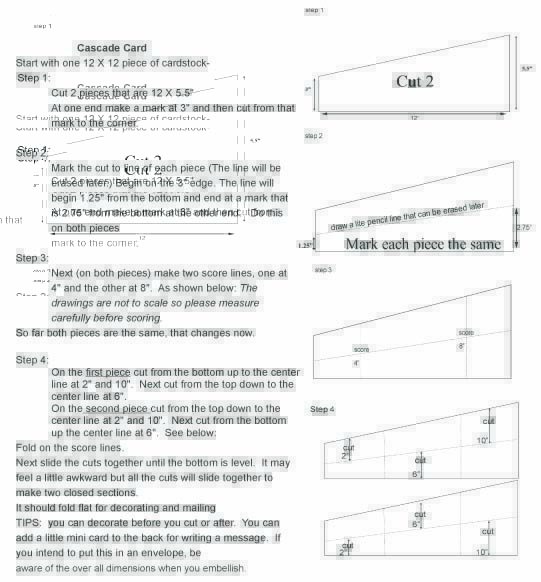
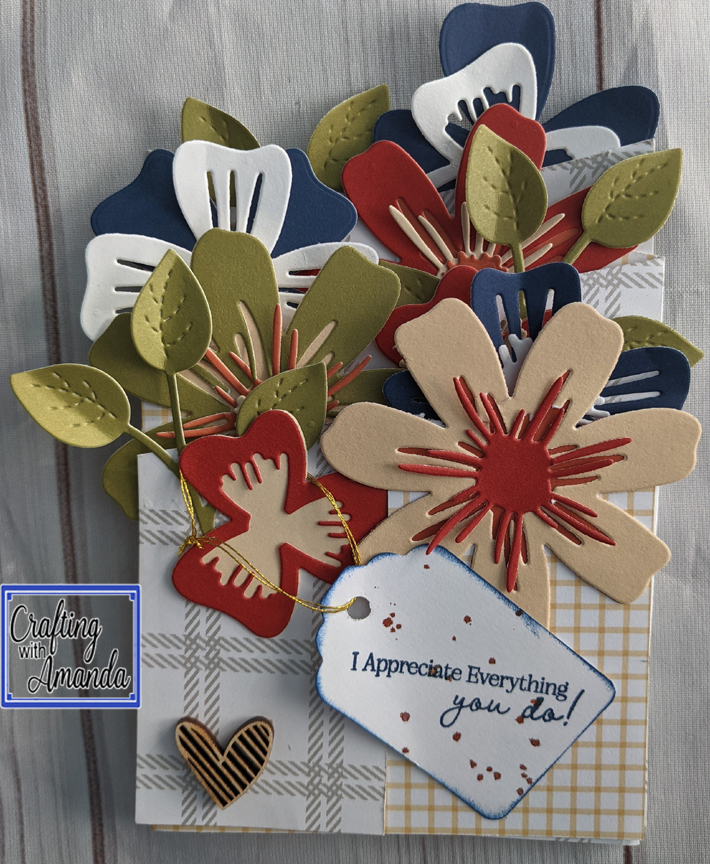
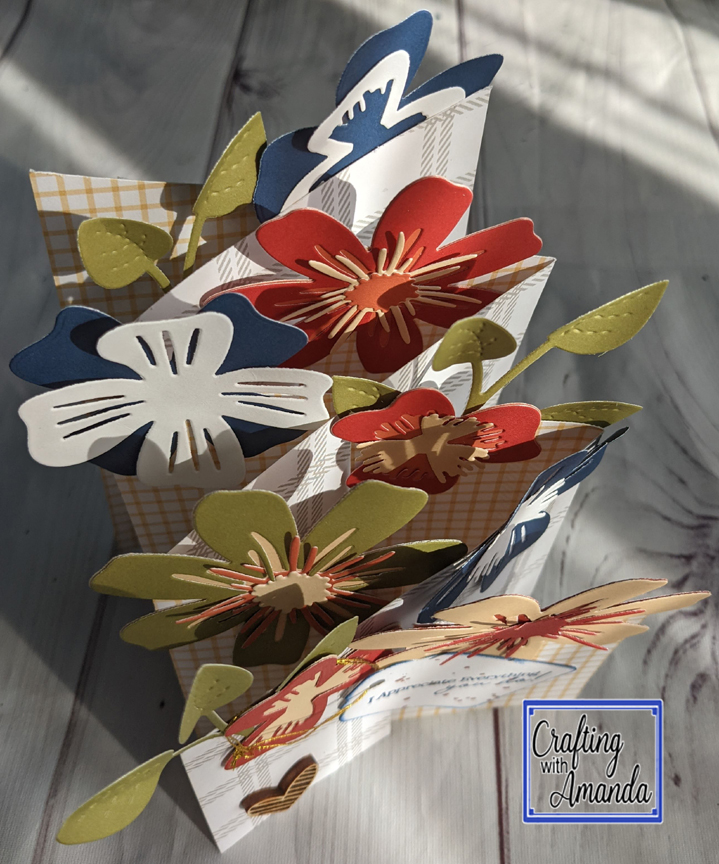
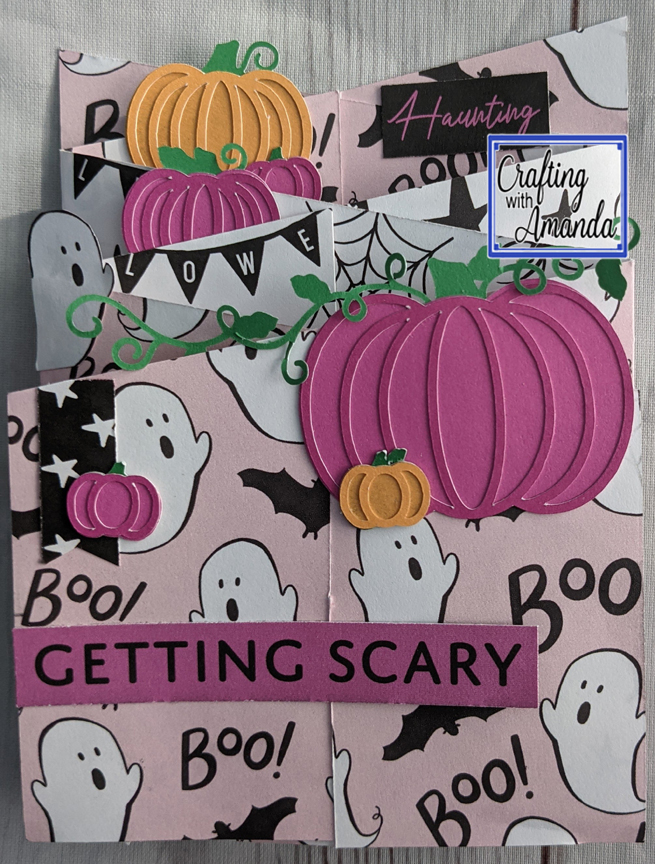
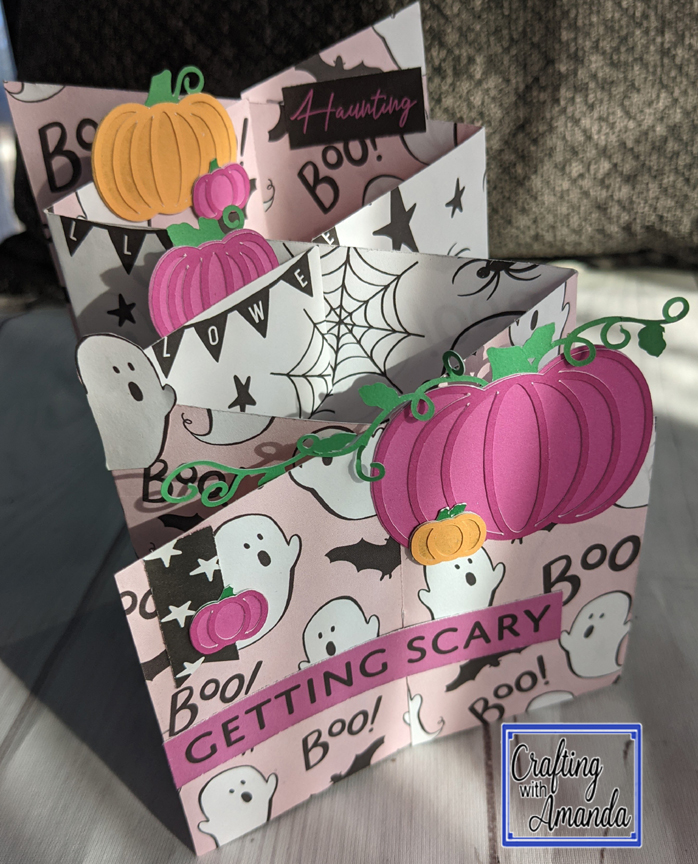
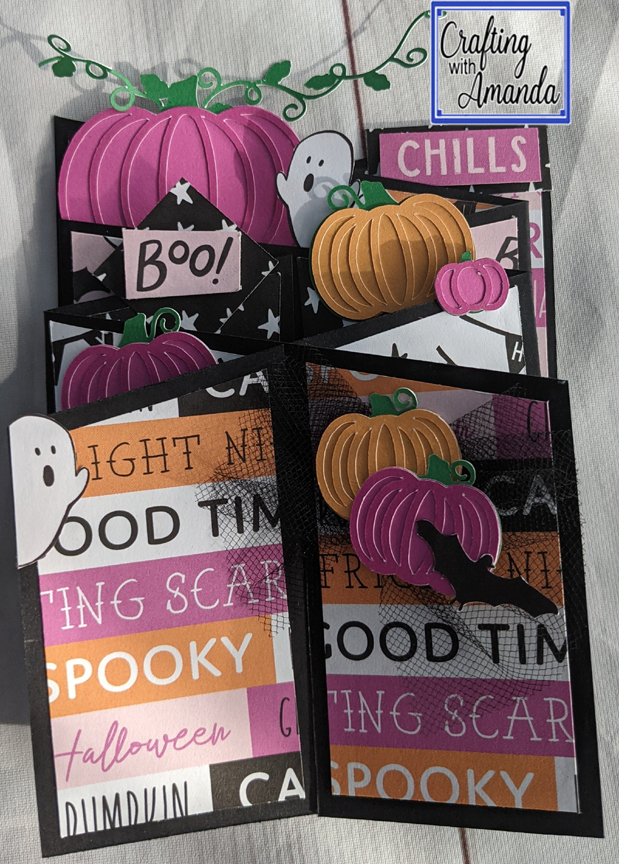
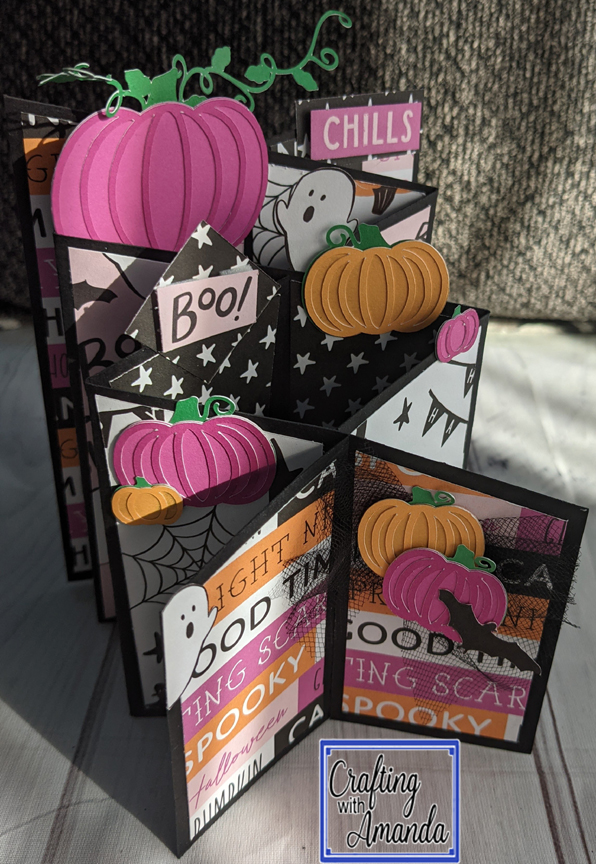
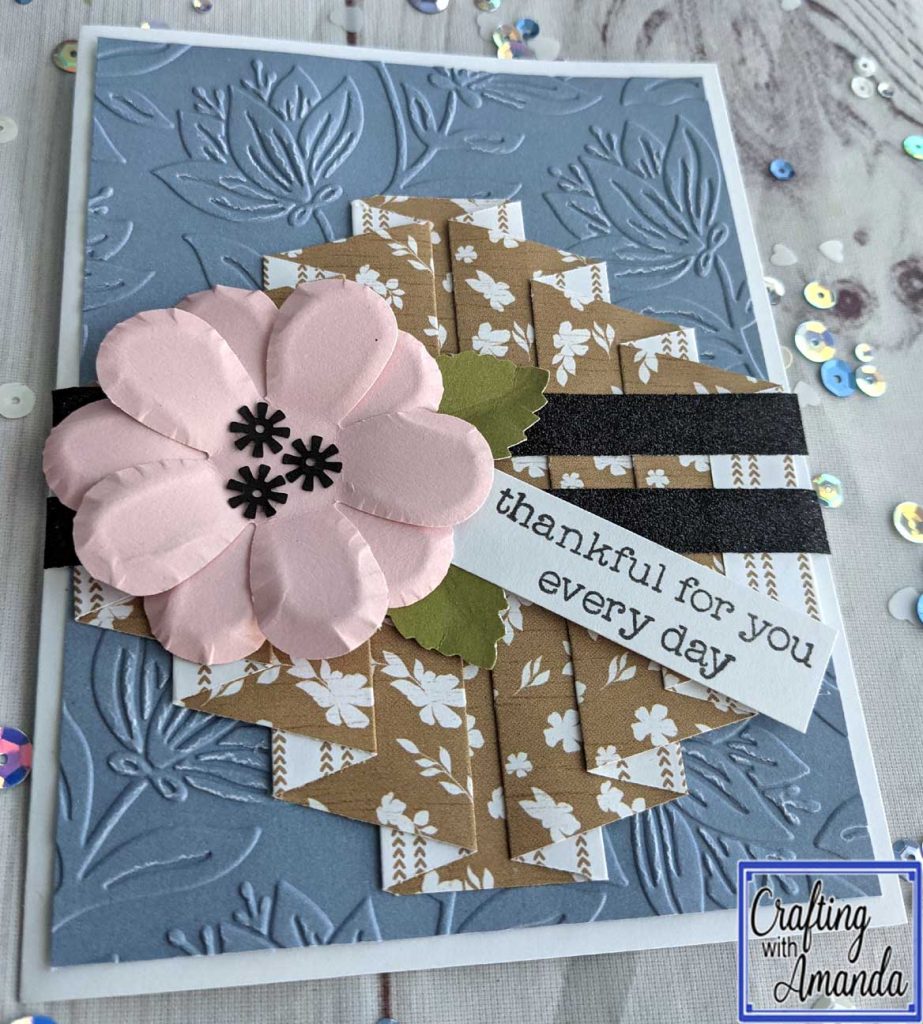
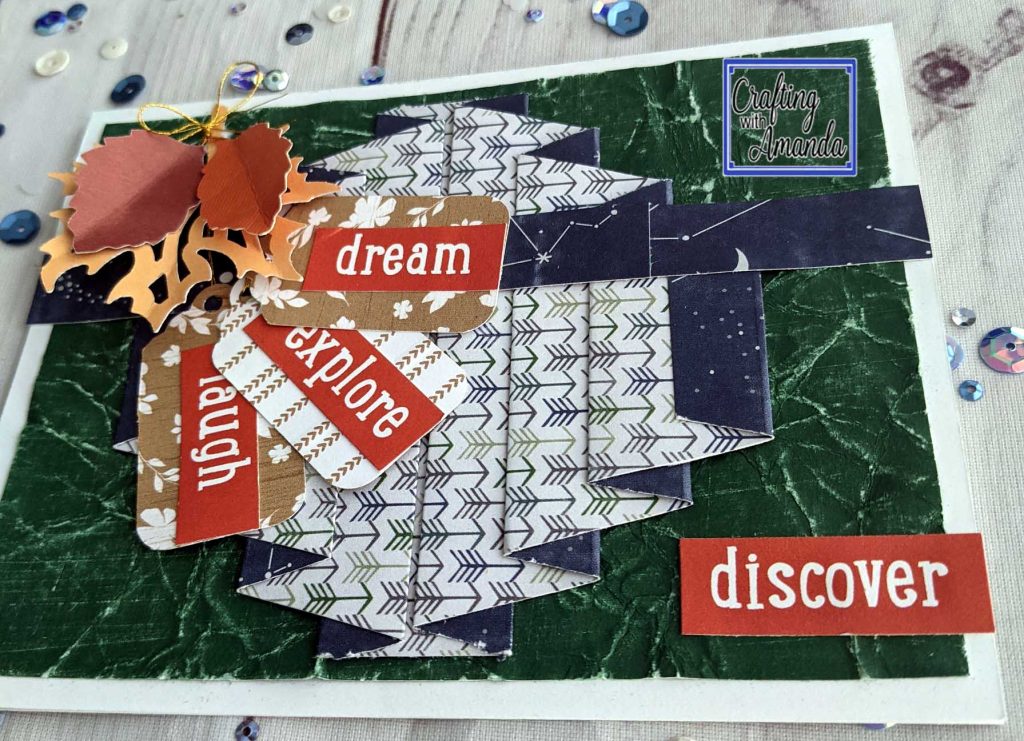
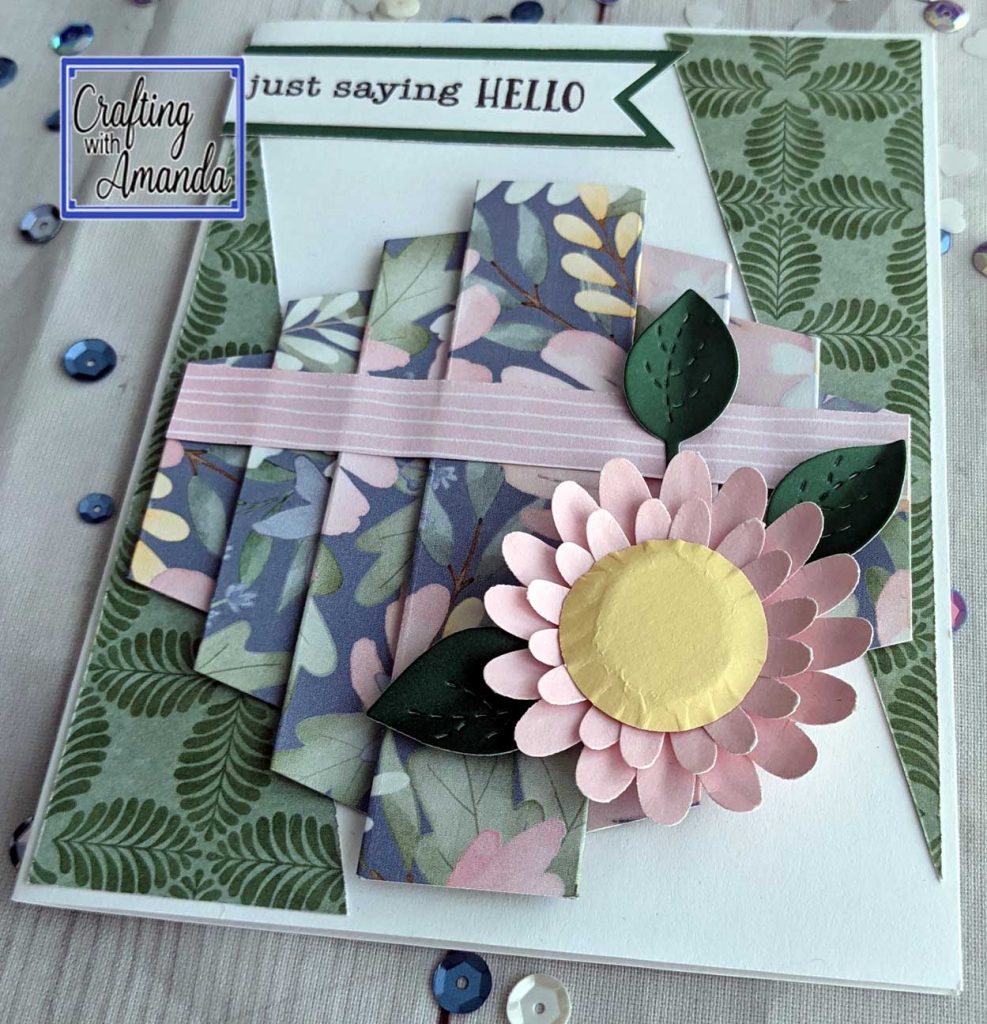
Cascade fold is a great fun fold that packs a WOW & allows you to send a piece of artwork in the mail.

I had some Boo Crew papers & pumpkins that were leftover from a LO on my craft desk, so I decided to make my “Learning” card from those papers.

I decided I wanted to kick things up a notch and did a black base cascade and attached pattern papers to the front & back of the different areas. I think this is a favorite. (It does take much more time.)

Happy Crafting!

Photos + Workshop Layouts

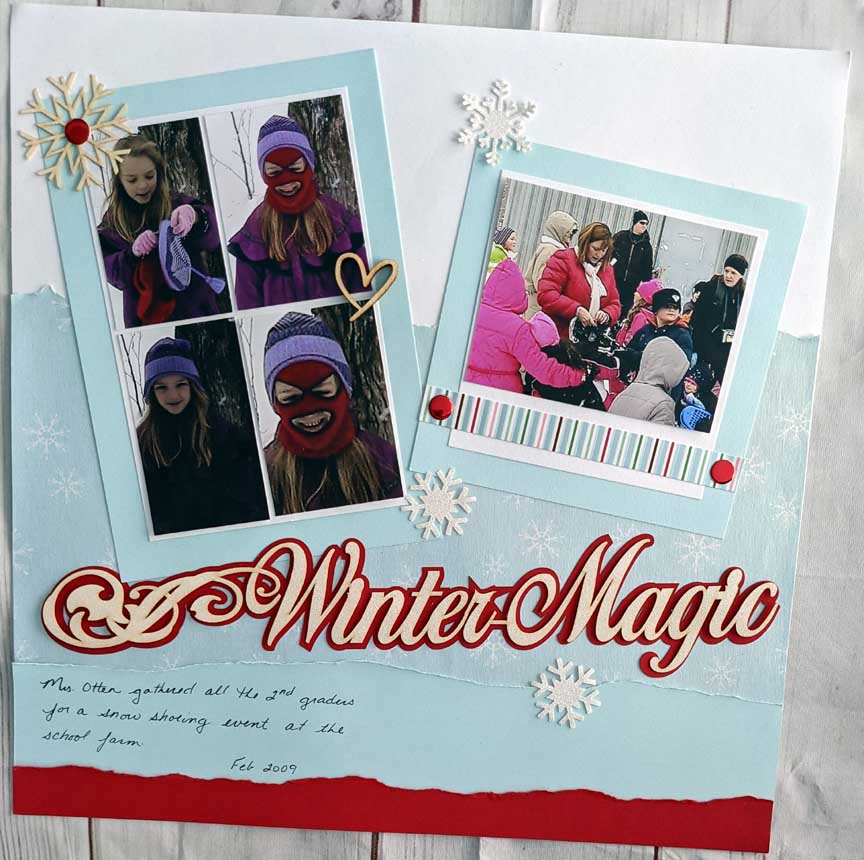
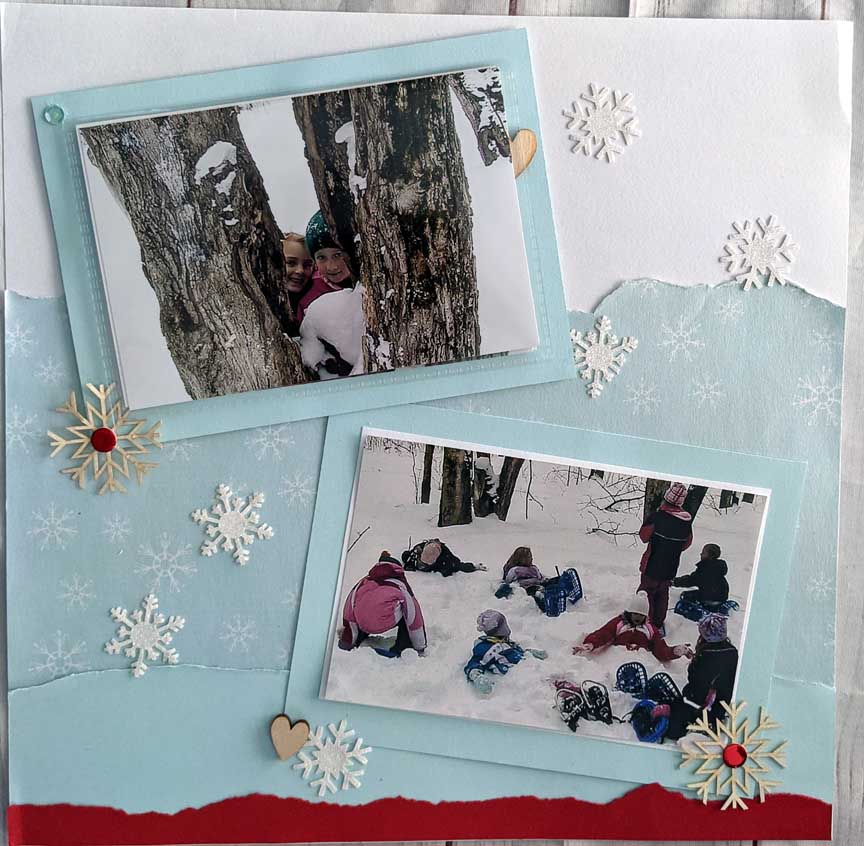
What do you get when you combine photos & layouts that were assembled for workshops that I taught? Album-ready pages in less than 30 minutes!

I added 1 flip flap (to the page above) and cut 4 photos down to fit into one space, and wah-lah I have paired these photos to a layout that has been sitting in a tote for about 10 years!

This particular layout was from a swap I coordinated. The swap was to give CTMH Makers a sample of every page of Imagine pattern book by Jeanette Lynton. I do not know who made this layout, but they did a great job. I never would paired the red with the green/blues, but I’m so glad she did as It works great with my photos.

Hope you find some crafty time!

Fun Fold Friday – Double Pleat

This is our September club project. If you are interested in receiving these monthly pieces kit ($2.50) you can order them here: https://www.craftingwithamanda.com/retired-products-for-sale/

The papers this month come from the CTMH Love Story Toffee collection & the retired CTMH Aurora Collection. (A few people got pieces from the July/Aug Mix-in papers)

What I created with the Aurora papers
Pleat turned upsidedown

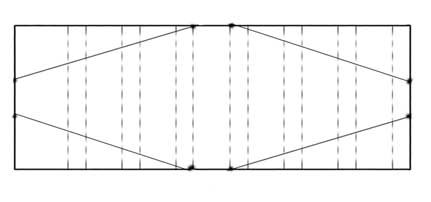
***The first score line (1/2″) is missing from the image below


Double Pleated Fancy Fold

Start with a 11” x 5.25” piece of paper

Measure and mark the short edges of the
paper (6” tall ) at 2.5 and 3.5”.

Measure and mark the long edges at 5” and 6″.

Score the paper horizontally at
.5, 1.5, 2, 3, 3.5, 4.5, 5, 6, 6.5, 7.5, 8, 9, 9.5 and 10.5″.

Align the pencil marks along a paper trimming blade and
cut to create a diamond shape.

Pleat the paper by making accordion folds along the score lines. Begin with the first .5″ score and fold to
the center.

Rotate the paper and make pleat folds to the center.

Adhere the pleated folds

Happy Crafting!

Cut Above Kit – Photo Pairing

I have had many ah-ha moments lately. The latest one was about the Cut-Above kits that I have stacked on my shelves from the CTMH Scrapbook subscription. What might this ah-ha moment have revealed to me? That just like the “done” pages I have from workshops with no photos, these kits are perfect for creating layouts quickly. They have some advantages over the workshop pages as nothing is assembled so it’s even easier to incorporate my photos with the papers & die cuts.

Process Video

You can check out the latest Cut Above kits here:
https://craftingwithamanda.closetomyheart.com/ctmh/products/craft-with-heart.aspx

Happy Crafting!