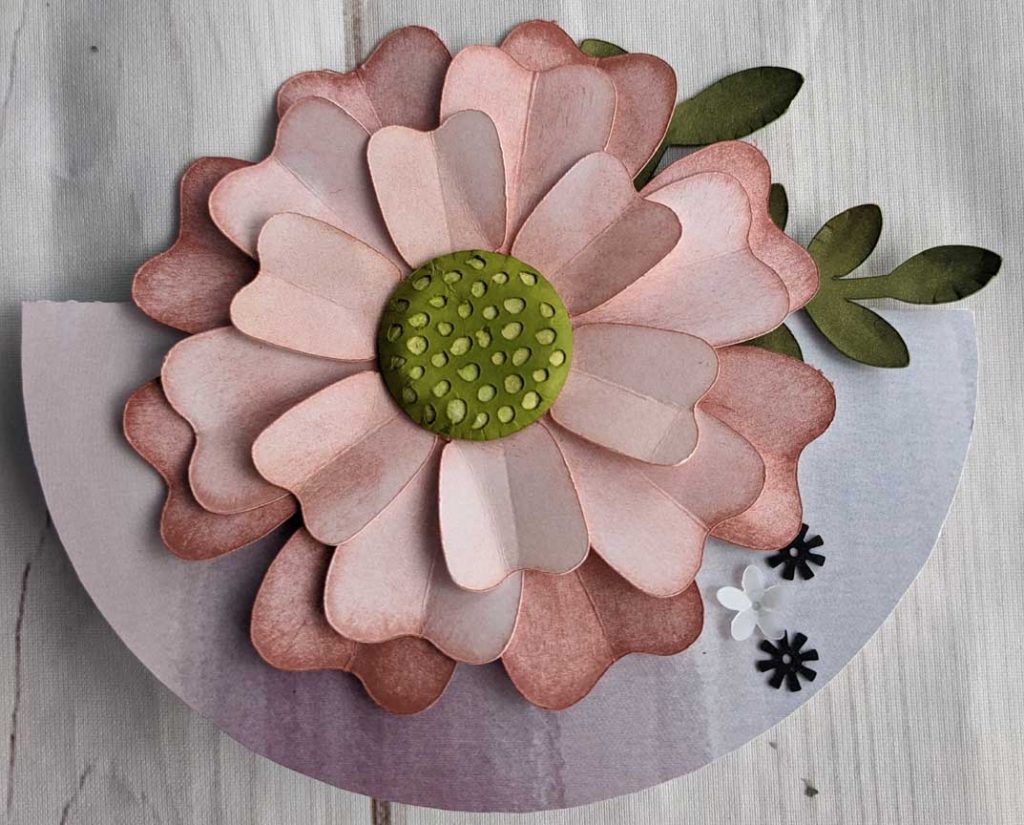
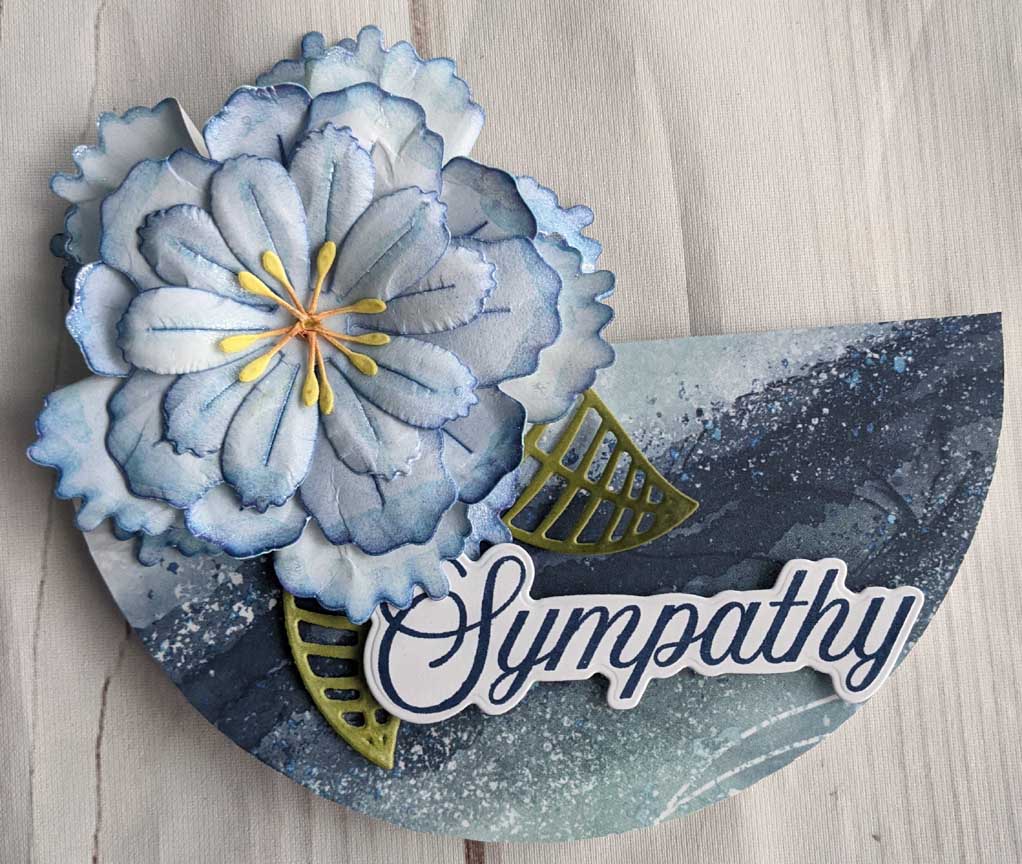
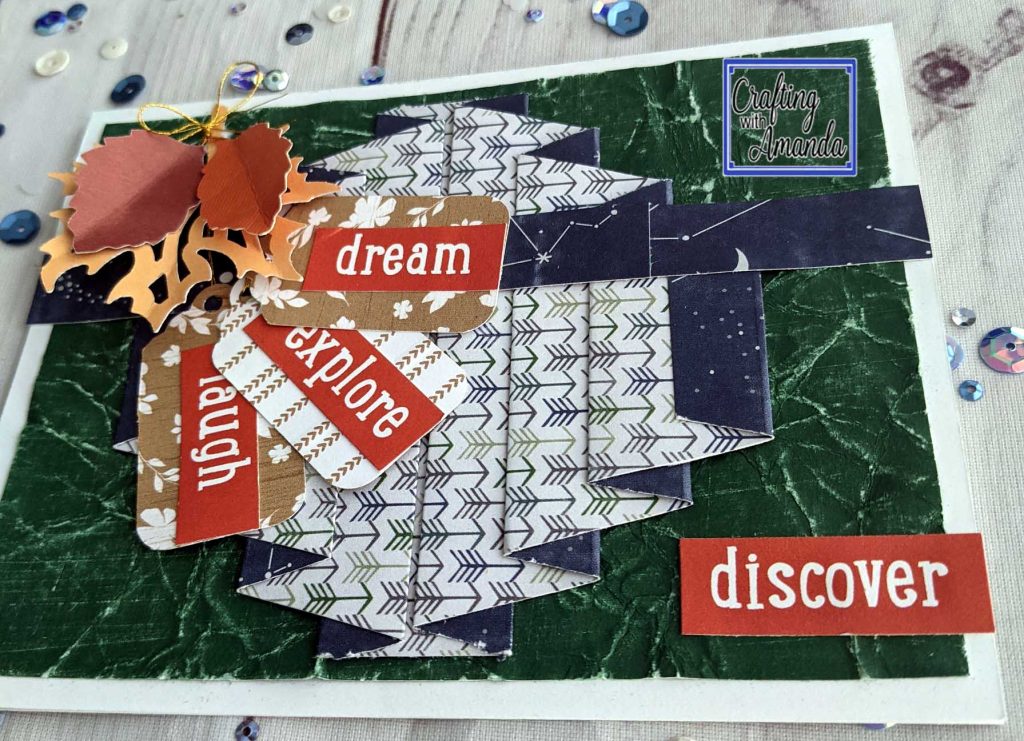
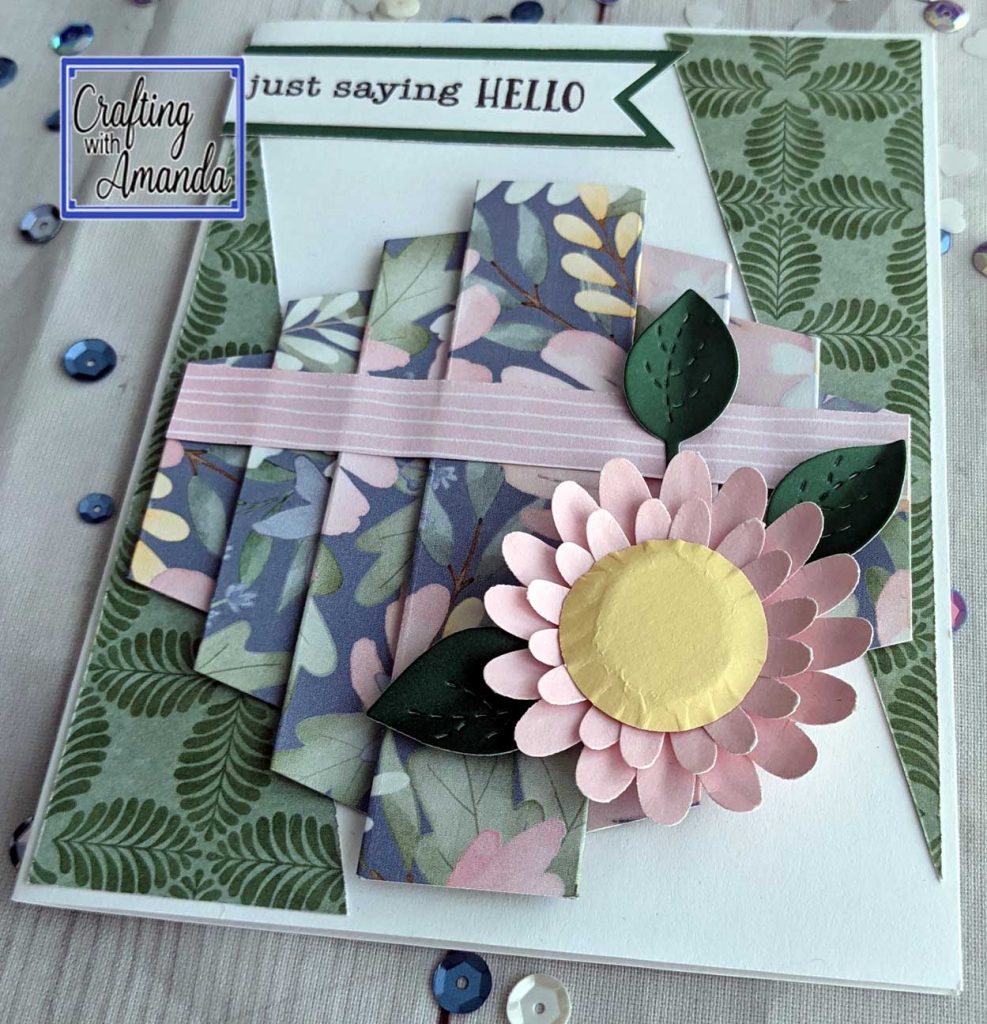
Ready to create a fun rocker card? Start with a 5 1/2″ circle, fold it in half and then decorate. Done!
My only tip is to keep the decorations around 3 1/2″ tall to ensure they will still fit into a standard A2 size card.
Happy Crafting!
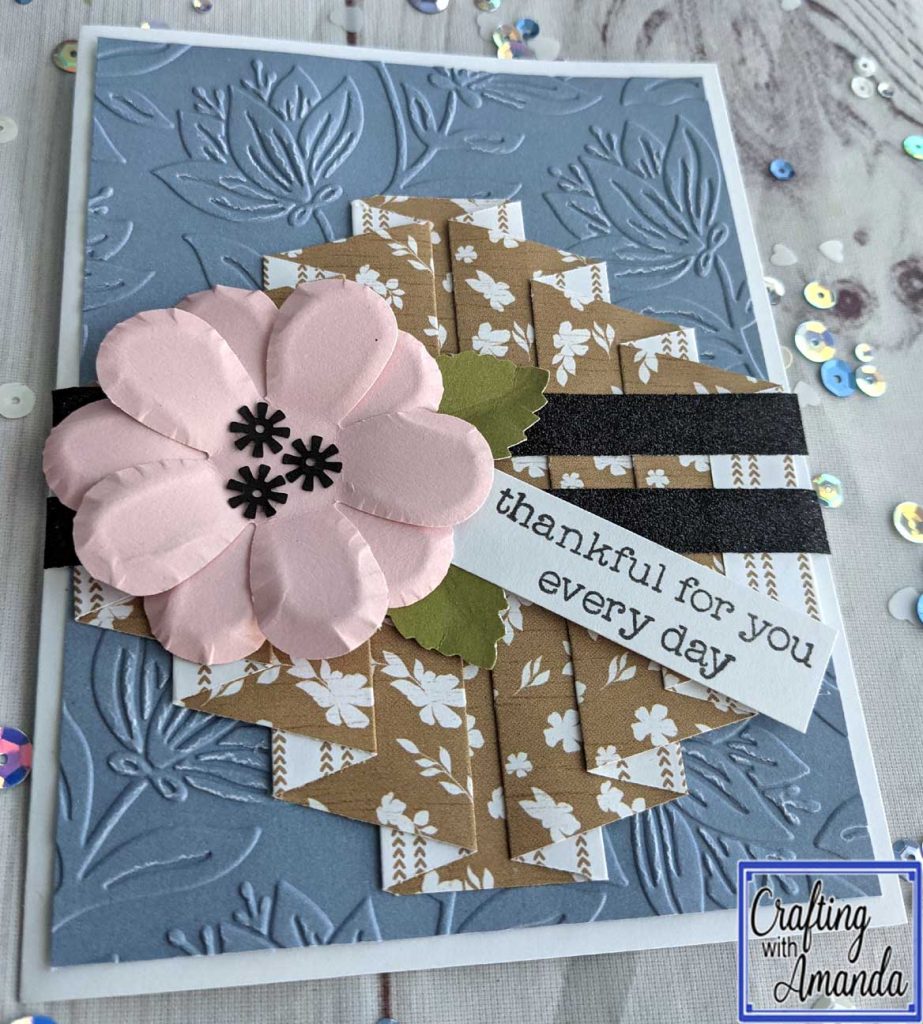
This is our September club project. If you are interested in receiving these monthly pieces kit ($2.50) you can order them here: https://www.craftingwithamanda.com/retired-products-for-sale/
The papers this month come from the CTMH Love Story Toffee collection & the retired CTMH Aurora Collection. (A few people got pieces from the July/Aug Mix-in papers)
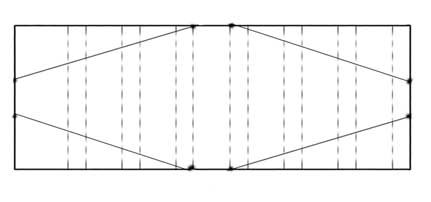
***The first score line (1/2″) is missing from the image below
Happy Crafting!
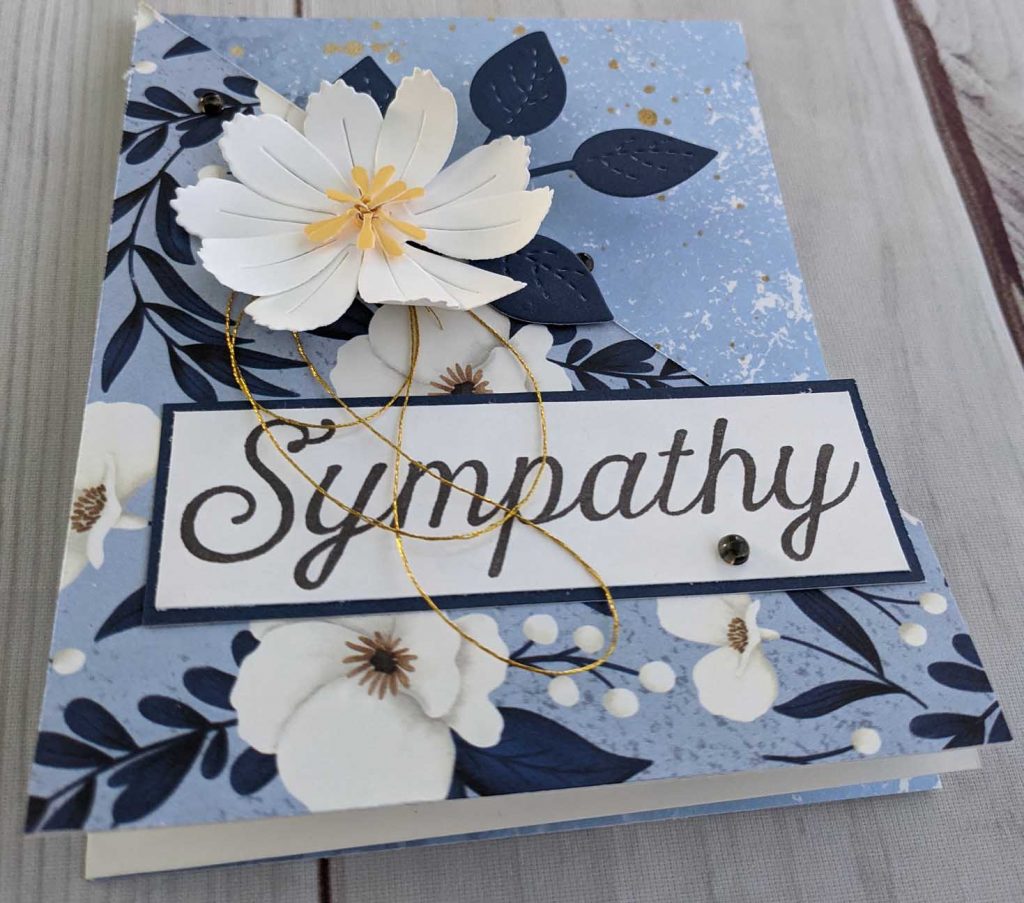
I didn’t like making these cards in the past because it always seemed like a struggle to decorate the front. Then, as I was creating my sample to familiarize myself with the fold I had an ah-ha moment. If I cut a 5 1/2 ” square of the pattern paper, cut it in half, and then trim the corner just like I did with the card, I would have the pieces I needed to decorate the angled parts of this card!
Here is a process video showing you how to create this card (Which I do consider a fun fold now)
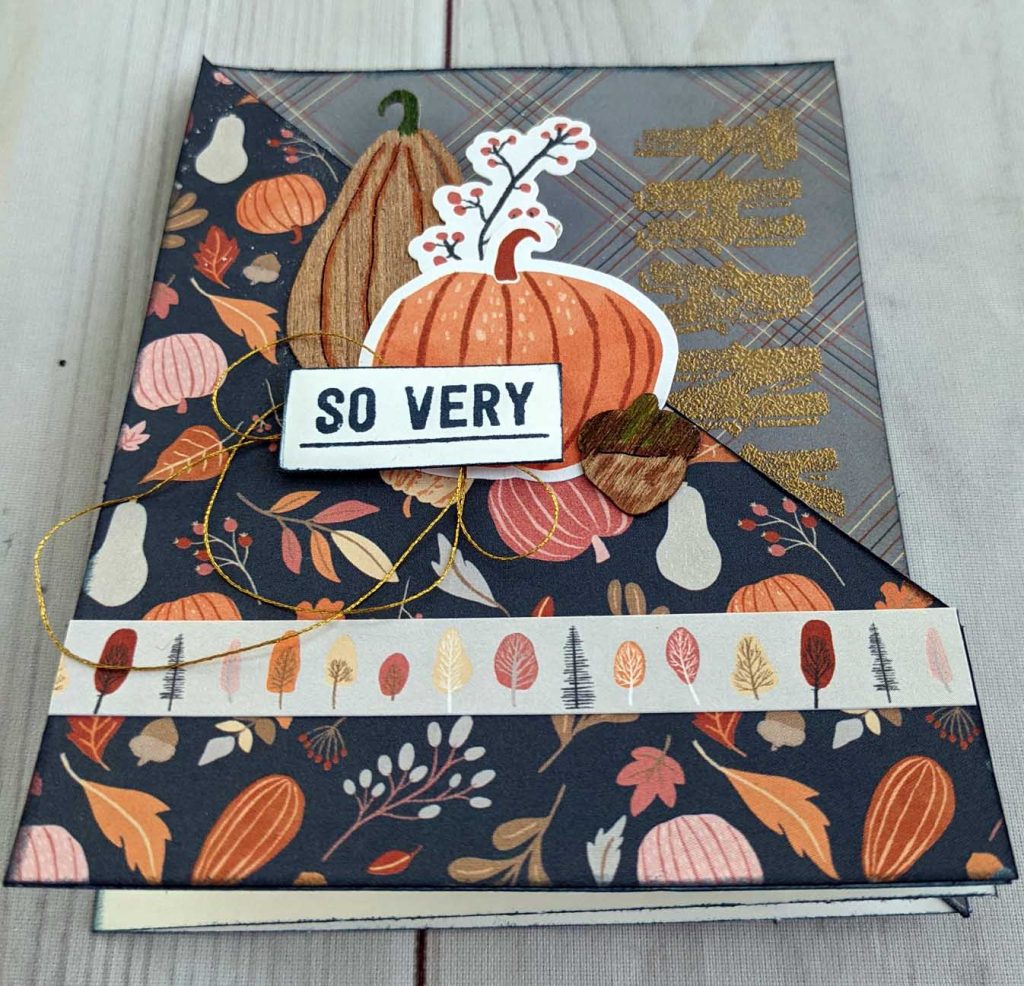
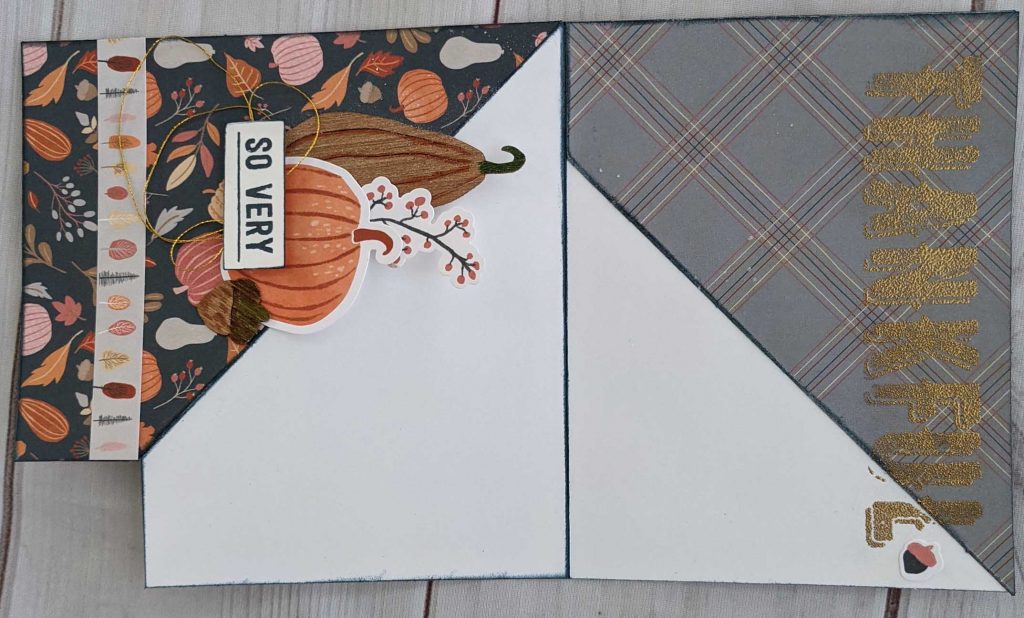
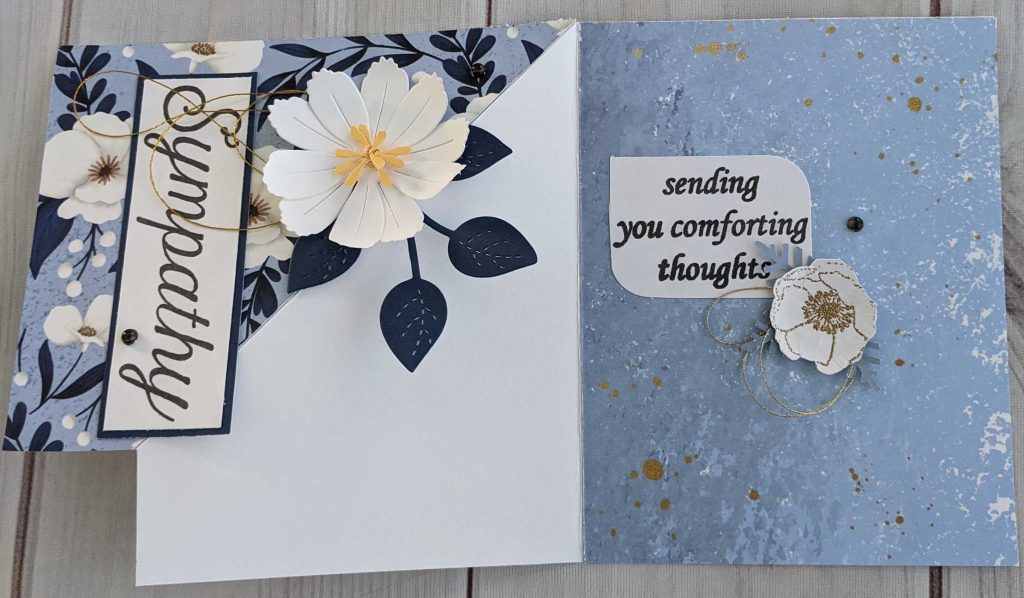
Diagonal Trifold Card
Start with a piece of cardstock 9 ¾” x 5 ½”
Score at 5 ½”
Fold the corner of the 5 ½ x 5 ½ section in half diagonally.
With the corner folded down, trim the card to 4 ¼’ width (you should only be removing a small corner of the folded square and matching the width with the “back” of the card base)
Cut a 5 ¼” x 4” (or smaller if you want) for the “Inside”
If you cut a 5 1/2 ” square and cut it in half, you will have the correct angles for decorating your card frong.
Happy Crafting!
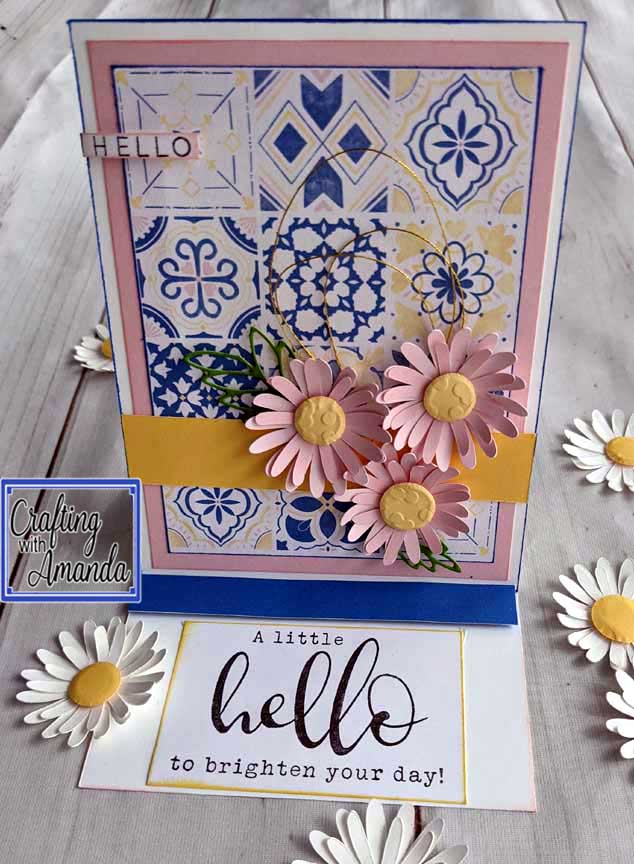
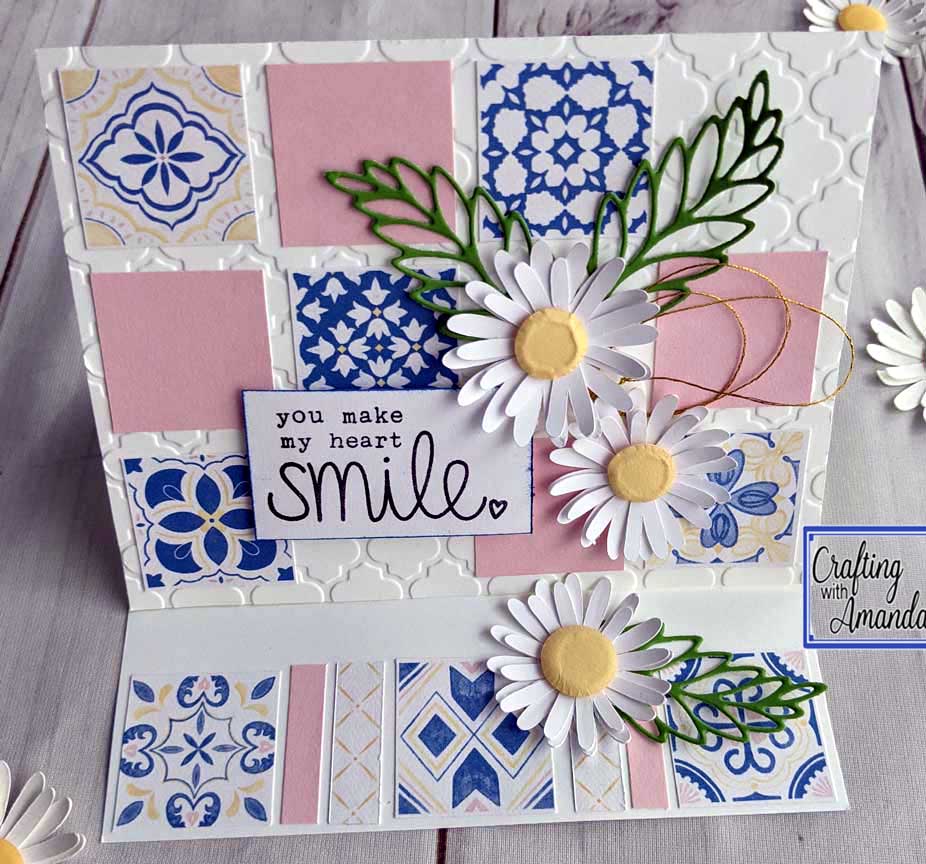
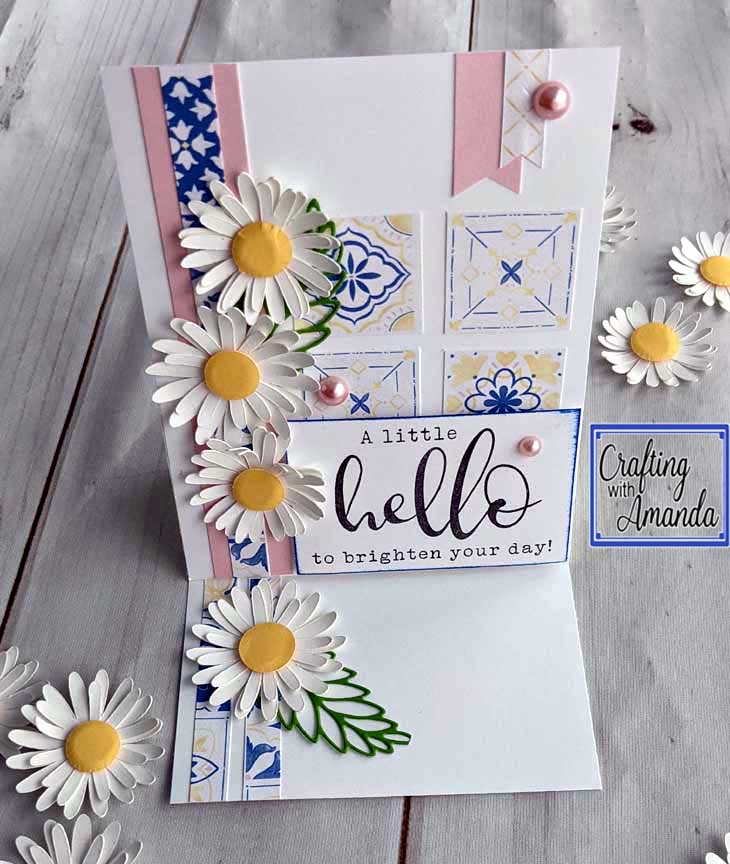
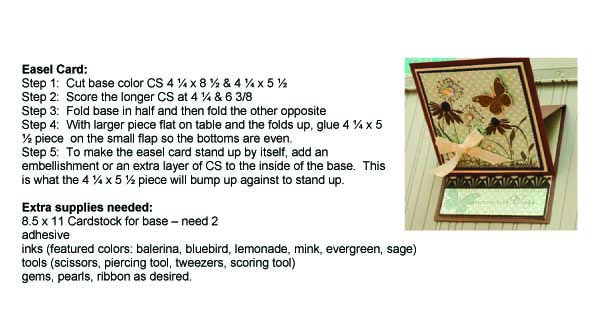
This easel card is so simple. In easy terms that work for ALL card sizes, here you go. For a portrait easel, your base is 4 1/4 x 8 1/2. You fold it in have, then fold one half in half again. The front of your card is 4 1/4 x 5 1/2 and you decorate it like any card front and you attach it to the bottom fold of the front of your folded base.
For the landscape card, your base is 5 1/2 x 8 1/2. Fold it in half, then fold the front in half again. Decorate your card front (4 1/4 x 5 1/2) as you want, then attach the card front to the bottom half of the front of the card.
The only only “trick” is to create some barrier for the card front to rest again when it’s stood up.
Have fun! Happy Crafting