Technique

Flower Punches Modified

Hi Everyone,

I don’t know about you, but I have several punches in my scrapbooking tool box.
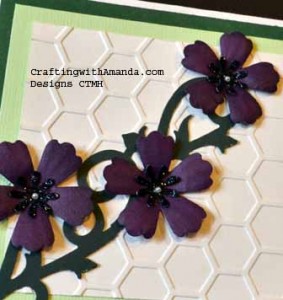
punched flowers

Several have been gifted to me, some have been purchased by me, and others have handed down on permanent loan.  I like doing layered flowers, but the same flower time after time gets old, so I happened upon a happy solution to give my punches a face lift.    The purple flowers started as a simple rounded petal shape.  I then used my pinking shears and cut off the tip of each of the petals to give it this “scalloped” edge.  Really changed the flowers quickly.
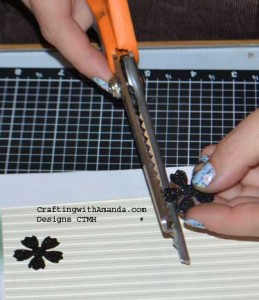
flowerpunchmodIn this photos I am modifying flowers I punched out of our black glitter paper, but it’s the same idea.  I will caution you that you will end up with lots of small bits around your crafting area, and in the case of using sparkle paper, you will have a shinny countenance when you are through.

I will be trying this with several more of my punches and see what new shapes I can create.

Happy Creating!

More Pop-up Cards

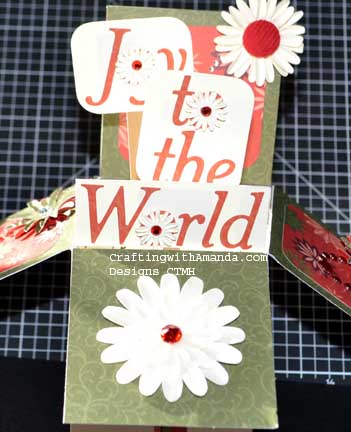
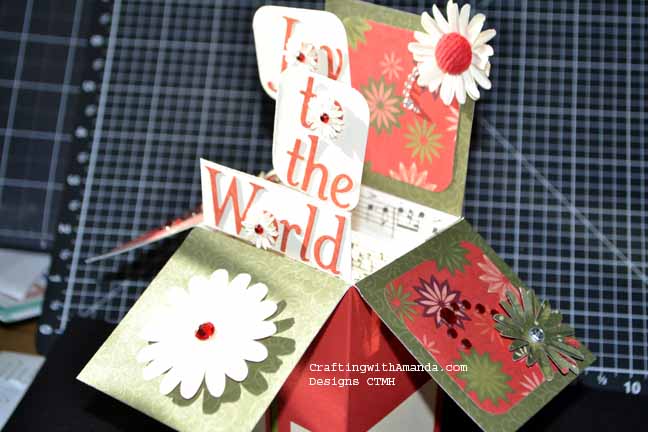
Yay!  I was able to get photos of the two pop-up cards that I did.

I’ve been trying to use up partial paper packs so this card uses Evensong, Traditional Holiday and scraps from a third pack that I can’t remember the name of it.  I will be sending this card to my Mom as a sample for her as I know she will enjoy making some beauty cards for her friends!

Alr-evensongPU1 Alr-evensongPU


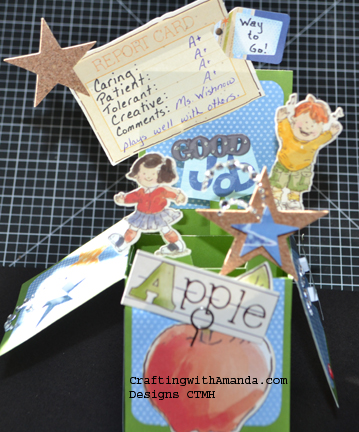
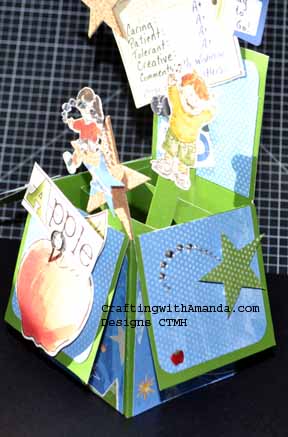
This next card is for my son’s kindergarten teacher.  Again, Using up old paper packs and stickease.  One tip I did want to point out is the use of musical washi tape on the cross bars of the pop up card.  I think it really adds to the card while camouflaging the mechanics in the card.

Alr-schoolPU1 Alr-schoolPU

In my quest for using up (so I can buy more <wink>)  I found some dimensional stars and bling!

Happy Crafting!

Lovin’ the embossing folders

Well,  I should be working on the next scrapbooking workshop, but after I finished Timberline, I decided to play with the newly arrived Embossing folders.    I have to say, I am loving them!

I don’t know about you, but I have a few (hundred) old paper packs laying around that have been opened and most of the papers used, but still too much left to allow me to discard them.  So, I grabbed one,  and decided I was going to use as much of the paper that was in it that I could.

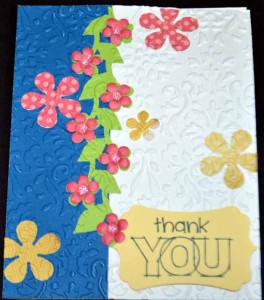
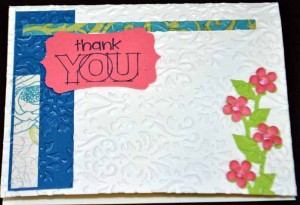
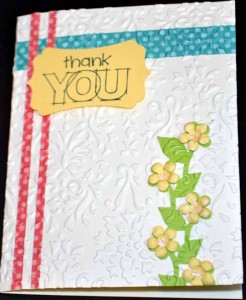
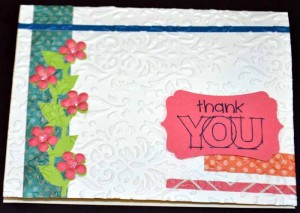
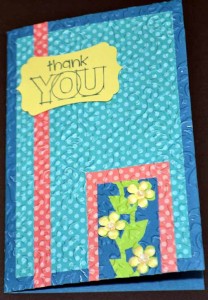
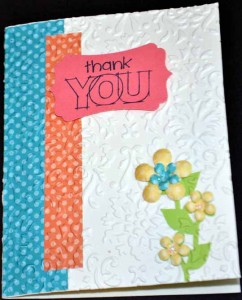
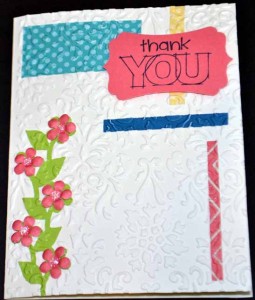
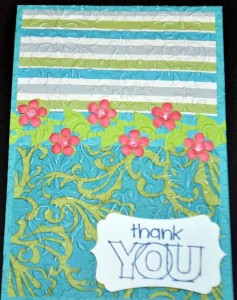
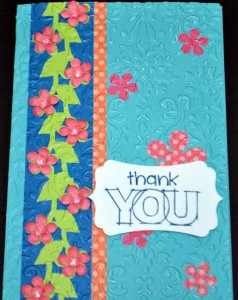
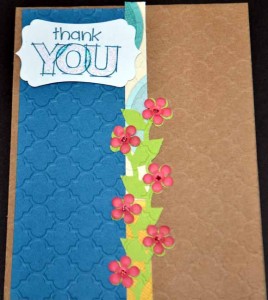
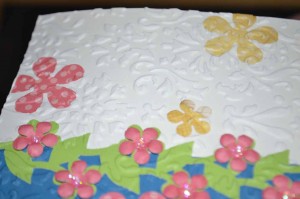
embeddedembossings1I grabbed a couple punches, (I didn’t want to get my cricut out as my craft table is still half covered with other projects, and I know that would never happen at your house!)  my ebosser and the new embossing folders.  I also snagged my card stock scraps bag and went to town.   I started by simply punching some flowers and vines and layered them on the card bases.  I was just playing, so I dry fit several cards then glued down my designs and ran them through the ebosser.  After they were embossed, I added the sentiment and some of my dry embossed flowers.  ( how to dry emboss )

Would love to see your project if this inspires you!

embeddedembossings10 embeddedembossings9 embeddedembossings8 embeddedembossings7 embeddedembossings6 embeddedembossings5 embeddedembossings4 embeddedembossings3 embeddedembossings2


Hopefully you can see more of the details  🙂   Also, I used up EVERY last piece of paper from my Dotty for You paper.   How cool is that?!

embeddedembossingdetails


Happy Crafting!

Valentine Treats (for my son’s Class)

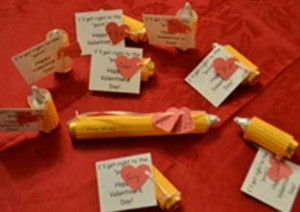
Well, I we are still playing catch-up here, but slowly step by step we are making progress. So, I purchased some individual rolo candies and some chocolate kisses. I stacked three rolos and topped it off with one kiss. I used glue dots to help hold the stack together. I then took a 1 7/8 x 3 1/2 piece of goldrush card stock and ran it through a crimper. I wrapped the candy stack (using adhesive runner on three sides of the goldrush card stock) and then added our message and punched heart with the name of the recipient on a ribbon. Whipped these together in about 1 hour and then made a few more for a spa day I had at the house yesterday. Everyone loved them. The tag says “I’ll get right to the ‘point.’ Happy Valentine’s Day!”
I don’t belive the pre-k kids understood, but I’m sure they loved the candy.
Valentine PencilsSorry for the blurry photo.  It was the best one that I got before I packaged them up and sent them to school!  (When I looked at it on the camera I thought it was fine, but perhaps my eyes were too blurry!)

Happy Crafting!


Artbooking: Cross Cartridge Collaboration Video

Well,  I finished a great 25 page album for our local library silent auction.  I used the retired Spellbound papers, as our school’s colors are Orange & Black.  It’s has taken a great deal of my time, and I want to do it justice when I talk about the different details on this blog.  So, while I am editing the photos and getting them ready for you to see, I thought I would give you another installation of the Close To My Heart’s Artbooking series.   I used this cartridge quiet a bit in the library auction item, so it ties all together!

Happy Crafting!