Technique

Using up Scraps Day 3

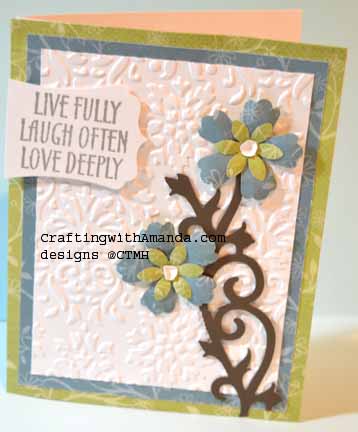
I don’t know about you, but in my life I am lucky to get a few minutes of uninterrupted craft time.  It’s all good.  The kids will be grown and out of the house before I can blink, but at times I wouldn’t mind finding a cubby where I can hide and still be able to craft!  So,  here are some more cards following the same embedded embossing technique that I’ve been doing the last few days.  Enjoy.emporiumscrapcard7
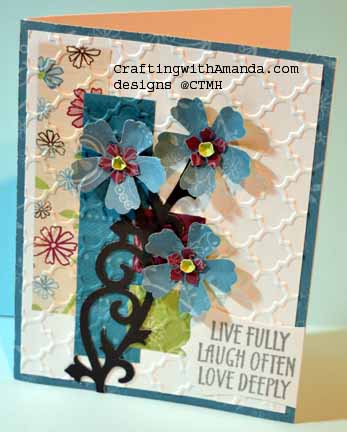
I was enjoying seeing how many layers I could make to try and use up the paper faster.  It seems to regenerate every time I get the bag out the next time.emporiumscrapcard9
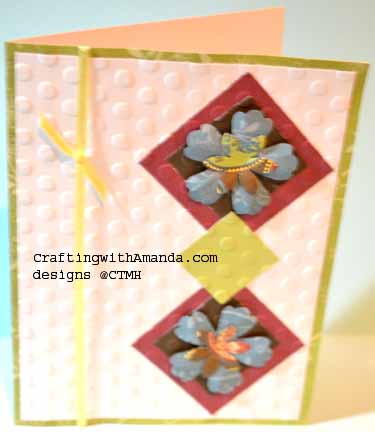
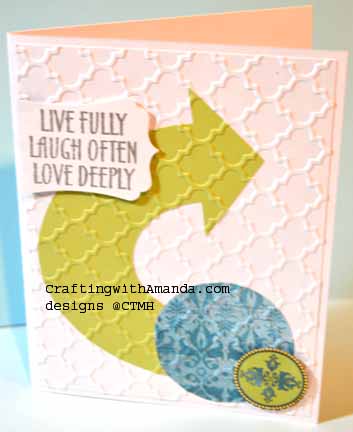
I even cut up some of the bulk paper from this Emporium pack (old CTMH paper) to use as mats for the card bases.  I really do have a lot of this paper left!emporiumscrapcard6
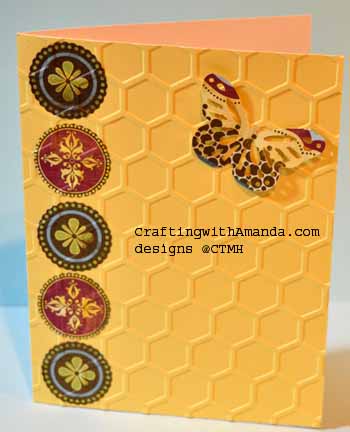
I’m loving the honey comb embossing folder from CTMH.  (Z1995)


Happy Crafting!


Using up scraps – Cards day 2

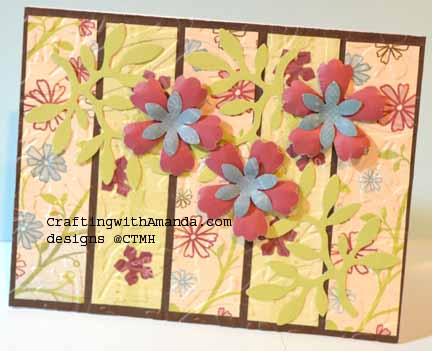
Here are some more cards I created from the old CTMH Emporium paper pack.  I swear I didn’t even make a dent in the number of scraps that are still in the bag.  (I even double matted some too!)emporiumscrapcard8

I did more embedded embossing, which is currently a favorite technique.emporiumscrapcard10emporiumscrapcard13
Happy Crafting!

Embedded Embossing – Scrap Cards

I’ve been encouraging my club gals to use up their old paper packs instead of just pushing them to the back of the shelf.  So, in trying to give them inspiration, I will have a few blog posts showing my use of the CTMH Emporium paper pack (and many pages of bulk paper for that kit).  emporiumscrapcard14

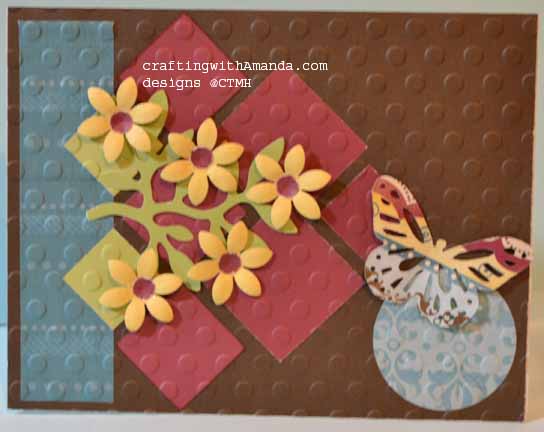
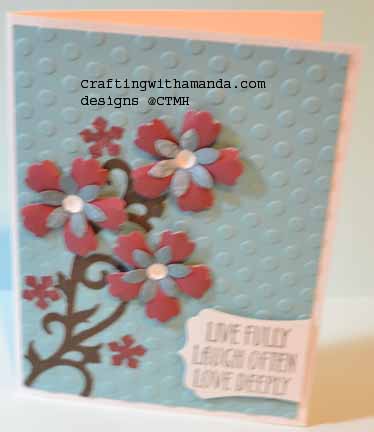
The squares, strips of paper and a few butterflies were found in the kit bag, so I only had to punch the green branch and create the buttercup flowers.  I did not add any cardstock, everything (except the card bases) came out of the Emporium paper kit bag.
I glued the blue B&T paper (background and texture) and the vineyard berry CS (Card Stock)  to the chocolate CS base.  After the glue dried I used the Dot Embossing Folder (Z1924)  and embossed the card base.  I pop dotted the butterfly and glued the branch and flowers on top of the embedded embossed base.  Presto – finished card.emporiumscrapcard12

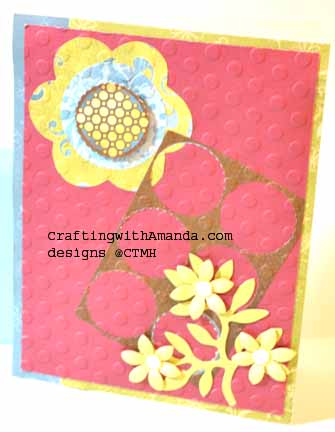
Followed the same basic ideas for this card.  I had punched the circles out of the brown B&T papers and thought the negative would make a nice background .emporiumscrapcard3

Here’s the last card for today.  I am really enjoying using up “old” paper packs.  Some of the kits seem to have a never ending supply of scraps.

Happy Crafting!


He loves me!

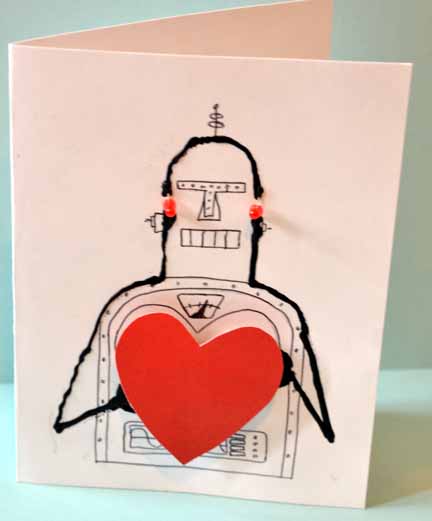
For Valentine’s Day, my husband made a homemade card. This was great for many reasons.  One, he knew where to find the supplies he needed.  Two, he took the time to plan and execute that plan.  And three I have a one of a kind valentine to keep for always.

He can’t remember where he saw this project.  I’m guessing Scientific America or something.  Supplies he used:

2 button cell batteries (one for each LED)
2 LEDs
Tube of Electric Paint (conductive)
black pen
Red cardstock
Card base

He drew the robot on the card, then used the conductive paint to connect the batteries (hidden under the heart) to the LED eyes.  He told me, one battery was face up and the other face down so they would be “in series.”  He also put a line of conductive paint on the back of the heart so that when you pushed the heart down it would complete the “circuit.”   It’s a bit technical to me.

Hubby's valentine Craftingwithamanda.com

Hubby’s valentine
Craftingwithamanda.com

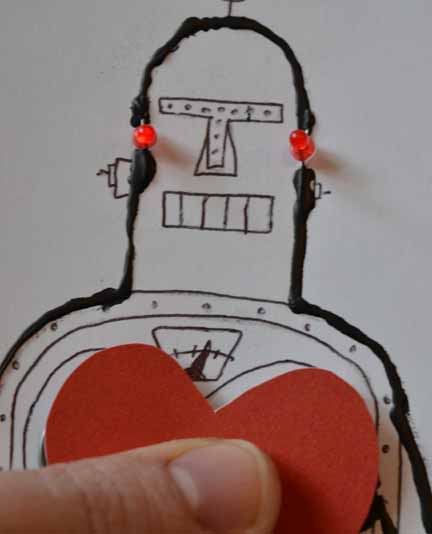
Here you can see me pushing the heart with my thumb, and the eyes light up!  In side it says “You make my servos sing.”

valentine lit

Just so you know, because I have looked it up for you, a servo is a device used to provide control of a desired operation through the use of feedback.

Hope to incorporate some LEDs into my future projects.  Hubby and I are already discussing how many lights we can get to work off of one battery, or if we use multiple batteries if they need to be in series or parallel.   It all has to do with current and voltage, and I’m glad he knows all about those!

Happy Crafting!

All New Rolling Tote

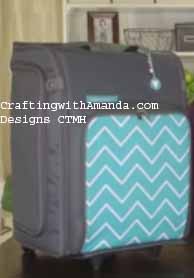
It’s here, it’s here!  The new Close to My Heart Rolling Tote has arrived

CTMH Rolling Tote Craftingwithamanda.ctmh.com

If you hurry it could be under your tree for Christmas!  CTMH has put a lot of thought into how this will incorporate with our organizing totes as well as how to keep our papers flat and out of harms way.

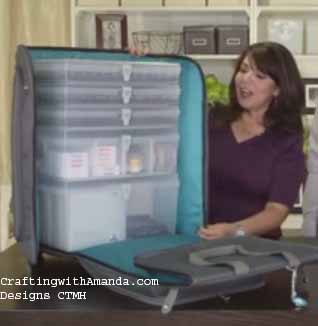
rolling tote center

Here it is shown with one large, one medium and three small organizing totes.  How great is that?

I can see me with one large organizer of stamps, another large organizer with embellishments, my medium with my re-inkers and pearl paint for spritzing the exact right color and my small organizers so I don’t have to be without my pigment inks.  Yay!

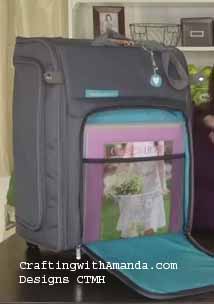
rolling tote front The front pocket is HUGE.  Look at all the room for paper, card stock, Annual inspirations or Wishes book.

If you haven’t already seen the video, it’s on youtube.  Just search for CTMH Rolling Tote.   The new Shoulder tote is shown at the end of the video too.  I might actually be able to look like I have my act together and be color coordinated!

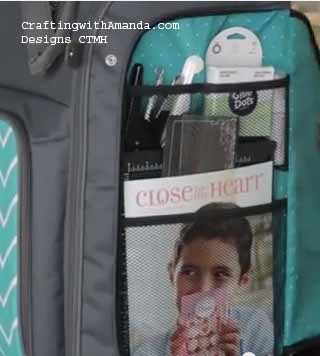
rolling tote pocket 1


Did you see that both side pockets are large as well.  It has shows it with the score board (which by the way is amazing) and another idea book.  I think I could take both my Make it from the Heart books, my cutter, score board and still have room for more.

If you’re like me and ready to order yours today, visit my website!

Happy Crafting.