Pattern

Heartstrings Card Workshop


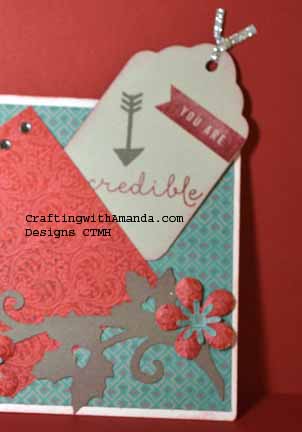
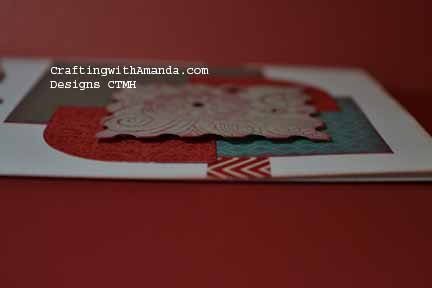
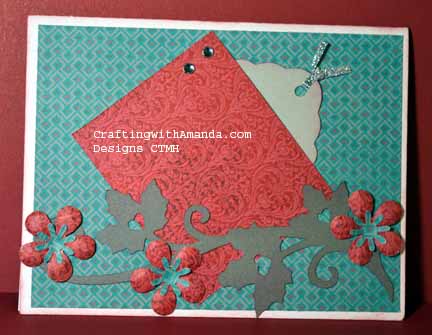
We typically do the scrapbook workshops, but we like to mix it up with a card one now and then.  None of my gals needed the love themed cards in the Heartstrings workshop CTMH created, so I challenged myself to create one they would enjoy.   These ladies are advanced crafters, and very particular on their cards.  I have learned to create “my” workshop and not be upset when they make changes and do them better!   This time I cut all the pieces for them.  (I haven’t done this in years as I’ve taught them how to use their cutters and follow instruction booklets)   At first there was grumbling that the workshop would only be a short one, and we do so enjoy our crafting time.    About half the pieces were cut on the cricut using Art Philosophy  and Artbooking.  The rest where manually cut.  I chose three patterns from Wishes,  page 53, 89, & 97.  I then cut five of each card.  Here is the first card.
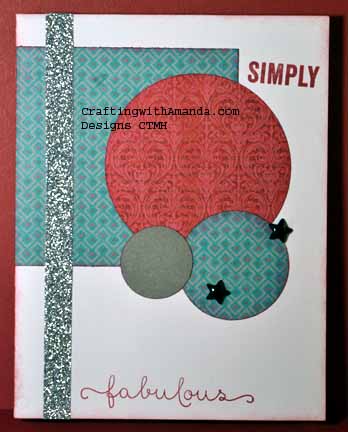
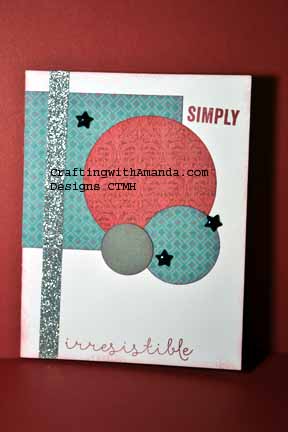
heartstrings1I had challenged my club group that if they purchased so many of You’re the Bomb stamp set, I would do a drawing for a free paper pack.  We are currently short of our numbers, so I thought they needed some inspiration of how to use it.    I was thinking that by keeping the sentiment open, the cards could be thank you, birthday, or congratulation cards.  Here’s another variation of the first card.heartstrings1a
The other two cards followed the same philosophy.  I will say the ladies took the full workshop time to complete the cards, and were actually happy to not have scraps to worry about using up later.  heartstrings2 heartstrings2tagI have really enjoyed adding tags to cards.  Some I create as a bookmark for the recipient.
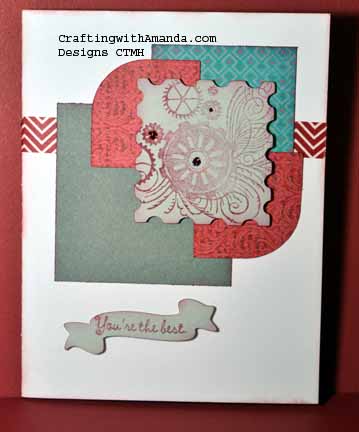
heartstrings3 heartstrings3poppeStill using up some my glitz, and of course love to pop dot!   We also used a hostess reward stamp on this card as most of my workshop gals are past hostesses and if they liked the stamp set already have it!

As I have all the cuts on my cricut (saved files), I think I will do these cards again with a different paper pack.  Look for a post highlighting another great CTMH paper.

Happy Crafting!


Sketch Challenge

sketch challenge


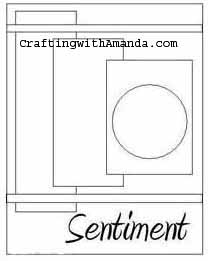
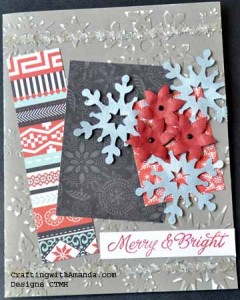
This is the sketch that I gave all the crafters at the Otsego Club Encore Weekend.  They were instructed to use it as inspiration  to create a card.  Other than that, there were no other guidelines.   Unfortunately I had camera/lighting issues and was unable to take photos of any of the cards that were entered, but as I had done a sample for people to see, I was able to retake it when I got home.  So, here is my take on the sketch.

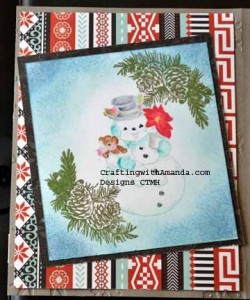
sketch challenge frontThe snowflakes & poinsettias were left over from last year’s Christmas card.  The paper is Snowhaven   I used a snowflake embossing folder on my card base front and tilted the papers from the sketch.

sketch challenge Inleft

On the inside left I matted the snowman from Christmas Post and framed it with the evergreen

sketch challenge Inright

boughs from the  Yuletide Workshop on the Go.  I’m not sure how clear the photos show it, but I did rock and roll the boughs in New England Ivy & Cocoa for the pine cones.

The edges of the white cardstock were sponged in Glacier, Indian Corn Blue and Outdoor Denim.

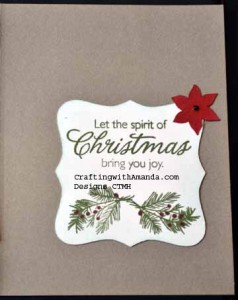
On the right side, I kept it simpler with two pine boughs, colored the berries with our Shinhan Carmine marker.  To tie into the front of the card, I added another poinsettia.

I’m glad that I made this sample as it allowed some of the other crafters to think outside the lines and we had a tough time choosing the winner!

The winner received a magnabilities necklace and as she had already been to my booth and made purchases as Christmas gifts, she was happy to pick another necklace for herself.

Happy Crafting!


Instructions to find Pop-up Cards

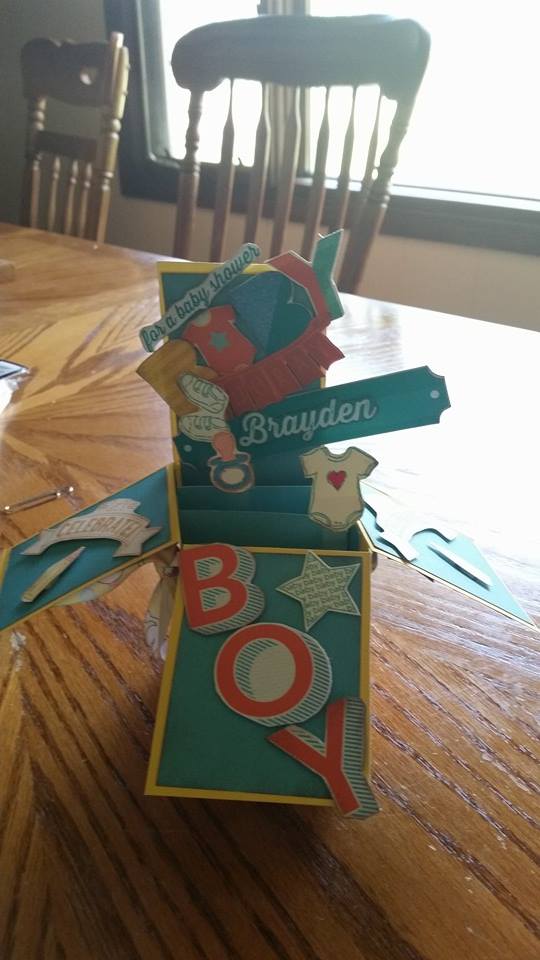
Erica Popup Baby

It was brought to my attention that I could post the instructions for these cards.  We used the Card Makers Magazine (Winter 2014) instructions and I’m sure I can’t post those here.  Copyright laws and all.  So, I found another set of instructions at Split Coast Stampers.

Erica Popup Baby2

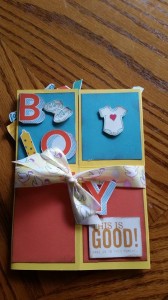
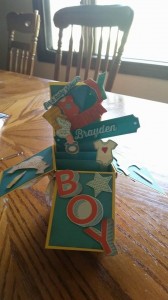
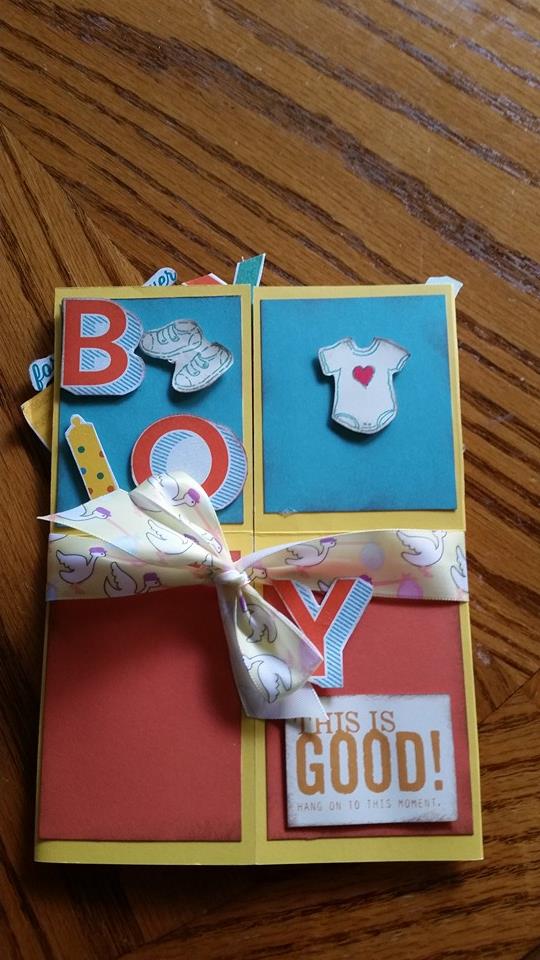
This card was created by Erica and she took a baby shower invitation she received, and taking the pieces about carefully, used the paper and embellishments from the invitation to create this card.  I thought is was clever! Here is the card opened.

Can you tell I’m loving these pop up cards!

I sponsored a card sketch challenge this weekend, so I’ll post the sketch and my take on it soon!  (It’s still packed.)

Happy Crafting.


Pop Up Cards

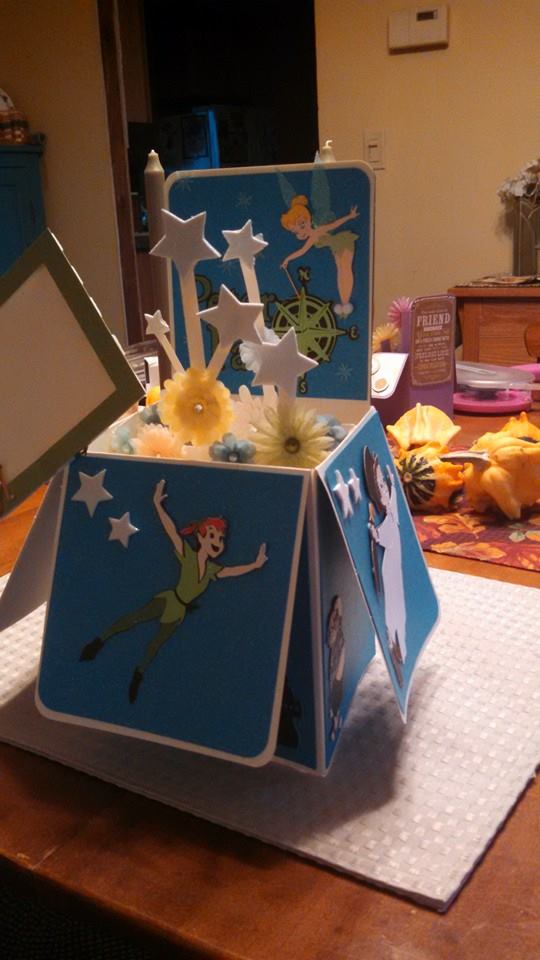
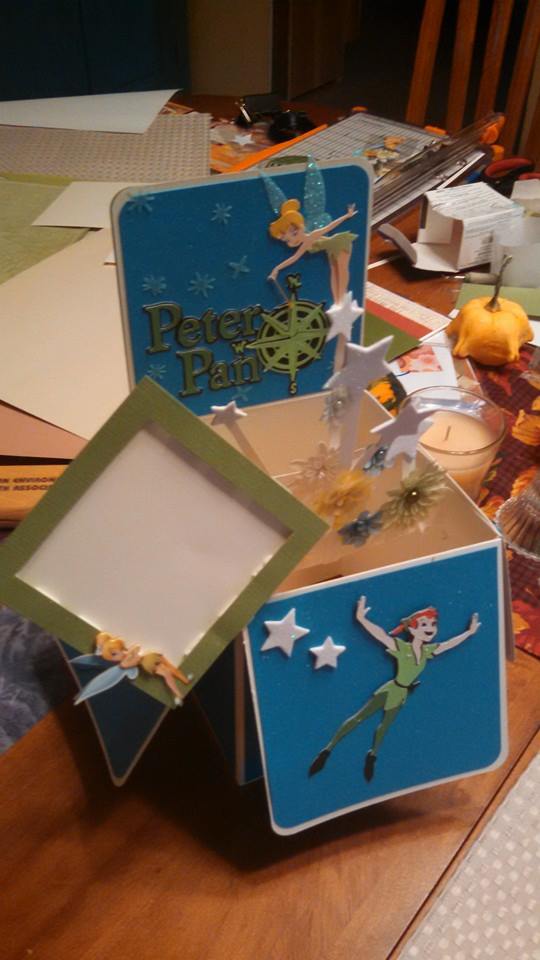
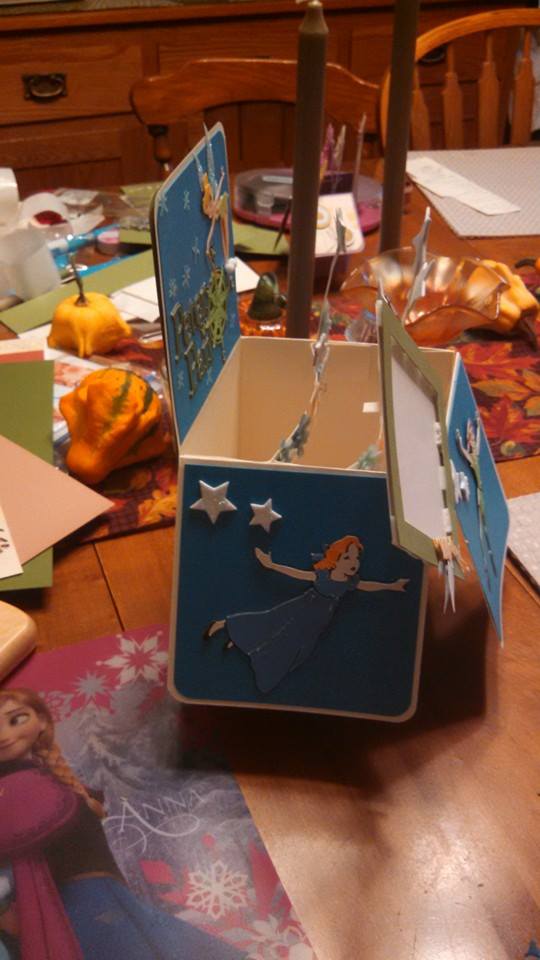
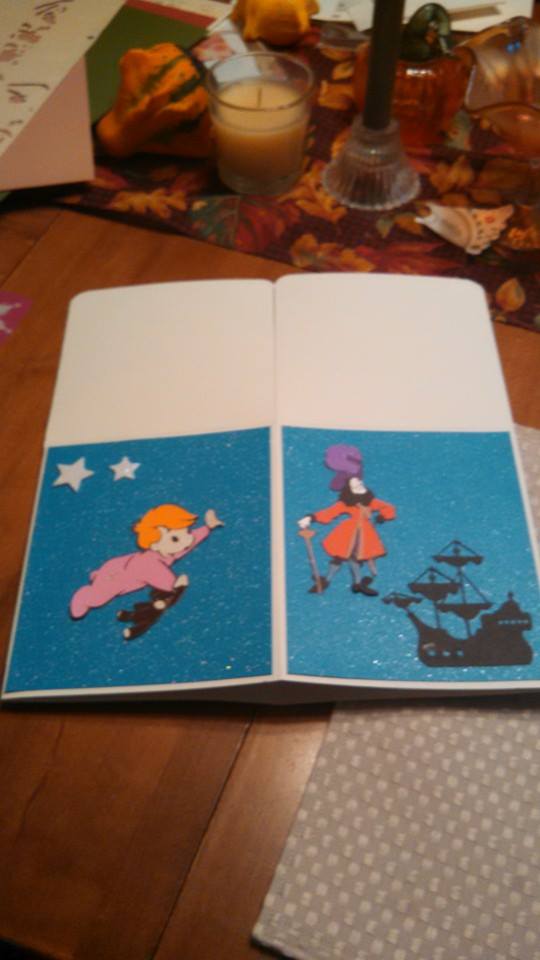
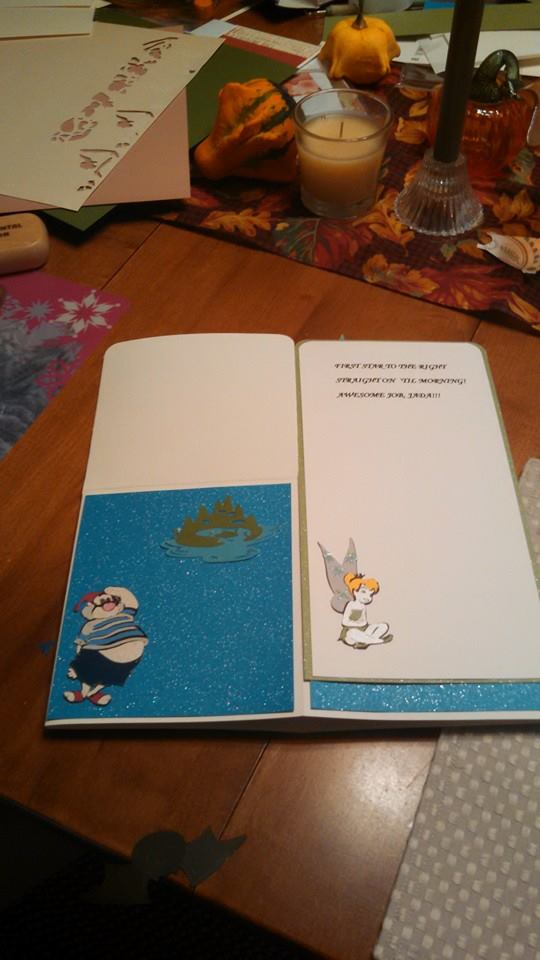
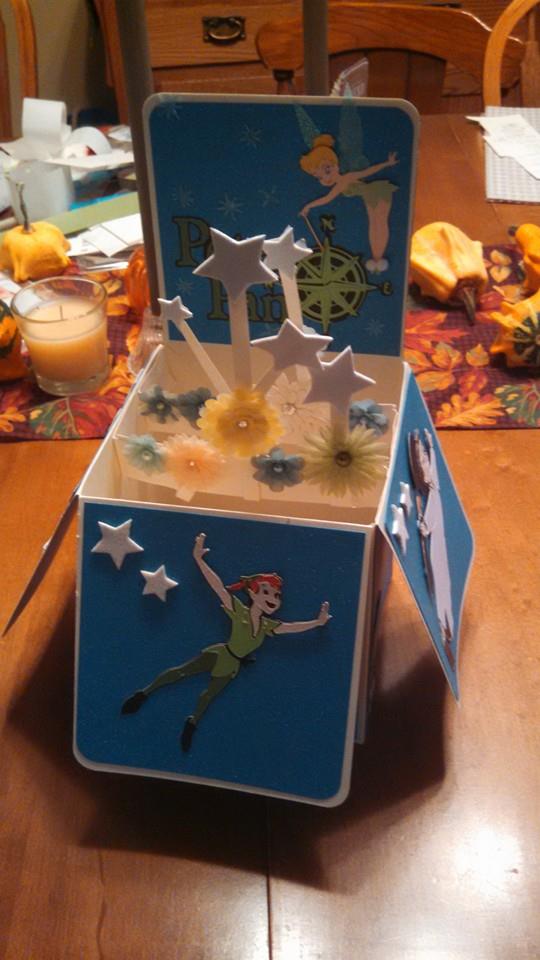
At our Crafting Retreat a couple weekends ago, Erica taught us how to create a pop-up card.  I don’t have photos of the two I made yet, but here are some that other crazy crafters created.  (We used instructions from CardMagazine Winter 2014 with a few tips from Erica.)

Pat's PeterPan PU5 Pat's PeterPan PU4 Pat's PeterPan PU3 Pat's PeterPan PU2 Pat's PeterPan PU1 Pat's PeterPan PU Erica Popup Baby2 Erica Popup Baby Erica Popup2 Erica PopupI’ll get photos of my two and get them posted as well.

Happy Crafting Everyone.


Wrapping up Library Auction Pages

Well,  I think this will be the last post of library auction pages.  When I started this project I thought it would be a great fun, which it was, but I also was looking forward to some easy blog posts showing off my work.  That last part didn’t work out so well.   If you want to see all the pages in one spot, go to http://www.craftingwithamanda.com/rudyard-2/

TREELeft TREERight


The classic school themed pages aren’t there, but all the black & Orange pages are there.

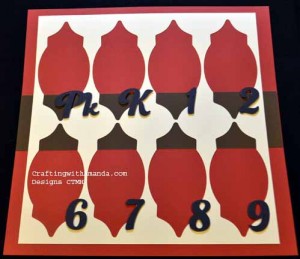
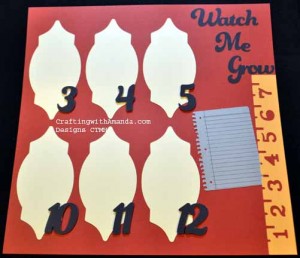
Here is a layout that was created from the negative space when I cut the shape for “Shining Moments.”  The opening is the perfect size for a wallet photo.  This is a great page for a quick glance back over all the years.

SchSPLeft SchSPRight

I will be working on finishing the Scholastic paper layouts and the new workshops on the go.  I will also try and take photos and post the club night project.  (In case you can’t come and play with us!)

Happy Crafting.