Workshop On the Go

CWH All cards finished

Less than $1.85 per card including tax and shipping for the yearly subscription is an a amazing deal. That doesn’t include any bonus cards or the stamp set, block & ink! Here are cards 3-12 plus the 3 bonus cards I made with a brief description of what I did to create the cards.
Card #3

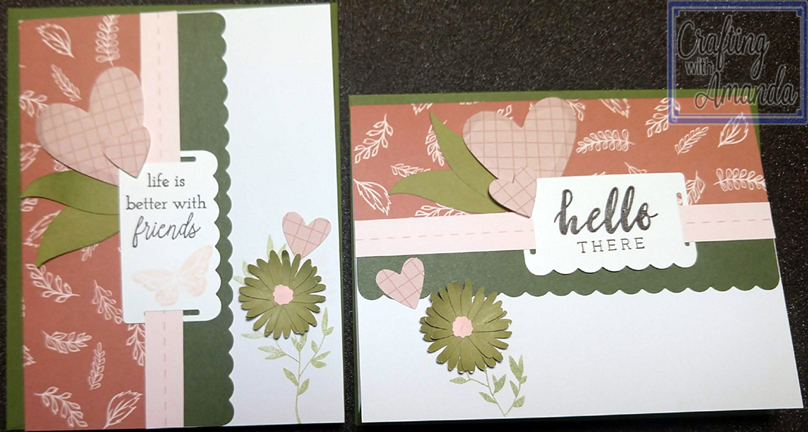
All I did on card #3 was stylus emboss the big heart, one of the little hearts & curved the petals on the green flower. I used foam tape under the hearts above the sentiment. I also stamped the leaves under the green flower head.
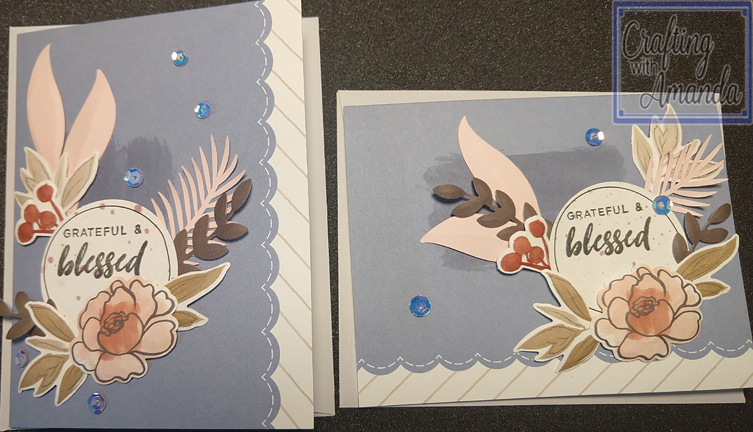
Card #4

Card Number four was kicked up a notch with a couple of pink leaves and a palm branch. Splattered the sentiment base with the pink shimmer brush and added some sequence along with stylus embossing the foliage & flower.
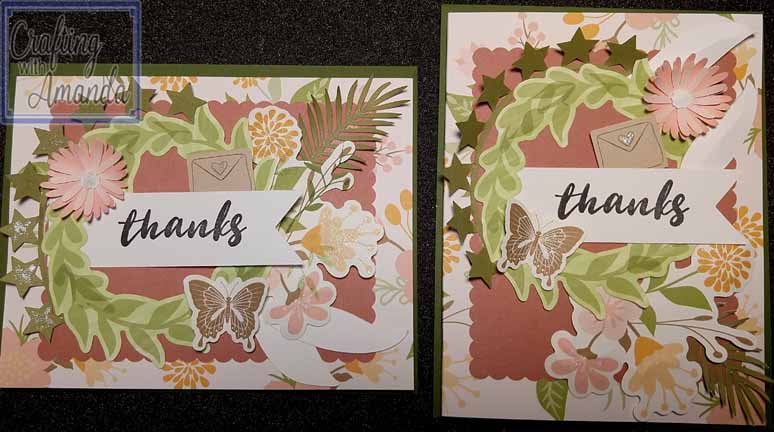
Card #5

I added some fern color stars from the circles of stars along with palm brand and a peach flower head to card #5. Glitzed it up a bit with the clear shimmer brush too.
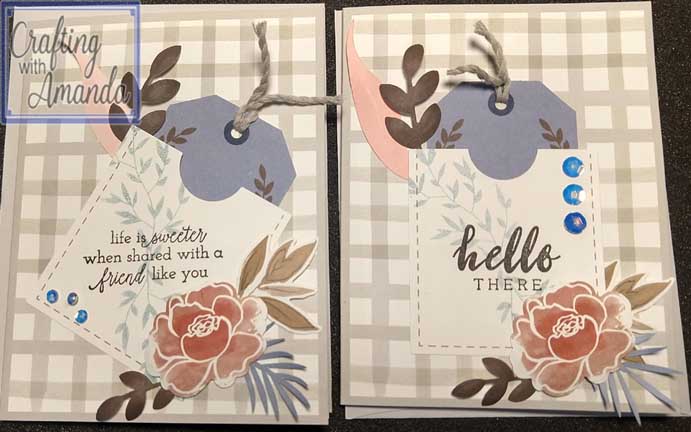
Card #6

Adding some second generation stamped leaves and a few of the cricut cuts was all Card #6 needed.
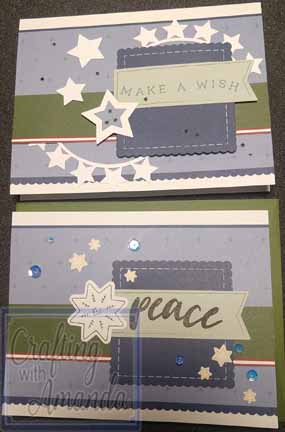
Card #7

I gave all the pre-cut die images from one card to the other card, and added all stars from the cricut cuts. Sprinkle in a few sequences and cards #7 are done.
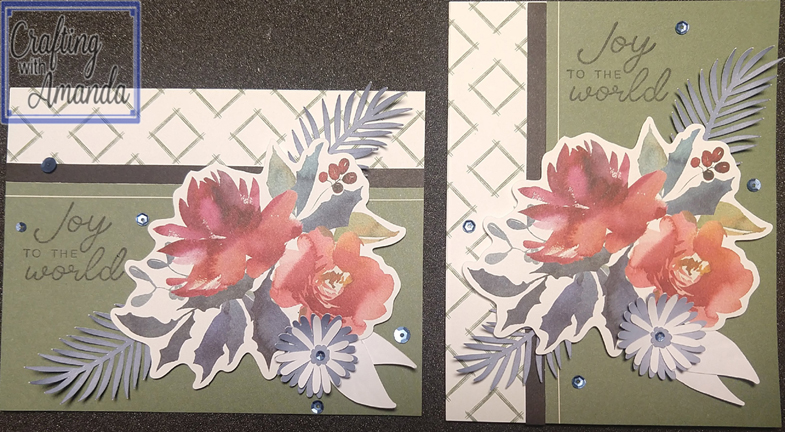
Card #8

A couple of blue belle palm branches and a blue belle and white flower head joined a folded in half white leaf to complete cards #8. (Sprinkled with a few sequences too.)
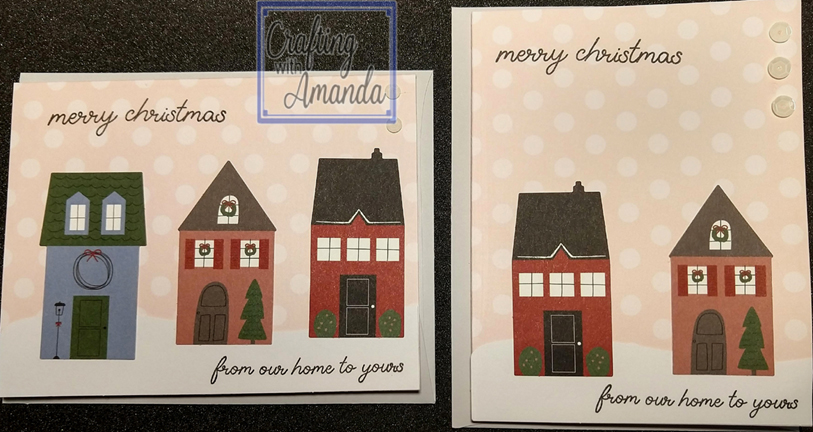
Card #9

In the chaos of moving from room to room, one of the blue houses was lost for Card #9. Add a few sequences and rotate the 2nd card and it’s done.
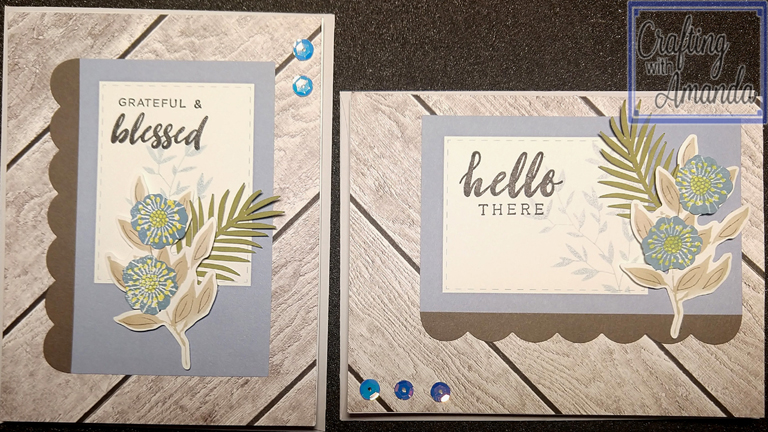
Card #10

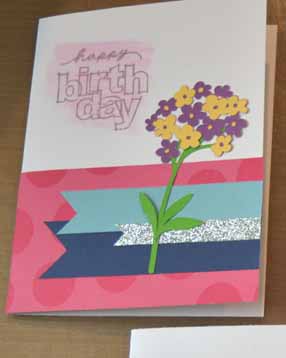
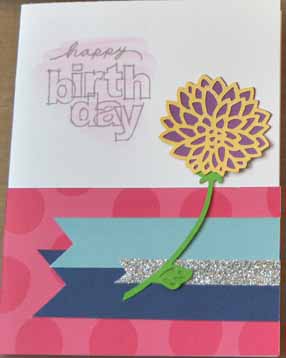
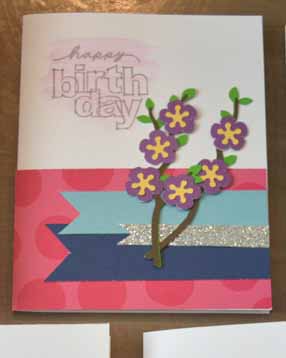
I took both of the pre-printed card bases and cut them in half. I added 2 white card bases and added the front panel on them. The flowers on the branch are not pre-printed, so I found a flower stamp and used the center to turn the blank die-cuts into flowers. (The other 2 panels will be used in the bonus cards later.)
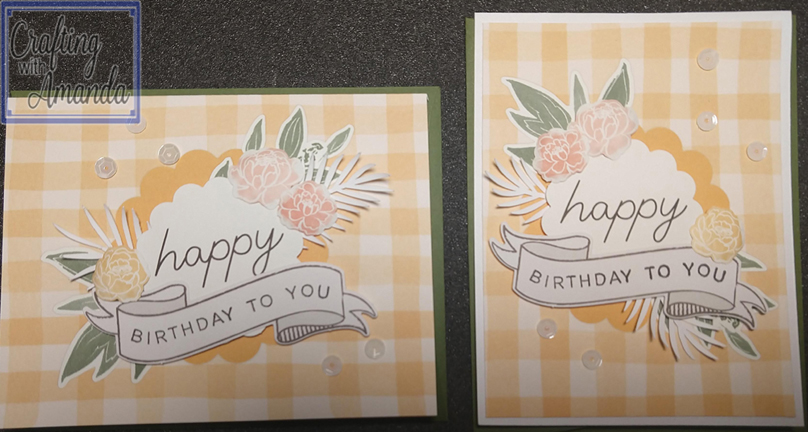
Card #11

Card #11 was straight foward. Some stylus embossing on the flowers and palm branch, add some foam tape for dimension and sprinkle with a few sequences.
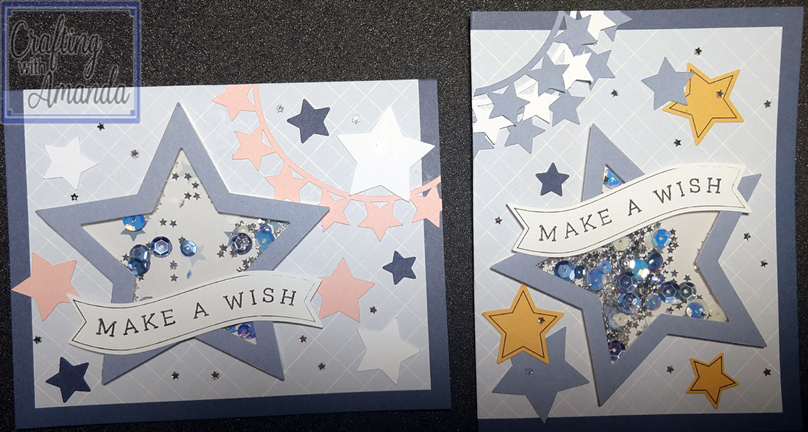
Card #12

I put all the yellow stars with one card base and added pink & white to the other card base. Sprinkle a few tiny silver stars and both cards should be well received.
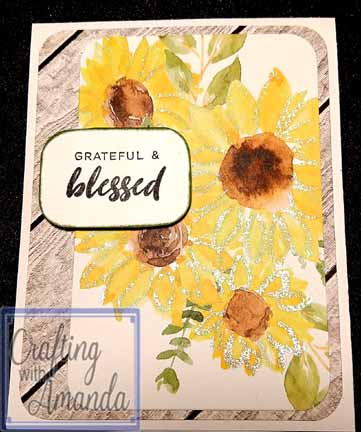
Bonus Card #1

Rounding the corners from one of the wood card panels cut from Card #10, I then cut the sunflowers off of the notecard from Jeannette Lynton and added a foam taped sentiment. You can see a few of the petals were outlined with the clear shimmer brush.
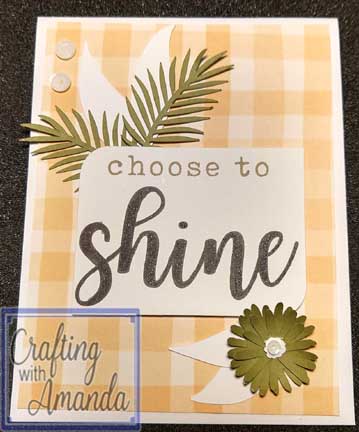
Bonus Card #2

The sentiment also came from the notecard from Jeannette Lynton and so I added some of the left over palm branches and white leaves along with a great flower head for fun.
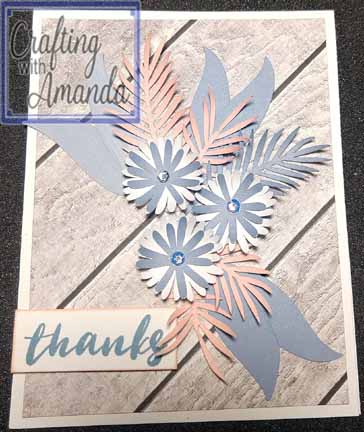
Bonus Card #3

This last card I took the last woodgrain panel from card #10 and made a cluster of flowers and leaves that were left over from the set of cricut images I added to this subscription kit.

If you didn’t see the Cricut Image set in the previous post. Here it is. All the images come from the Flower Market cartridge and I used 4 half sheets of 12×12 in blue belle, peach, fern & white daisy.

Happy Crafting!

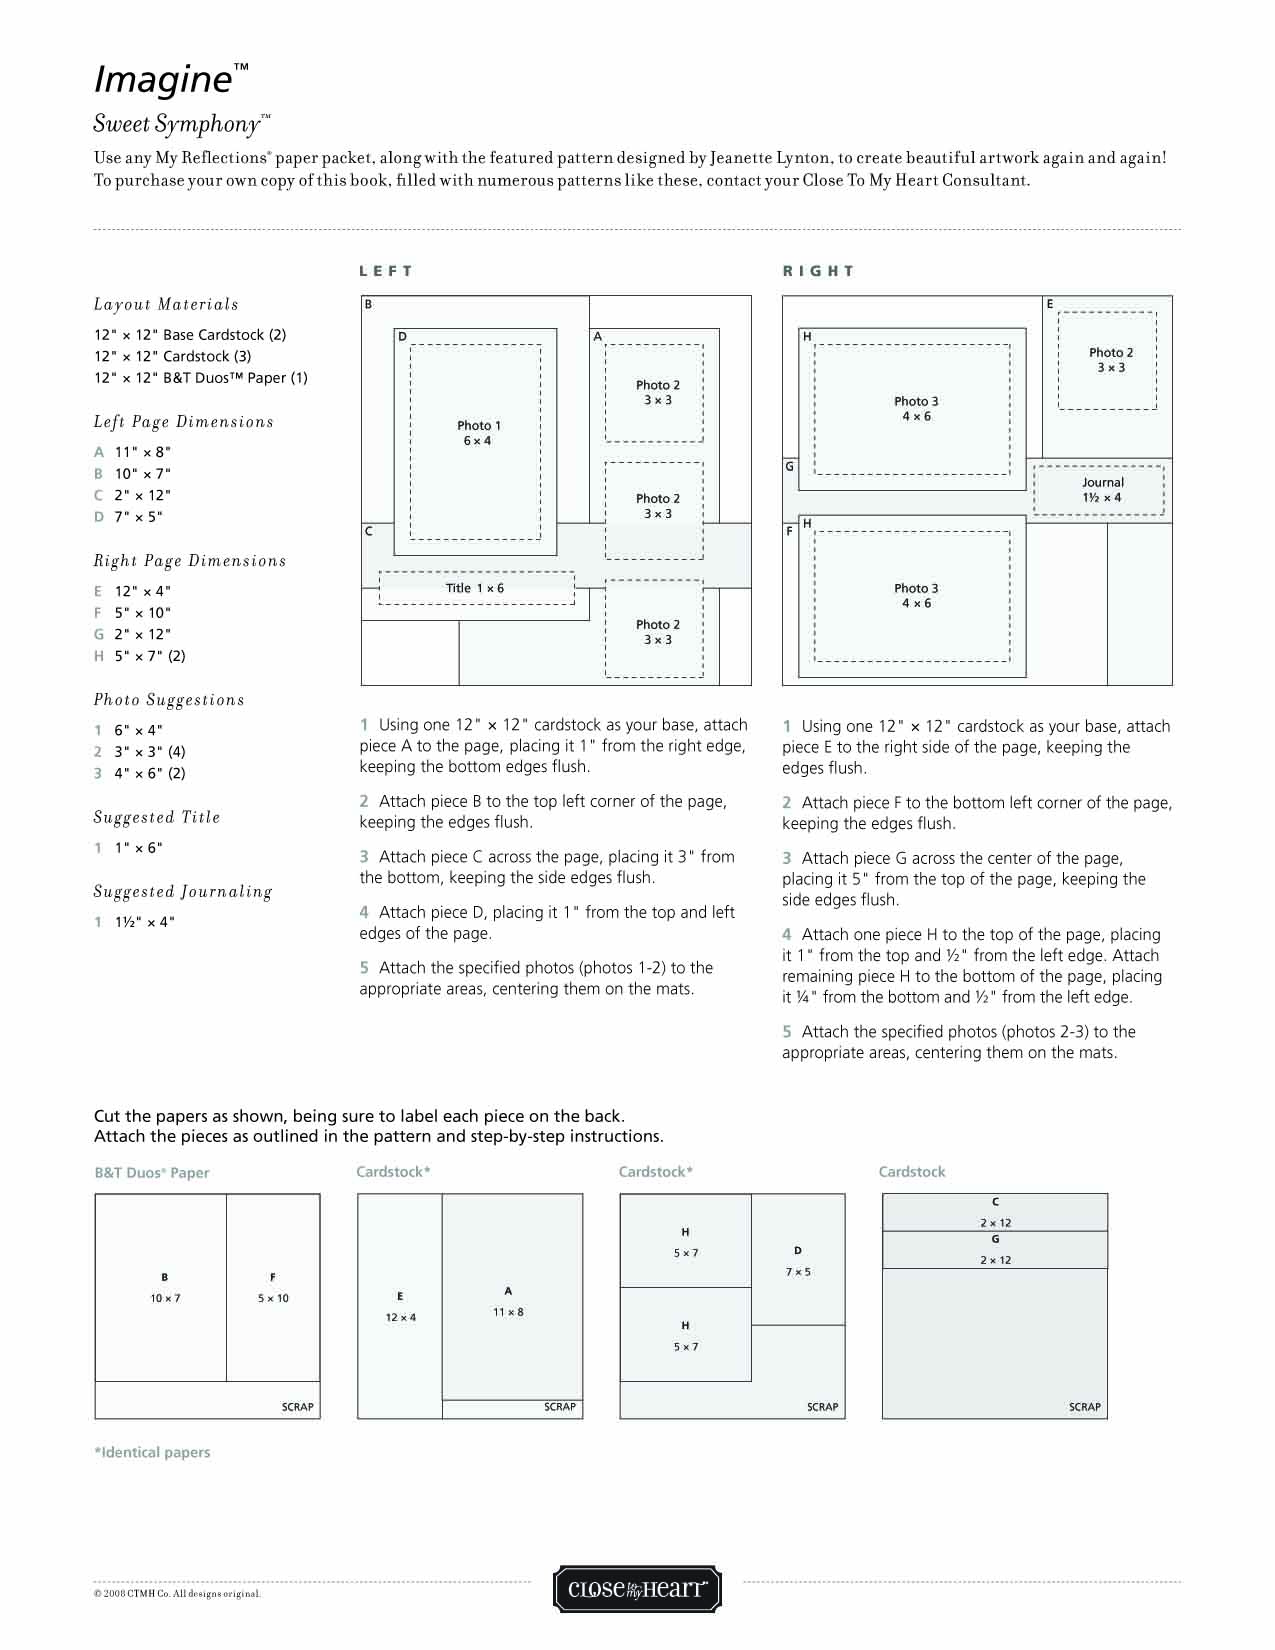
Scrapbook Video Week #5

Soon I will be starting weekly videos again for both scrapbooks & cards.   I need to find my craft table,  reset my cameras and remind myself of some of the little things that help my recording sessions go more smoothly.

As I’ve started doing some re-organizing, purging and discovery around the house,  I’ve realized I have too many good ideas and not enough execution of those ideas.  For example,  I found a cookbook that was given to me.  I have no need of the contents of the cookbook,  but I remember keeping it because it had a great 3 ring binder and would be perfect for a small scrapbook project.  Wah-lah,  that will be the project for our first fall video, coming soon to a facebook live station near you.  🙂

In the meantime,  I’ve learned that I sometimes feel over whelmed by guilt of paper that is just languishing in boxes and on shelves.  These are not unopened paper packs,  but more the “left overs” and remains of paper packs from previous workshops & projects.    It’s one of the reasons that I’ve been trying to fully use up packs so as not to add to the abandoned paper pack stash.  In aid of reducing this APS (Abandoned Paper Stash) I’ve returned to some of my previous projects and pulling out different paper,  did the same layouts again.   I sometimes forget how much I love the “old” Pattern books,  and this is a great way to reacquaint myself with them.  Hope you enjoy!

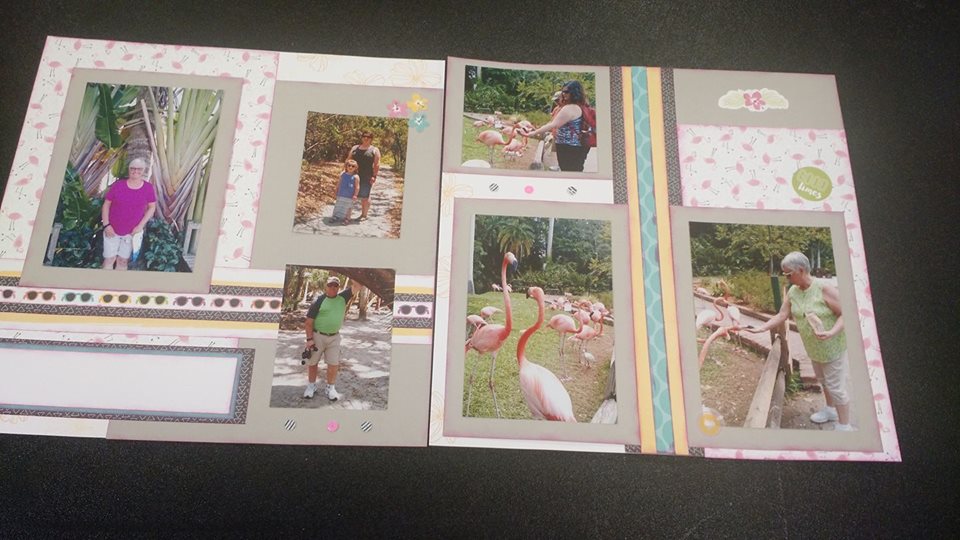
As a bonus to help you envision your own papers in this pattern,  here’s a photo from another gal that did this workshop.

The colors she choose work so well with her photos.   I also love that this layout seems to draw my eye to the photos rather than to the papers & embellishments!   Great Job Pat W!
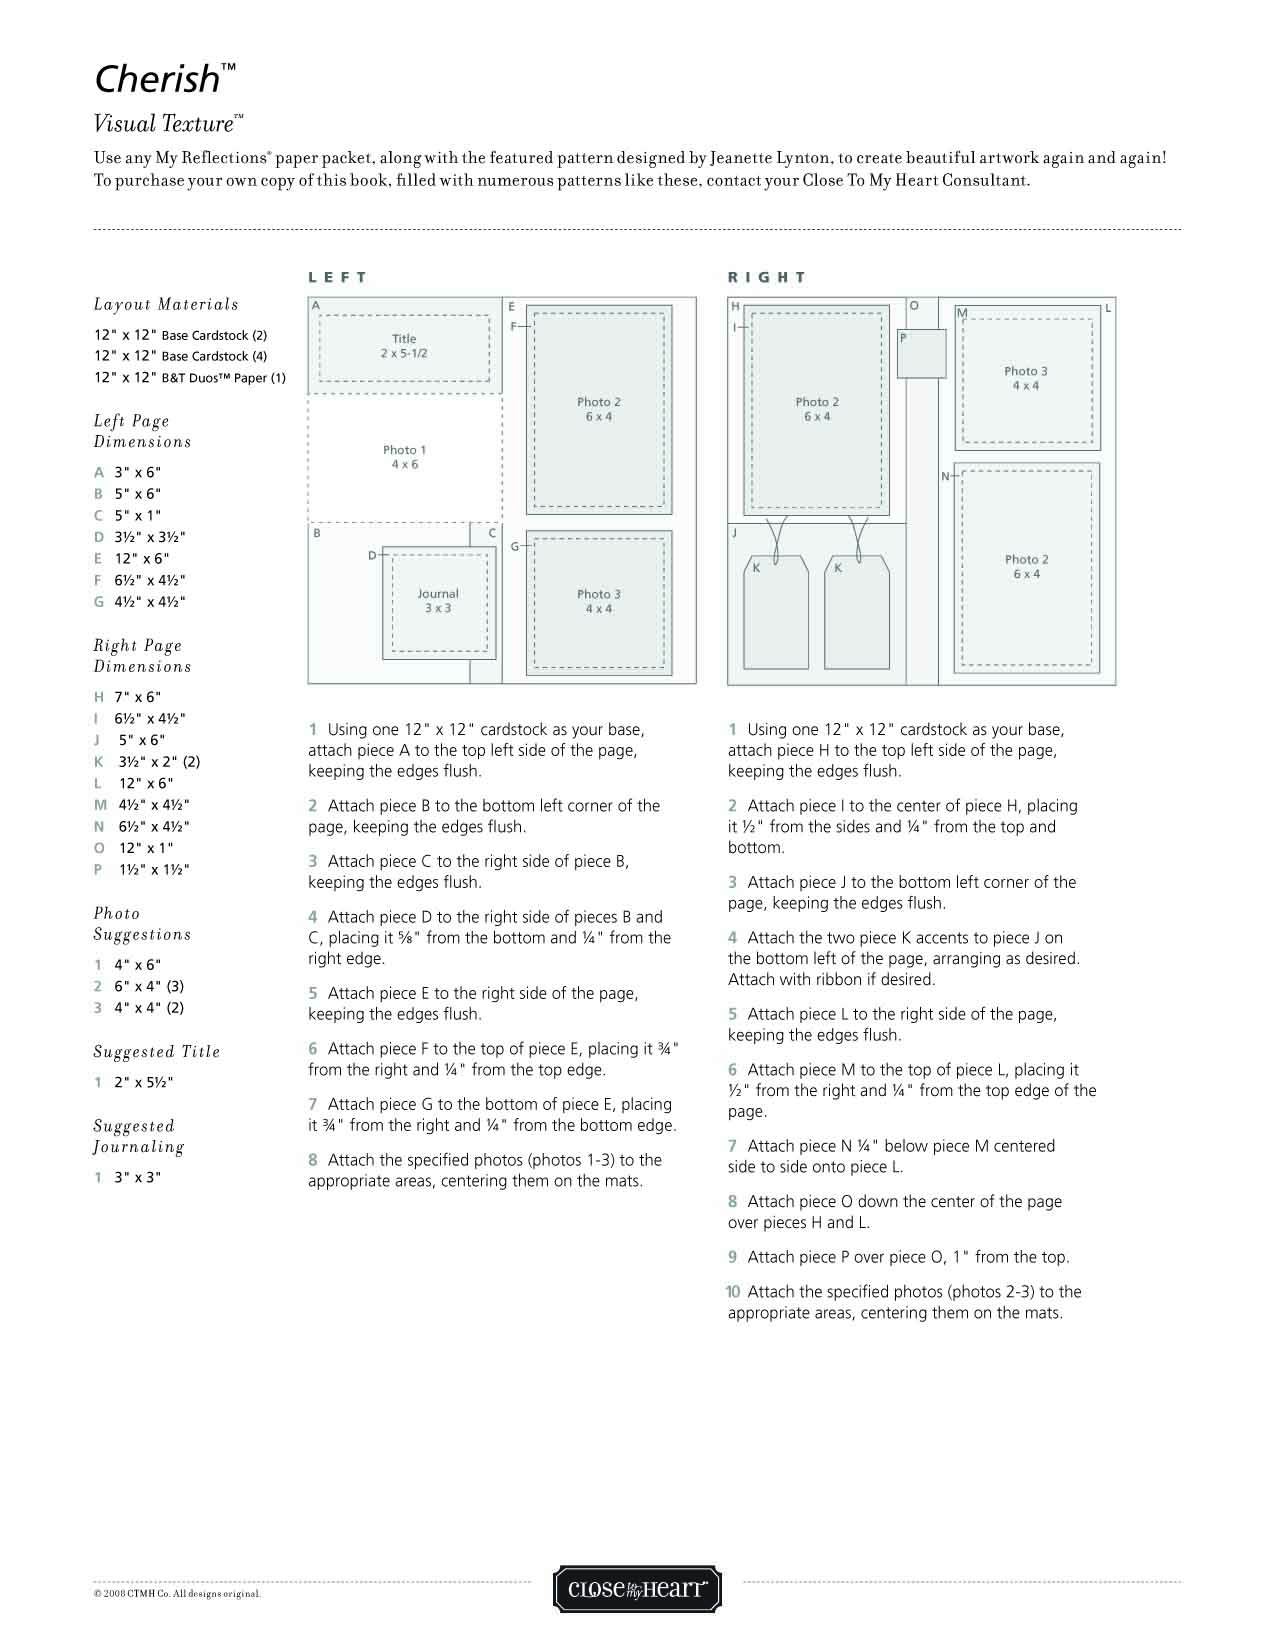
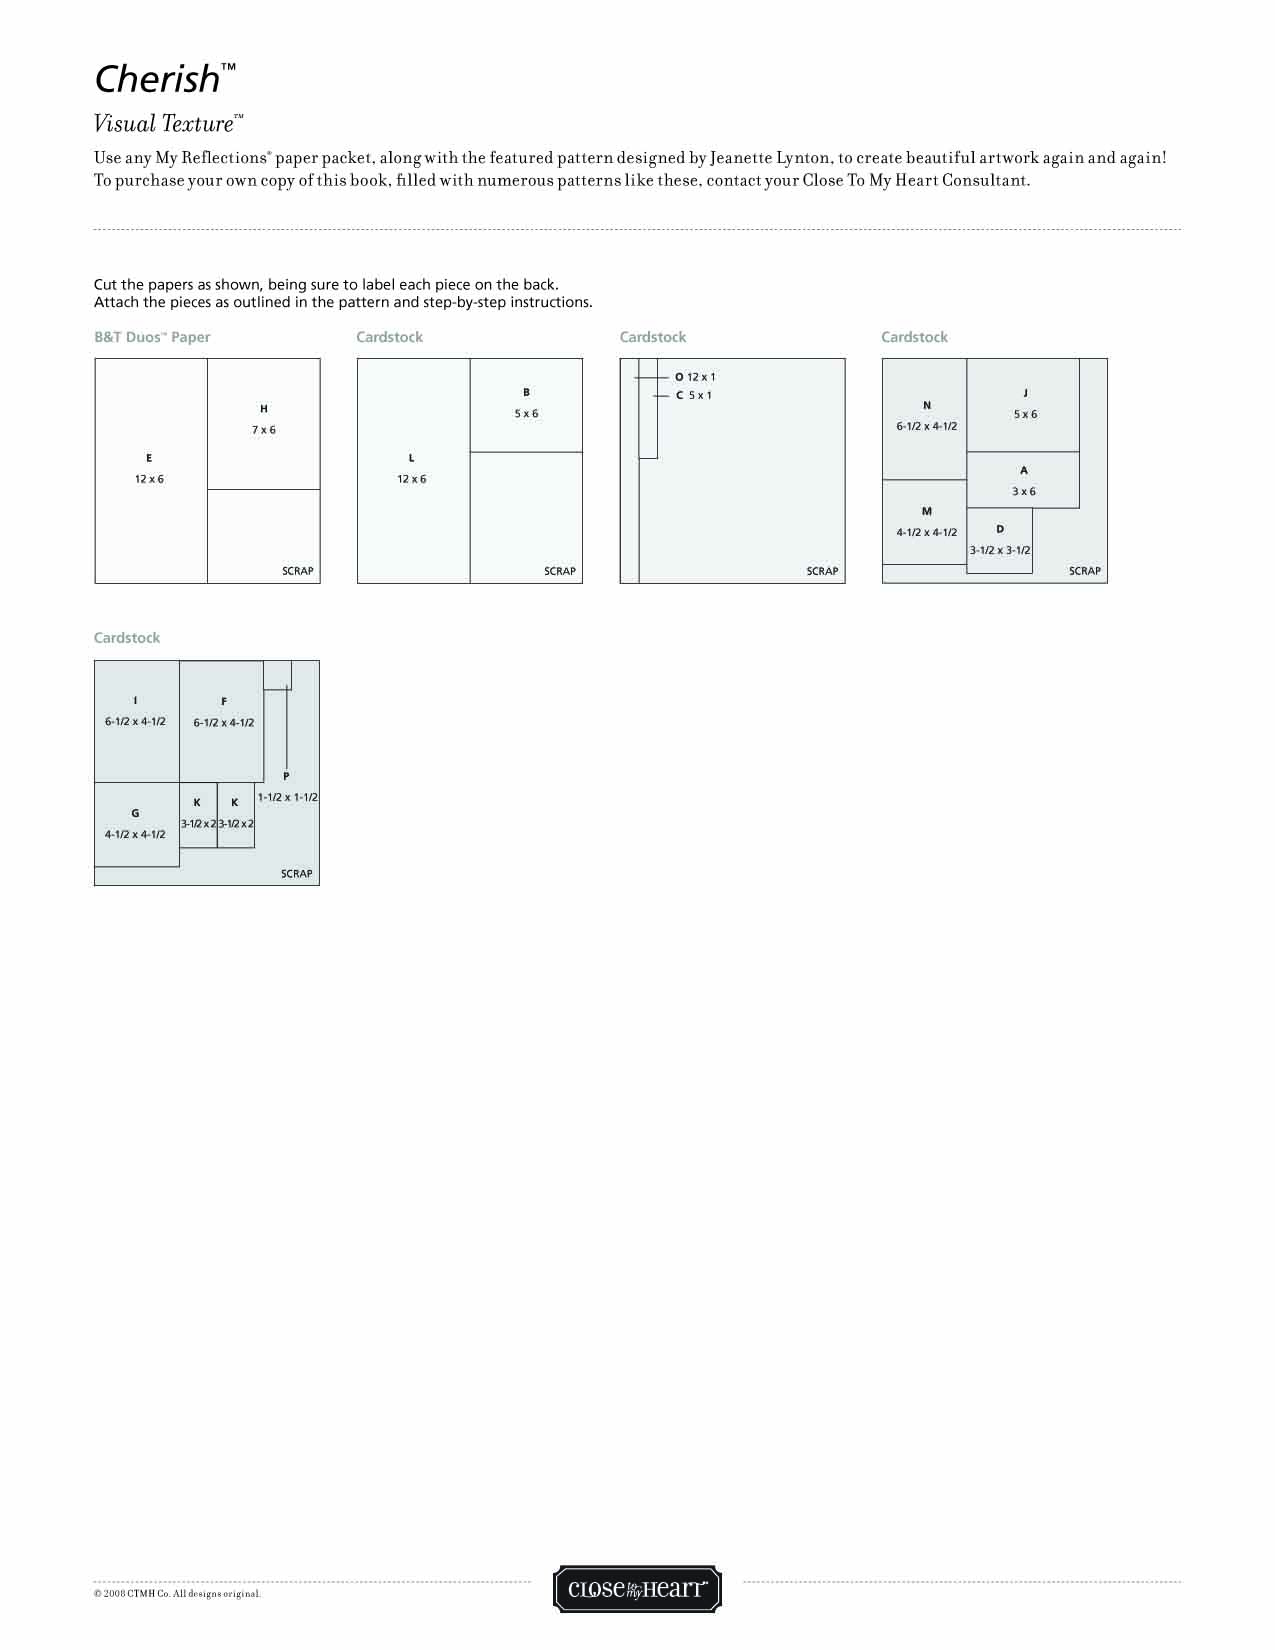
If you have completed any of these projects,  I would love to see them.  You can email me the photos at Amanda@craftingwithamanda.com

Happy Crafting!


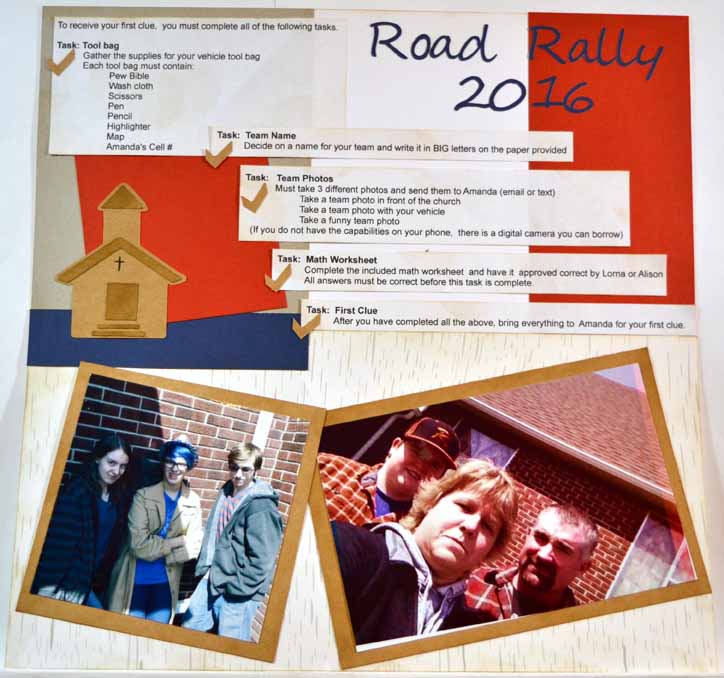
Quick Scrapbook layout

For today’s offering,  I give you one of the pattern’s from an older CTMH scrapbook layout book, Cherish.  These books have really helped me jumpstart my creativity and crank out some layouts.  If you haven’t tried any of Jeannett Lynton’s how to books,  you can see them here.

I rotated the pages and tilted the photos to make it speak more to me.   How will you make it your own.
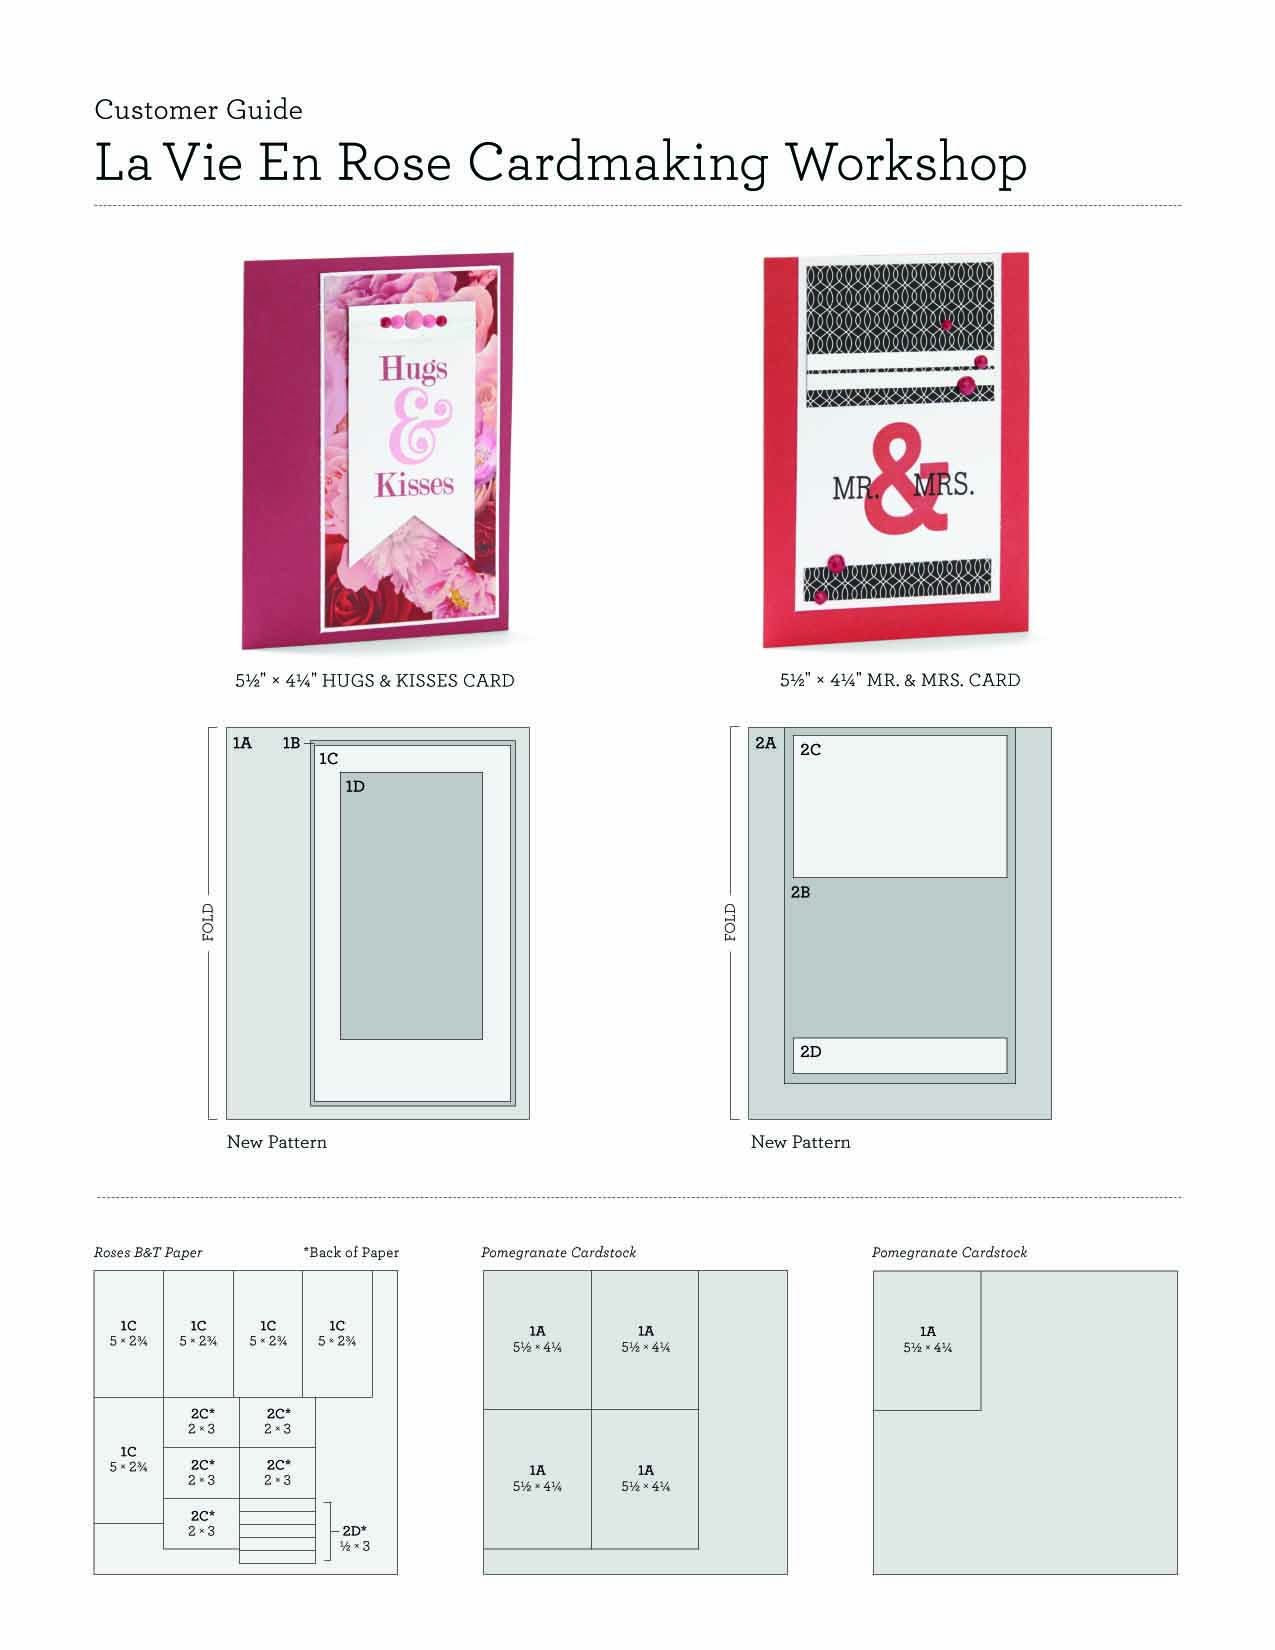
Here’s the video where I walk through cutting out the pieces for this layout,  and assemble it.

Would love to see what you create.

Happy Crafting!

Card Set Pattern Video Week #4


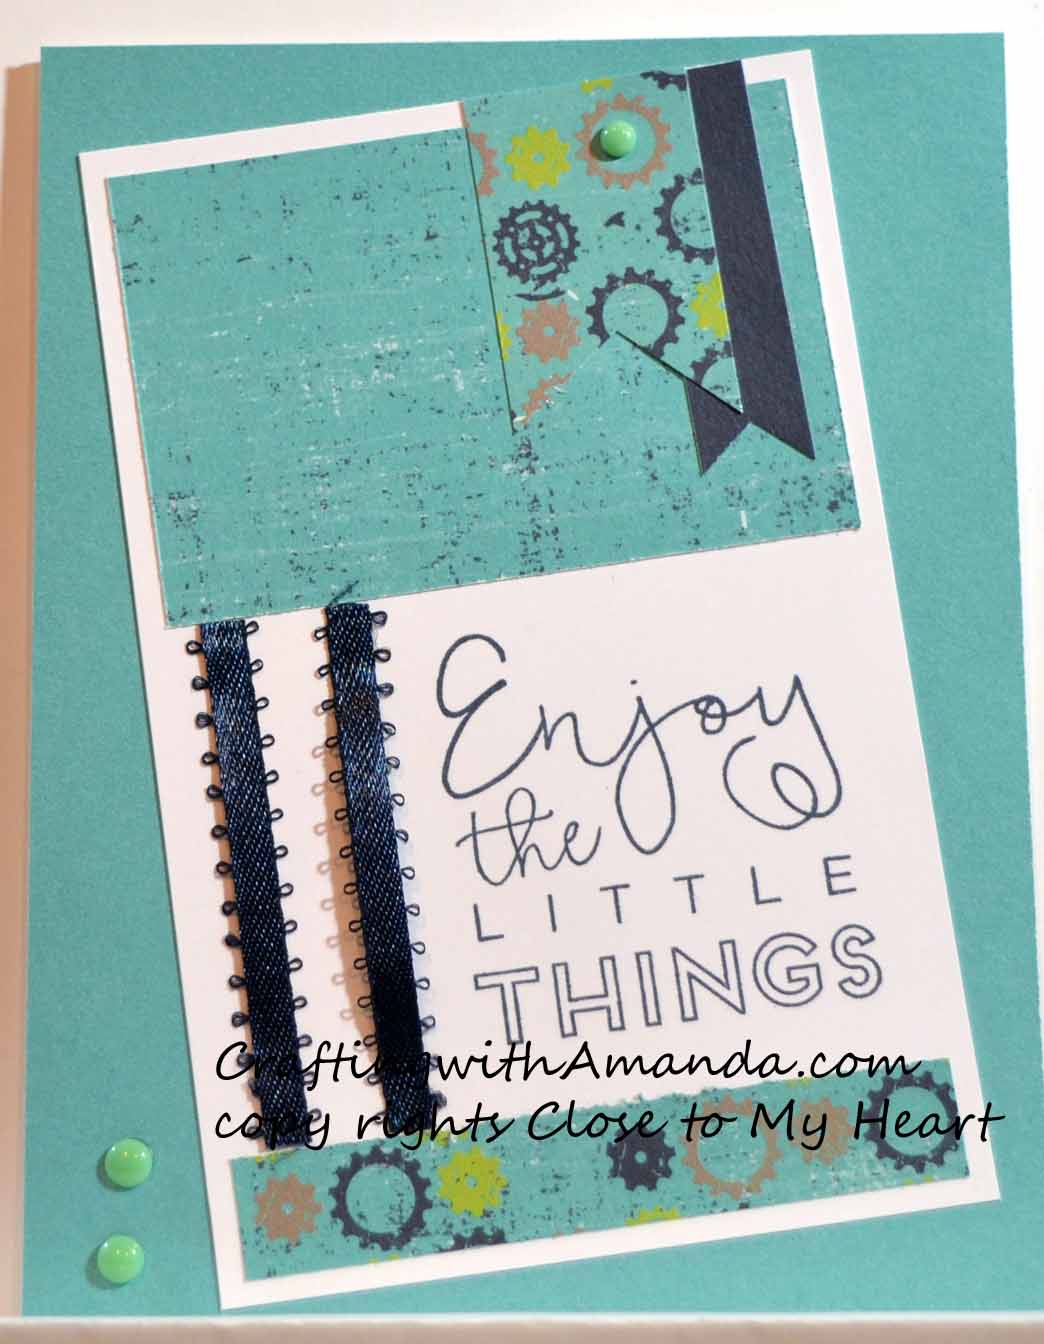
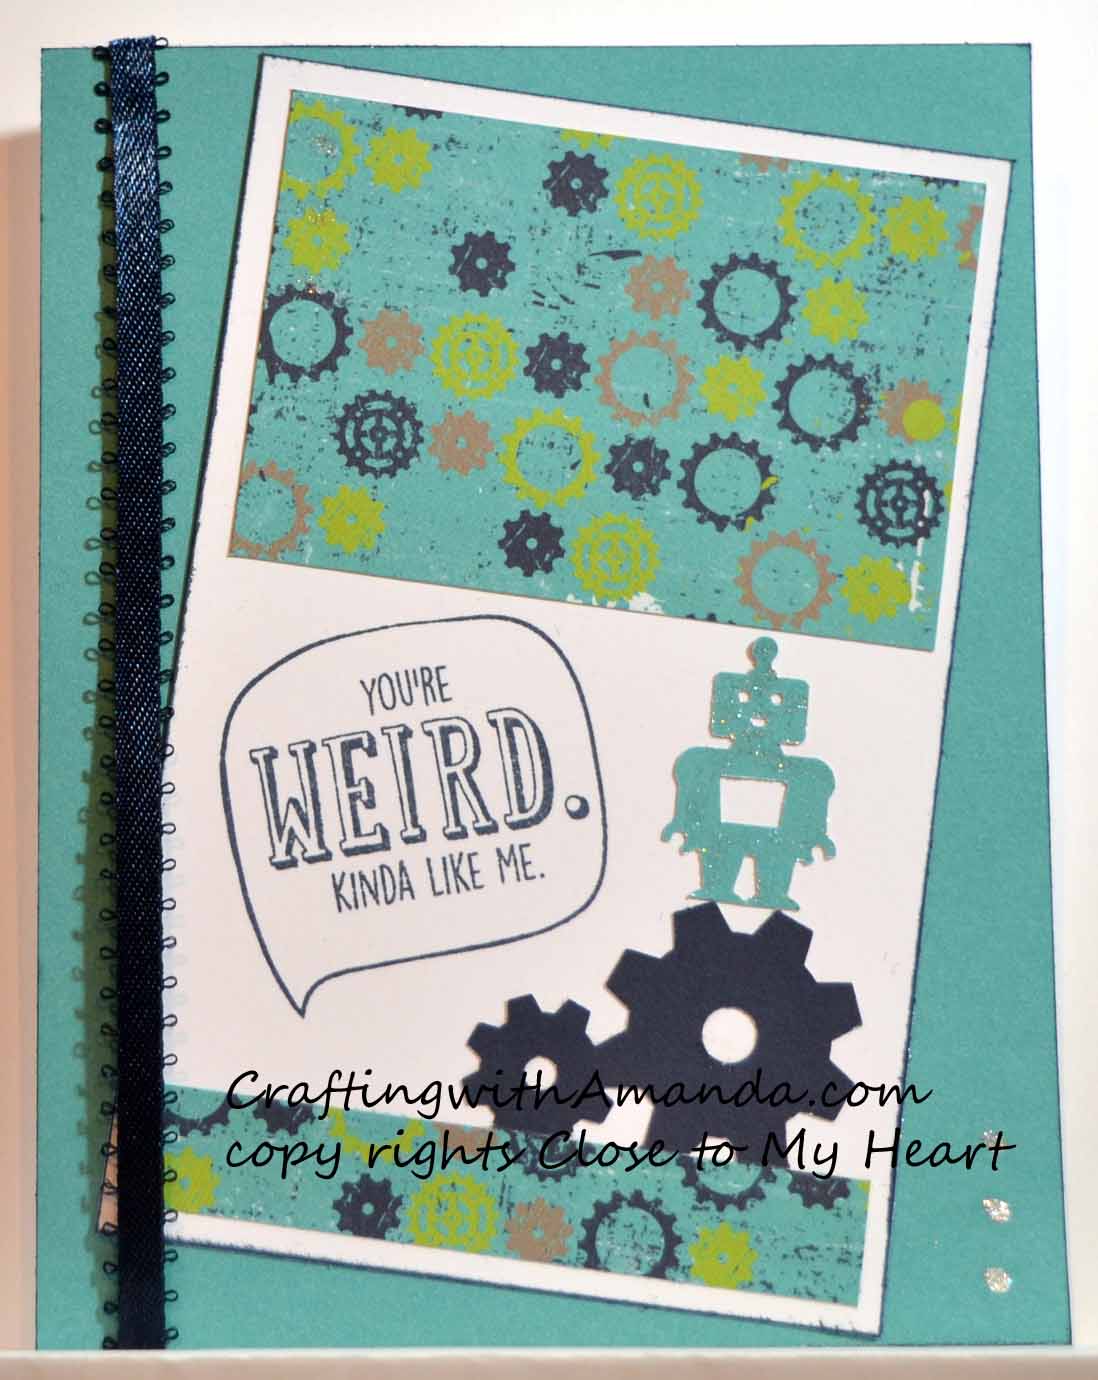
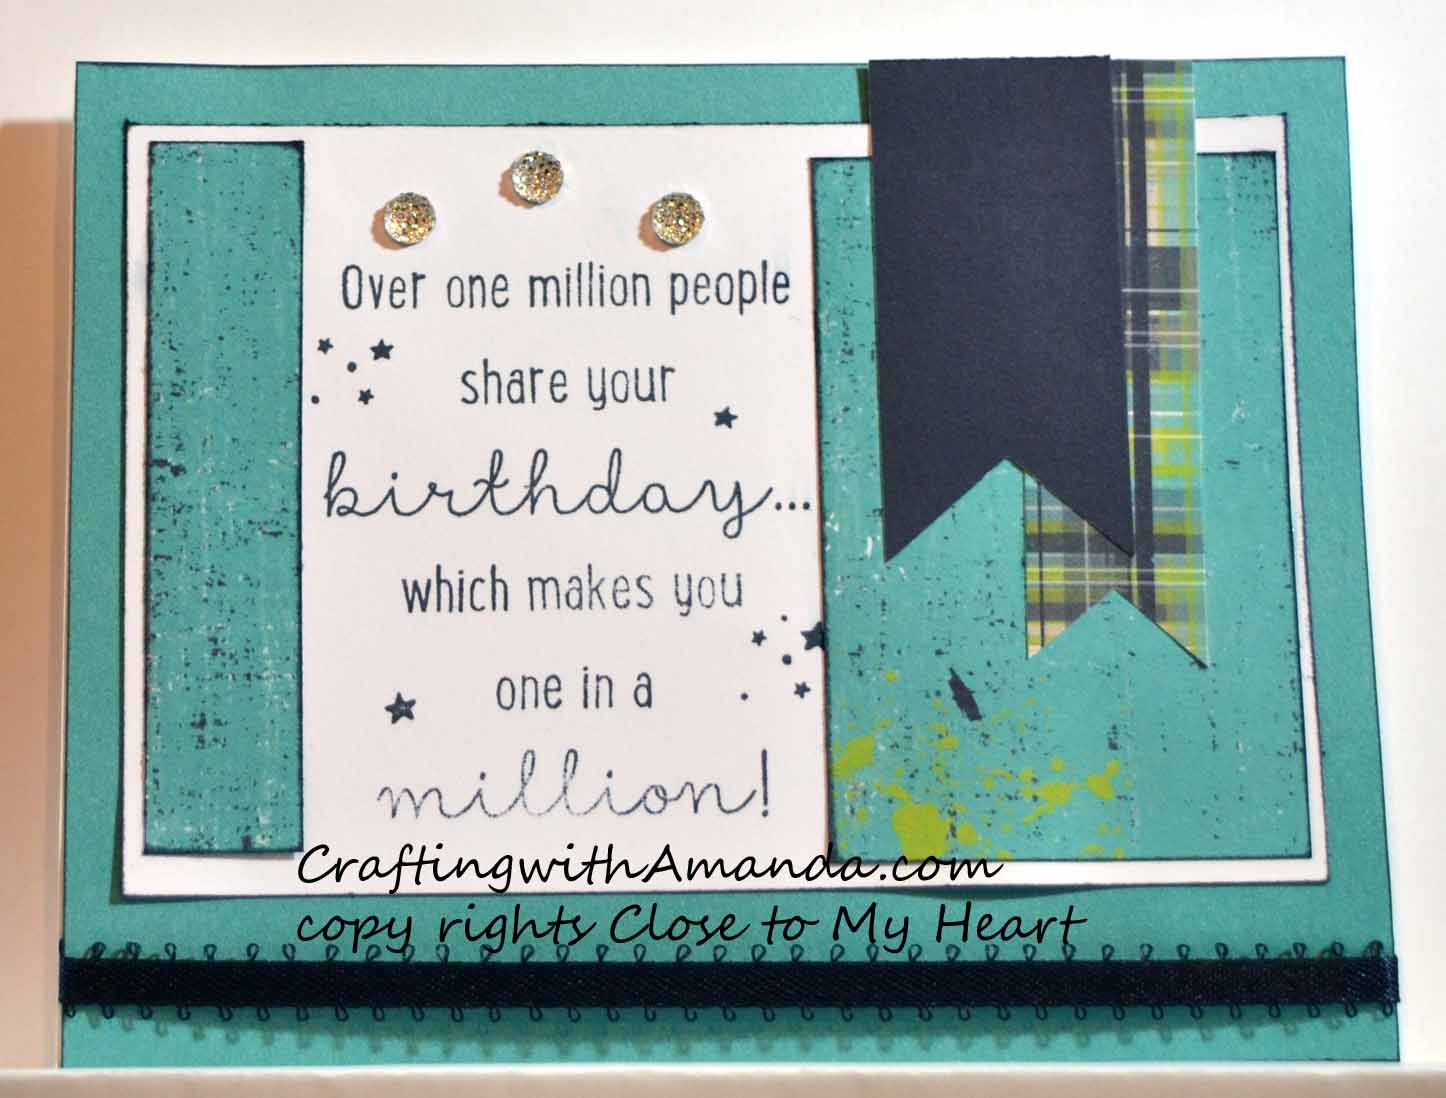
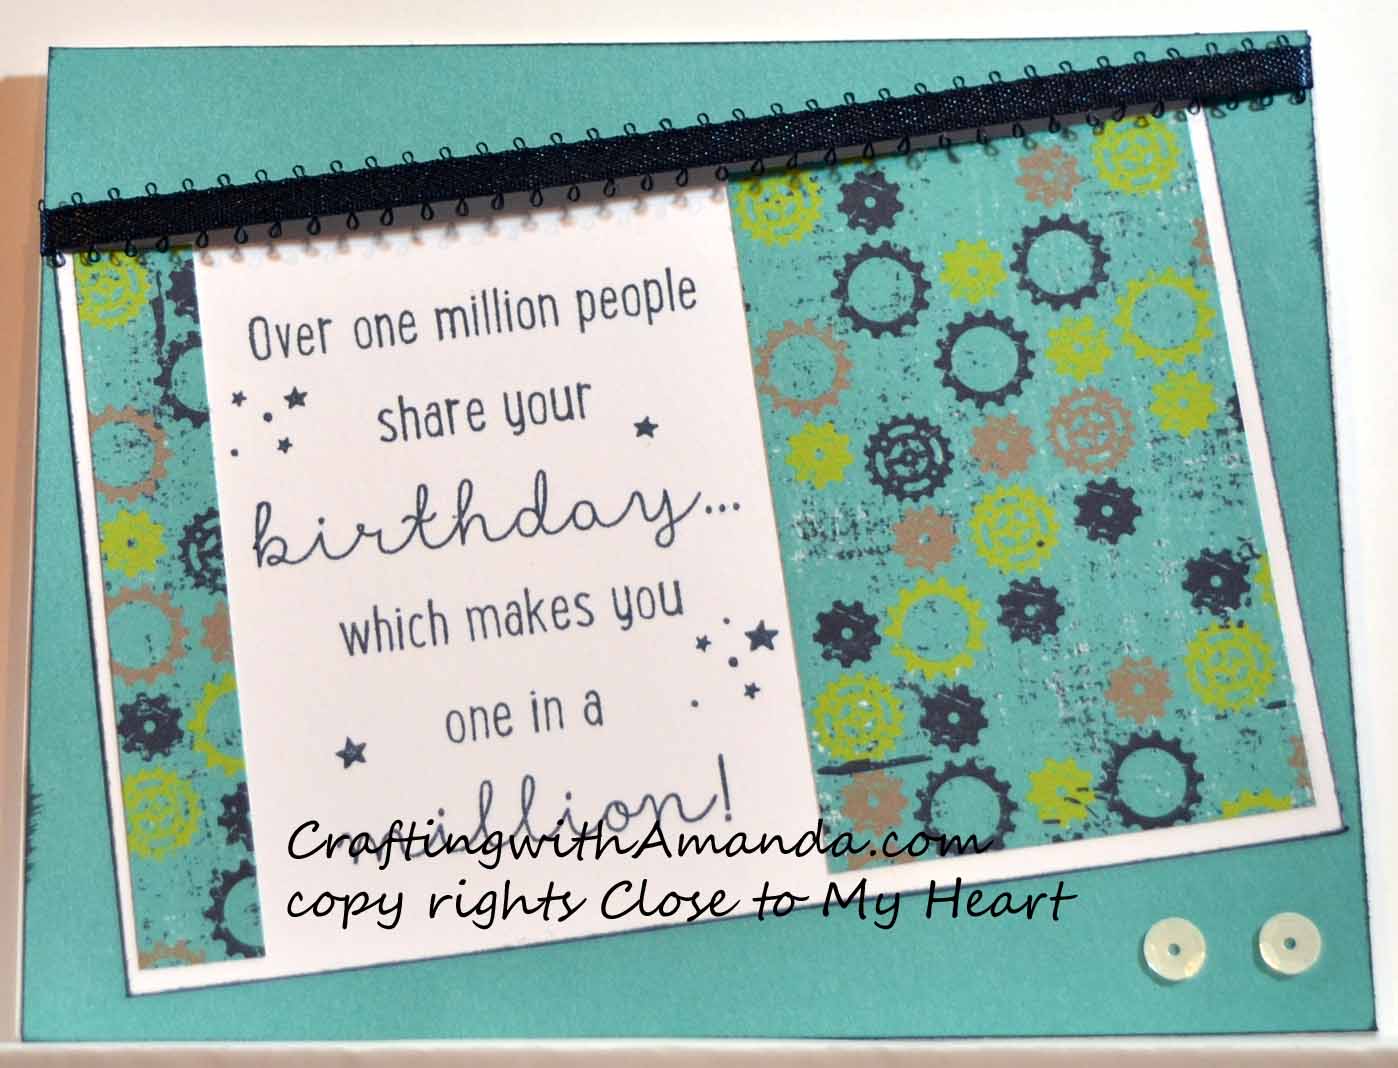
I wasn’t feeling the   La Vie En Rose Card Workshop  until I paired it with the L8r Skater paper pack.  Now I can see these cards for everything from boy birthday cards, father’s day cards to even a sympathy card.  It’s not the best for using up scraps,  but I have several partial paper packs with full sheets just waiting to be made into happy mail.

Here’s the video link if you want some help cutting a set of papers to create these cards,  or  want to have some “company” while you create!

After you make these cards,  I would love to see them!

Happy Crafting!


Card Workshop Video #3 & Artwork

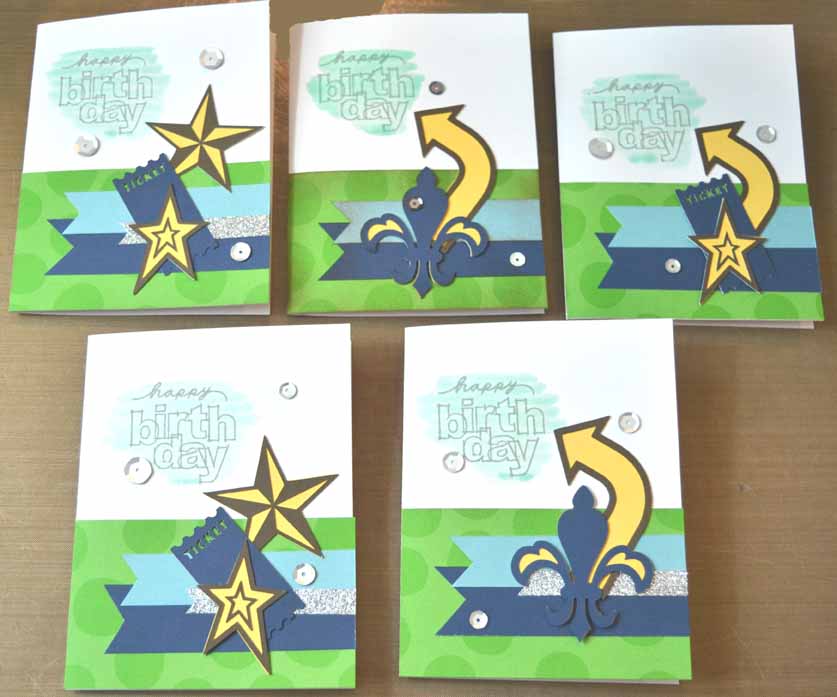
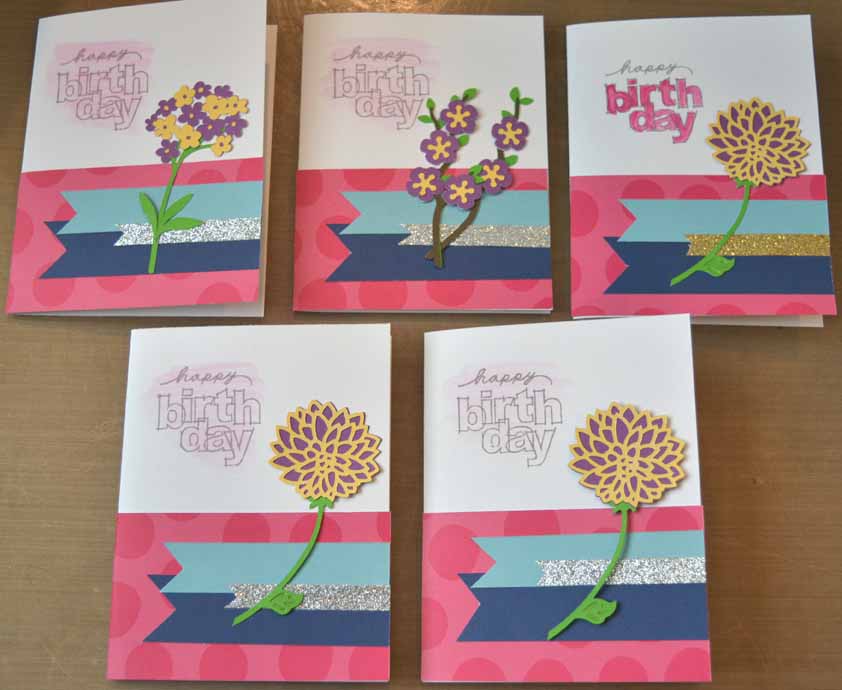
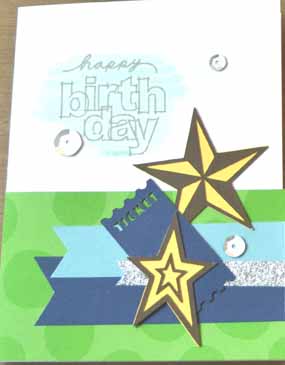
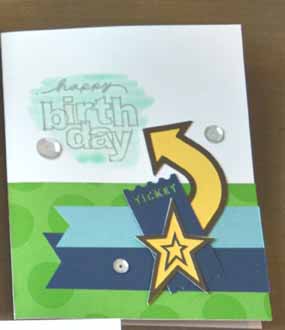
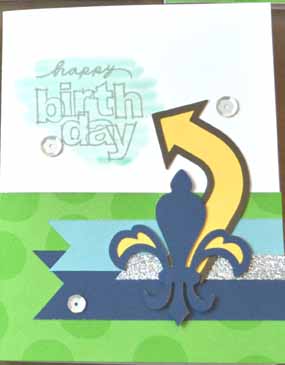
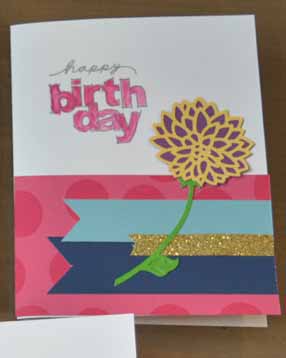
I had a lot of fun making these cards.   For me it was whimsy meets style.  I used the cricut cartridge Artbooking.

I have to say that I don’t always enjoy the tediousness of assembling the cricut cuts,  but sometimes it’s a great project when I need to feel accomplished but the brain power is on low.  Assembling these fell into that low brain power night.

The pattern is quick and easy and can be found here.


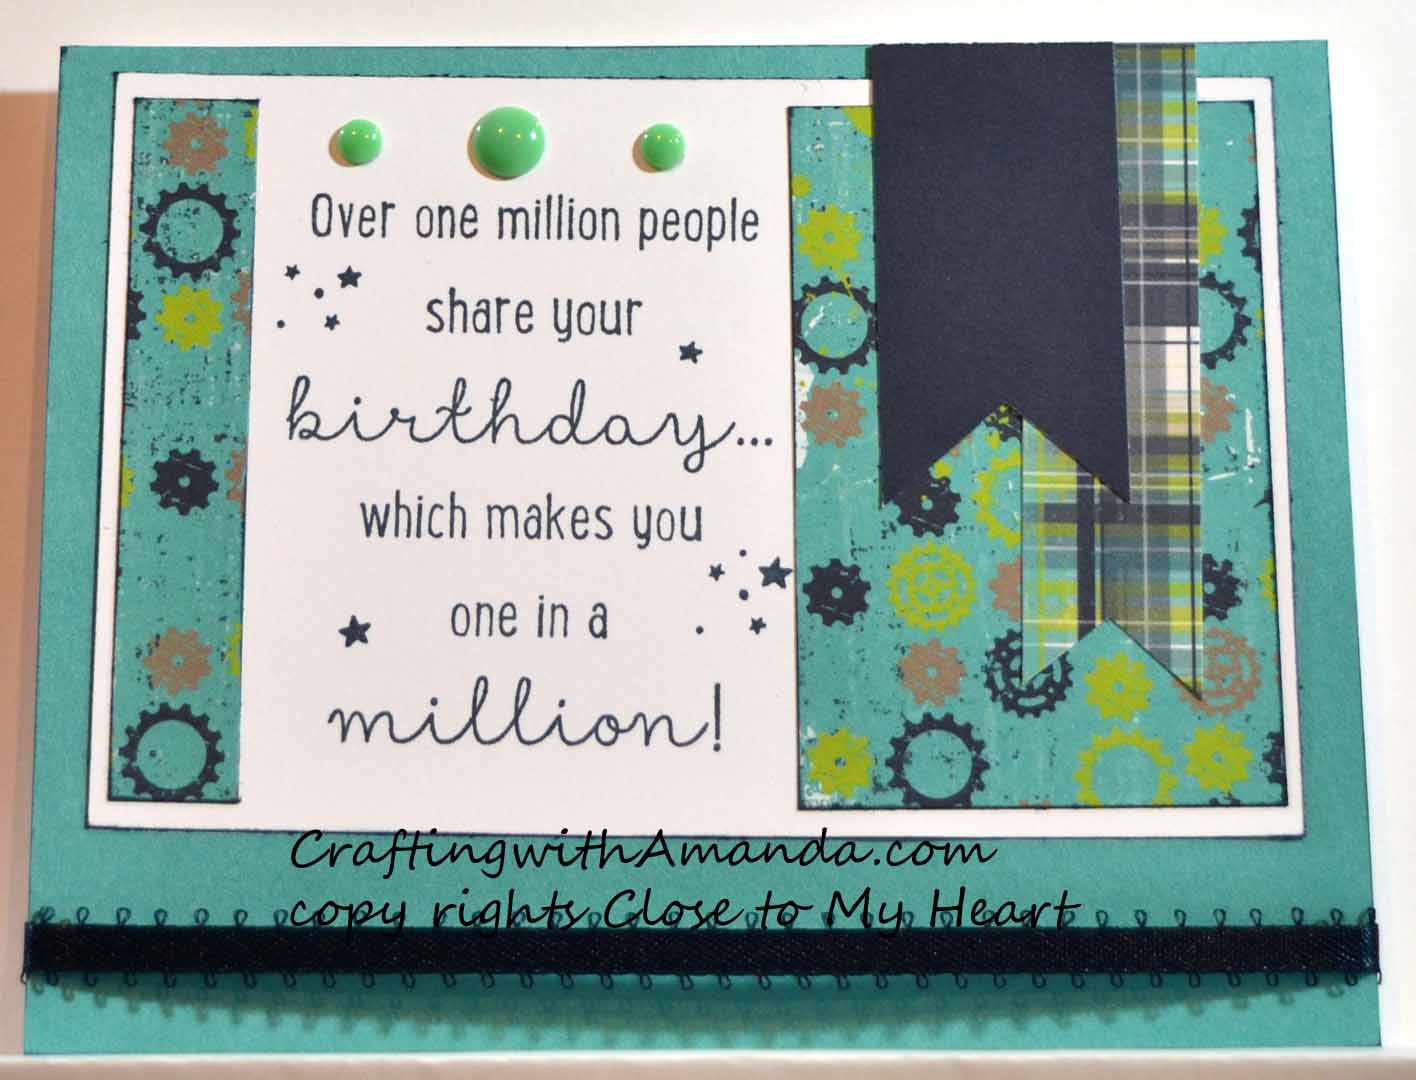
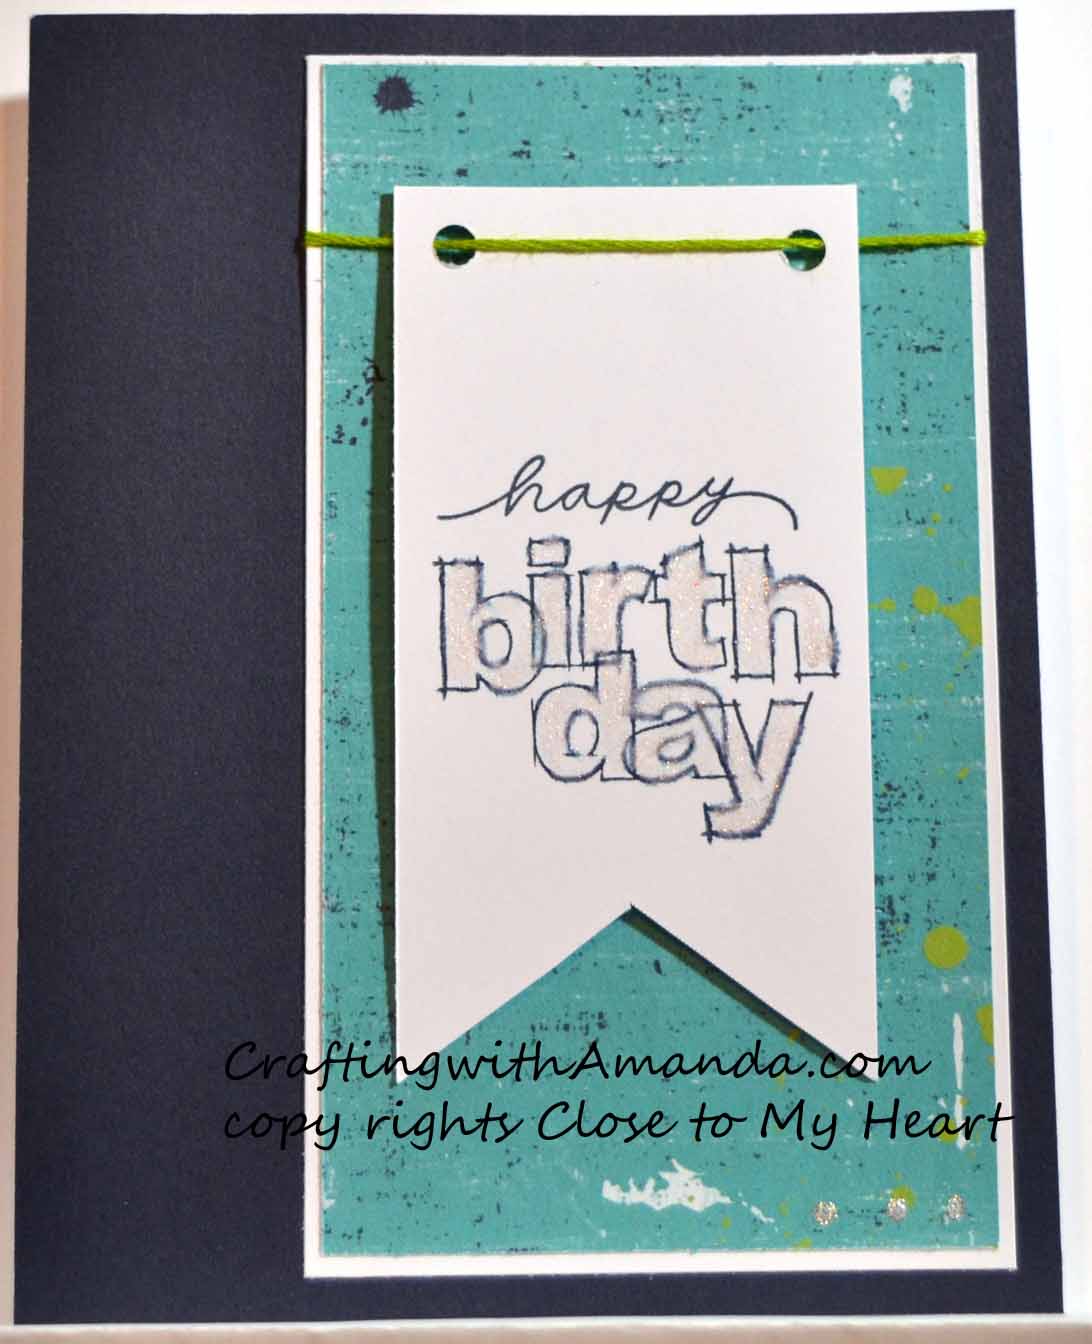
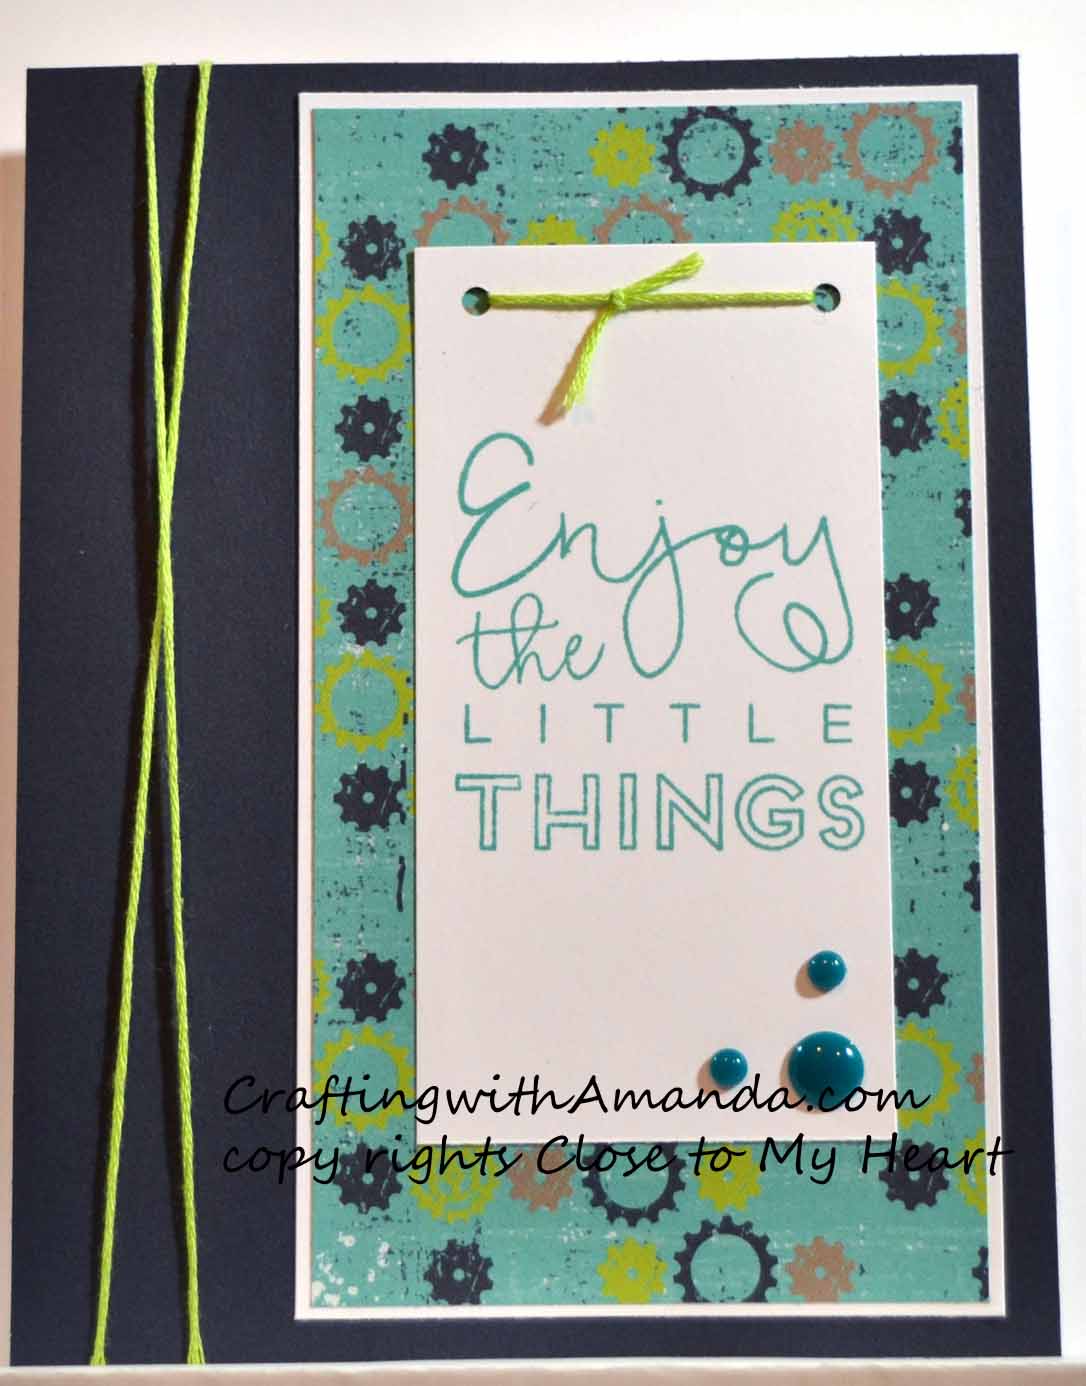
These cards use the green side of the paper so I went in a “boy” direction.

Now, these used the pink side of the paper so I went to the flowery side.

If you want help with the cutting guides, or the assembly,  you can watch the video.

FB Live Card Workshop – Close to My Heart(CTMH)

Week #3 Card Set- Video Workshop guides are in the photo album Video #3 Feb 17th. Grab your cutter, paper pack(s), adhesive and join us in some crafty fun time.If you miss walking through the cuts, remember you can always watch the video later after it's over. To ensure you receive notices about my upcoming live workshop, like and follow my page https://www.facebook.com/CraftingWithAmanda/. Share this video with your crafty friends for entries into a drawing for a free close to my heart paper pack of your choice.

Posted by Crafting with Amanda Close to my Heart Consultant on Friday, February 17, 2017

Happy Crafting!