Close to My Heart

Flower Shaping

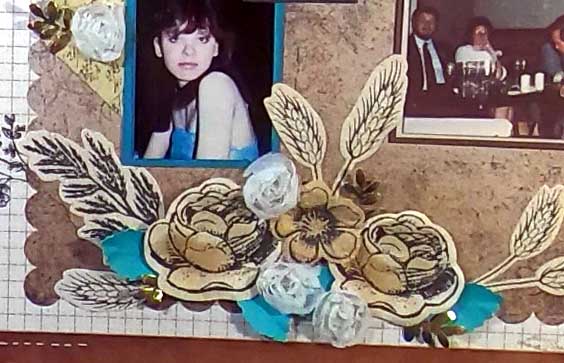
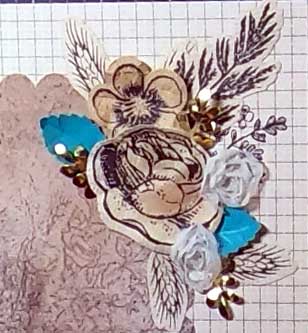
I went to a weekend crop for the first time last month. I was struggling with packing (it’s been so long since I’ve needed to pack and have moved twice. . . ) so I decided to take my box of scraps just as a jumping off point. As I was creating some cards, several ladies stopped by to say how nice they were, and inquired about the flowers I was creating.
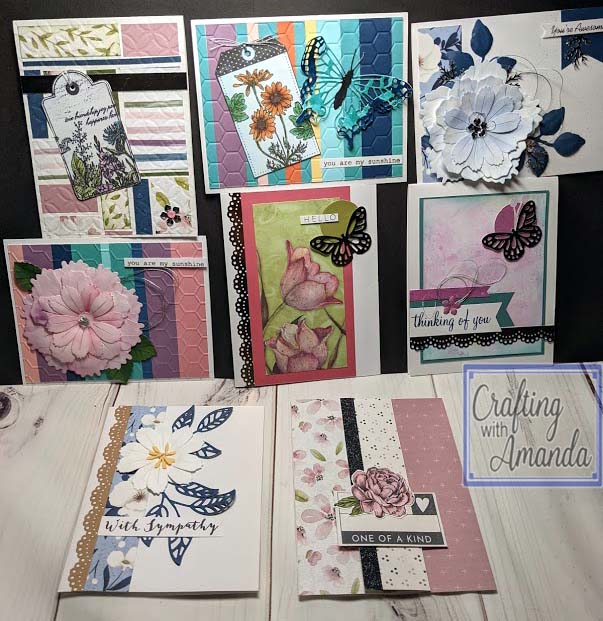
Before I left for home I had conducted 2 lessons on flower shaping. This gave me the idea to start a new series of videos. I realized I have a lot of ways to shape flowers and they give different results depending upon how you do them. I will show how I shape images from punches, dies & cricut cuts.

The die I used in the flowers about can be found here.
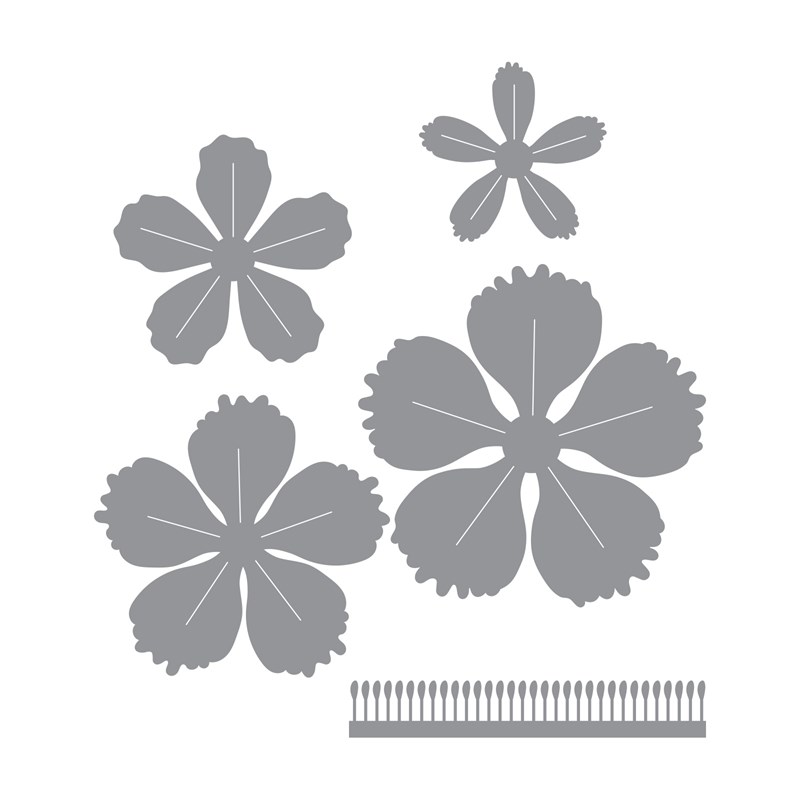
https://craftingwithamanda.closetomyheart.com/Retail/Product.aspx?ItemID=14149&ci=18860

I didn’t have this die at the crop, but I do now and absolutely love it.

https://craftingwithamanda.closetomyheart.com/Retail/Product.aspx?ItemID=14958&ci=21111

Here’s the link to the video tutorial.

Happy Crafting!

Photo Pairing #6

Video Process

Happy Crafting!
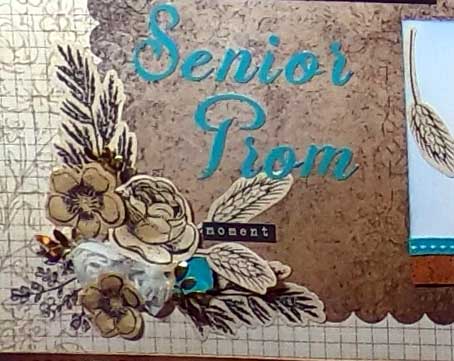
Photo Focus Layout #5

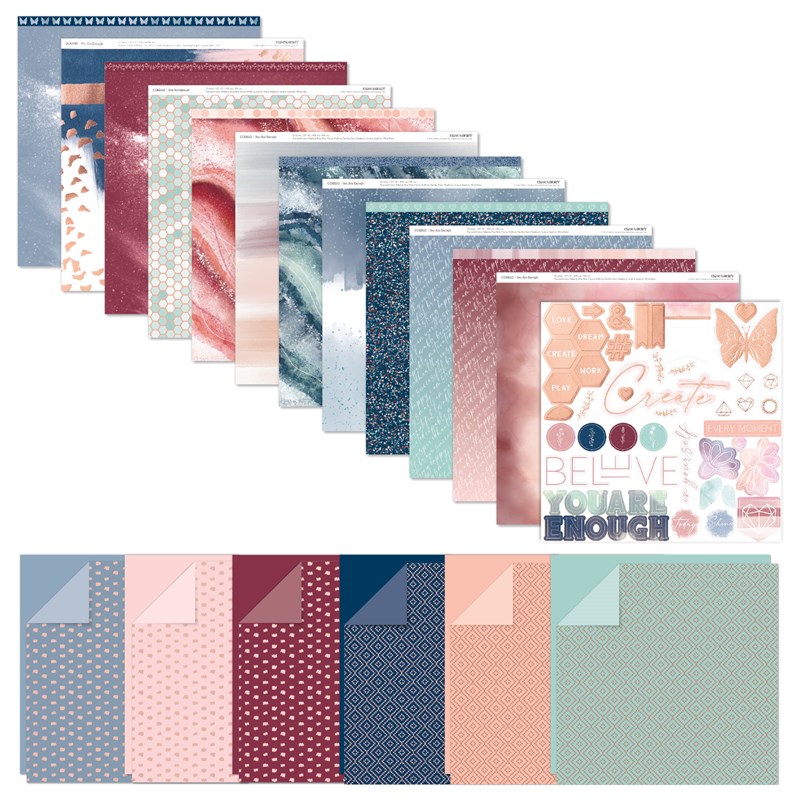
Pulled my photo boxes out and with the thought of being able to cut into the new You Are Enough papers, I was looking for photos with jewel tones. Have you seen these papers yet? The shinny is rose gold!

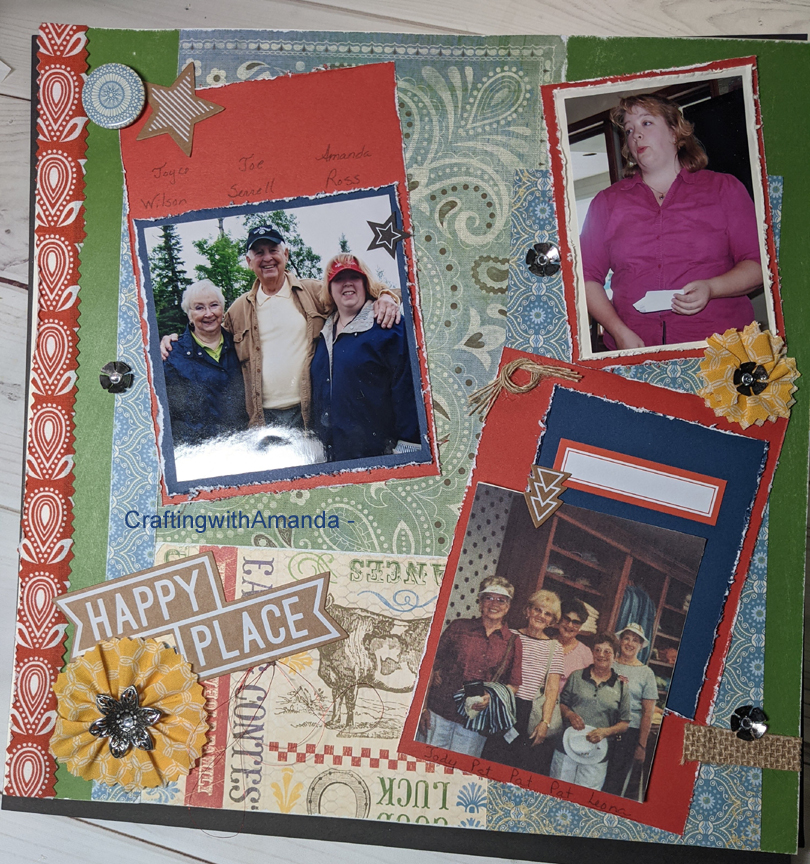
For as lovely as these papers are, the photos I pulled from the box just fit so nicely with this old Jubilee paper workshop layout (LO) that I will continue to wait to cut into the You are Enough pack.

One of the “photos” was really just a print on plain paper, so I backed it with cardstock and was able to use it to show more of the people that shared the day with me.

Here is the video that includes my thought process in fitting older photos with empty layouts.

Happy Crafting.

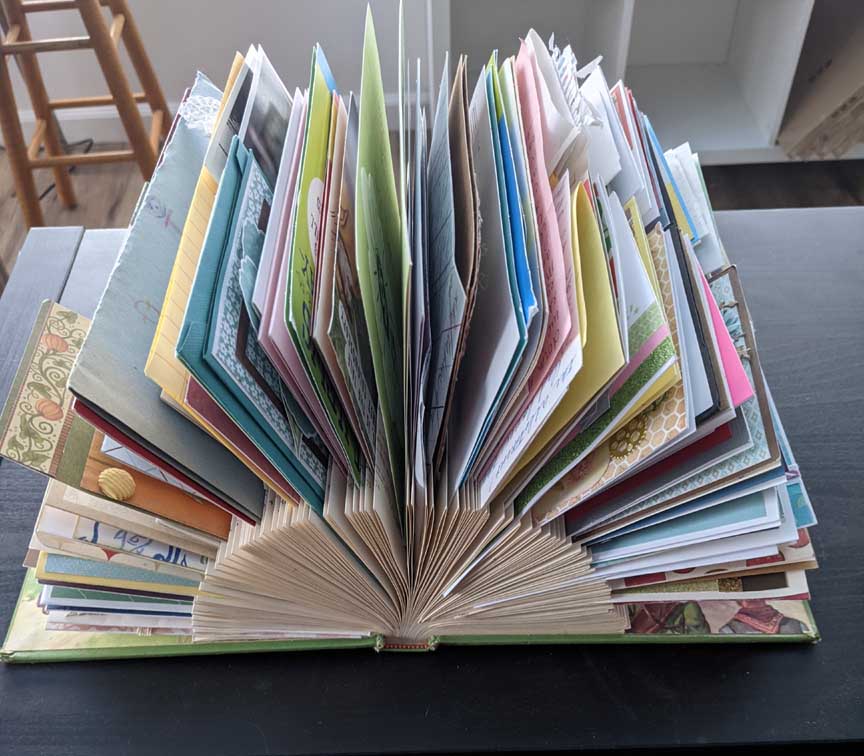
Card Display Holder

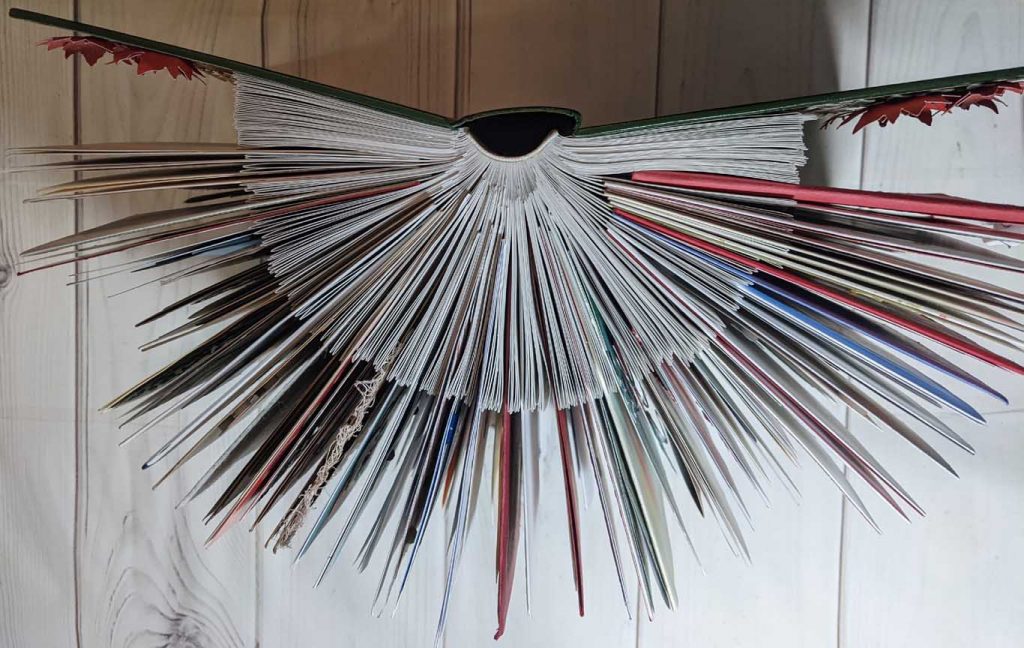
Side (top) view

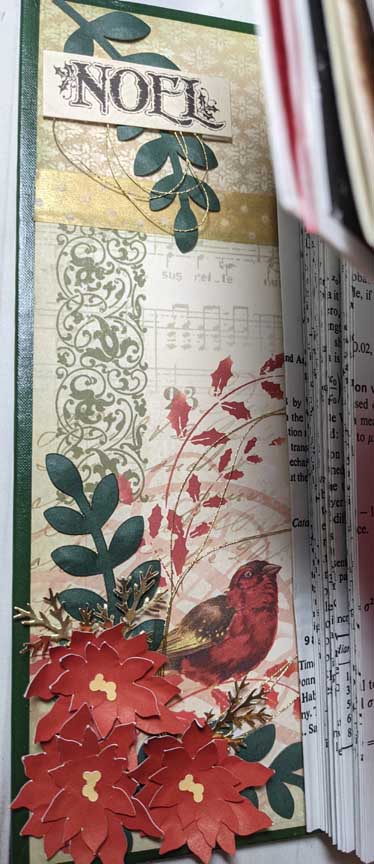
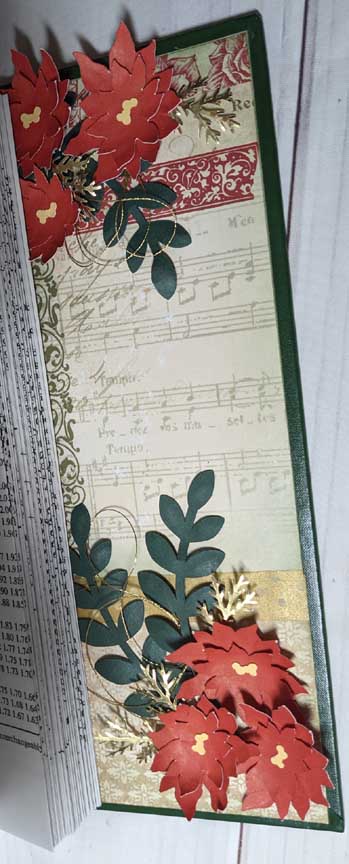
My husband found 3 old engineering textbooks as we unpacked more totes. He had been told at university that he would be referring to these books throughout his career and to not get rid of them. Fast forward 30 years and he has never use any of them. One had a beautiful green cover and so I decided it would make a lovely Christmas Card holder/display.

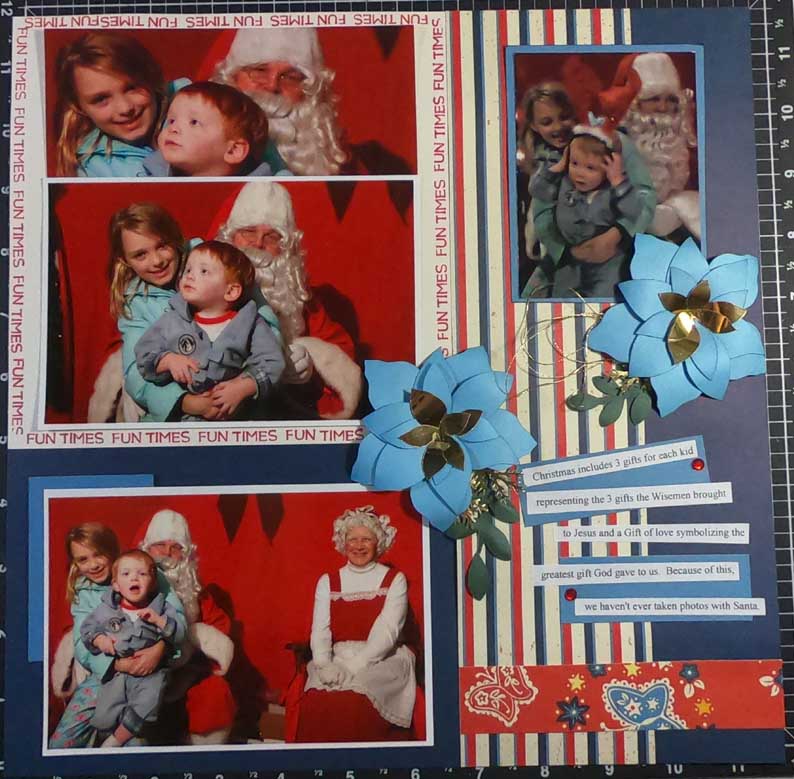
I dug through my old papers bins and found several Christmas themed papers. My embellishment totes yielded the poinsettias and all the leaves. It was fun creating some beautiful Christmas scenes.

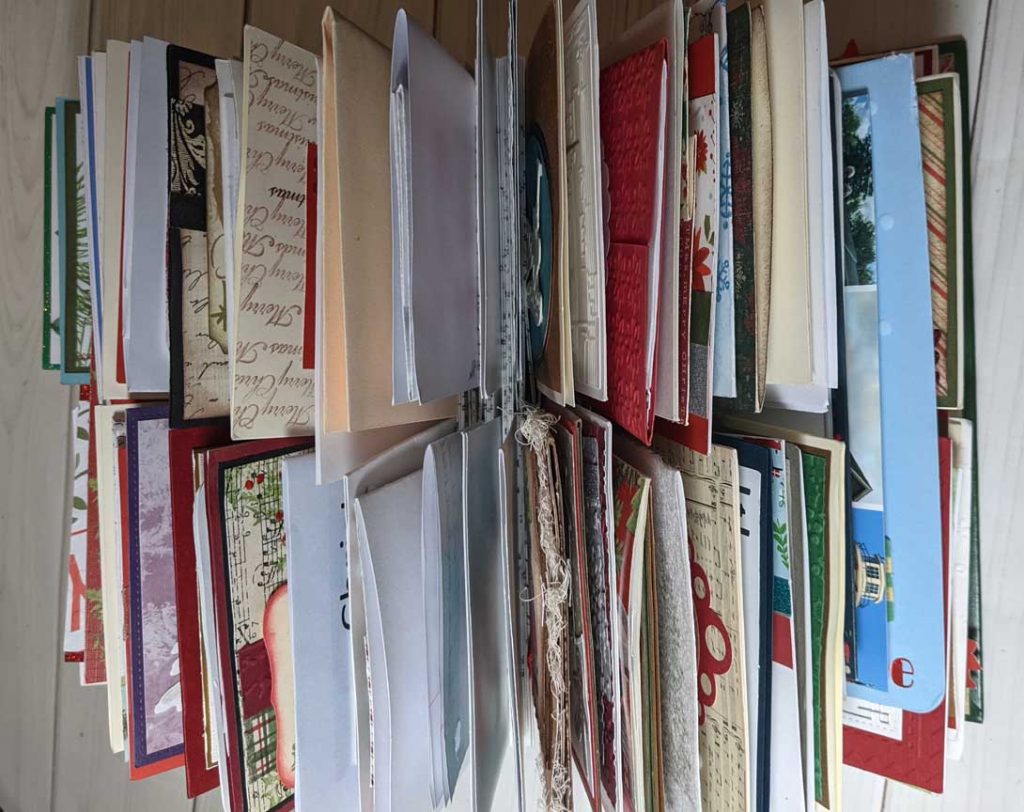
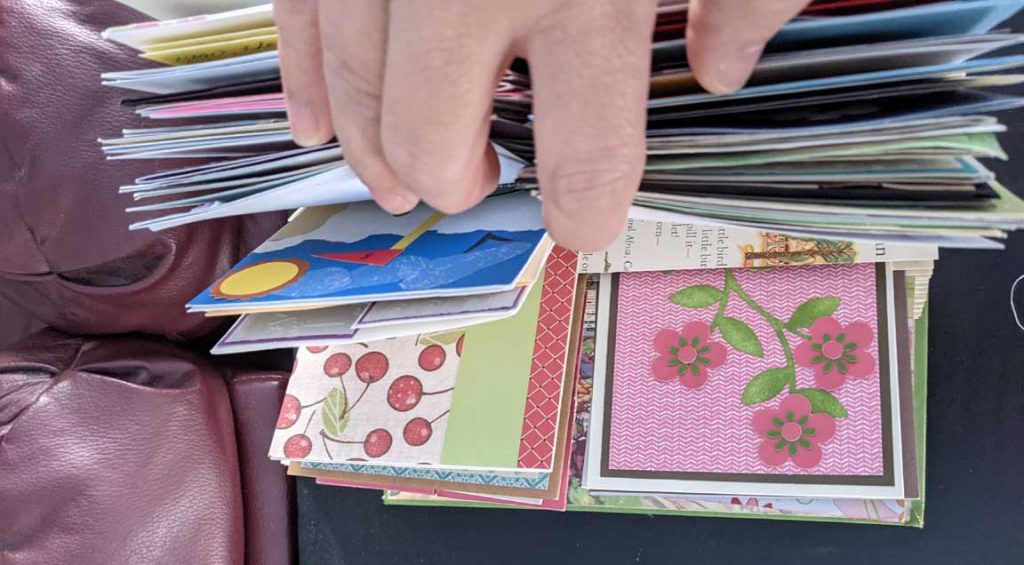
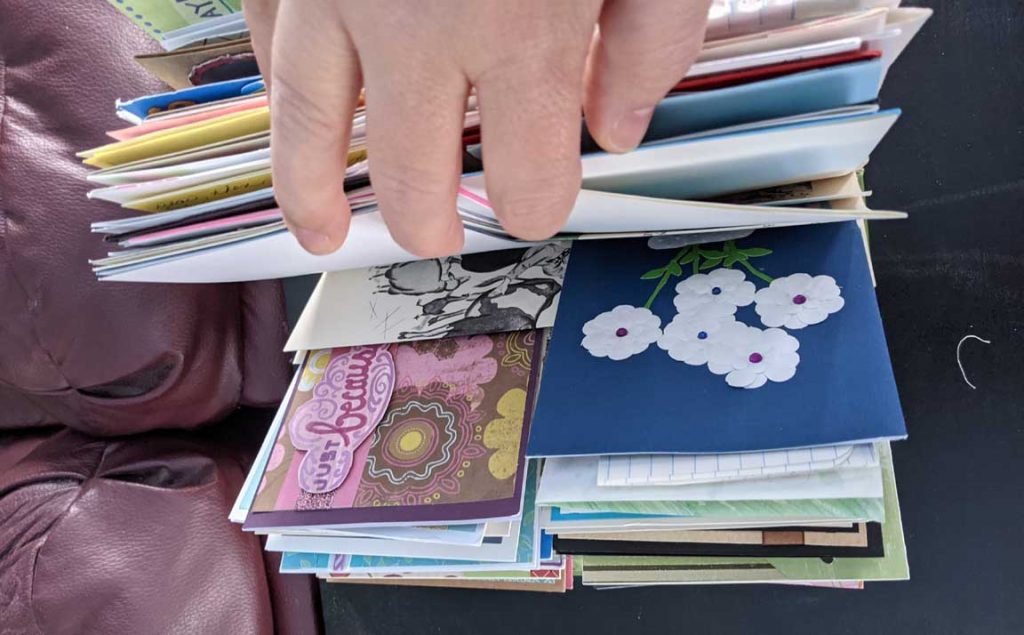
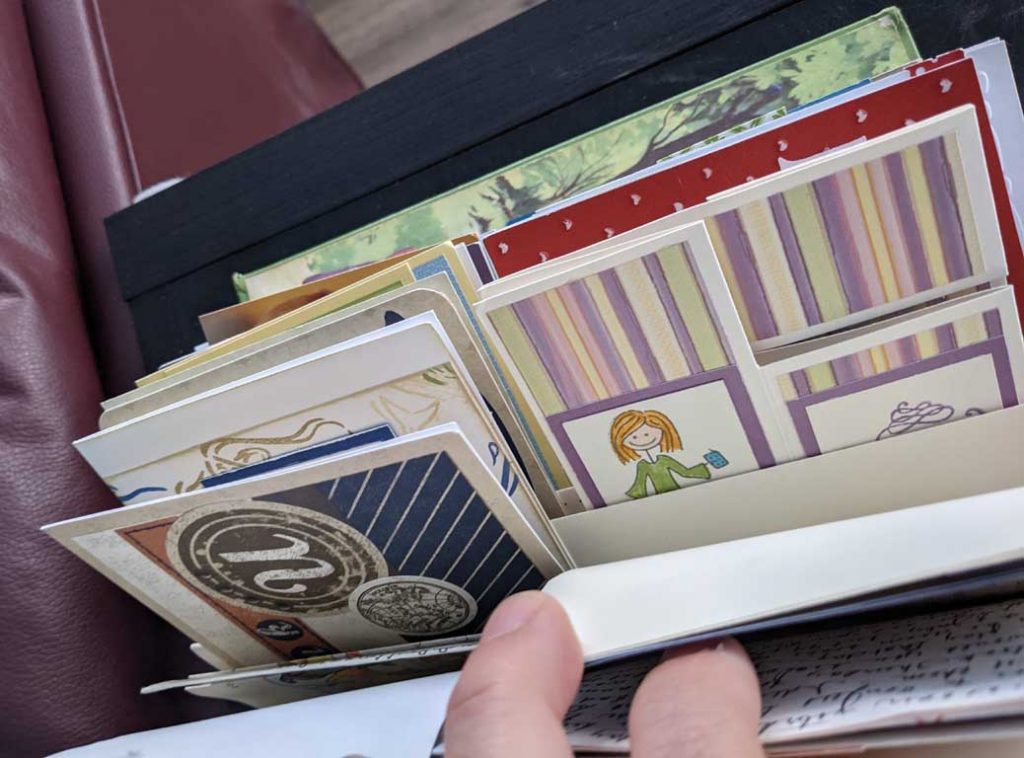
One thing I learned was a 500+ page book takes a LONG time to fold all the pages. Once I started adding cards, I realized there are a LOT of spaces to place cards, so I was able to spread them out and this will be something that I can add to for several more years.

I stuck the cards in from both sides with the fronts of the cards facing towards the center. I look forward to seeing this out every year.

If you want to create a book display of your own, here is a video that shows you how.

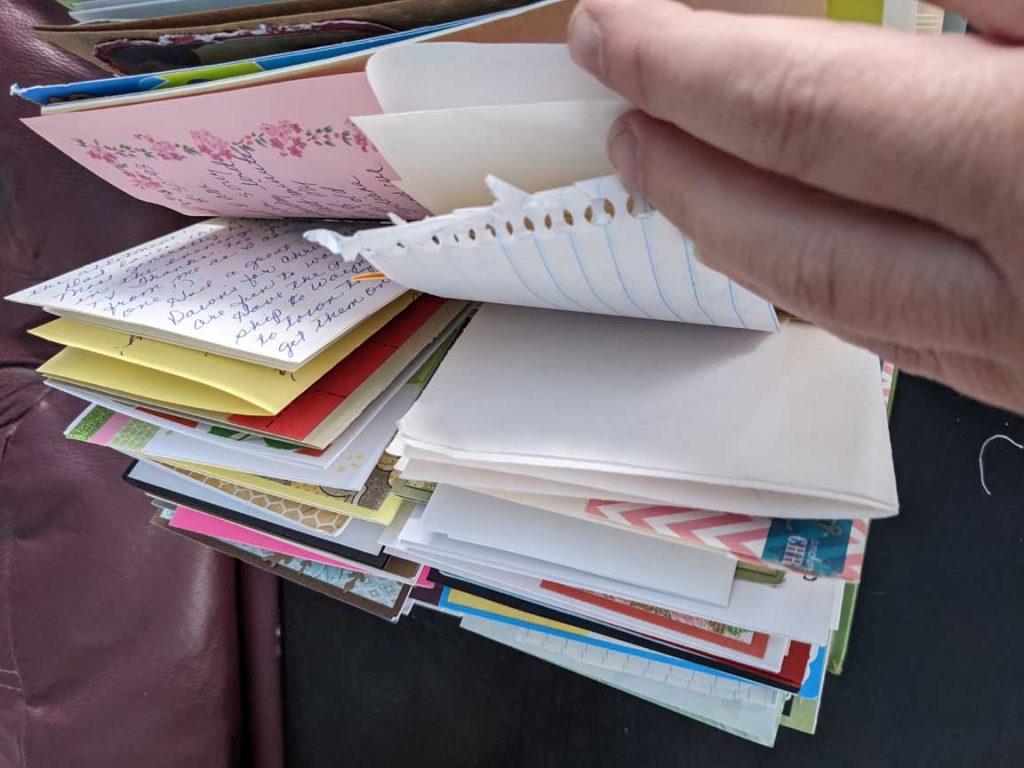
Here is the original book display that I did for every day cards I’ve received. This also holds notes from my Granddad, my mother-in-law, old high school friends. It’s such a wonderful “happy place.”

Happy Crafting.

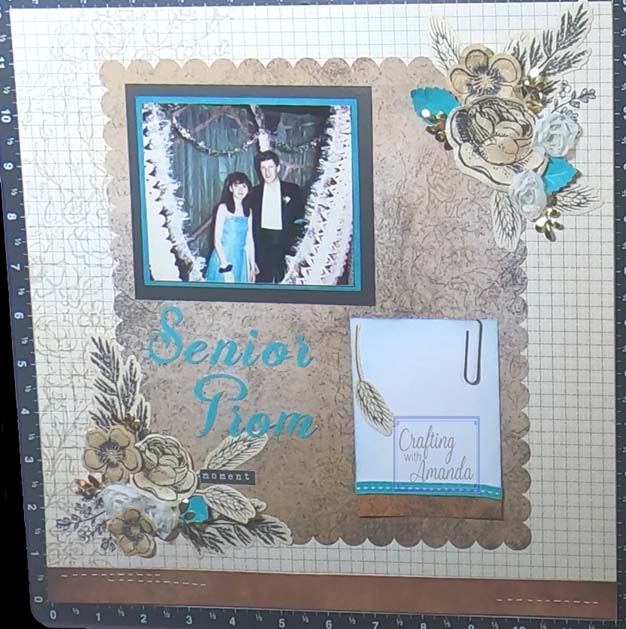
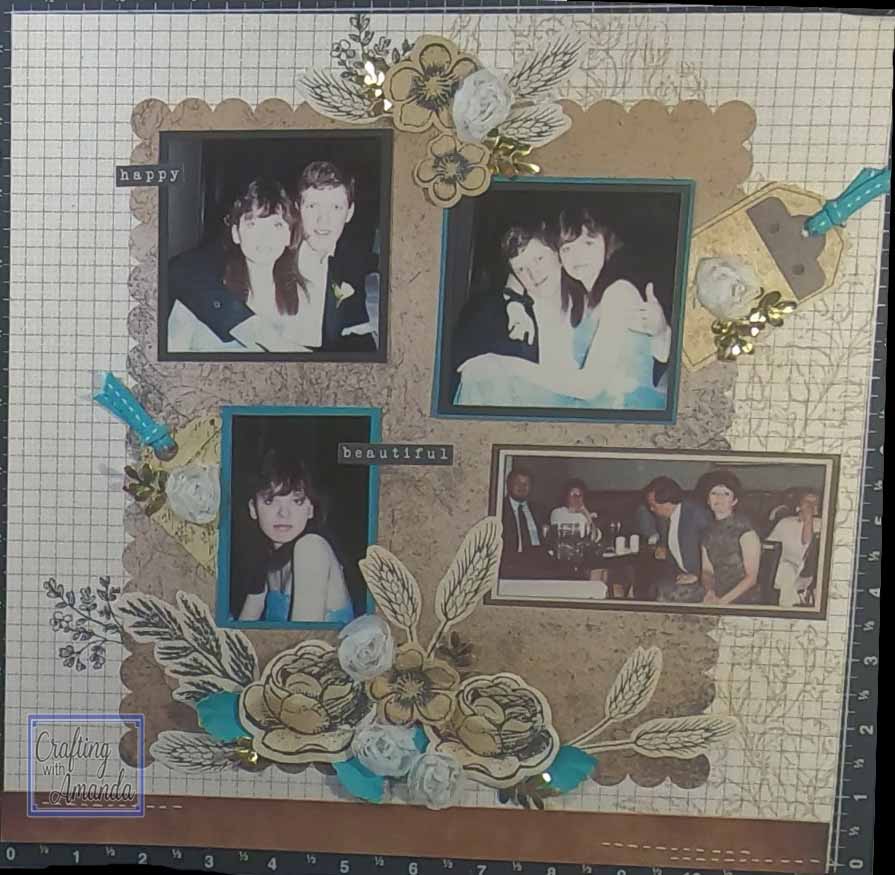
Senior Prom Photo Pair #4

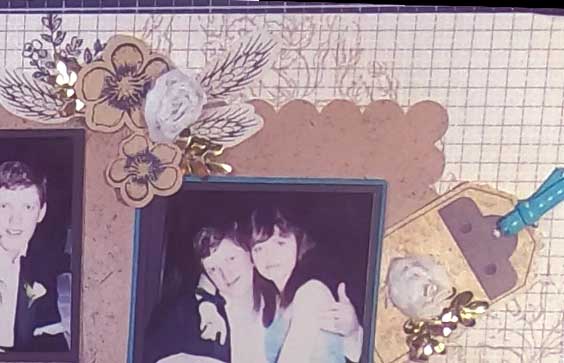
I took a Craft with Heart LO kit from March 2020 and added lagoon cardstock to create this lovely layout. The photos are from my husband’s senior prom, and wanted to focus on the people. The flash really washed out the images, so I wanted all the embellishments and matting to highlight the photos.