Close to My Heart

Cards from May Scrapbook weekend

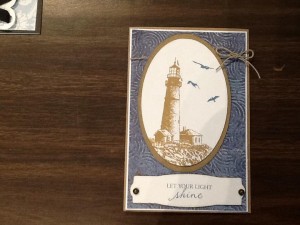
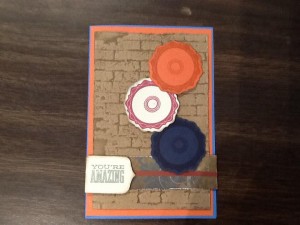
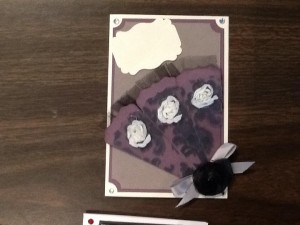
Yes, I am still working on putting together the cards from a crafting weekend in May 2013!.   A friend and I each designed 4 cards and we cut enough pieces for each of us to make 5 cards.  In theory we would each end up with 40 cards at the end of the weekend.  I did get more completed than she did, but neither one of us finished them all.  I came across the cards  & pieces the other day, so I decided this would be a quick project.  (I was so wrong!)

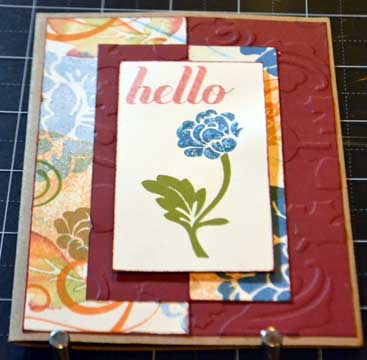
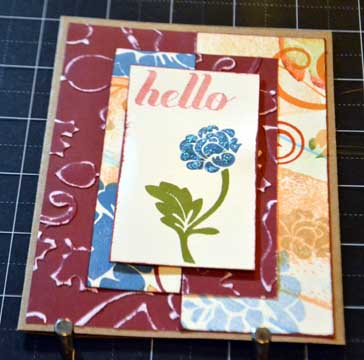
Theses first two cards are ones that did complete, but I thought you would like to see all the great cards my friend designed for us!maycard4

maycard2


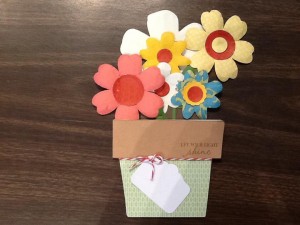
The next cards are my work in progress cards.  The photos are the completed work of my friend, but she shared her photos so I could re-create her ideas!

maycard5 maycard3 maycard1

I did help with the layout of the flowers in the flower pot card, but I was grateful that all the pieces were already cut out for me!

Happy Crafting!

CTMH My Crush Book Give Away!

Hi Everyone,

I have been crafting, but I haven’t been at my computer to publish the photos.  I will.  You might be surprised as I’ve gotten my knitting needles out, and made a quick and easy “Potato Chip” Scarf.  Apparently it’s called that as you can’t make just one.   From the true confessions folder, I’ve already started my second one!

CTMH has a great opportunity to win 1 of 20 my crush books.  Here’s a video with all the details!

Good luck and happy crafting!

Quick & Cute Halloween Layouts!

Just in time for October, here’s a great video tutorial for creating some quick and easy scrapbook layouts using the CTMH Artbooking Cartridge.  (I really like this cartridge,  it’s already over taken Artiste as my 2nd favorite cartridge and it’s working towards over taking Art Philosophy which IS my favorite!)


The colors for our school are orange and black, so I’m creating a scrapbook of empty layouts for the library auction using black, orange, crème brulee, slate, whisper & white.  I think I’ll have to include these as so many people love Halloween and will have photos to put on the pages right away!  I also love the tip about not having to back the whole overlay, but that we can just add a touch of color!

Happy Crafting!

ProPlayer – Scrapbook Layout in progress

Well,  there is a workshop on Thursday and I’m not ready yet.  It seems to happen to me more in the fall than in February when the Spring/Summer idea book is released.  I think that might have to do with August being tractor driving time and September is trying to get into a new routine, harvest all the garden goodies and scrapbook!
ppfeatupclose1

I still have some more time tonight and all day tomorrow, so I’m sure I’ll have finish products for you to see by the end of the week.

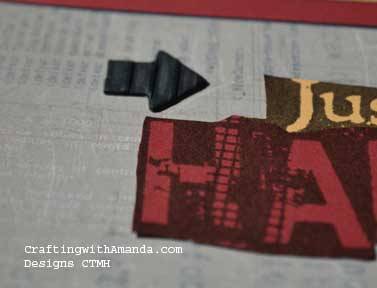
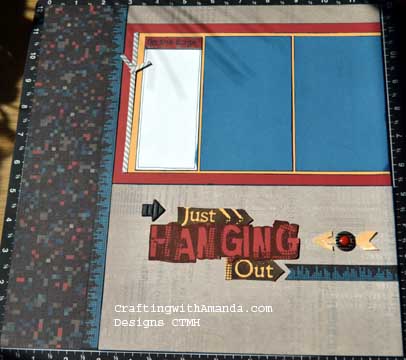
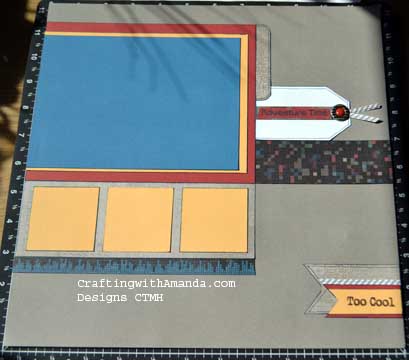
Here’s the layout from the ProPlayer workshop brochure.  I followed it almost exactly.  I didn’t stamp the black arrow, but instead used a textured one from the embellishments.

In hindsight, I think I would have liked to put a twist tie or bakers twine  around the arrow, but at the time I didn’t think about it.
ppfeatlt

I don’t have any photos for this layout.  As I mentioned prior, I haven’t edited or printed any photos for over a year, and I couldn’t find any of our older prints that I wanted to use with this.
ppfeatrt

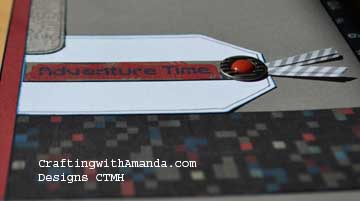
ppfeatupclose2Love the hand drawn line around this tag and some other embellishments.  It’s the little things that all seem to add up to the best layouts.  (That’s a shout out to the designers at CTMH for the scrapbooking workshops on the go!

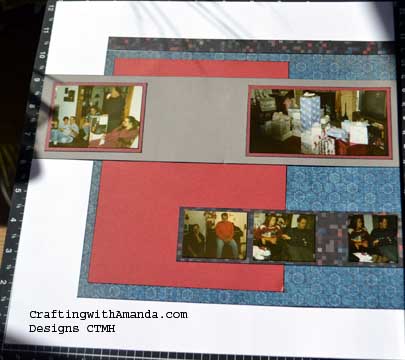
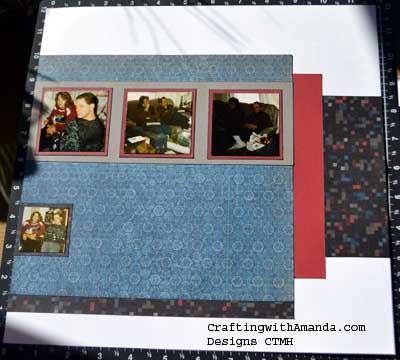
The next layout has photos, but no embellishing yet (well,  at least no embellishments at the time of the photo. I’ve been working this evening and have a title, journaling, and about 1/2 of the embellishments done.)
PPLO2lt PPLO2Rt

These photos are from the day after our wedding when we were opening gifts at my parents house.  It felt strange being the only one opening gifts, and I think some of the guests were more excited to see what we got than we were.  It took a lot of convincing for us to even register.  We just wanted to get married and start a life together under one roof (yes, old fashion).

I’ll have updates on this last layout, and the third one that hasn’t even been selected let alone started later this week! (Workshop is Thursday, yikes!)

Happy Crafting!
 

Sept Club Night Card Photos

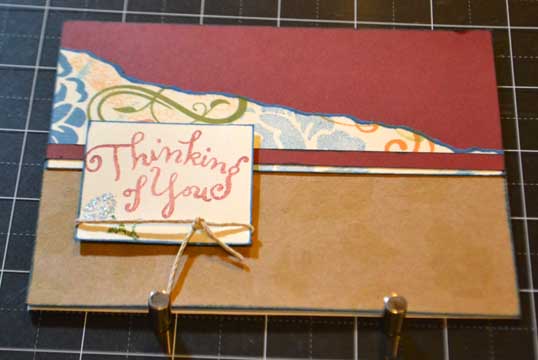
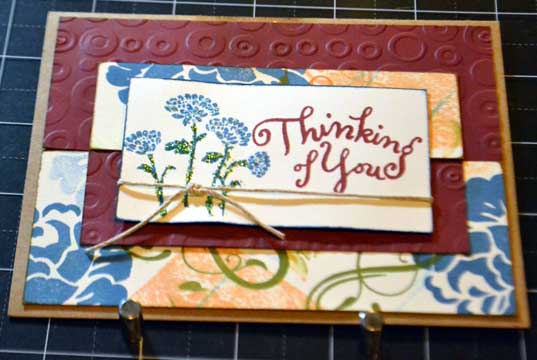
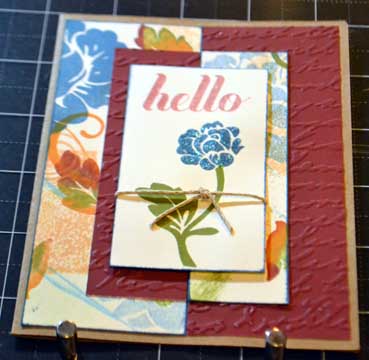
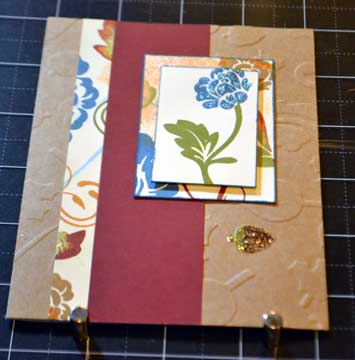
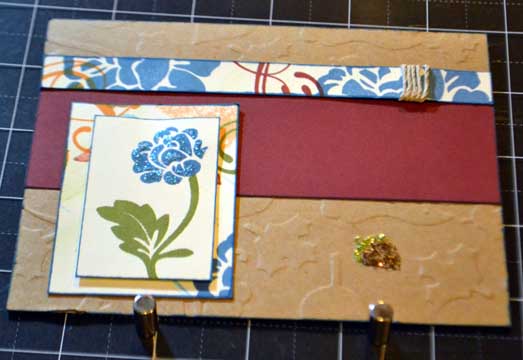
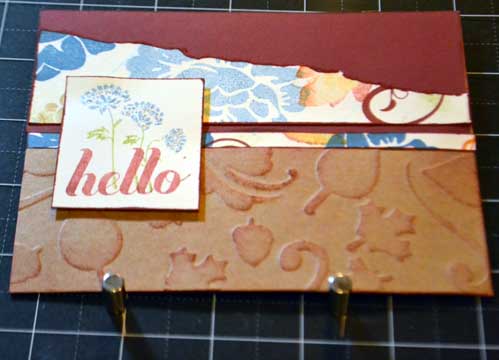
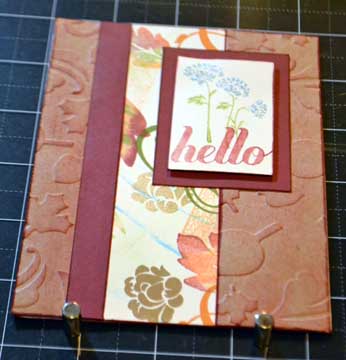
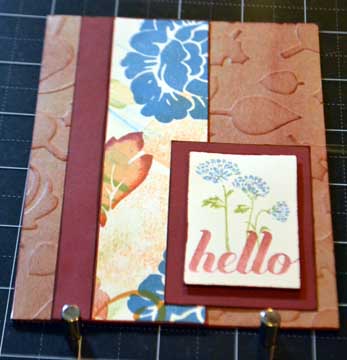
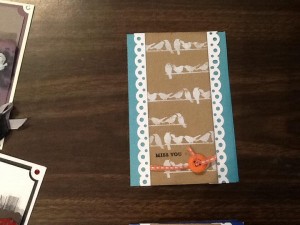
Here they are.  The 10 cards we made at our September club night.  I showed you my random stamped piece in this blog, so now you can see what I did with that custom sheet. septclubcard12I’m posting them in the order that I created them as I believe there was a marked improvement in the cards as I went along and found my mojo. In addition to the 12×12 random stamped paper, we used a 12×12 color cardstock, 2 sheets of kraft paper (12×12) ,  a scrap of neutral for the sentiment. and 6- 5.5 x 8.5 card bases. On this first one I ripped the patterned paper and edged everything in Indian Corn Blue.  Nice card, missing something  I tried a tone on tone stamping of leaves on the kraft paper, but I wasn’t happy with the results the next morning. septclubcard32     On this card, I got out my free cuttlebug (long story on that) and decided I would try embossing.  I haven’t used the cuttlebug, and only own a few dies and embossing folders.  The “words” folder wouldn’t work for the orientation of the card, so I tried the circles.  It’s okay, but I wasn’t happy with the circles on my “fall” themed card. I loved how the glitz really helped “Pop” the flowers on the cards.  (Wouldn’t do the stems again, but when you’re having fun, sometimes it just goes too far!) septclubcard34Changed the orientation on the next card so I could use the words.  Better, but I still wasn’t happy.  At that point, I decided to finish up some other duties and I could try again the next day. So, after getting the kids to school, and staring at my card pieces for a LONG time, I decided I needed a fall themed embossing folder.  I knew I had seen something (probably on Youtube) about creating your own embossing plate, so I did a little research and after a few hiccups, I was giddy with my home made embossing folder. septclubcard22 It’s faint in the photo, but I embossed the kraft paper.  I even “highlighted” an acorn from the embossing with glitz glitter.  (In hindsight, but probably would decide against the glitz on the acorn, but it was done.)   septclubcard23 The pattern I created for cutting these cards, creates 5 cards from each half of the patterned and color cardstock papers, so after I “played” with the first set of five, I whipped together the next set very quickly. septclubcard11 Added a little sponging to the embossed leaves, and even though you can’t see it on every card, the flowers all have a touch of glitz on them. septclubcard21 I used  Barn Red on my edges and for sponging on this second set of cards.   Just made them a little different than the first set.septclubcard24 septclubcard31 I loved the second generation stamping of “hello.” Here’s a list of the other stamps and such I used. Swirls Around Happy Autumn Patterned Pennants Stardust Glitz                     septclubcard33                 I tried sanding, and I do like this technique, but it wasn’t the look I wanted for these cards on this day!  (Have you had days like that?)   Happy Crafting!