Close to My Heart

Snowhaven Workshop – Twist

Hi Everyone!

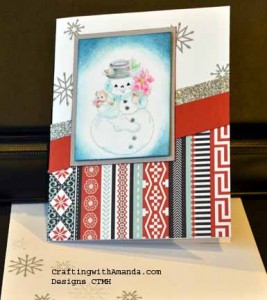
Here are the Snowhaven cards that I created using the guide from the workshop & adding the Christmas Post Stamp Set

snowhaven3

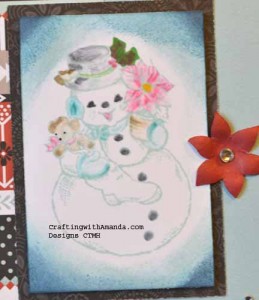
After I stamped the snowman, I did trim the sentiment & the mat.  I then sponged the edges in glacier, Indian Corn(flower*) Blue, and Outdoor Denim inks.  To color the snowman, I used our wonderful Shinhan markers!  Instead of coloring directly on the stamped image, I made a spot of color on a block and picked up the color on the blender.  Trying to keep in mind where I wanted the darker areas, I colored those first when the color was it’s deepest, then blended out to the edges.  Hopefully there will be a tutorial in our future!

snowhaven mod

This is the close up of the snowman from the first card, and I’m not sure where the photo went, but as it is very similar to the workshop card, just changed the sentiment to a snowman, I am not going to worry about it!

I did create the pointsettia from the artist cartridge, added a little bling to the middle and shaped it with embossing stylus.

Here is the second card.  In the workshop, they used the black side for the bottom portion of the card, but I liked more color.

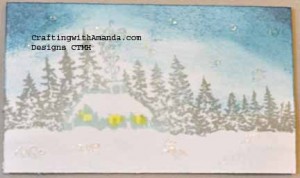
I rock and rolled inked the house in the trees starting with glacier then rolling the tree line in Slate.  Just like the snowman, I softened the outer edge with sponging.
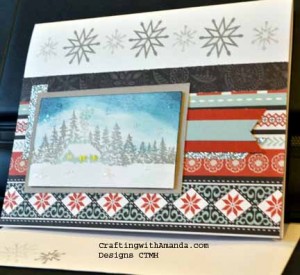
snowhaven2Here is a closer look at the stamped image itself.  Are you wondering how I got the lights in the windows to look like they are glowing?   Well,  wonder no more.  I used a white chalk marker to color in the windows, then used yellow chalk on a cotton swab to make them glow!  I used this on a Christmas tree too and it really makes the lights look like they are shinning.

snowhaven2a

One of the main reasons I changed up the stamp set was so that I could have some winter/Christmas thank you notes for the kids to use.  I’m quiet pleased with how these look.

Happy Crafting!


Instructions to find Pop-up Cards

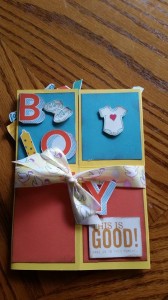
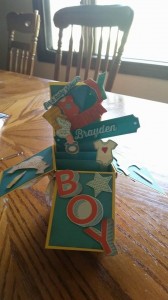
Erica Popup Baby

It was brought to my attention that I could post the instructions for these cards.  We used the Card Makers Magazine (Winter 2014) instructions and I’m sure I can’t post those here.  Copyright laws and all.  So, I found another set of instructions at Split Coast Stampers.

Erica Popup Baby2

This card was created by Erica and she took a baby shower invitation she received, and taking the pieces about carefully, used the paper and embellishments from the invitation to create this card.  I thought is was clever! Here is the card opened.

Can you tell I’m loving these pop up cards!

I sponsored a card sketch challenge this weekend, so I’ll post the sketch and my take on it soon!  (It’s still packed.)

Happy Crafting.


Glimpses from the Weekend

It’s a new week.  I’m not sure why the Friday post didn’t get updated until Monday, but there it is.

Had another great weekend talking with creative ladies and seeing some beautiful artwork.

I might not have finished the samples for even one scrapbook workshop, but  I was pleased with what I managed to get done.

Scaredy Cat 1lt


This Layout is from Magic pg 28 (I think).  I cut the branches out of black glitter paper using the Artfully Sent Cartridge.  (Not just for cards!)

Scaredy Cat 1rt


CTMH glitter paper cuts beautifully too!

Here is the right side of this layout.  I don’t have a title yet, but I love the little tassel on the hidden journaling spot.

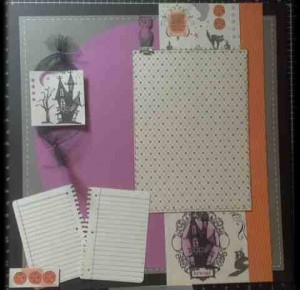
This next layout embraces the fun of the Scaredy Cat paper.

It too comes from Magic.  (I think page 48)

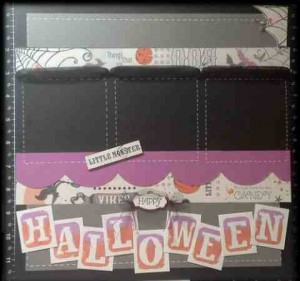
Scaredy Cat 2ltThe square house is on black tulle and was cut from one of the patterned papers.  I also cut the owl, three pumpkins, little monsters sign (right page) and spider web too.

To ink the two tone “HALLOWEEN” I used sunset & thistle.  I inked thistle on the top of the stamp, then (because I could see through) I did the other part in the sunset.

Scaredy Cat 2rt

Really like the effect on this themed Layout.

I used a Gel White pen and made “stitch” marks around the edges of the slate CS and to highlight the photos on the right hand page.  It still amazes me what the little touches do to highlight photos!

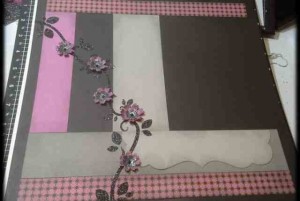
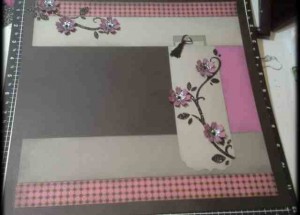
Hopefully I’ll find some time this weekend to finish the floral pages and put together the third LO for this workshop.

Happy Crafting!

Amanda


Weekend of Scrapbook workshops preparations

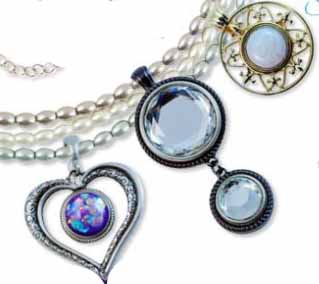
There is a great scrapbooking weekend held in Gaylord, and I get to be a vendor.  Not with the great CTMH goodies as that spot has been filled, but with the lovely Magnabilities necklaces.
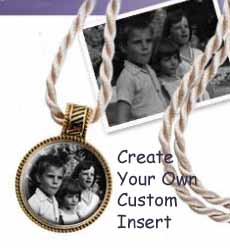
pendents custom insertSo, when there is down time, I’ll be working on my samples for upcoming workshops.  I have Scaredy Cat, Yuletide, and Winterhaven.  I’m going to try and pack light with just the inks that match the paper packs, cricut, workshop kits & tool bag.  I might throw in my embellishment folder, but I think I’ll have more than enough to see me through the weekend!
I’ll try and post some photos soon.

Happy Crafting.


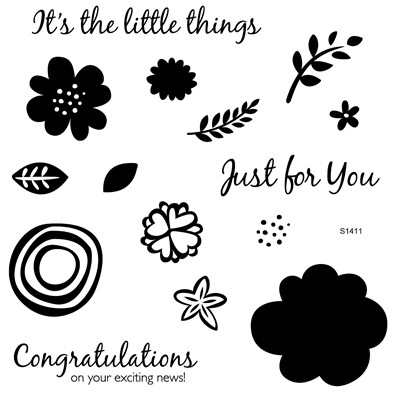
Love November’s Stamp of the Month (SOTM)

It’s all about the Little Things really strikes a chord with me.  Life is about the little things, or at least it feels that way to me.  The big consumers of time and money aren’t really that important when I stop and think about it.  I think the little moments of playing a game, that I really don’t like, with my son, or whipping up some tasty treats, that I can’t eat, with my daughter are the moments I want to cherish.  So, this whimsy stamp set has me waxing poetic.  (Please not that was poetic, not pathetic <grin>)
Nov2014 SOTM

Just think, you can get this great stamp set for only $5 this month only with a $50 purchase.

These cards don’t use this stamp set, but I can easily see where they could be created from it.

quickstampedcard2

quickstampedcard


If you do some creating, I would love to have you share it with me so other’s can get some great ideas too!

Happy Crafting