Close to My Heart

Mum – family flower Tutorial

As I’ve been posting some of my cards with the big sunflowers on them,  or colorful mum like flowers,  I’ve been asked how I do them.  I tried writing out instructions,  but some were still confused,  so tonight I created another flower and this time took photos as I worked.  So are a bit blurry,  but I hope you get the idea.

Step one.  Cut your flowers & centers out on the cricut.  I used the Art Philosophy cartridge.   Cut 2 <Flower1> (Shift 1 ) at 2.5″ and 1 <Flower1> (Shift 1) at 2″  I then cut 1 smooth <circle1> (1) at 1″ and 1 scallop <circle2> (q) at 1″  Now you have all the pieces you need to create one flower.
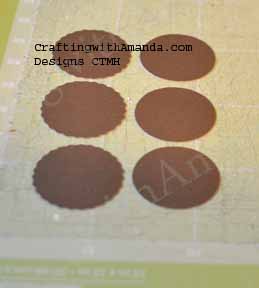
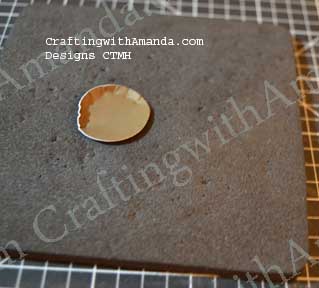
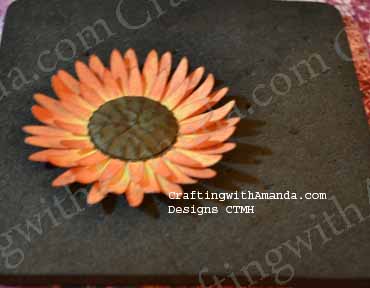
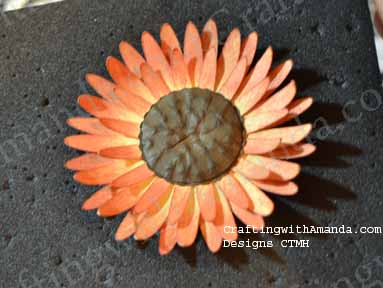
sunflower1To make the centers look more “real,”  I took my small round stylus and gently poked dots starting at the outside edge and working toward the center on the smooth circle.
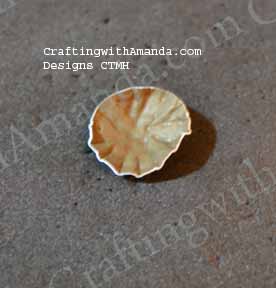
sunflower2Ends up looking like this.

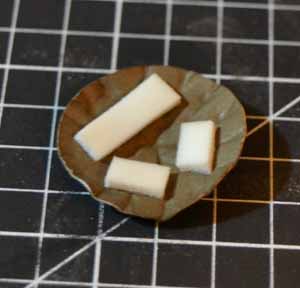
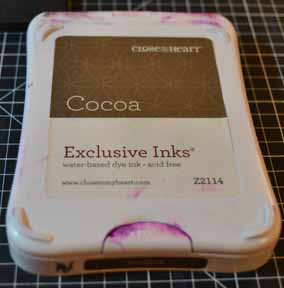
sunflower3Next I attach some pop tape to help it hold it’s shape before I use a sponge and rub ink over the dots.

sunflower5

I also ink the edges of the scallop circle and normally the edges of the smooth, now dotty circle, but didn’t so you would be able to see the layers better.
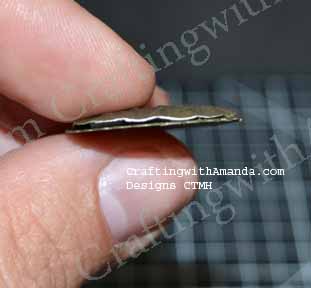
sunflower4

sunflower7You’ve just created a sunflower center sandwich  🙂

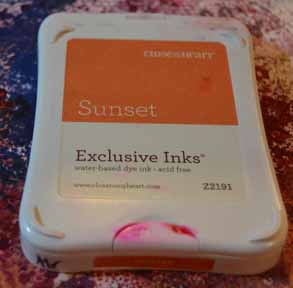
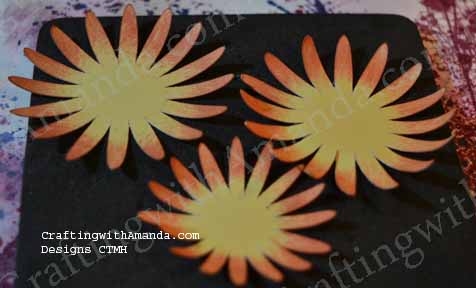
Next you get to play with the flower petals.  In this example I used sunset ink to add color to all three of the flower petals.
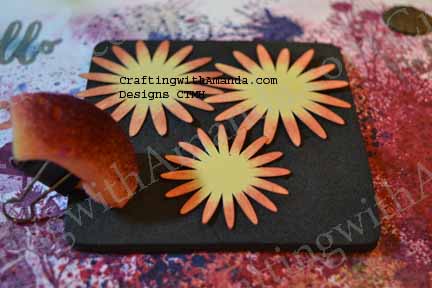
sunflower8

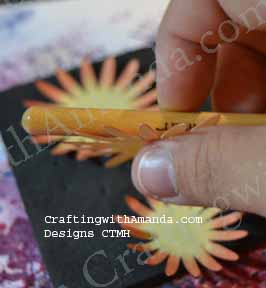
sunflower9To give the flower a natural look,  I curved the petals by pulling the handle of my piercing tool over them.  (if you ever curled ribbon for a package with scissors it’s kind of like that.)

sunflower10

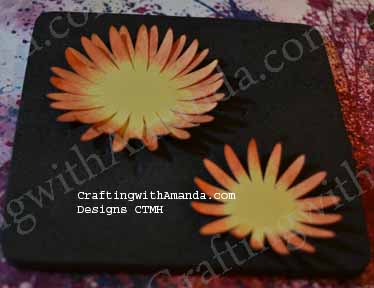
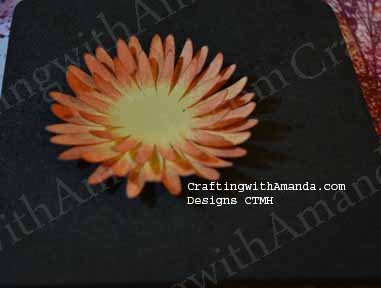
Now you can start assembling all your components to create a stunning accent to any of your projects!

sunflower11sunflower12sunflower13sunflower14sunflower15

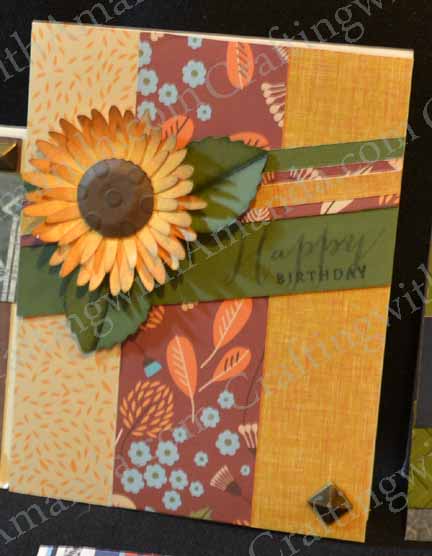
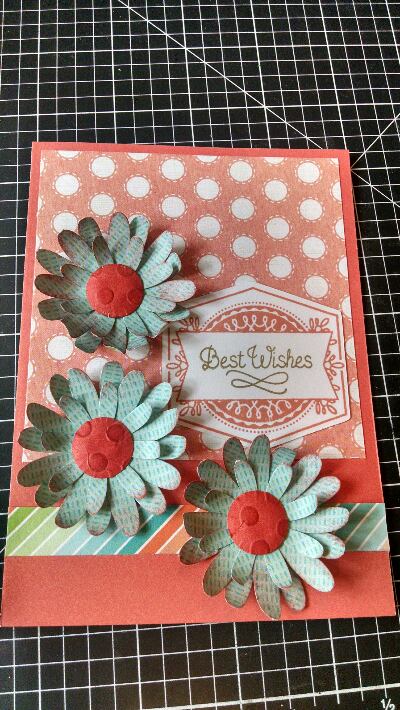
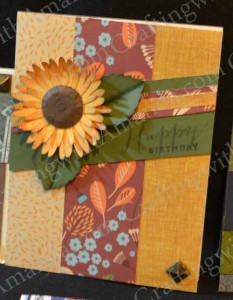
Here are some of my creations using this flower.

NeverMore-SeptSOTM_frontpathfinding_APZoe&Blossom_Card

Happy Crafting!
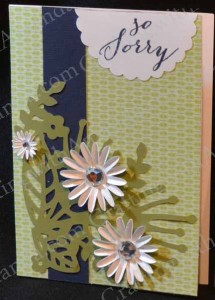


Jumping up and down and clapping my hands

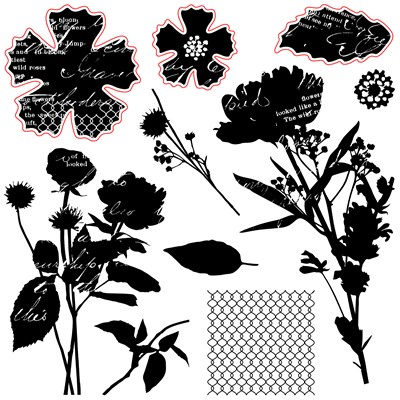
Yes, I’m jumping up and down while clapping my hands because I’m that excited over the new Annual Inspirations book. I have so much I want to share with you and so little time today to get this post done. So, I will start with the Stamp of the Month which I’m sure will rival one of my all time favorite stamp sets. (Treasure Life) This stamp set is only available in September and is only $17.95. If you make a $50 purchase of product you can add Paper Garden for only $5! I don’t know about you, but with all the new products now available it is really easy for me to spend $50.
Paper Garden
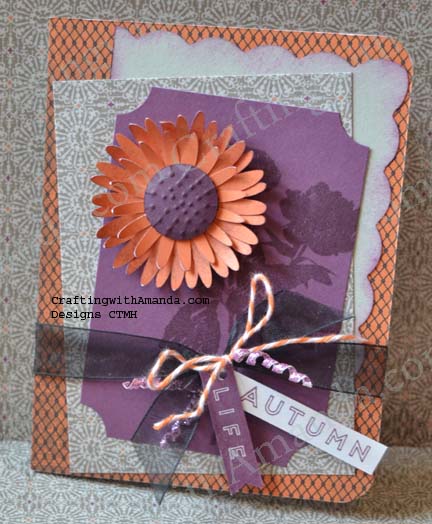
So many possibilities with this set. I’ve managed to make one card so far and am excited to show it to you! This also uses the new Nevermore paper and stamps from the Hello Life scrapbooking set.

NeverMore-SeptSOTM_front

For the sparkly spirals I used a thin piece of the purple glitter paper.  I like the little extra shimmer it brings to the card!

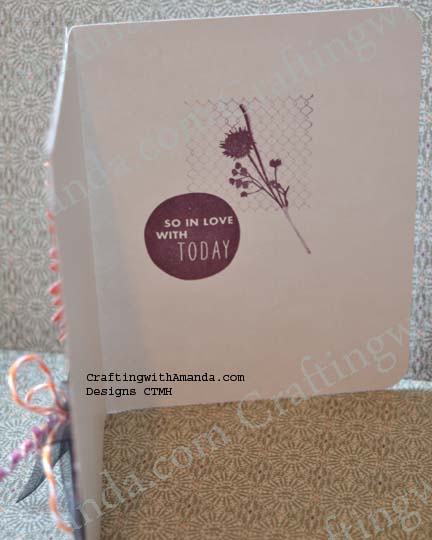
Here is the inside.    (Stamped in Pomegranate

NeverMore-SeptSOTM_Inside

Happy Crafting!
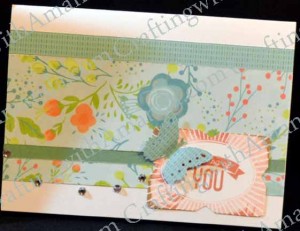
Great Deals this month

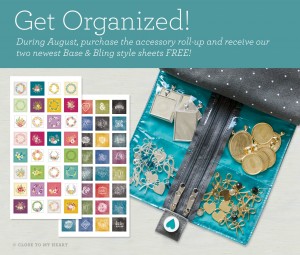
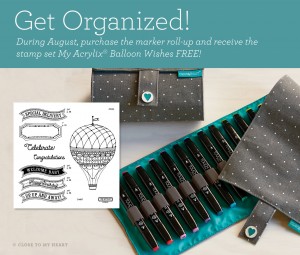
You’ve probably already heard about the deal this month.  If you order one or both of the new roll up organizers,  markers or accessories,  you receive some free product.  In the case of the roll up accessories,  or embellishment organizer you receive two new base and bling style sheets.  With the maker organizer, you receive the Balloon Wishes stamp set.  I had heard some mixed reviews from consultants who had purchased them early (without taking advantage of the free deals),  but I didn’t want to bias myself,  so I stopped reading the reviews and waited until my arrived in the mail.   (Of course they arrived the afternoon after I left for a week with the kids to go to my Mom’s house.)

1508-cc-get-organized-accessory 1508-cc-get-organized-marker

Now that I am back home,  car is unloaded and club night is done,  I can tell you what I think about these organizers.   First,  they both have a hanging loop from one of the short ends.  I especially like this on the marker roll up.   The markers fit in well, not too tight,  not too loose,  you can see the colors easily.  I think all roll out on my craft table it would take up too much room,  but hanging from a hook off the front of my table,  or on the wall beside my table,  I will have easy access to them and be able to pack them quickly for any crops!  I really like it.

The accessories roll up also has some great features.  You can move the zippers to only open one compartment at a time,  or have all of them opened at once.  It holds lots,  easy to see what you have and again,  would be quick to pack.   All that wonderfulness being said,  for   everyday crafting it’s not my thing.  I can see me using it for workshops as I could write on the plastic part of each pocket how many they are suppose to take of each thing,  but for personal use,  I will stay with the method I have using the Large Organizers & photo holders bins.

Would love to hear what you think of the new roll up organizers.  (Wouldn’t be the first time someone has found a great use and I’ve kicked myself for not having enough of that item!)

Happy Crafting!
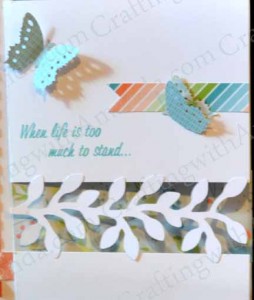
Introducing Zoe and some Artistry Images

Hi,

The haying isn’t completely finished,  but I’ve found some crafting time to wind down at the end of the day.   Some of these cards  combine paper packs and I will try to include the names for you!

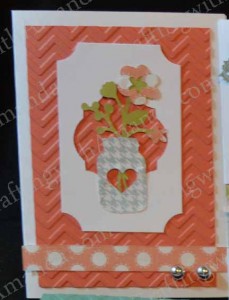
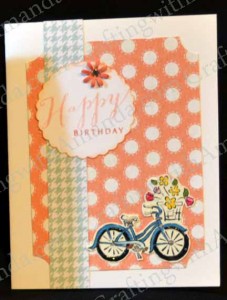
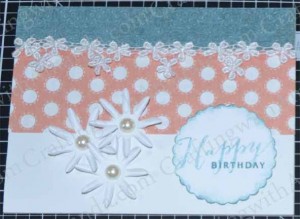
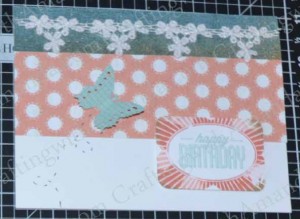
Zoe&Artistry_vaseThis card uses some of the new Zoe paper and cuts from Artistry.   I have been using up scraps lately and so it was refreshing to cut into a whole sheet of NEW paper!  Before I forget to include them,  here are the stamps that I used on these cards.   C1605 Happy to Be Friends  & S1508 Framed

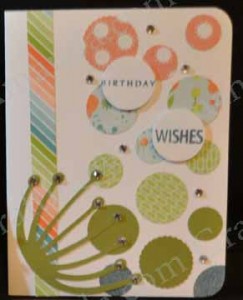
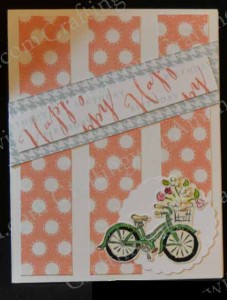
circle_bday zoe_bday_bike zoe_bday_bike2

Here are some other cards that combine Zoe, Artistry and some Blossom Paper too!

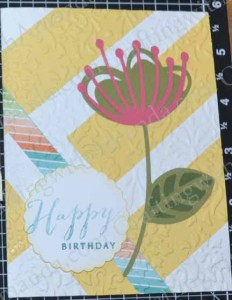
There are some artistry cuts on each of these cards. Chalk It Up makes a cameo appearance and Pathfinding too.  The sunflower was cut using the Art Philsophy cartridge.

zoe&Artistry Artistry_cut blossom_artistry blossom_Artistry2 Artistry-Blossom-Card pathfinding_AP Zoe&Artistry_vase Blossom_SOTM

And for good measure I will throw  some other cards that I made this past week.

blossom_card chalk_it_up zoe&florentine zoe&SOTM

Happy Crafting!
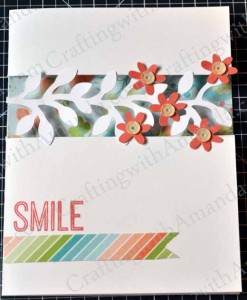
More “Scrap” Cards

After Nine years with CTMH,  I’ve accumulated a LOT of left over bulk papers and club night project partial kits and such.  I have also received gifts from friends and family of non-CTMH product.  (Shocking I know!)  So,  in my “de-clutter life” campaign,  I’ve decided to use these papers and embellishments.

I will try to indicate which paper I’ve used.   I had taken a photo of my craft table with a pile of scraps,  but then my teenage daughter started a planner and added to my pile so it’s actually bigger now than when I started.

I’ll start with a OSW (one sheet wonder) project that I started.  Like I said earlier,  I have TONS of extra bulk paper,  and instead of using one pattern paper and adding cardstock,  I paired multiple paper packs.

DSC_0023 DSC_0021 DSC_0018

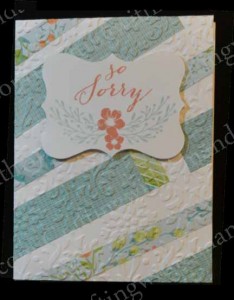
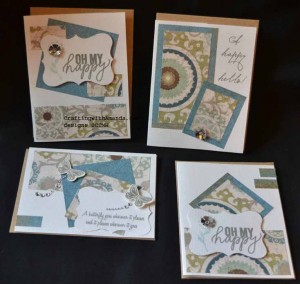
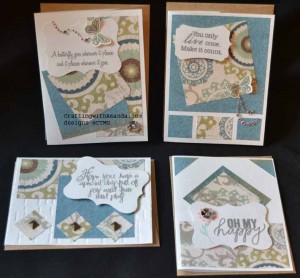
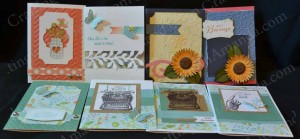
Avonlea and Florentine combined beautifully in these cards.  I used a pattern I found on Pinterest.  Unfortunately  it didn’t pin correctly so I don’t have it anymore  🙁
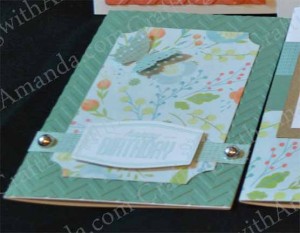
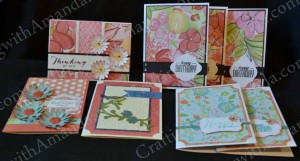
Here are two more sets of One Sheet wonder cards from 6×6 papers.  I used Bulk Roxie for both sets and then Seaside in one and Balloon Ride in the other.  I also found a pack of die cut flowers that I used to embellish them.

OWS-B&T_Scraps_Cards1 OWS-B&T_Scraps_Cards2 OWS-B&T_Scraps_Cards3

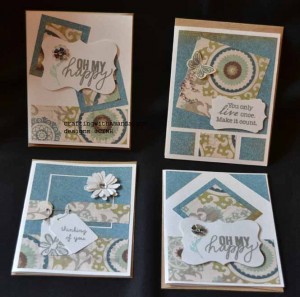
Now these next cards are truly just using up bits and pieces that were in SEVERAL locations around my studio.  Some were from name tags I made for my April Crop weekend and others are from a weekend crop I attended 2 years ago!  Yikes.
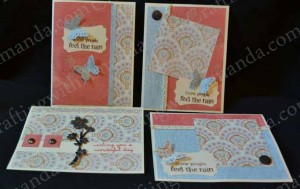
B&T_scraps_cards B&T_Scraps_cards2If some of the cards were similar I stacked them inside each other for the photos.  I think I have 44 cards that have been created from scraps and “old” paper and embellishments.  (All during haying too!)    I know I’ll have more.  This has been a great wind down in the evenings for me.

Happy Crafting