Close to My Heart

Technique Tags – DTP inking & Dry Embossing

If you are jumping in on this post series,  you might want to see all the techniques,  and you can find them here. You also might be interested in knowing that one lucky winner (USA only) will received the set of tags I created and photographed for this series.  (Information at the end of the post!)

Intro & cardstock tearing

Background Stamping & Sanding Cardstock

Tissue Inking & using sponges

Pockets & Tags

Faux Stitches & Patchwork

Pop Dots & Window Panes

Sponge Backgrounds & Crinkling

Random Stamping & Doodling

Fabric Fun & Water Misting

Accordion Medallion & Baker’s Twine

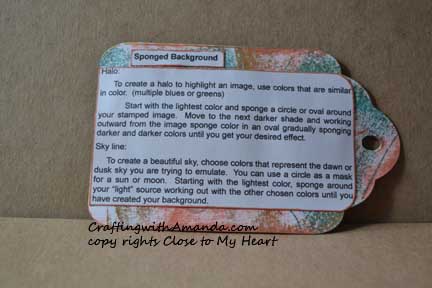
DTP Inking.  Direct to Paper Inking for us that don’t do well with remembering what DTP means.  This technique is something I use all the time.   I mean it ALL THE TIME!  It adds depth, it creates interest, it can soften a hard edge or help colors work together by creating a unified hue.  Like I said,  this is a technique I use all the time.
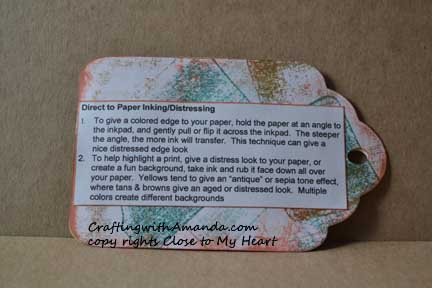
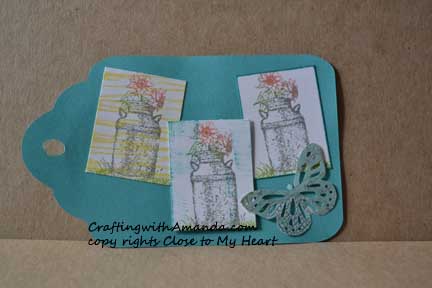
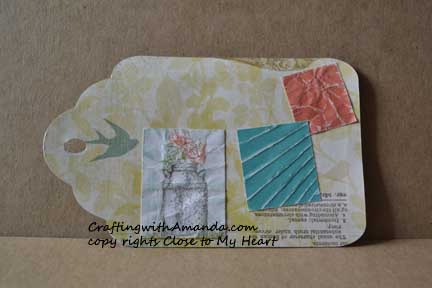
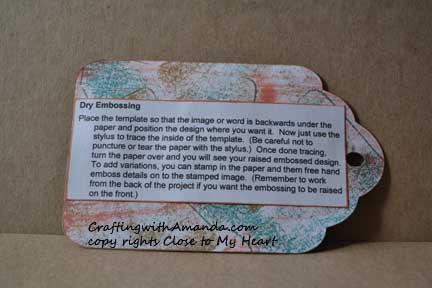
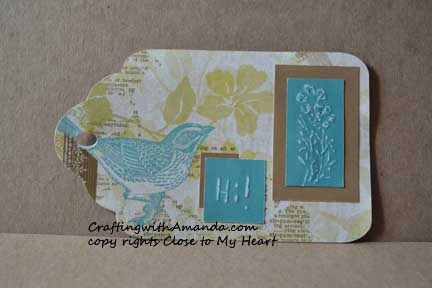
DTP_ins DTP_imgNow, dry embossing is something I use from time to time, and when I do, I love the results.  You can do dry embossing with embossing folders, embedded embossing, or by hand writing words, outlining stamped images, or sanding over a hard object.

dryemb_ins dryemb_img

Now you might want to know how you can earn chances to win These tags.   There are several ways.  Write a comment on this post.  (1 entry)   Share this post link on your Facebook post and let me know on my FB page Crafting with Amanda that’s you’ve done it.  (1 entry per share).  Like my FB page.  (3 entries)  If you’re a pinterest person, for every technique tag you pin, you receive an entry.  (up to 35!)    At the end of the contest I will assign each entry a number and using a random number generator will pick a winner.  I will announce the winner on this blog, and then contact them to get the address where the tag book should be sent.

If you would like a copy of my technique instructions file,  leave a comment with your email and I will send it to you.

Happy Crafting and Good Luck!

Technique Tags Accordian Fold & Bakers Twine

If you are jumping in on this post series,  you might want to see all the techniques,  and you can find them here. You also might be interested in knowing that one lucky winner (USA only) will received the set of tags I created and photographed for this series.  (Information at the end of the post!)

Intro & cardstock tearing

Background Stamping & Sanding Cardstock

Tissue Inking & using sponges

Pockets & Tags

Faux Stitches & Patchwork

Pop Dots & Window Panes

Sponge Backgrounds & Crinkling

Random Stamping & Doodling

Fabric Fun & Water Misting

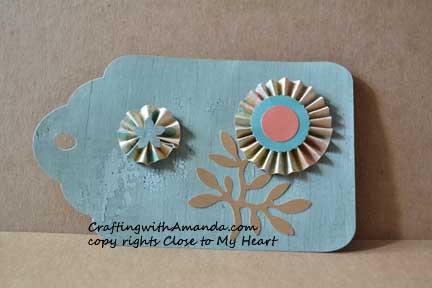
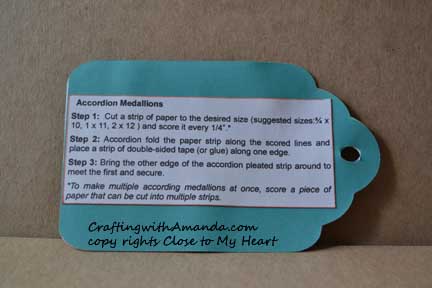
The according fold medallions are great.  They can be tiny to huge, and can make a wonderful addition to many projects.  I’ve used them as the base of name tags for a craft retreat and as a “lollipop” on a layout

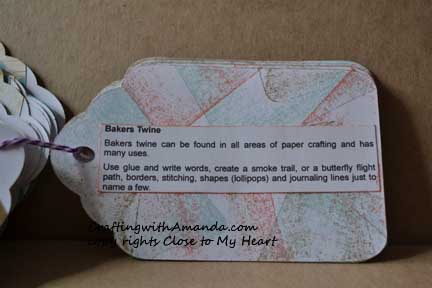
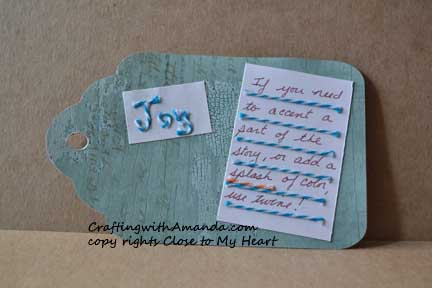
accordian_ins accordian_imgBaker’s Twine is not just for cooking or wrapping around cute packages,  it is also good for creating beautiful embellishments!  I choose to show examples using words and journaling as I find I use twine more for a ribbon replacement or showing the flight of a butterfly,  and less for words.  Continuing to broaden my horizons!

bakerstwine_ins bakerstwine_img

Now you might want to know how you can earn chances to win These tags.   There are several ways.  Write a comment on this post.  (1 entry)   Share this post link on your Facebook post and let me know on my FB page Crafting with Amanda that’s you’ve done it.  (1 entry per share).  Like my FB page.  (3 entries)  If you’re a pinterest person, for every technique tag you pin, you receive an entry.  (up to 35!)    At the end of the contest I will assign each entry a number and using a random number generator will pick a winner.  I will announce the winner on this blog, and then contact them to get the address where the tag book should be sent.

If you would like a copy of my technique instructions file,  leave a comment with your email and I will send it to you.

Happy Crafting and Good Luck!
Technique Tags – Fabric Fun & Water Mist

If you are jumping in on this post series,  you might want to see all the techniques,  and you can find them here. You also might be interested in knowing that one lucky winner (USA only) will received the set of tags I created and photographed for this series.  (Information at the end of the post!)

Intro & cardstock tearing

Background Stamping & Sanding Cardstock

Tissue Inking & using sponges

Pockets & Tags

Faux Stitches & Patchwork

Pop Dots & Window Panes

Sponge Backgrounds & Crinkling

Random Stamping & Doodling

Today’s techniques are ones I don’t use often,  but they definitely make a statement on my project when I do.

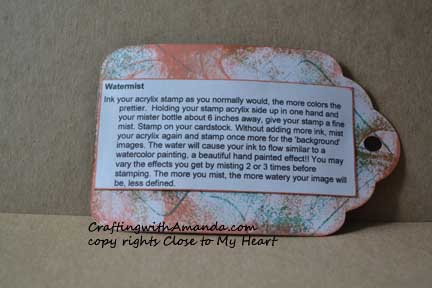
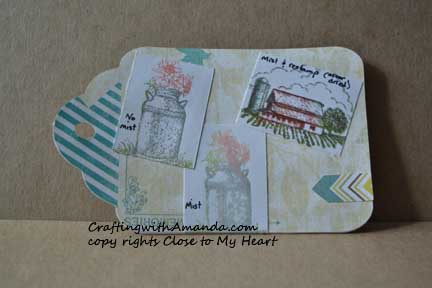
The first one is Water Mist.  This is done with a stamp, ink & some water in a fine mist spray bottle.

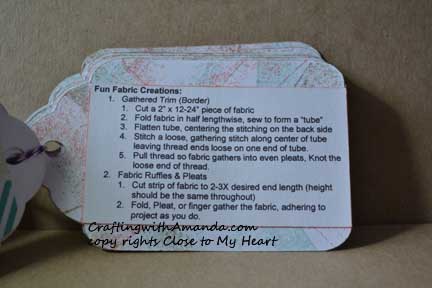
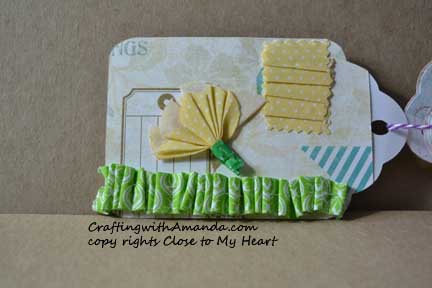
watermist_ins watermist_imgThe next one is fabric fun,  and although it adds a lot to a project or page,  I don’t do it often as I don’t yet have a sewing machine set up or ironing board for that matter.  Hand stitching is not my favorite thing  🙂

FunFabric_ins FunFabric_img


Now you might want to know how you can earn chances to win These tags.   There are several ways.  Write a comment on this post.  (1 entry)   Share this post link on your Facebook post and let me know on my FB page Crafting with Amanda that’s you’ve done it.  (1 entry per share).  Like my FB page.  (3 entries)  If you’re a pinterest person, for every technique tag you pin, you receive an entry.  (up to 35!)    At the end of the contest I will assign each entry a number and using a random number generator will pick a winner.  I will announce the winner on this blog, and then contact them to get the address where the tag book should be sent.

If you would like a copy of my technique instructions file,  leave a comment with your email and I will send it to you.

Happy Crafting and Good Luck!
Technique Tags Random Stamping & Doodling

If you are jumping in on this post series,  you might want to see all the techniques,  and you can find them here. You also might be interested in knowing that one lucky winner (USA only) will received the set of tags I created and photographed for this series.  (Information at the end of the post!)

Intro & cardstock tearing

Background Stamping & Sanding Cardstock

Tissue Inking & using sponges

Pockets & Tags

Faux Stitches & Patchwork

Pop Dots & Window Panes

Sponge Backgrounds & Crinkling

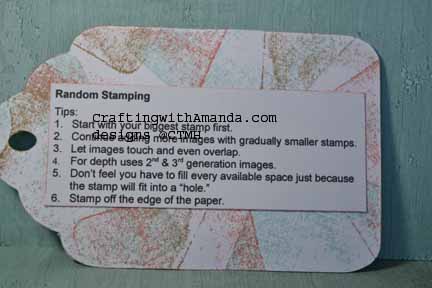
One of the all time favorite techniques of my gals is Random Stamping.  Every time,  EVERY time I make a project that includes random stamping the girls love it.   I think sometimes we crafters get too focused on finishing a layout, a card, or a project that we forget to step back and have some fun with our tools.

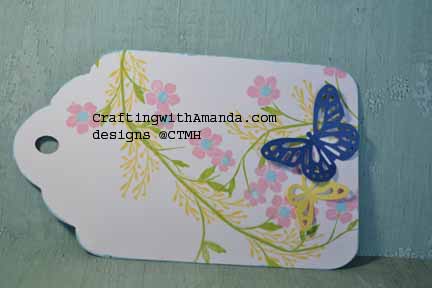
tag_randomstamp_sampTa da.     Create custom backgrounds, one of a kind cards,  and get the exact color & pattern match for a layout.   You choose your colors and stamp images, then just fill in your paper.   There are some hints that will help you like your end product and I go into details of those in this post, Random Stamping.

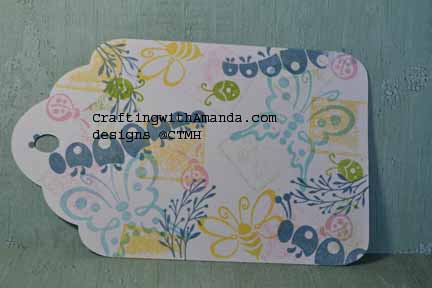
tag_randomstamp_ins tagclub_randomstampThe caterpillar and butterfly stamped tag was the sample when we did this at our monthly club.

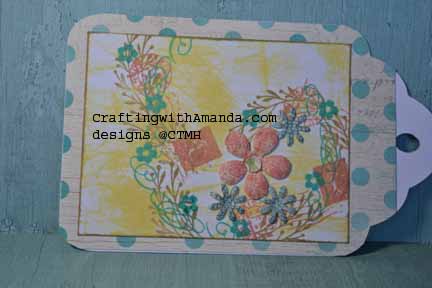
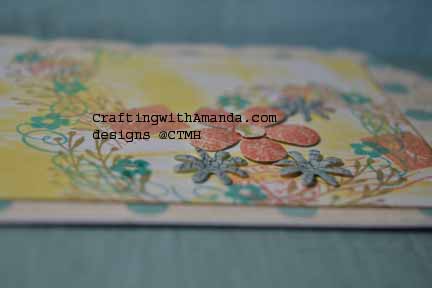
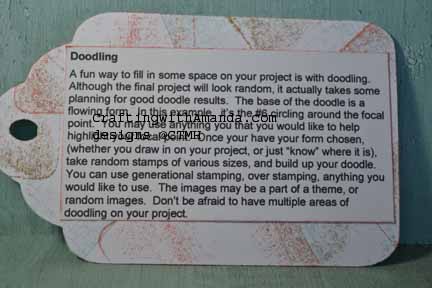
The second technique we are going to look at today is similar to random stamping, but does have a couple differences.  It’s called doodle stamping, and you still choose your colors and stamp images, but in stead of randomly stamping on a blank piece of paper,  you create a flow towards or around a focal image.  In the sample below I envisioned the #6 with my focal point being the loop on the six.

tag_doddle_samp

I used several different stamps, and incorporated paper flowers as well.

tag_doodle_samp2I didn’t realize it when I created this sample,  but I must like the number six as my focal point because I used it for our club night sample as well.   opps!

tag_doodle_ins tagclub_doodleHere are the stamp sets I’ve used in this example, and many of the other tags that we will be looking at in the upcoming posts:

C1605 Happy to Be Friends

D1632 Amour

I also used Seaside papers (X7192B)

Our awesome markers were also put to use throughout this process of creating the technique tags.

Now you might want to know how you can earn chances to win these tags.   There are several ways.  Write a comment on this post.  (1 entry)   Share this post link on your Facebook post and let me know on my FB page Crafting with Amanda that’s you’ve done it.  (1 entry per share).  Like my FB page.  (3 entries)  If you’re a pinterest person, for every technique tag you pin, you receive an entry.  (up to 35!)    At the end of the contest I will assign each entry a number and using a random number generator will pick a winner.  I will announce the winner on this blog, and then contact them to get the address where the tag book should be sent.

If you would like a copy of my technique instructions file,  leave a comment with your email and I will send it to you.

Happy Crafting and Good Luck!
 

Technique Tags – Sponged Backgrounds & Crinkling

A few months ago I started a series of blog posts showing off different techniques,  and promised when I got to the end I would select a lucky winner to receive (USA only) the book of tags featured in this blog.   Today I am picking up where I left off.  If you want to see the other posts,  they are:

Intro & cardstock tearing

Background Stamping & Sanding Cardstock

Tissue Inking & using sponges

Pockets & Tags

Faux Stitches & Patchwork

Pop Dots & Window Panes

Today’s techniques are a mixed bag.  I seem to use one or the other periodically when I craft,  but typically not my go to techniques.   In fact,  I was creating some thank you cards,  and almost crinkled some of the layers to add interest to the card,  but decided not to when it was all said and done.  (or it didn’t get done as I thought about it,  got distracted and when I sat back down to glue the pieces to the card base I didn’t think about crinkling again.)

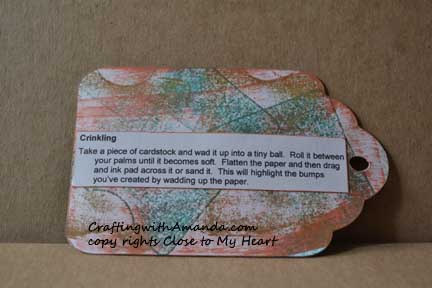
Crinkling_ins This technique will work with non white core paper,  but instead of sanding the paper to help the wrinkles show,  you would need to ink it instead.crinkling_imgBackground sponging can add so much to any project.  Create a sunset or a spooky sky,  shade in some sand dunes. . .  only your imagination is the limit.

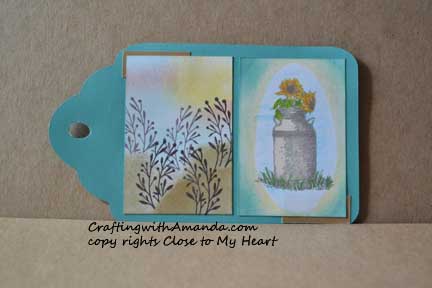
spongeBck_InsCreating an old fashion “halo” to help highlight an image is easy with sponges!

Sponge_bck_img

Now you might want to know how you can earn chances to win this great prize.   There are several ways.  Write a comment on this post.  (1 entry)   Share this post link on your Facebook post and let me know on my FB page Crafting with Amanda that’s you’ve done it.  (1 entry per share).  Like my FB page.  (3 entries)  If you’re a pinterest person, for every technique tag you pin, you receive an entry.  (up to 35!)    At the end of the contest I will assign each entry a number and using a random number generator will pick a winner.  I will announce the winner on this blog, and then contact them to get the address where the tag book should be sent.

Happy Crafting!