CTMH

Punny

I grew up in a house with an english teacher and an accountant.  Word play and numbers were a part of everyday life.   It was only natural then that I would marry a man that loves clever, and not so clever puns.  We have passed on this love of word play to our kids,  and I am often left at a loss when a pun-off is started.  (I would like to say it’s because I just can’t do the groaners,  but I think it’s more that my head is filled with music and creative creations.)

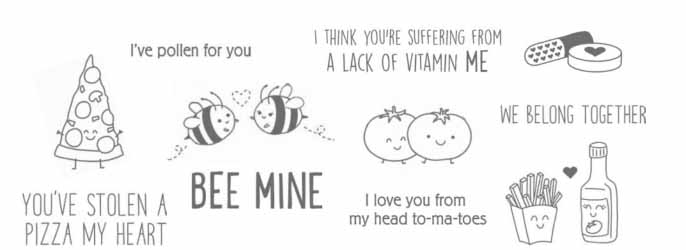
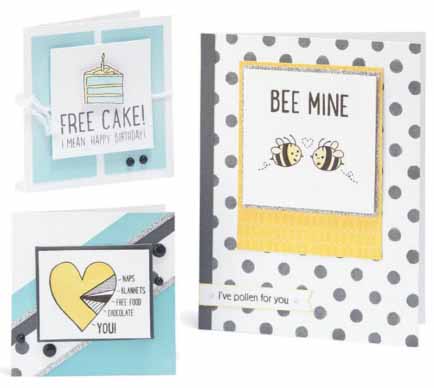
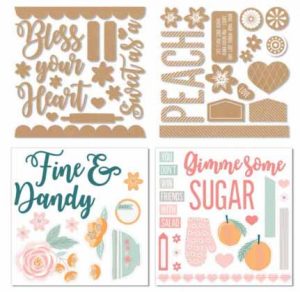
As I was looking through the new Seasonal expression, I missed several details in my haste to soak in the essence of the offerings.  Several passes through the book later,  I saw this.

How cute are these?!?
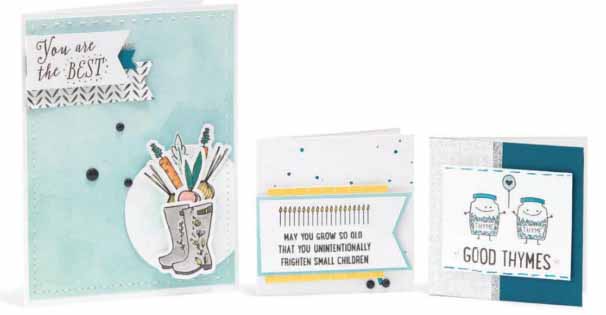
I love all the choices CTMH gives us with the M size stamp sets (Only $2.95 ).

Happy Crafting!

New Seasonal Expressions

I’ve never been a rah, rah kind of gal,  and run pretty level through life.  I tend to roll with the punches good and bad.  All that being said,  I truly am excited for what I am seeing in this new catalog from Close to My Heart!   Just the cover is filled with some cool out of the box projects to create and the colors are fresh!
If you haven’t seen one yet,  you can view it on line,  and if you order CTMH will send you one with your order for FREE!

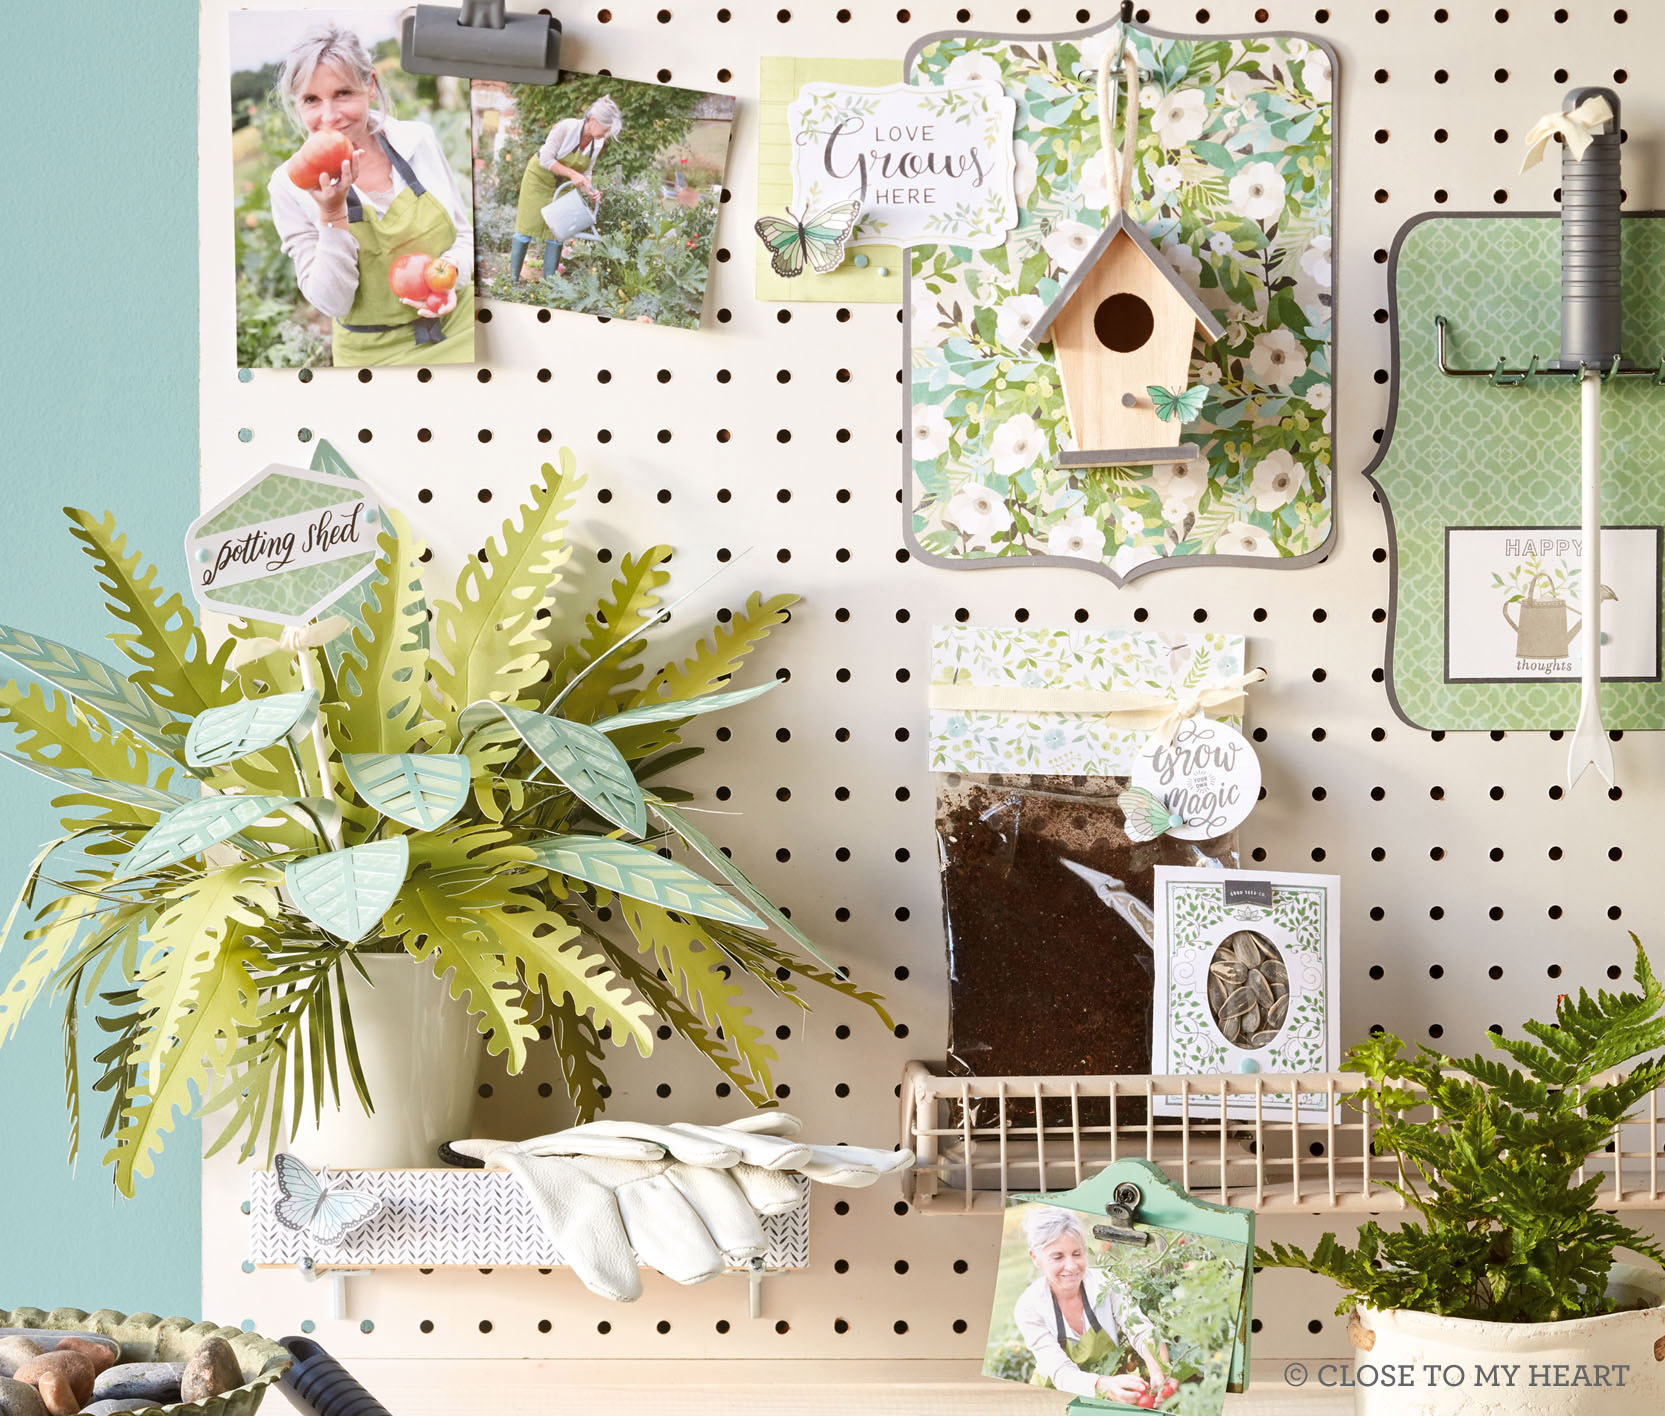
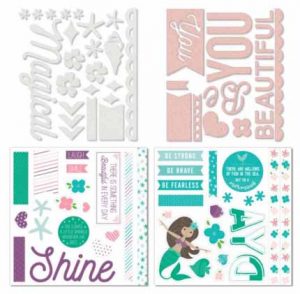
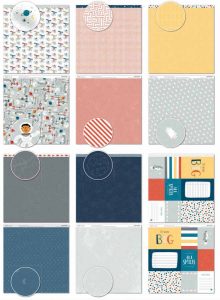
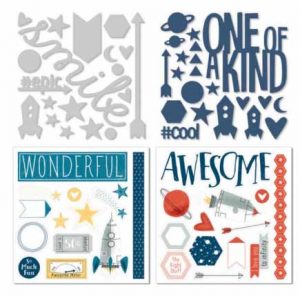
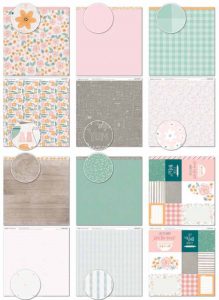
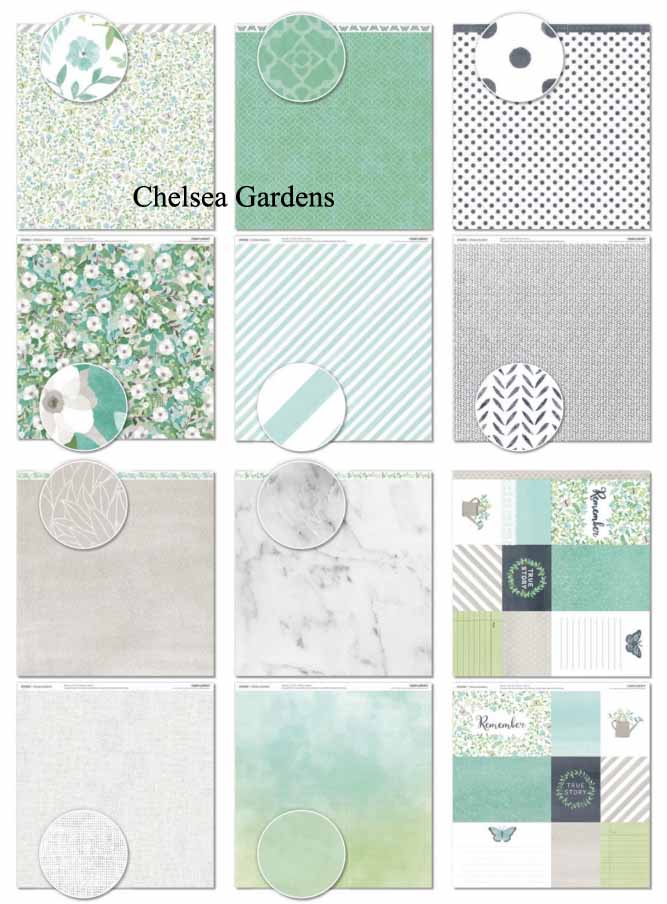
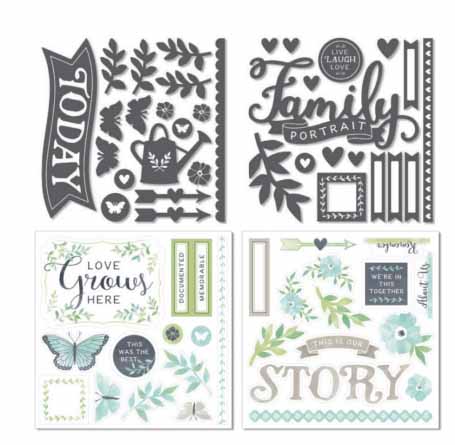
Just to entice you to look,  here’s the new paper packs.  (There are new workshops with each of them and new thin cuts and great stamps of the month too!) Chelsea Gardens

I’ve been a butterfly lover for many years,  so Chelsea Garden speaks to that and my LOVE of blue!  Win/win

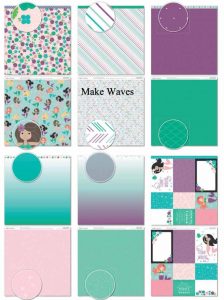
Make Waves

Fun and whimsical is what comes to mind with the Make Waves pack.   Ombre papers always seem to uplift  any project.

Stargazer

Quick and fun boy cards will come together easily with Stargazer.

Gimme Some Sugar

I’m thinking it might be fun to make some scrapbook pages highlighting some of our family favorite recipes.  Good for memories of everyday life and might make cooking suppers easier if I make the recipes in the next few weeks.

Off to create some memories!
Happy Crafting.

It’s a new year – and I have scheduled some blog time

Hi everyone,

December FLEW by.  Between Community Chorus concerts and rehearsals, music rehearsals for church, family needs (many doctor appointments and an outpatient surgery for one) and preparing for Christmas some things had to “give.”  The house and the blog were the two that “gave” the most.  The house is slowly returning to tame,  so now if the time to bring the blog back into repair.

Way back in September our monthly group started learning/relearning some fun folds for cards.   Thankfully at that time I did some research and prepared for the next few months of projects.  Now it is time to share with you those instruction sheets & cards.

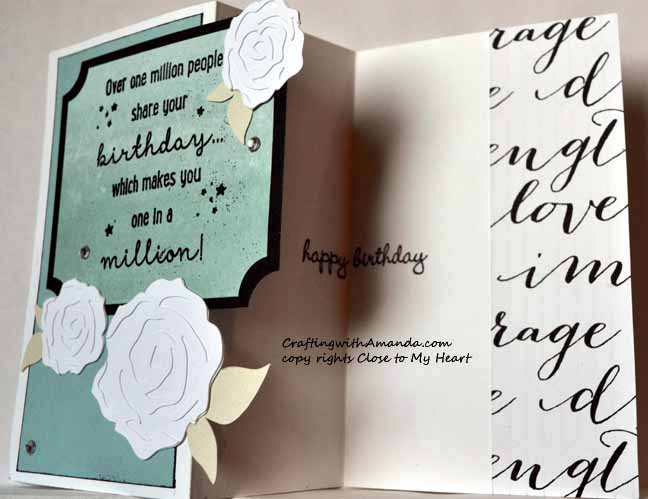
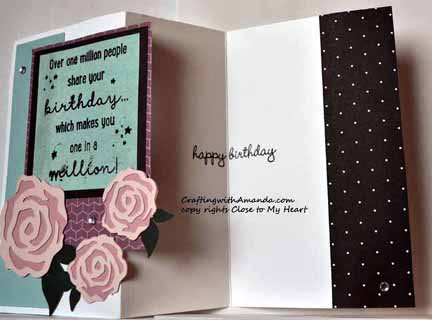
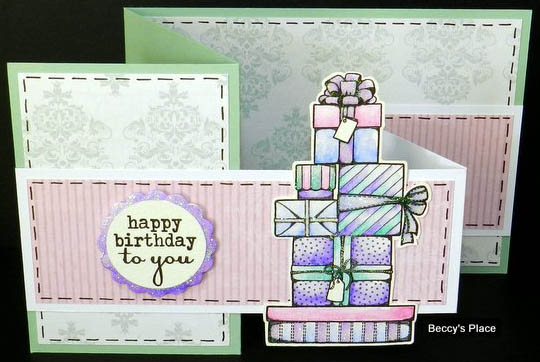
Basic Z fold cards.

I use Pinterest and good ol’ Google for researching different card folds & such.  I then compiled a list and tried to start with the basic ones,  and,  as we continue down this road build into more advance folding cards.

We started with “Fun Fold,” “Z fold” and “Double Z.”   I also gave everyone a blank notebook and some tips for modifying it so we could all create a place for all our samples and notes of all these great cards in one place.  I will have more on that in another post.

Just so you can catch up,  here is my sheet of instructions for the Fun, Z & Double Z folds.

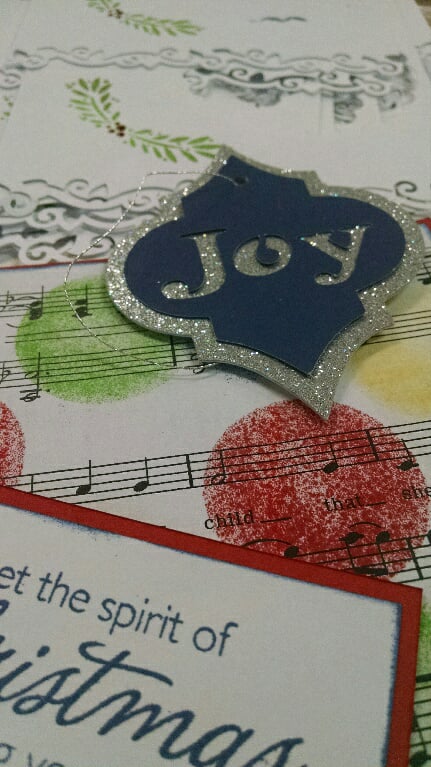
Soon I’ll post my completed Christmas card for 2017.  It too utilizes one of our recent folding techniques.

Happy Crafting!


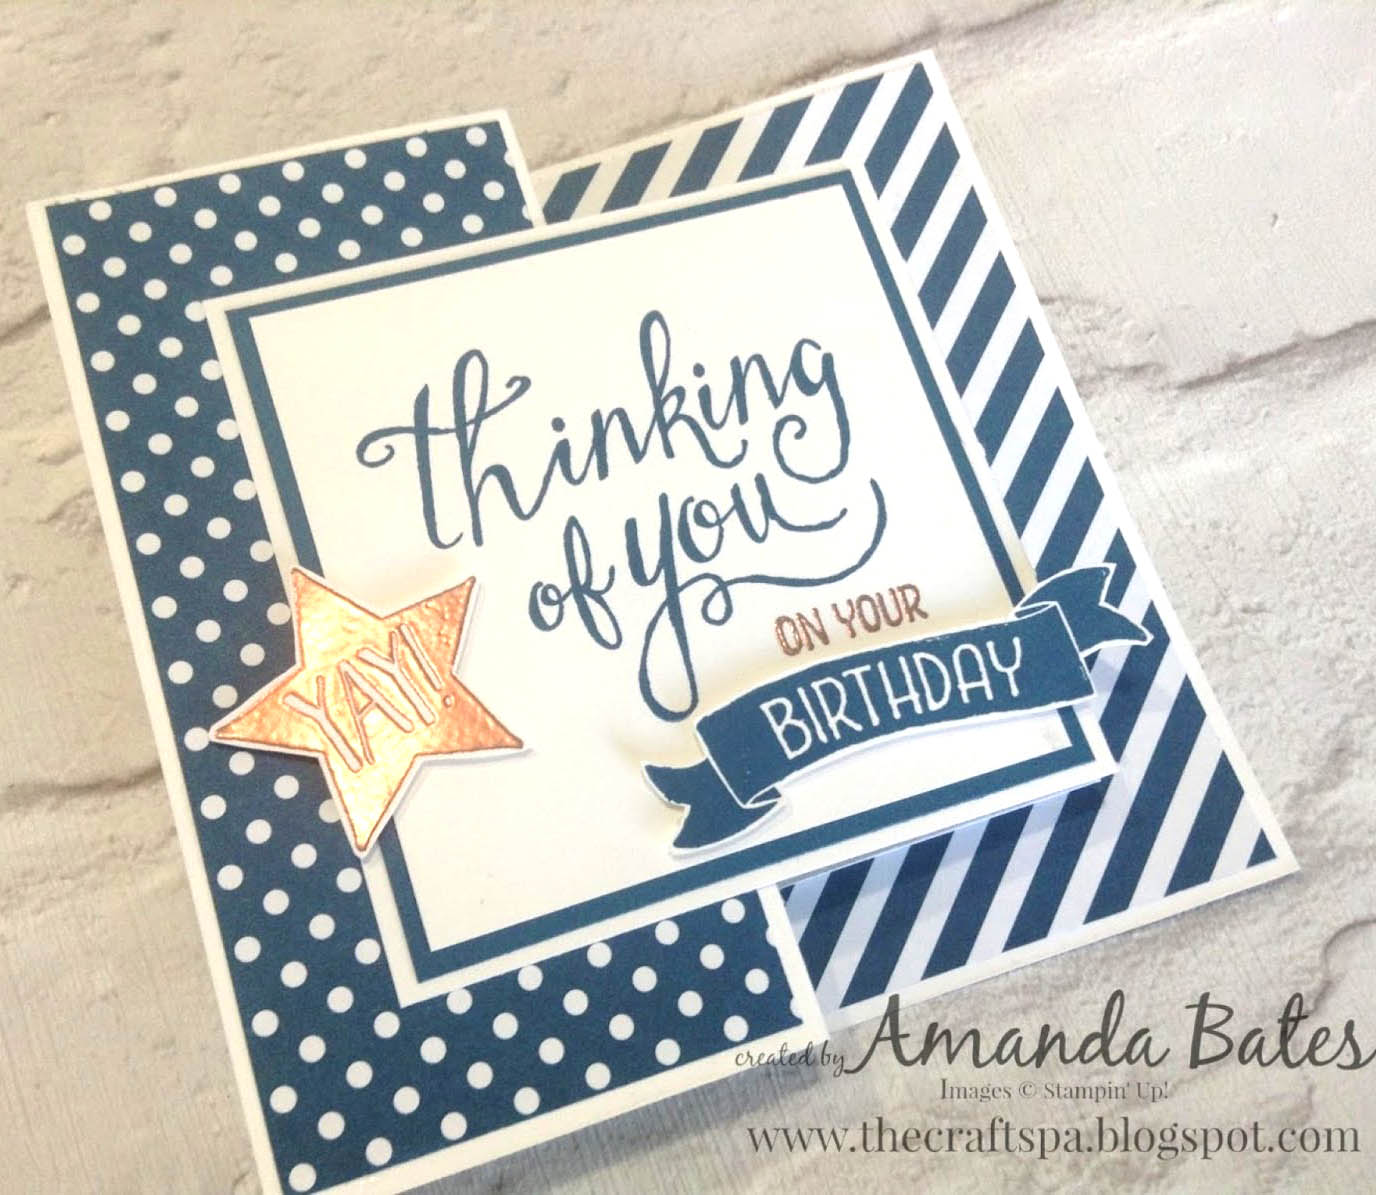
October Club fold part two: Double Z fold Card

And the folds keep on coming.   We did both the z fold and this double z-fold in October.  Many of our normal attendees weren’t able to make it,  but they all got caught up at the craft retreat that started the next day.

Once you have mastered the z-fold,  I highly recommend the double z-fold.  It takes a little more time,  but so worth it.

(This photos was found on google. )

Double Z-Fold: The trick to this to ensure that it will always work is the middle of each fold is the same length. Here is the fold measurements for a standard card (4.25 & 5.5). All measurements are from a 8 ½ x 5 ½ card base.

Base: Score at 2 1/8 & 4 ¼,

Top: Trim second base (5 ½ x 8 ½) to height desired and cut to 7.5″ in

length, then score at 3 ¼ and 5 3/8.

Attach top base to bottom base by aligning the 2 1/8″ section to the right edge of the base and glue that in place. Fold the base and then put glue on the back of the top that will overlap the front of the base.

Happy Crafting!


October Club Fold Part One: Z fold Card

Well,  second installment of fun folds from our local club night.  If you missed the first fold,  you can find it here.  I will be doing a series of card folds,  and have an idea for putting together  samples of each in a book.  I don’t know about you,  but I find if I have a physical sample with instructions at my fingertips,  I am much more likely to use the different folds I’ve learned.

Our next fold is the Z fold card (which will be followed next week by the double z fold card).

Again,  I don’t have photos of my samples to show.  I made them,  but need to set up a photo session with my cards.  🙂  So,  I turned to google and found this.

I don’t know if her card will fit in a standard envelope,  but if you followed any of the samples in the instructions,  they will fit.  🙂

Here are the instructions:

Z-Fold: You can fold your card base in any configuration that works for you. Here are some measurements for a standard card (4 ¼ x 5 ½ ).

All measurements are from a 8 ½ x 5 ½ card base.

Option 1: Score at 3 3/8 & 5 ½

2: Score at 2 3/4 & 4 7/8

3: Score at 1 ¼ & 4 ¼

Decorate as desired

Happy Crafting!