CTMH

Crafting Weekend Project

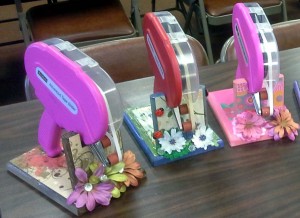
Here’s the photo of one of our crafting weekend projects. It’s an adhesive Tape Gun (ATG)  holder.  The funny thing is that after I had decorated my own (the red ATG with ladybugs),  it took using it about 3x before I was completely lost without it.  If you own an ATG, it’s a must have.  Wow.  I’m truly surprised with how much easier it is to use the adhesive gun with it standing up in the holder.
ATGleft3
To color the base, I used about 30 drops of re-inker with 1/4 cup of rubbing alcohol to make a stain for mine.  The holder on the left used a brown walnut stain and the pink one on the right used acrylic paint.  The painted ones needed to dry overnight, but the stained ones could have paper applied and sealed with liquid glass right away.   I recommend using non paper flowers as they will hold up better.  The vertical part of the holder can be removed from the base for travel.
ATGright3
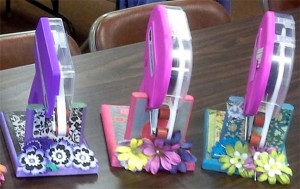
The purple gun in the above photo is a bit smaller and needed a custom vertical peice.  Thankfully the owner of the purple gun is the wife of the gentleman that cut these all out for me, so it wasn’t a problem!
So, do you think I should do a give away for one of the extra’s I have.  I’ll have to decorate a few of them so the winner would have a choice of colors. . .  Let me know what you think.

Happy Crafting.

Lovin’ the embossing folders

Well,  I should be working on the next scrapbooking workshop, but after I finished Timberline, I decided to play with the newly arrived Embossing folders.    I have to say, I am loving them!

I don’t know about you, but I have a few (hundred) old paper packs laying around that have been opened and most of the papers used, but still too much left to allow me to discard them.  So, I grabbed one,  and decided I was going to use as much of the paper that was in it that I could.

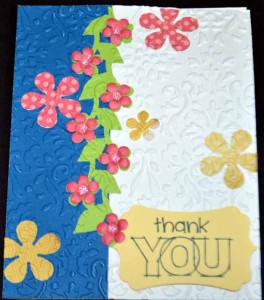
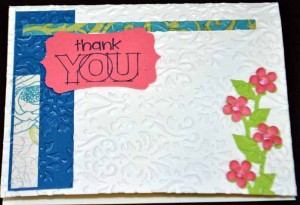
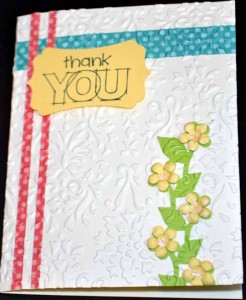
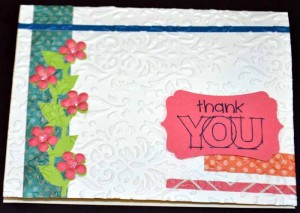
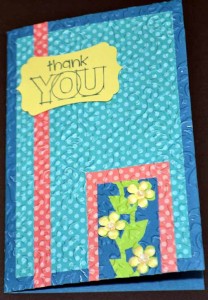
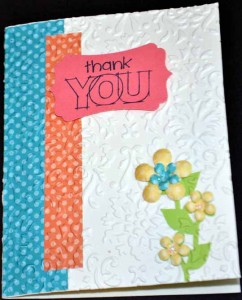
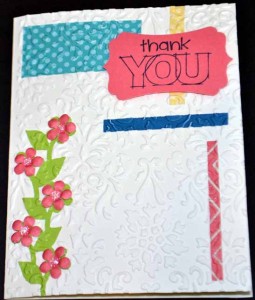
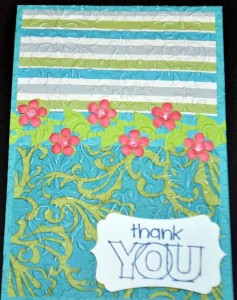
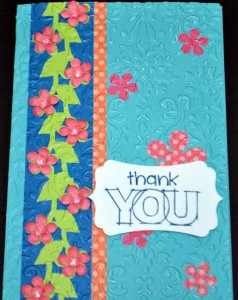
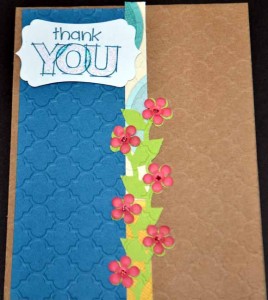
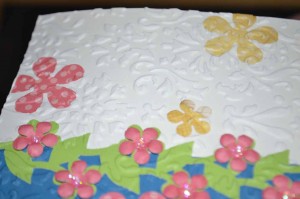
embeddedembossings1I grabbed a couple punches, (I didn’t want to get my cricut out as my craft table is still half covered with other projects, and I know that would never happen at your house!)  my ebosser and the new embossing folders.  I also snagged my card stock scraps bag and went to town.   I started by simply punching some flowers and vines and layered them on the card bases.  I was just playing, so I dry fit several cards then glued down my designs and ran them through the ebosser.  After they were embossed, I added the sentiment and some of my dry embossed flowers.  ( how to dry emboss )

Would love to see your project if this inspires you!

embeddedembossings10 embeddedembossings9 embeddedembossings8 embeddedembossings7 embeddedembossings6 embeddedembossings5 embeddedembossings4 embeddedembossings3 embeddedembossings2


Hopefully you can see more of the details  🙂   Also, I used up EVERY last piece of paper from my Dotty for You paper.   How cool is that?!

embeddedembossingdetails


Happy Crafting!

One More Day!

Yes, only one more day until everyone can order from the new Spring/Summer 2014 idea book!    Yeah, so excited.  FINALLY got to play with some of the new papers last night (Ivy Lane) and fell in love with them.  When I first got the new idea book, I liked some of the papers right away, and moaned about how others were going to push me out of my comfort zone and challenge me.  Now that I’ve actually gotten to sit down with the paper samples, I’m finding I love a couple, like a few I didn’t care for, and the one I was dreading is actually very nice!

14-ss-idea-book-coverIn just a few short hours this idea book goes live!  yeah

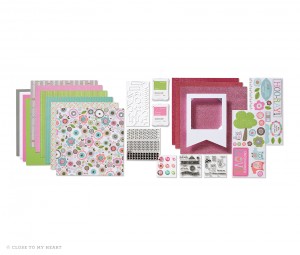
14-ss-idea-book-hostess-collection-01 Hostess Bundle #1 – Lollydoddle  (you can order this as a half off item when you host a $3=250+ party.)

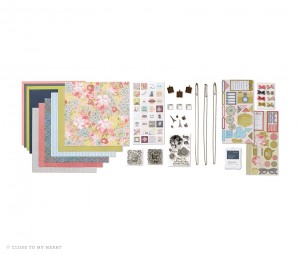
14-ss-idea-book-hostess-collection-02Hostess Bundle #2 – Ariana (And some new jewelry!)

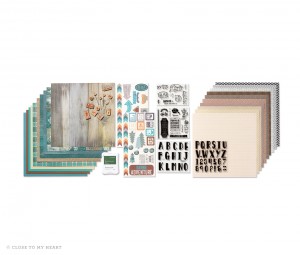
14-ss-idea-book-hostess-collection-03Hostess Bundle #3 – Timberline  (My favorite)

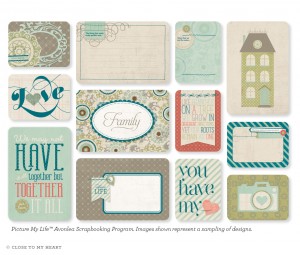
And now drum roll. . . .  The new Avonlea Picture My Life teaser!

14-ss-pml-avonlea

Also, you can now order idea books from my site (and add some new goodies in your basket to split shipping!)

I will be posting the photos of our club night project using some of the Ivy Lane paper soon.  Love them.  Funny thing is most of the gals did them just like I did and didn’t modify them.  That rarely happens!

Happy Crafting!

Wrapping up Library Auction Pages

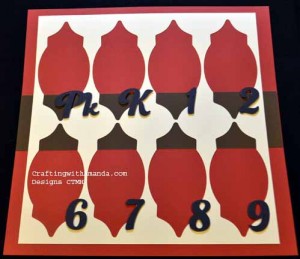
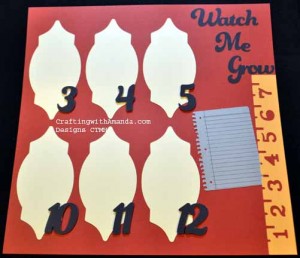
Well,  I think this will be the last post of library auction pages.  When I started this project I thought it would be a great fun, which it was, but I also was looking forward to some easy blog posts showing off my work.  That last part didn’t work out so well.   If you want to see all the pages in one spot, go to http://www.craftingwithamanda.com/rudyard-2/

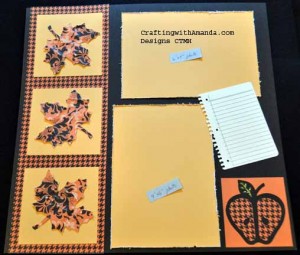
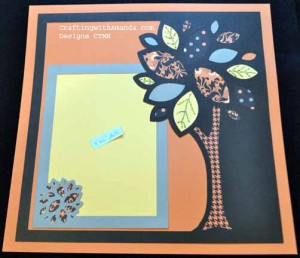
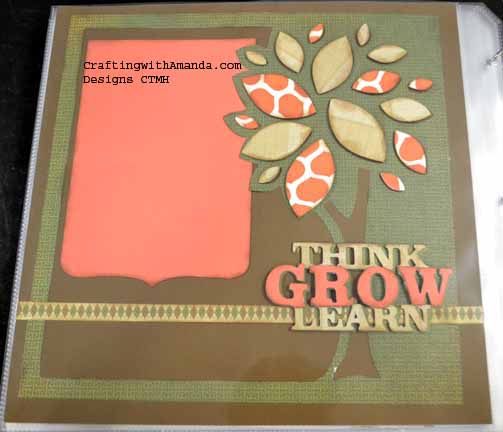
TREELeft TREERight


The classic school themed pages aren’t there, but all the black & Orange pages are there.

Here is a layout that was created from the negative space when I cut the shape for “Shining Moments.”  The opening is the perfect size for a wallet photo.  This is a great page for a quick glance back over all the years.

SchSPLeft SchSPRight

I will be working on finishing the Scholastic paper layouts and the new workshops on the go.  I will also try and take photos and post the club night project.  (In case you can’t come and play with us!)

Happy Crafting.
Artbooking Challenge Part 2 & a teaser

Hi Everyone.

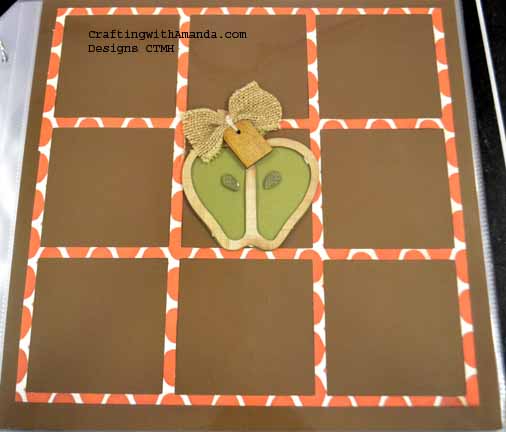
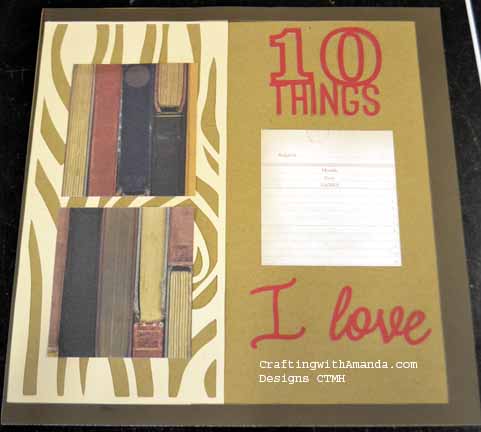
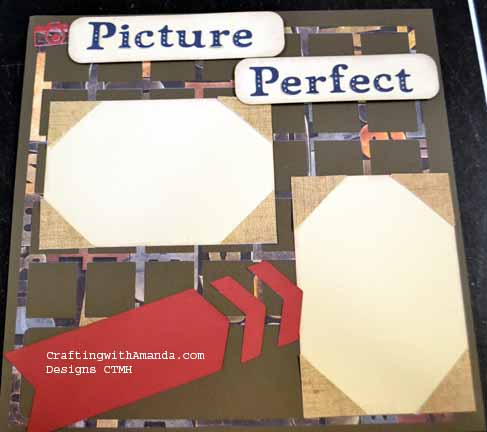
I have 6 more pages for you to look at today.   These are the last ones from the cropping weekend I hosted in October.  As a reminder, I gifted everyone a full pack of paper, we had several Artbooking Cartridges available to borrow, and I challenged them to create a layout using one of the artbooking buttons (or combine a couple).  Many of these gals are cricut users, but more for the one off cuts.  The artbooking cartridge is all scaled for them so they can pick the size if the finished product they want to create and all the embellishments and “accessories” items will be scaled to that number.

So first up is Erica.  She is a CTMH consultant in a community 20 miles north and she did this layout for one of her gathering projects.

EA Right EA Left

I love the fresh look of these pages.  Erica said she used the “ugly” paper from a constant campaign pack, but I don’t see the ugly.  Do you?

JB right

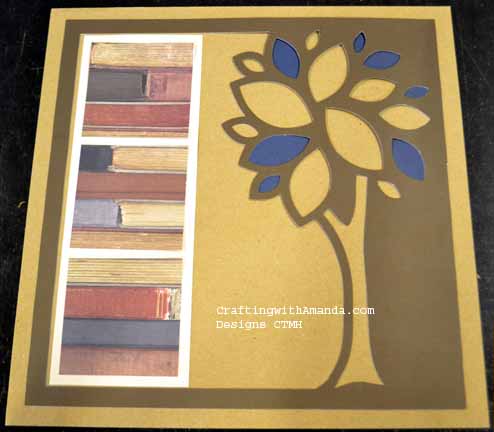
JB leftNext I want to show you Jan’s Layouts.  She used the same tree layout from Artbooking, but broke it up differently.  She also paired it with a different right hand page.  I love the book pattern paper and knowing Jan, it’s one of the 10 things she loves!

LH leftLH rightOur last pages are from  Lorna.  She struggled with this challenge and did a bit of stewing, but in the end create these great pages!


So three more layouts from the Artbooking cartridge.  I just love the versatility of it and the ease of having your embellishments/accents come together so quickly and without having to guess at what size would work!

Huntington Workshop is tomorrow and I hope to get some photos of that beautiful paper pack up along with the rest of the Sarita workshop layouts!

Happy Crafting!