CTMH

Techniques Patchwork & Faux Stitching

The 4th of July celebrations were minimal around here with tractor duties and laundry.   We did manage to end the day as a family with an icy treat and fireworks.  That was nice.

I also managed to take a few more photos of the completed technique tags. (Still have some craft time in my future to finish the rest!  yay)   That means I have some more techniques to share with you.  I’ve really enjoyed being able to re-visit techniques that I have forgotten about,  or just haven’t taken the time to do them.

You may have noticed that I’ve used the same stamp sets and colors for all of the tags.  Part of that is so the completed book is prettier, but most of all it was to show the versatility of stamps when you employ different techniques as you use them.

tag_fauxstitch_ins

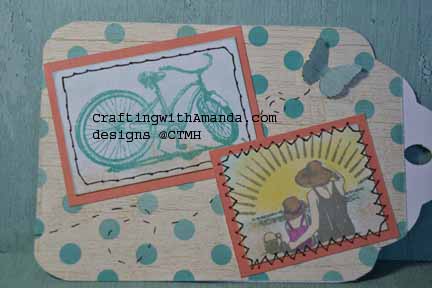
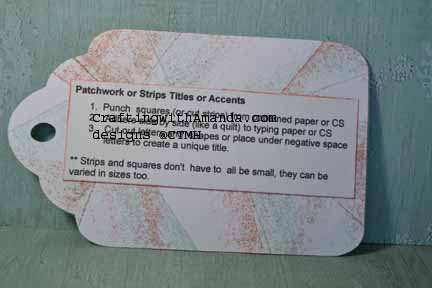
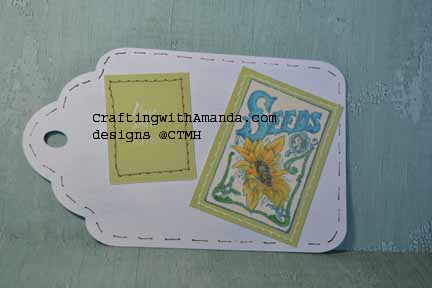
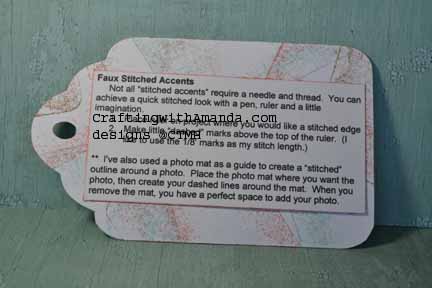
Faux Stitching is a fast and fun way to add some framing or interest to your project.  After I finished the “stitching” around the bicycle,  I wish I would have done it closer to the edge of the white paper,  but I do think it looks pretty real.

tag_fauxstitch_samp

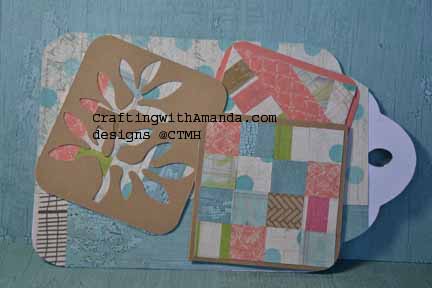
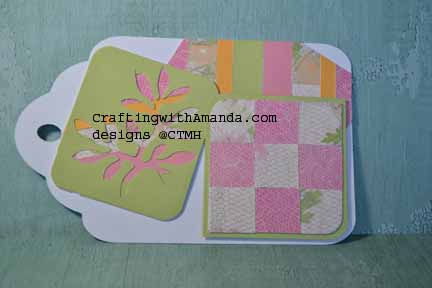
I really like this patchwork for using up scraps too.  I will attach strips of left over paper to typing paper then cut it up as accent pieces on my project.

tag_patchword_instag_patchwork_samp

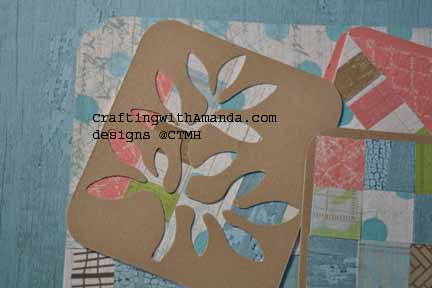
If you don’t want to cut out (or punch) an image,  you can always use it to fill in the negative space of a punched image.

tag_patchword_samp2

Club night samples:CraftingwithAmanda.com Patchwork Technique

CraftingwithAmanda.com  Faux Stitching

Here are the stamp sets I’ve used in this example, and many of the other tags that we will be looking at in the upcoming posts:

C1605 Happy to Be Friends

D1632 Amour

I also used Seaside papers (X7192B)

Our awesome markers were also put to use throughout this process of creating the technique tags.

Contest Information:

Now you might want to know how you can earn chances to win this great prize.   There are several ways.  Write a comment on this post.  (1 entry)   Share this post link on your Facebook post and let me know on my FB page Crafting with Amanda that’s you’ve done it.  (1 entry per share).  Like my FB page.  (3 entries)  If your a pinterest person, for every technique tag you pin, you receive an entry.  (up to 35!)    At the end of the contest I will assign each entry a number and using a random number generator will pick a winner.  I will announce the winner on this blog, and then contact them to get the address where the tag book should be sent.

If you would like a copy of my technique instructions file,  leave a comment with your email and I will send it to you.

Happy Crafting and Good Luck!

Day 2 Mini Retreat project(s)

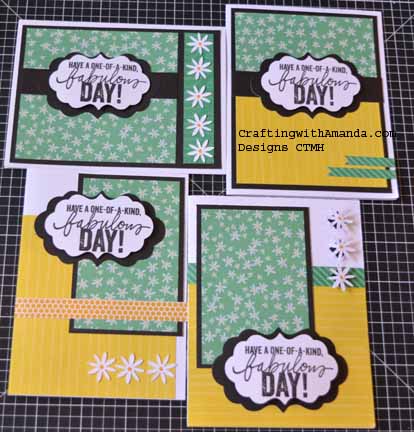
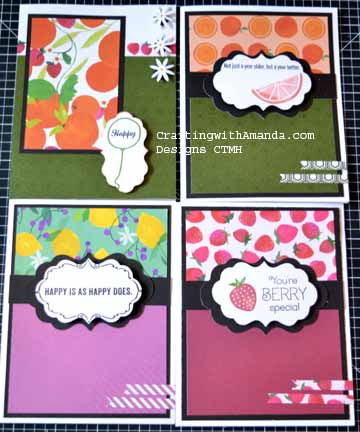
In celebration of National Scrapbooking Month,  Close to My Heart had a Taste of Summer paper pack as the monthly special.  12 sheets of B&T (Background & Texture) paper for only $8.95.  They also had a stamp set that coordinated with the paper pack.  For club night last month I took a half sheet of the pattern paper, a half sheet of black cardstock and a third of a sheet of our great fundamental cardstock and created four cards.   As we had graduations, family illness and other conflicts there weren’t many ladies there so I had lots of paper already cut and ready to use.  I decided instead of leaving the half sheets in a bag to be found in 6 months when I can’t remember how I created the cards I would create the cards now.

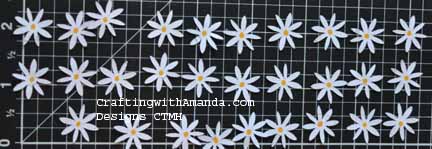
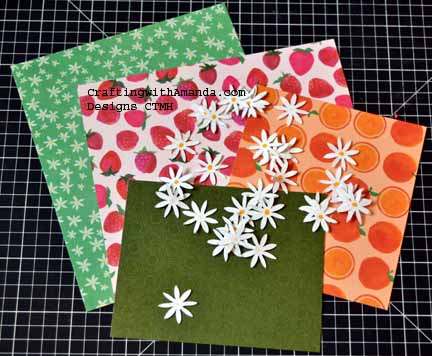
ToS-Cards-Samp1Here is a sample of the 4 different cards.  As you can see,  I also added precut sentiment medallions in White Daisy matted on Black.  I also used the Art Philosophy cartridge and cut 205 flowers (3/4″).  They just worked so well with the papers!

AP-flowers


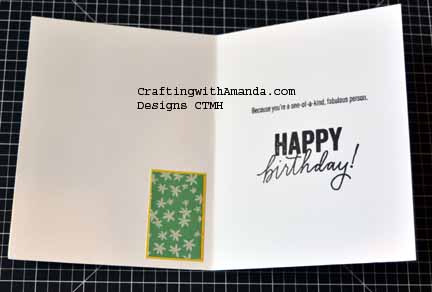
Inside each card I glued a matted piece of B&T paper and stamped my sentiment.  In addition to the Taste of Summer stamp set, I also used the Happy Everything stamp set.  This stamp set is great, and it is also the Operation Smile stamp, where all proceeds from the sale of it goes to Operation Smile.  (Orders your now as they won’t be available after August.)

ToS-Cards-inside

Here is another combination of the papers.

ToS-Cards-Samp2

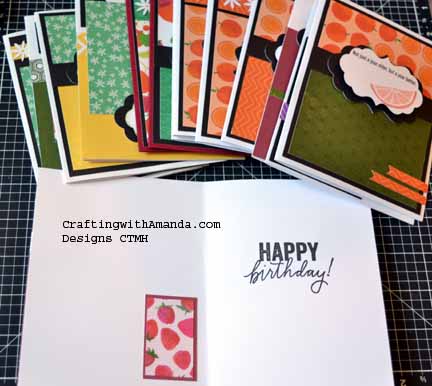
All said and done, I was able to create 52 cards all using the same cutting guide.

ToS-Cards-LotsI still had some pieces left, so last night after I put kids to bed,  I created some card fronts for embedded embossing.  I got 13 more cards that way, and this is what I have left.  (I haven’t embossed them yet, and need to cut a few more sentiment medallions for after they are embossed,  but I can do those in the evenings.)

TOS-Cards-Leftovers

65 cards and counting.   I am guessing I’ll get 4 more cards out of this pile and call it done.   I found an OLD club night project  that’s already cut and just needs to be assembled (birthday calendar book) so now when I finish putting that together, I will have cards to go in it right away.

Happy Crafting!


Cards, Cards, & more cards

Hi Everyone.  I know I owe you some more technique tags, and you will get to see them and earn more entries into the contest,  but I wanted to show you want I was able to do this past weekend.  (In addition to being a Mom, wife, Christian and pig farmer.)

One of my friends couldn’t join me and a couple other gals for a crafty retreat earlier in the month, so I booked the church for a two day mini retreat.  Unfortunately, she still was unable to join us as she and her husband are dealing with his medical issues, but the ladies that were there got a LOT accomplished.  (In addition to eating, laughing, crying and telling stories.)

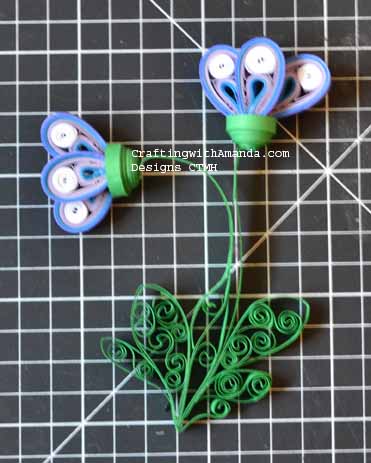
So,  on day one I was in “I need to relax” mode.”   I choose to get out my new quilling goodies and see what I could do.  I’ve been searching for quilling ideas as my wind down to sleep, and I wanted to try some.   I’m just learning, and there are aspects of quilling I love, and some not so much.   Here’s what I did.

quilling1

I really like the look of the loose scrolls in the leaves.   I created this pattern myself as I wanted to “play.”

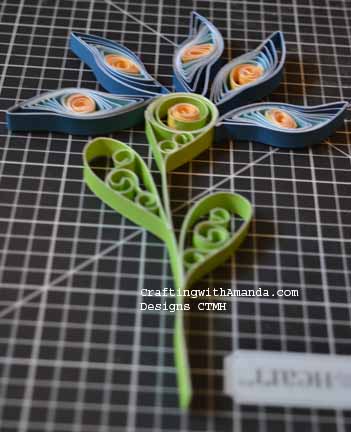
This was with manufactured paper for quilling.  I was curious how our cardstock would do, so I made this too.

quillingctmhWhat I learned was because of our white core,  you need to have open quilling or loose quilling.  The tight wraps show more as white than the color paper you used when using a tight shape.   In good news,  these “open” pieces make up very quickly and give lots of impact as far as an image goes.  I used a 1/4″ strip, but next time I’ll cut 1/8″ and see how they look.

Happy Crafting!


Techniques #6 & #7

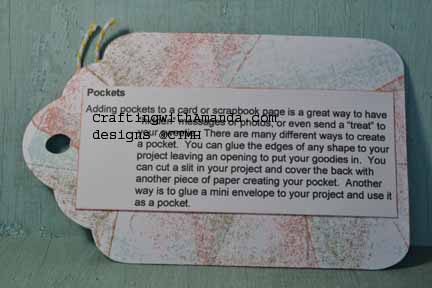
Pockets & Tags (to put in those pockets.)  That’s what we will talk about today.

Sometimes it’s fun to have an “inside joke”tag_pockets_samp as part of a card or scrapbook page.  By using pockets, you can easily accomplish this.  There are also times when journaling is very personal, and you don’t want to leave it out, but you don’t want it displayed either.  (Some photos are better in pockets so the squeamish can be protected.)
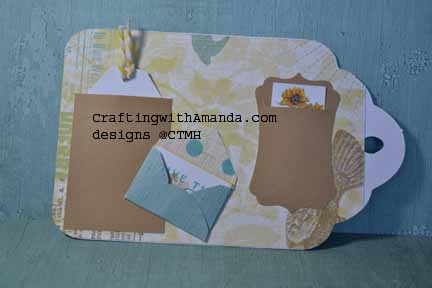
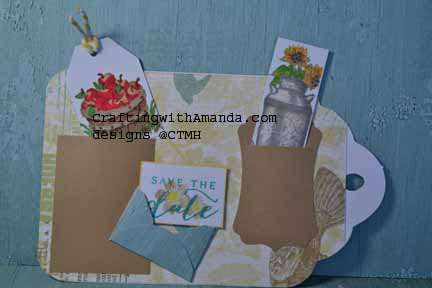
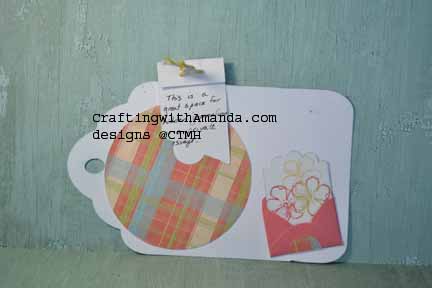
In this Seaside sample, I created pockets with a simple rectangle glued on three sides, a mini envelope and a shaped cut out in which I cut a slit.

Here’s another look with the contents of the pockets pulled out of their hiding places. tag_pockets_samp2tag_pockets_ins tagclub_pocketsYou can also cut a slit in your project itself and line the back with paper to create your hidden pocket.  So many fun things to do to create pockets.  You can see on my club night tag that I used a circle element to create the base of my pocket.  Did you notice the circle punch out in the circle pocket to make it easier to pull out the journaling?

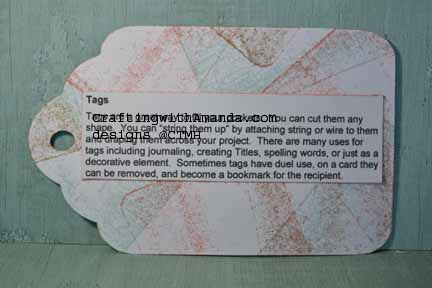
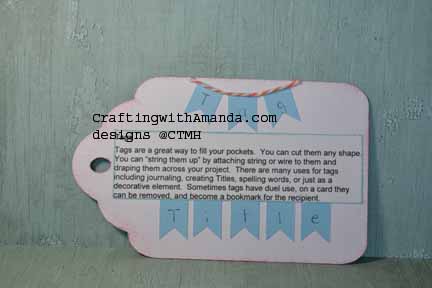
Now that we know how to make pockets, let’s move onto tags to put in those pockets.

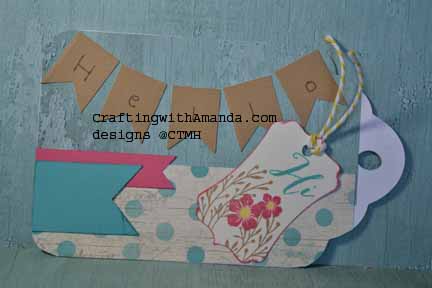
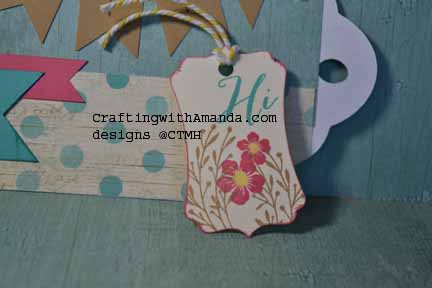
tag_tags_sampI used tags to make my tag title “Hello” and created a removable bookmark tag as well.tag_tags_bkmark

tag_tags_insHere are the stamp sets I’ve used in this example, and many of the other tags that we will be looking at in the upcoming posts:

C1605 Happy to Be Friends

D1632 Amour

I also used Seaside papers (X7192B)

Our awesome markers were also put to use throughout this process of creating the technique tags.

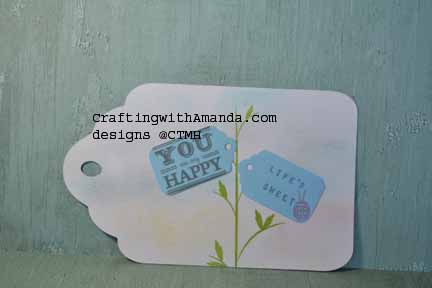
I’ll leave you with the tag samples from our club night book, and the information how you could win all 35 tags that will be shown in this series of technique tips blog.

tagclub_tags2 tagclub_tags1Contest Information:

Now you might want to know how you can earn chances to win this great prize.   There are several ways.  Write a comment on this post.  (1 entry)   Share this post link on your Facebook post and let me know on my FB page Crafting with Amanda that’s you’ve done it.  (1 entry per share).  Like my FB page.  (3 entries)  If your a pinterest person, for every technique tag you pin, you receive an entry.  (up to 35!)    At the end of the contest I will assign each entry a number and using a random number generator will pick a winner.  I will announce the winner on this blog, and then contact them to get the address where the tag book should be sent.

If you would like a copy of my technique instructions file,  leave a comment with your email and I will send it to you.

Happy Crafting and Good Luck!
Techniques #4 & #5

Two more great techniques today!  These will help you get some truly individual looks from the same stamp.  Tissue Inking and using Sponges.  (See the information at the end of this blog to learn how you could win all 35 of these technique tags in this series.)

Tissue Inking:

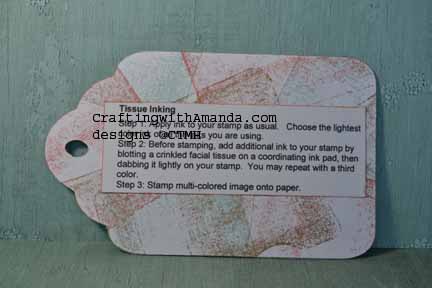
tag_tissue_ins You can do tissue inking in a couple different ways.   One way is to dab a tissue in the ink, then dab it on the stamp.  You can do this with multiple colors.  Keep in mind before you stamp on your project you will want to “huff” on your stamp to re-moisten the ink.

Another way to do this is to ink the whole stamp in one lighter color, then add the darker shades with tissues in the same manner as the first method.   You will also need to “huff” your stamp if you choose this method.

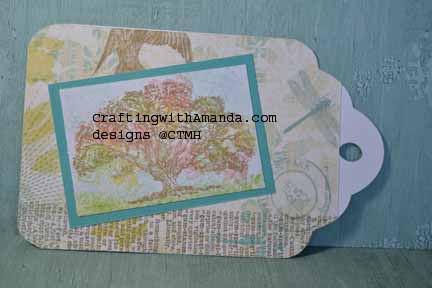
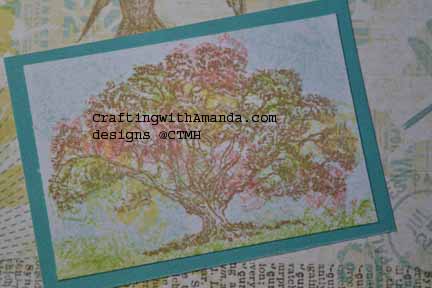
tag_tissue_samp tag_tissue_samp2In this sample I inked the whole tree in desert sand ink, then added honey, cranberry and pear ink with a tissue.   After I stamped the image, I used crinkled clear wrap to add the blue and green in the background.

Here is the tissue sample from my club night tag book.tagclub_tissueSponges Technique:

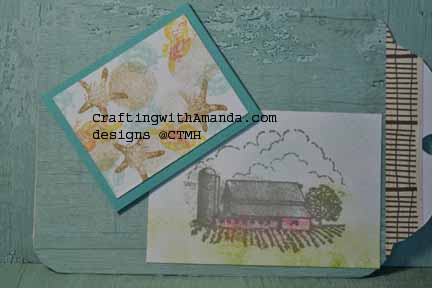
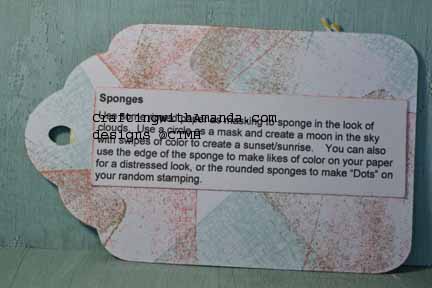
tag_sponges_sampSponges are a great way to add color to your backgrounds, stamps, or create a polka dot effect on your projects.  For this Seaside tag book sample I used sponges to color the image of the farm stamp and used them to add multiple colors to the shells & star fish stamps.

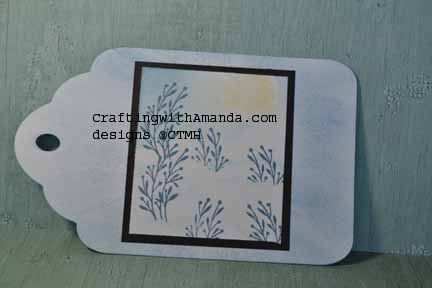
tag_sponges_insHere is the sample from our club night project.   In this one I used sponges to create colors around the floral stems and also some masking (another technique in a future post) to create a sand dune look.  (Hard to see in the photo, sorry)tagclub_sponges


Now you might want to know how you can earn chances to win this great prize.   There are several ways.  Write a comment on this post.  (1 entry)   Share this post link on your Facebook post and let me know on my FB page that’s you’ve done it.  (1 entry per share) Crafting with Amanda   Like my FB page.  (3 entries)  If your a pinterest person, for every technique tag you pin, you receive an entry.  (up to 35!)    At the end of the contest I will assign each entry a number and using a random number generator will pick a winner.  I will announce the winner on this blog, and then contact them to get the address where the tag book should be sent.

Here are the stamp sets I’ve used in this example, and many of the other tags that we will be looking at in the upcoming posts:

C1605 Happy to Be Friends

D1632 Amour

I also used Seaside papers (X7192B)

Our awesome markers were also put to use throughout this process of creating the technique tags.

If you would like a copy of my technique instructions file,  leave a comment with your email and I will send it to you.

Happy Crafting & Good Luck!