CTMH

New Year – New Product

There is just so much I am excited about this month.  First of all the Stamp of the Month is super cute and I love, love, love  multi layered stamps.   So looking forward to finding my craft desk again and being able to play with it.   Here is what part of my craft desk looks like currently.  (Hubby saw me taking a photo and asked if I was going to post the items as a “lot” on ebay.  Good thing he’s cute.)  For the few that know me,  this is not a normal situation for me.  I have been treading water for months now,  and the fall vendor schedule paired with holidays and surgery has taken me under!   I will emerge again,  might not be this week.
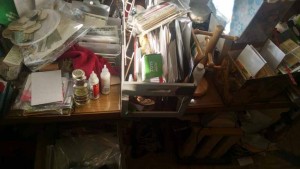
carfttable-janFor now I’ll share the generic images and tell you what I hope to do soon!
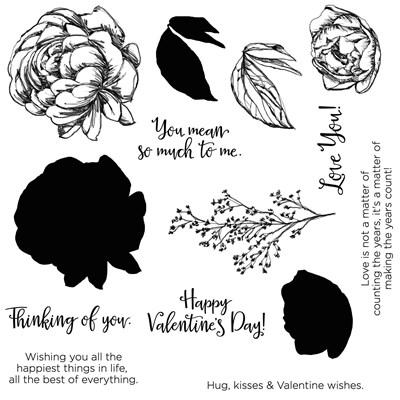
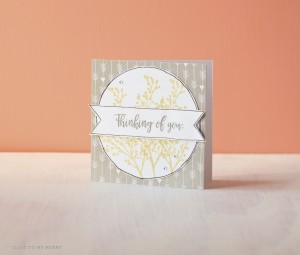
belovedbouquet_imageSo,  first of all,  the “baby’s Breath” branch is going to add to many of my random stamping sheets in the future.  I just know it.  Also,  the details in the flowers and leaves should make whipping up a quick thinking of you card easy!    (I got a MISTI – most important stamp tool invented,  and I look forward to creating several cards with this stamp set and the MISTI tool!)

Beloved Bouquet

Beloved Bouquet

A couple more images of artwork,  then I need to say goodbye so I can get some bookwork done before I start afternoon Mom duties.
02 – Sarita L3

02 – Sarita L3

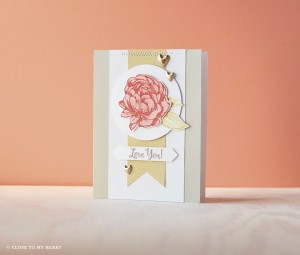
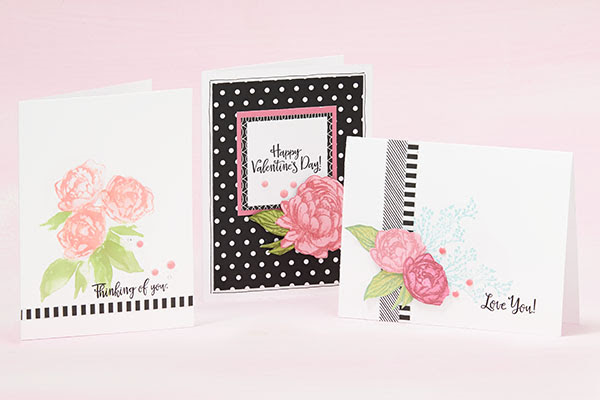
1601-sotm-artworkI really like the pairing of the black and white (La Vie En Rose).  Don’t you just love the depth of  the two step stamps?

Happy Crafting.


De-cluttering House – the forever task

“De-cluttering House – the forever task” sounds more menacing than it really is.  It just takes time and I sometimes find it takes mental strength as there are so many, many decisions along the way.   I just realized that I haven’t put a post up in over a month and when I stepped back to figure out why that was,  it’s because it’s fall,  I’m in the process of cleaning out one of our Pandora’s closest and this is a busy time of the year with craft shows, crops and family.

Just so you don’t think I’ve forgotten you,  I’m going to share this month’s special and the pattern for creating some great (& fast) scrapbook pages.

1511-cc-simply-fundamental-scrapbooking-01

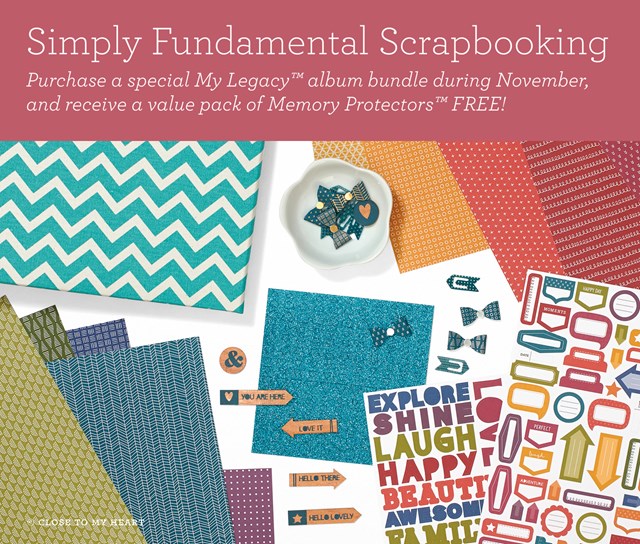
Experience the beautiful Simply Fundamental Scrapbooking workshop—available only during November! This workshop has been created using all the items featured in our campaign exclusive My Legacy™ album bundles, available during November for $71.80 USD / $85.25 CAD each! When you purchase the album bundle, you will also qualify to receive a value pack of side load or top load Memory Protectors™ FREE—a savings of $19.95 USD / $23.75 CAD! Along with the album style and design of your choice, each bundle includes one Paper Fundamentals Enchantment pack, one Fundamental stickers Enchantment pack, one Peacock Fundamental assortment, and three sheets of White Daisy cardstock. You will then be set to turn these beautiful products into fabulous layouts using the new Simply Fundamental Scrapbooking workshop featuring five layouts you can make using all the supplies in your bundle.

Pretty Cool huh?

I will suggest that you cut 2 papers at once and get double the layouts.  You can use old paper packs or new.  great way to get some crafting in without having to make so many decisions and taking a lot of time.

fundamental-scrapbooking – Download and print this file to create this great Fundamentals workshop!

Happy Crafting!


Huntington scraps from previous project used

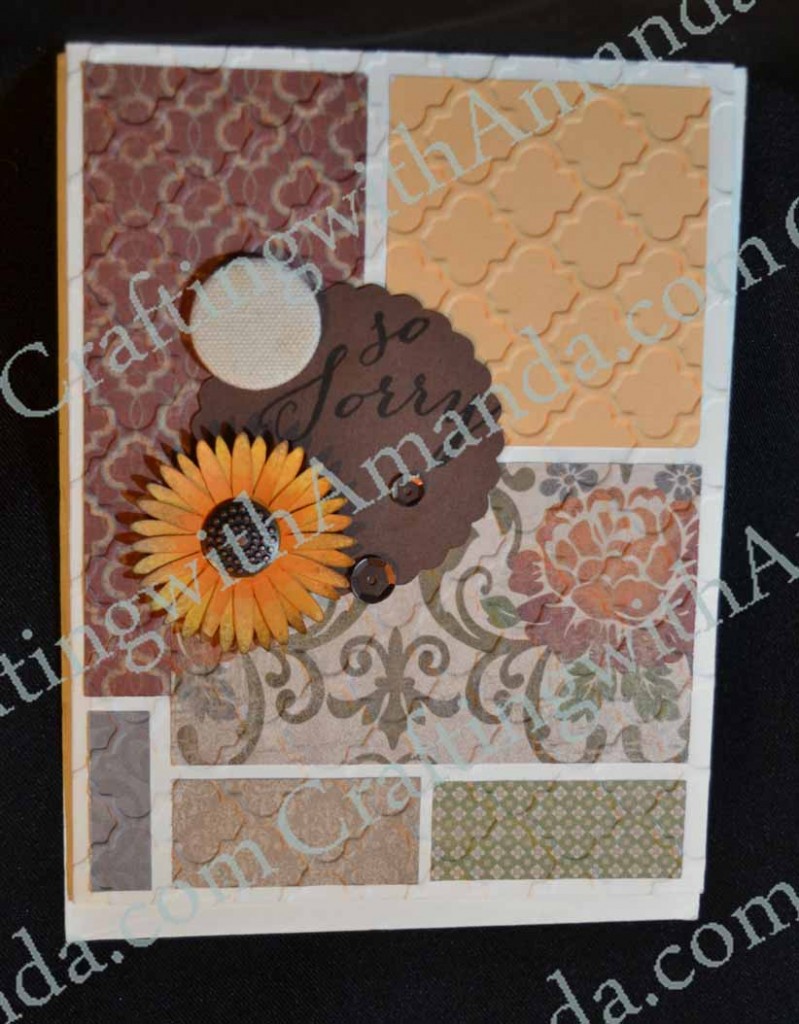
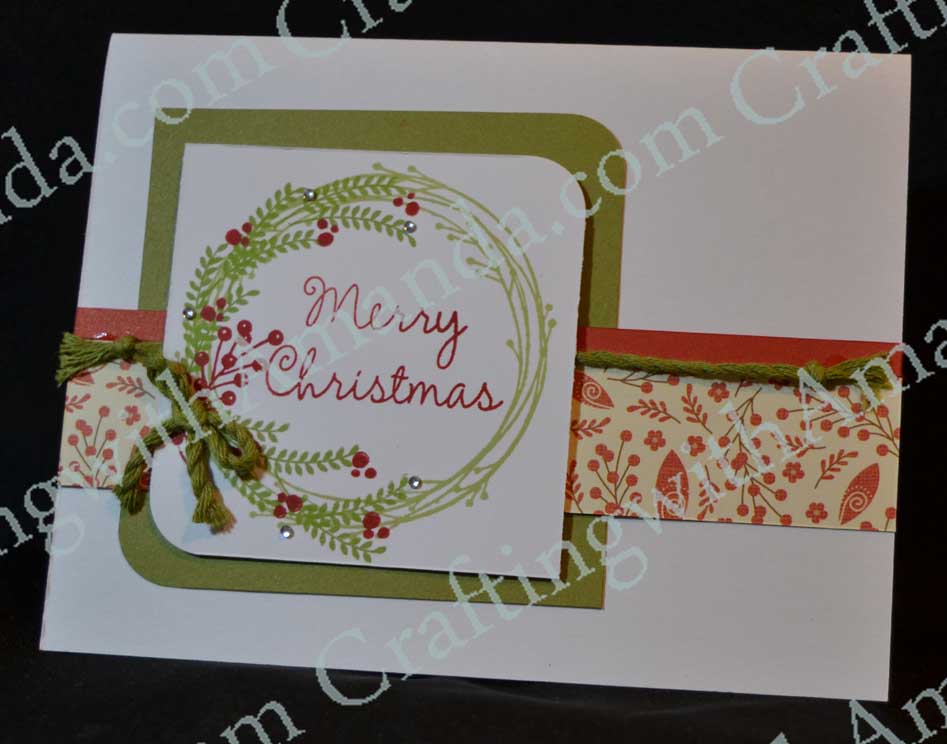
I have been SLOWLY working towards cleaning out my crafting supplies and I found several packs that had a few projects left from a club night or workshop.   Here are the ones I found using Huntington papers.  I also have been intentional of using embellishments from my impressive hoard of embellishments.  Most are CTMH,  several have been retired for multiple years, and they are all useful!

DSC_0022 DSC_0020 DSC_0021 DSC_0034 DSC_0035

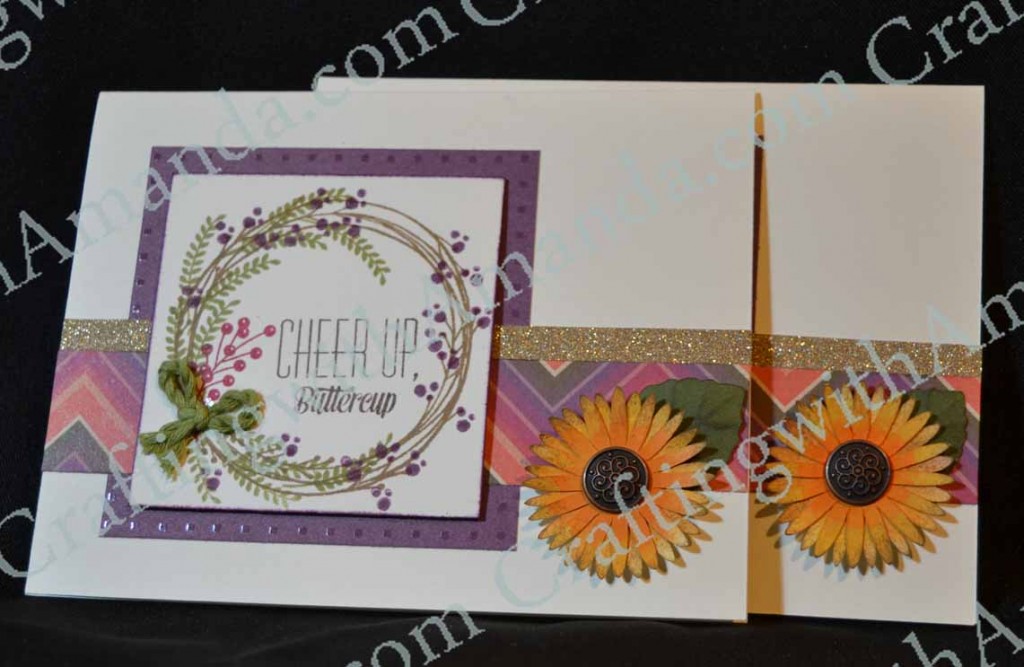
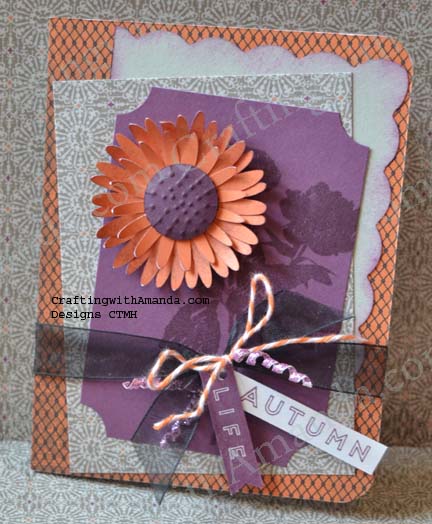
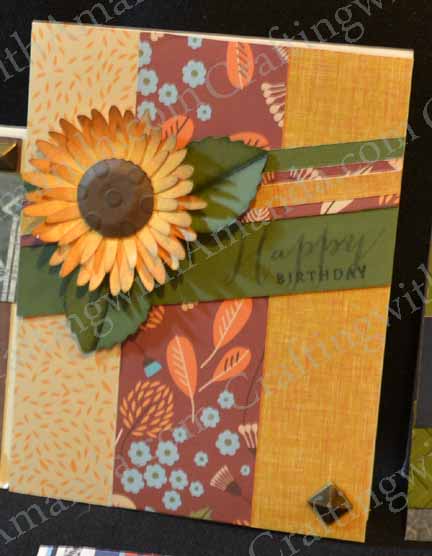
On Some of these I’m sure you notice the sunflower.  I was crafting with some of my friends and sharing with them the ease of creating these flowers.  We were experimenting with several sizes.  I also found the brass big brads and they worked perfectly in the smaller flowers!   Oh,  I should mention that one of my friends also had some Huntington scraps and shared with me a few of her “other colors.”  They were the small less than 2×2 pieces that I don’t think she wanted to use.  Worked perfectly for me!   I love embedded embossing too!

Happy Crafting!

White Pines Card Kit

Hi Everyone,

I’ve been truly going to town creating cards the last few months.  I’ve done a few scrapbook layouts,  but have spent much more time on cards than anything else.  (Trying to use up stash, fill Christmas gifts, and clean out old club night projects that have been taking up valuable real-estate in my studio.

In preparation for an upcoming class,  I put together the White Pines Card Kit.   Since I was going to be cutting paper,  and I can easily cut 2 sheets in the same time it takes me to cut one,  I found some paper I liked and cut two sets.  Really pleased with it.

DSC_0010a DSC_0009 DSC_0006

These first three cards are done as the direction instructed.  Great cards,  lots of variety in messages on the stamp set too.

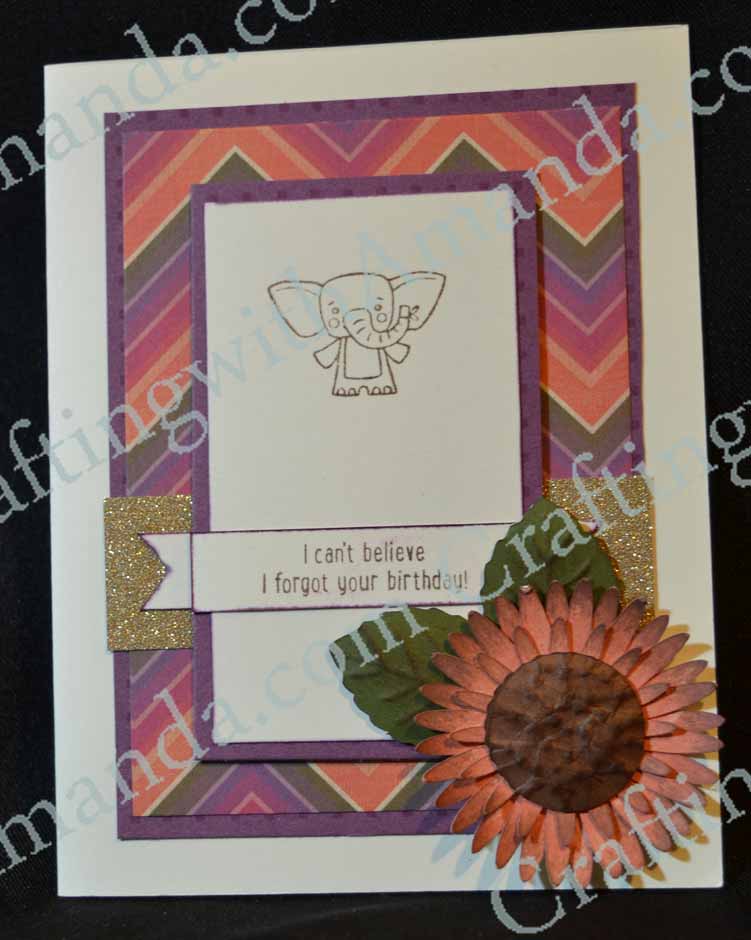
Now,  Here are some samples I did using Sangria paper, gold glitter paper and the New Operation Smile Stamp Set, Animal Greetings  (on the back of the Annual Inspirations book.)

DSC_0027 DSC_0030 DSC_0029 DSC_0028 DSC_0031a

I also used September’s Stamp of the Month Paper garden,  and really like those too.

DSC_0032As you can see I did a little “rock and roll” technique.

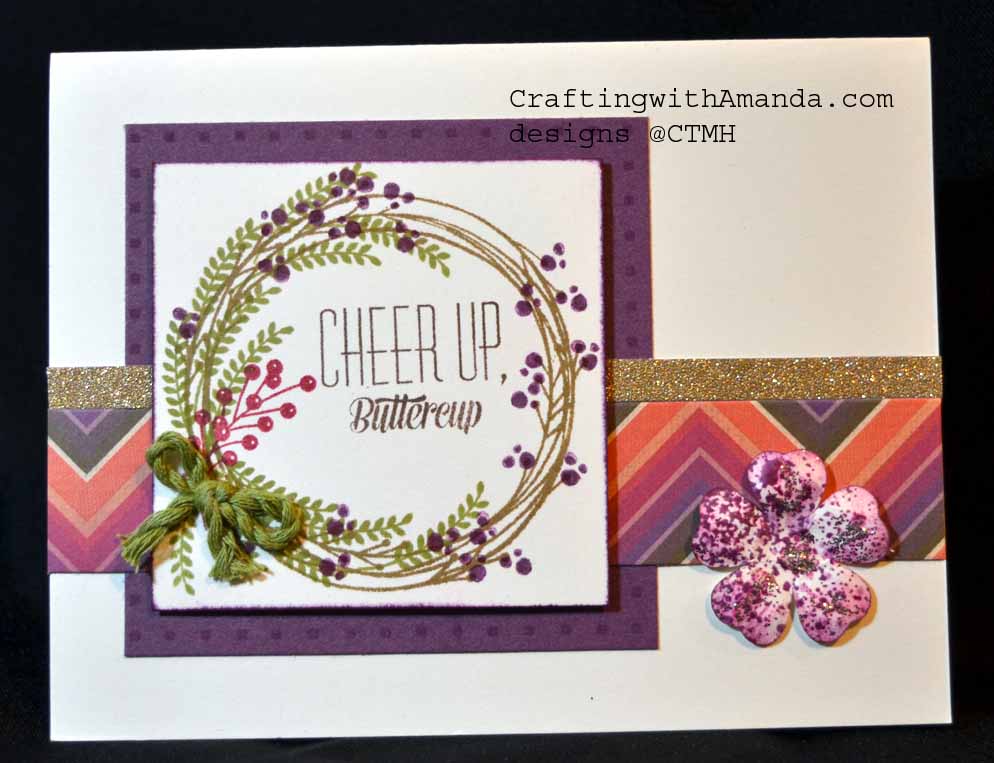
For the last card from the extra papers I cut,  I used the stamp set from White Pines.     I don’t think I included earlier in this post that I added fundamental cards stock as one of my papers (Eggplant).

DSC_00260 DSC_0033

As you can see the instructions from these Workshops on the Go Kits can be used over and over again.   I think I’ve cut the blossom card kit four or five times now.   🙂

Happy Crafting!

Amanda


Mum – family flower Tutorial

As I’ve been posting some of my cards with the big sunflowers on them,  or colorful mum like flowers,  I’ve been asked how I do them.  I tried writing out instructions,  but some were still confused,  so tonight I created another flower and this time took photos as I worked.  So are a bit blurry,  but I hope you get the idea.

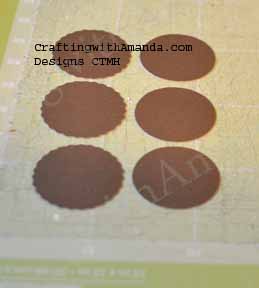
Step one.  Cut your flowers & centers out on the cricut.  I used the Art Philosophy cartridge.   Cut 2 <Flower1> (Shift 1 ) at 2.5″ and 1 <Flower1> (Shift 1) at 2″  I then cut 1 smooth <circle1> (1) at 1″ and 1 scallop <circle2> (q) at 1″  Now you have all the pieces you need to create one flower.

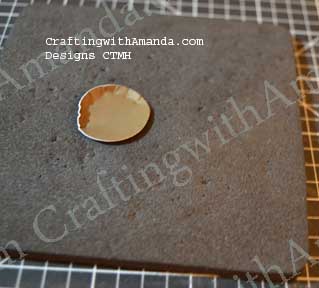
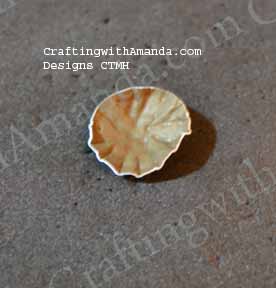
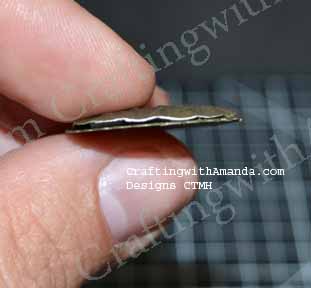
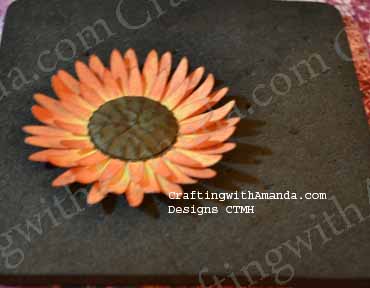
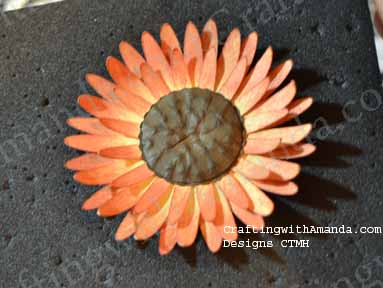
sunflower1To make the centers look more “real,”  I took my small round stylus and gently poked dots starting at the outside edge and working toward the center on the smooth circle.

sunflower2Ends up looking like this.

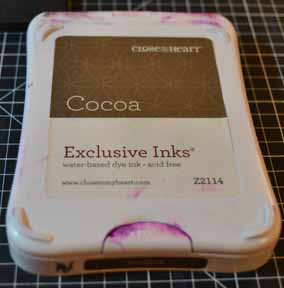
sunflower3Next I attach some pop tape to help it hold it’s shape before I use a sponge and rub ink over the dots.

sunflower5

I also ink the edges of the scallop circle and normally the edges of the smooth, now dotty circle, but didn’t so you would be able to see the layers better.

sunflower4

sunflower7You’ve just created a sunflower center sandwich  🙂

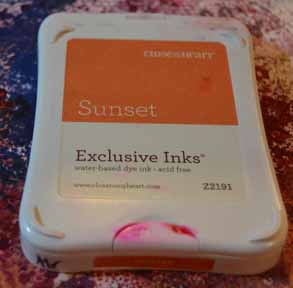
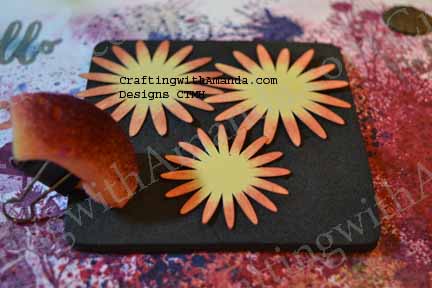
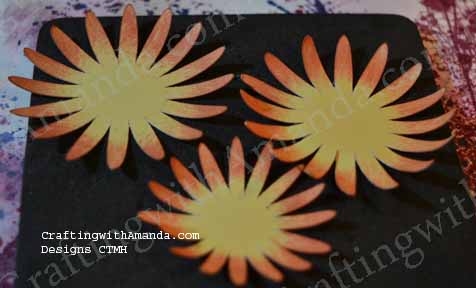
Next you get to play with the flower petals.  In this example I used sunset ink to add color to all three of the flower petals.

sunflower8

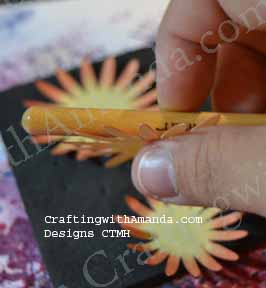
sunflower9To give the flower a natural look,  I curved the petals by pulling the handle of my piercing tool over them.  (if you ever curled ribbon for a package with scissors it’s kind of like that.)

sunflower10

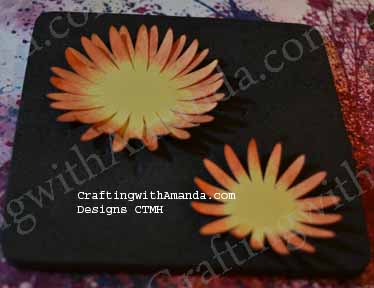
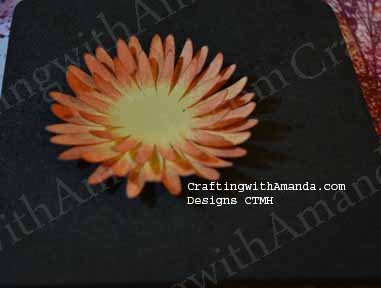
Now you can start assembling all your components to create a stunning accent to any of your projects!

sunflower11sunflower12sunflower13sunflower14sunflower15

Here are some of my creations using this flower.

NeverMore-SeptSOTM_frontpathfinding_APZoe&Blossom_Card

Happy Crafting!