CTMH

Card cutting Guides For quick cards

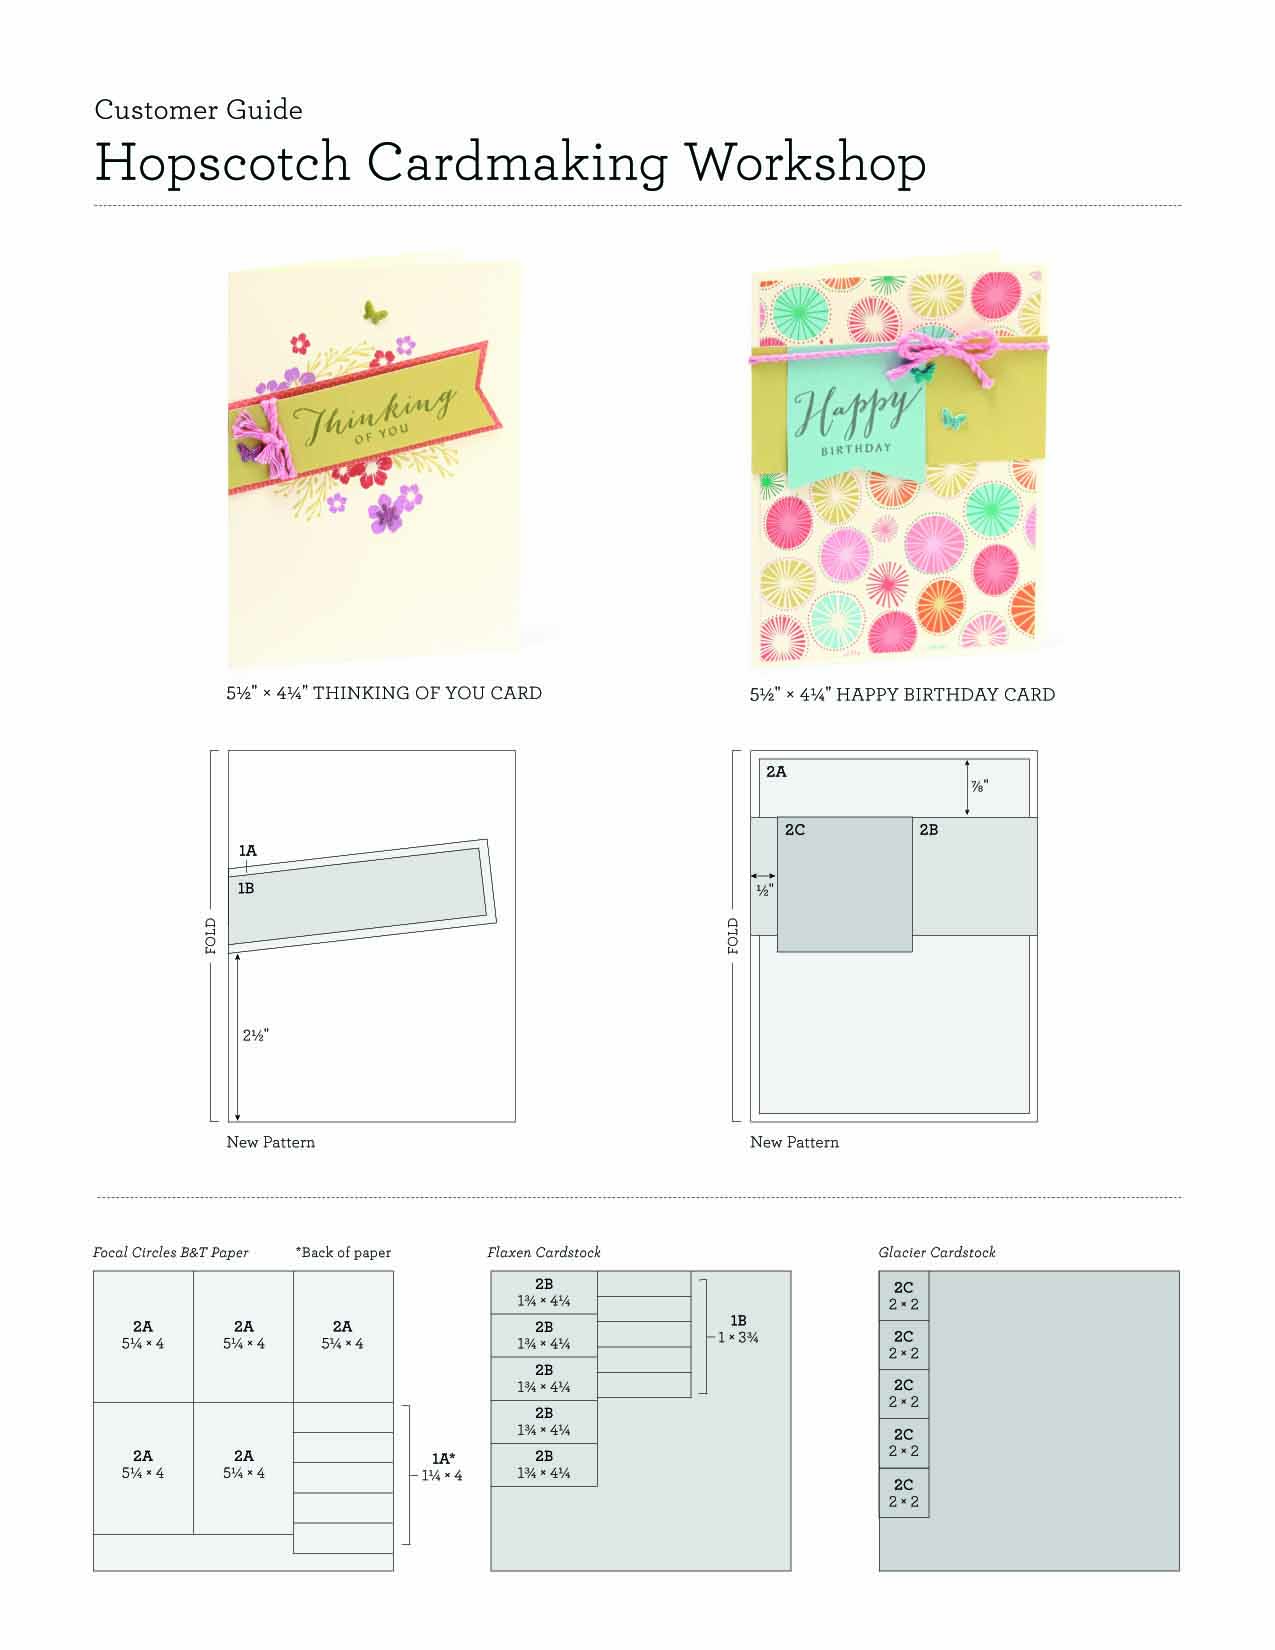
If you haven’t already tuned in,  I have begun doing facebook live videos for scrapbooking & card making.   Today I’ve decided to share a few of the cutting guides for the card workshops, and the links to the videos that walk you through the cuts and assembly.  

The first video & patterns (hopscotch) can be found in this post

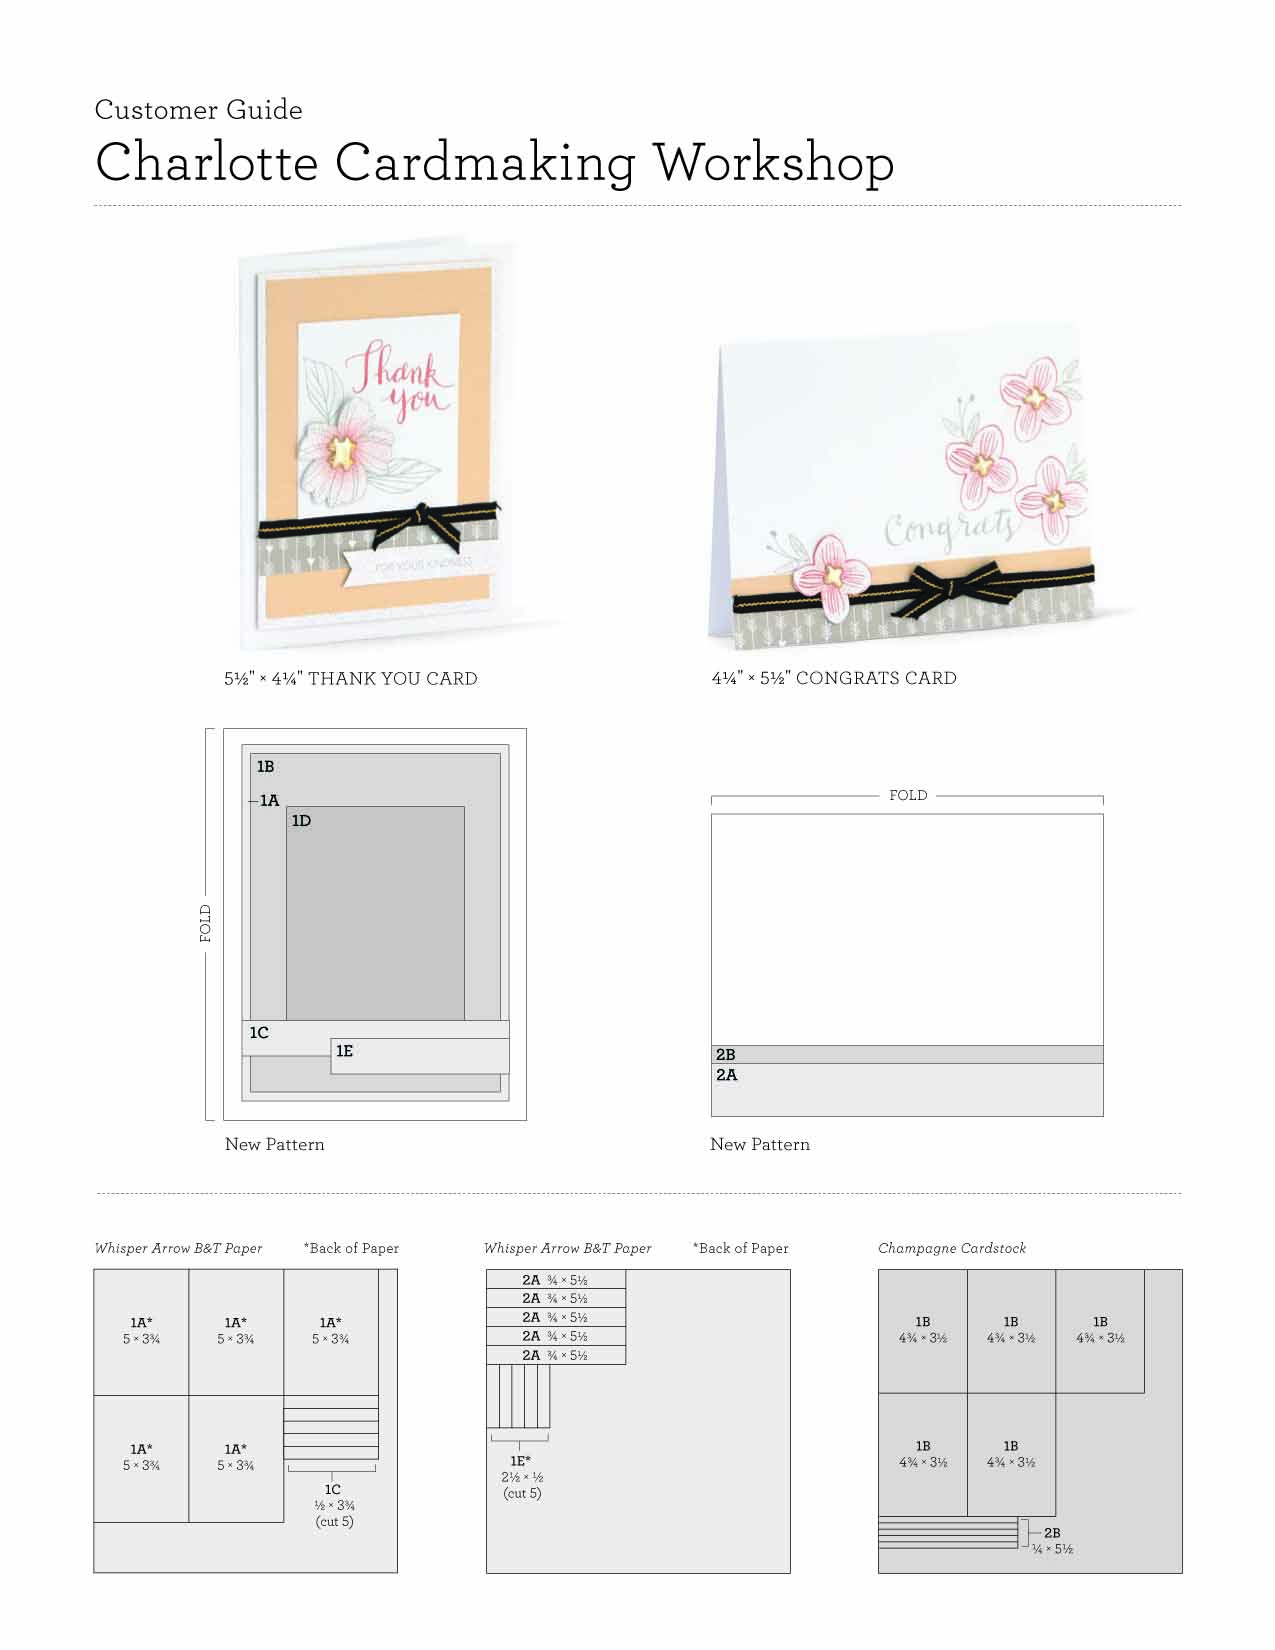
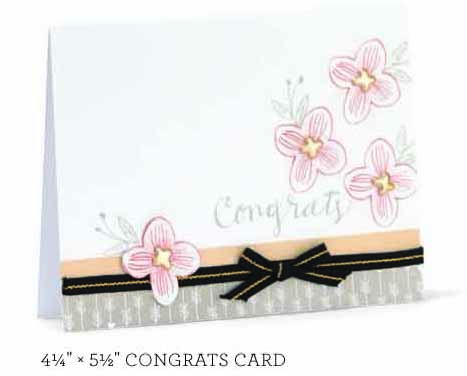
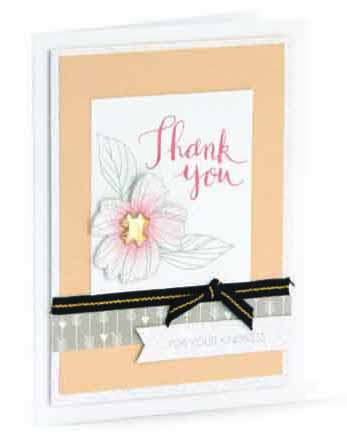
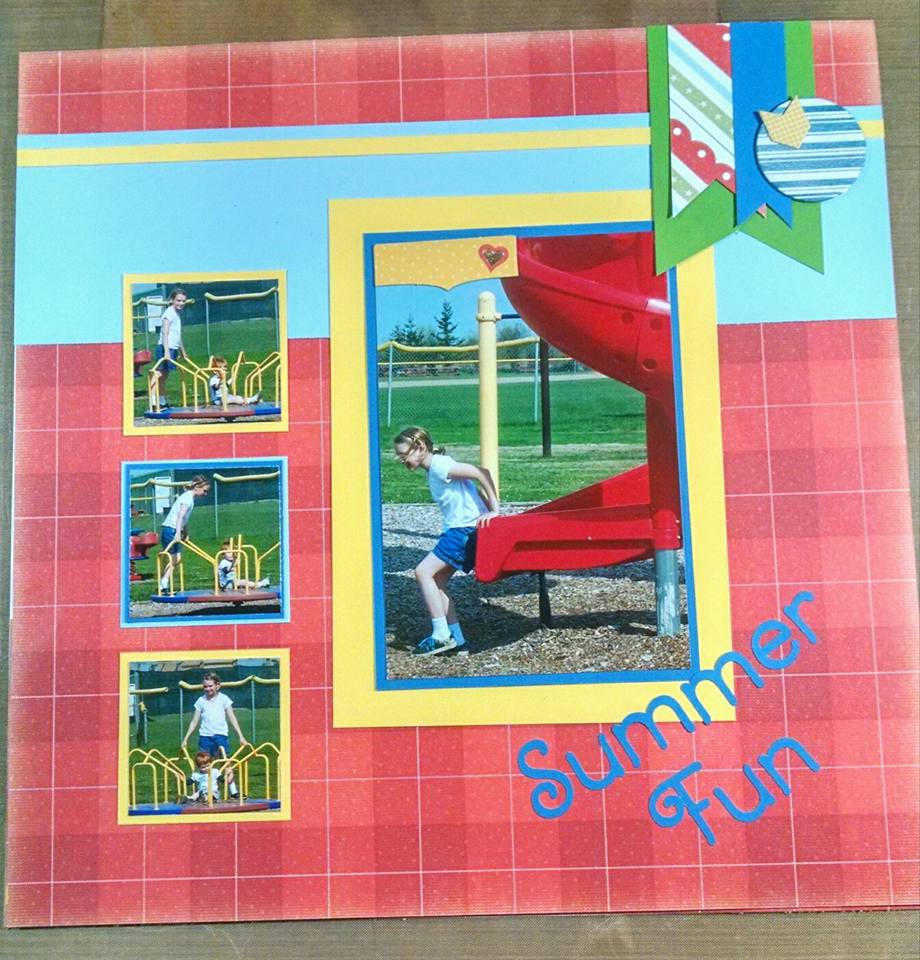
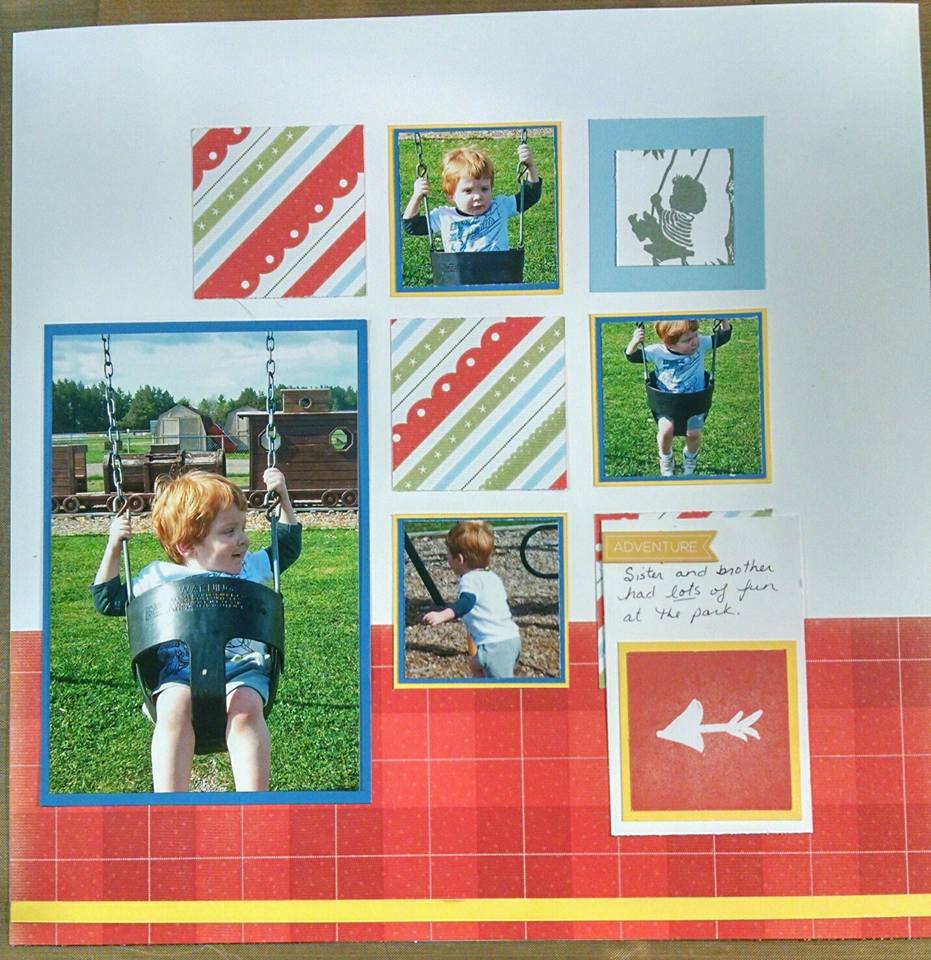
Here is the pattern and some sample artwork for our second video.


The papers are old retired (Avonlea & Blossom)  and the cuts are from the new cricut cartridge Flower Market.

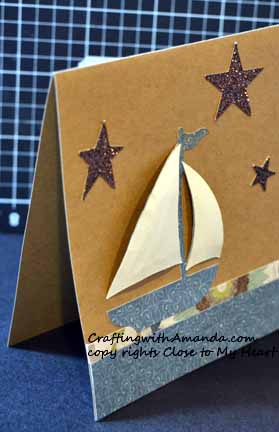
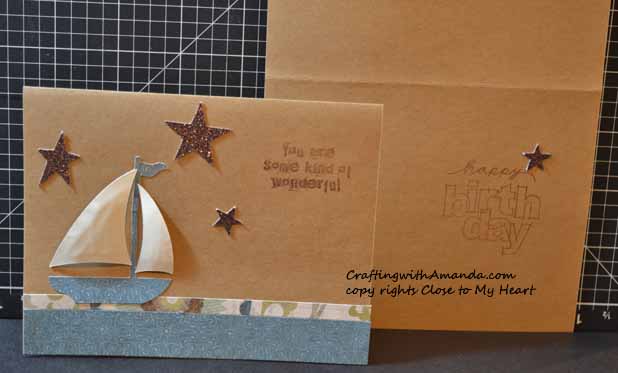
I really like how the sails turned out on the Avonlea cards.   Here is the video if you want to see how they come together.

Happy Crafting!

Life Took off, and boy what a journey

As I finished updating the information for May on this website, I knew I had not posted any blogs for a while. I did not know I had not posted for a whole month! Oops.

Unforeseen circumstances aside, I will do better this month.

For today, I will share this video CTMH put together showing how to make a beautiful wall hanging using their Flower Market Cartridge.


I wouldn’t have thought of doing this,  but I can see endless possibilities.

Happy Crafting!

Scrapbook & Card Workshop Video

Hi,

After much consideration and planning,  I jumped in with both feet and have started Facebook Live Video Workshop.  Currently I am doing them once a week on Friday Mornings and I hope I’m making improvements each week.   This video has both the scrapbook & Card workshop cuts at the beginning of the video,  then assembly is after.   If you just want cards,  skip to about minute 30 and that’s where I start the card set cuts walk through.  Here are the links to the Cutting Guides:

Blossom Scrapbook Layout

Hopscotch Card Set

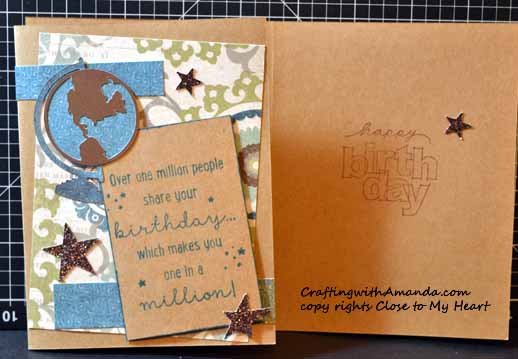
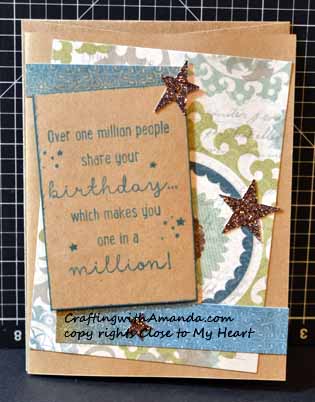
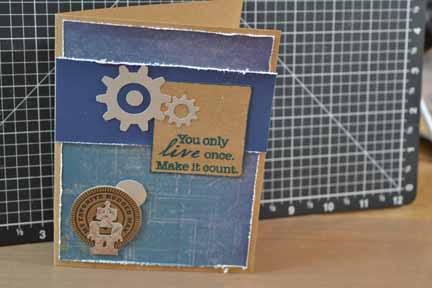
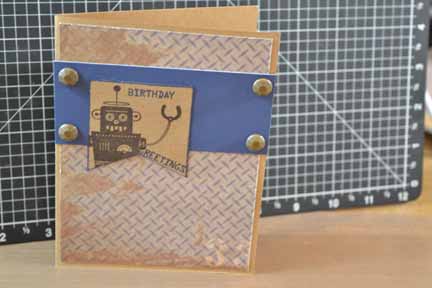
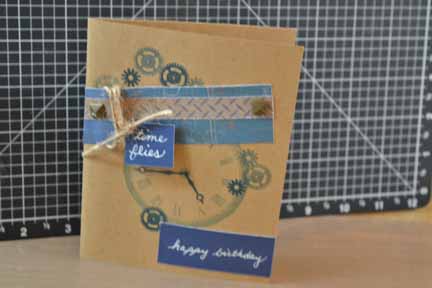
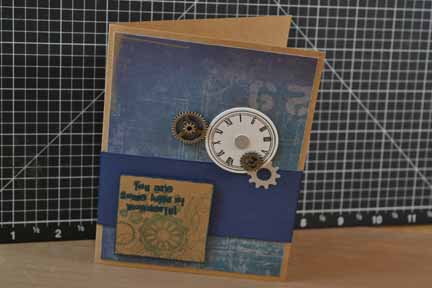
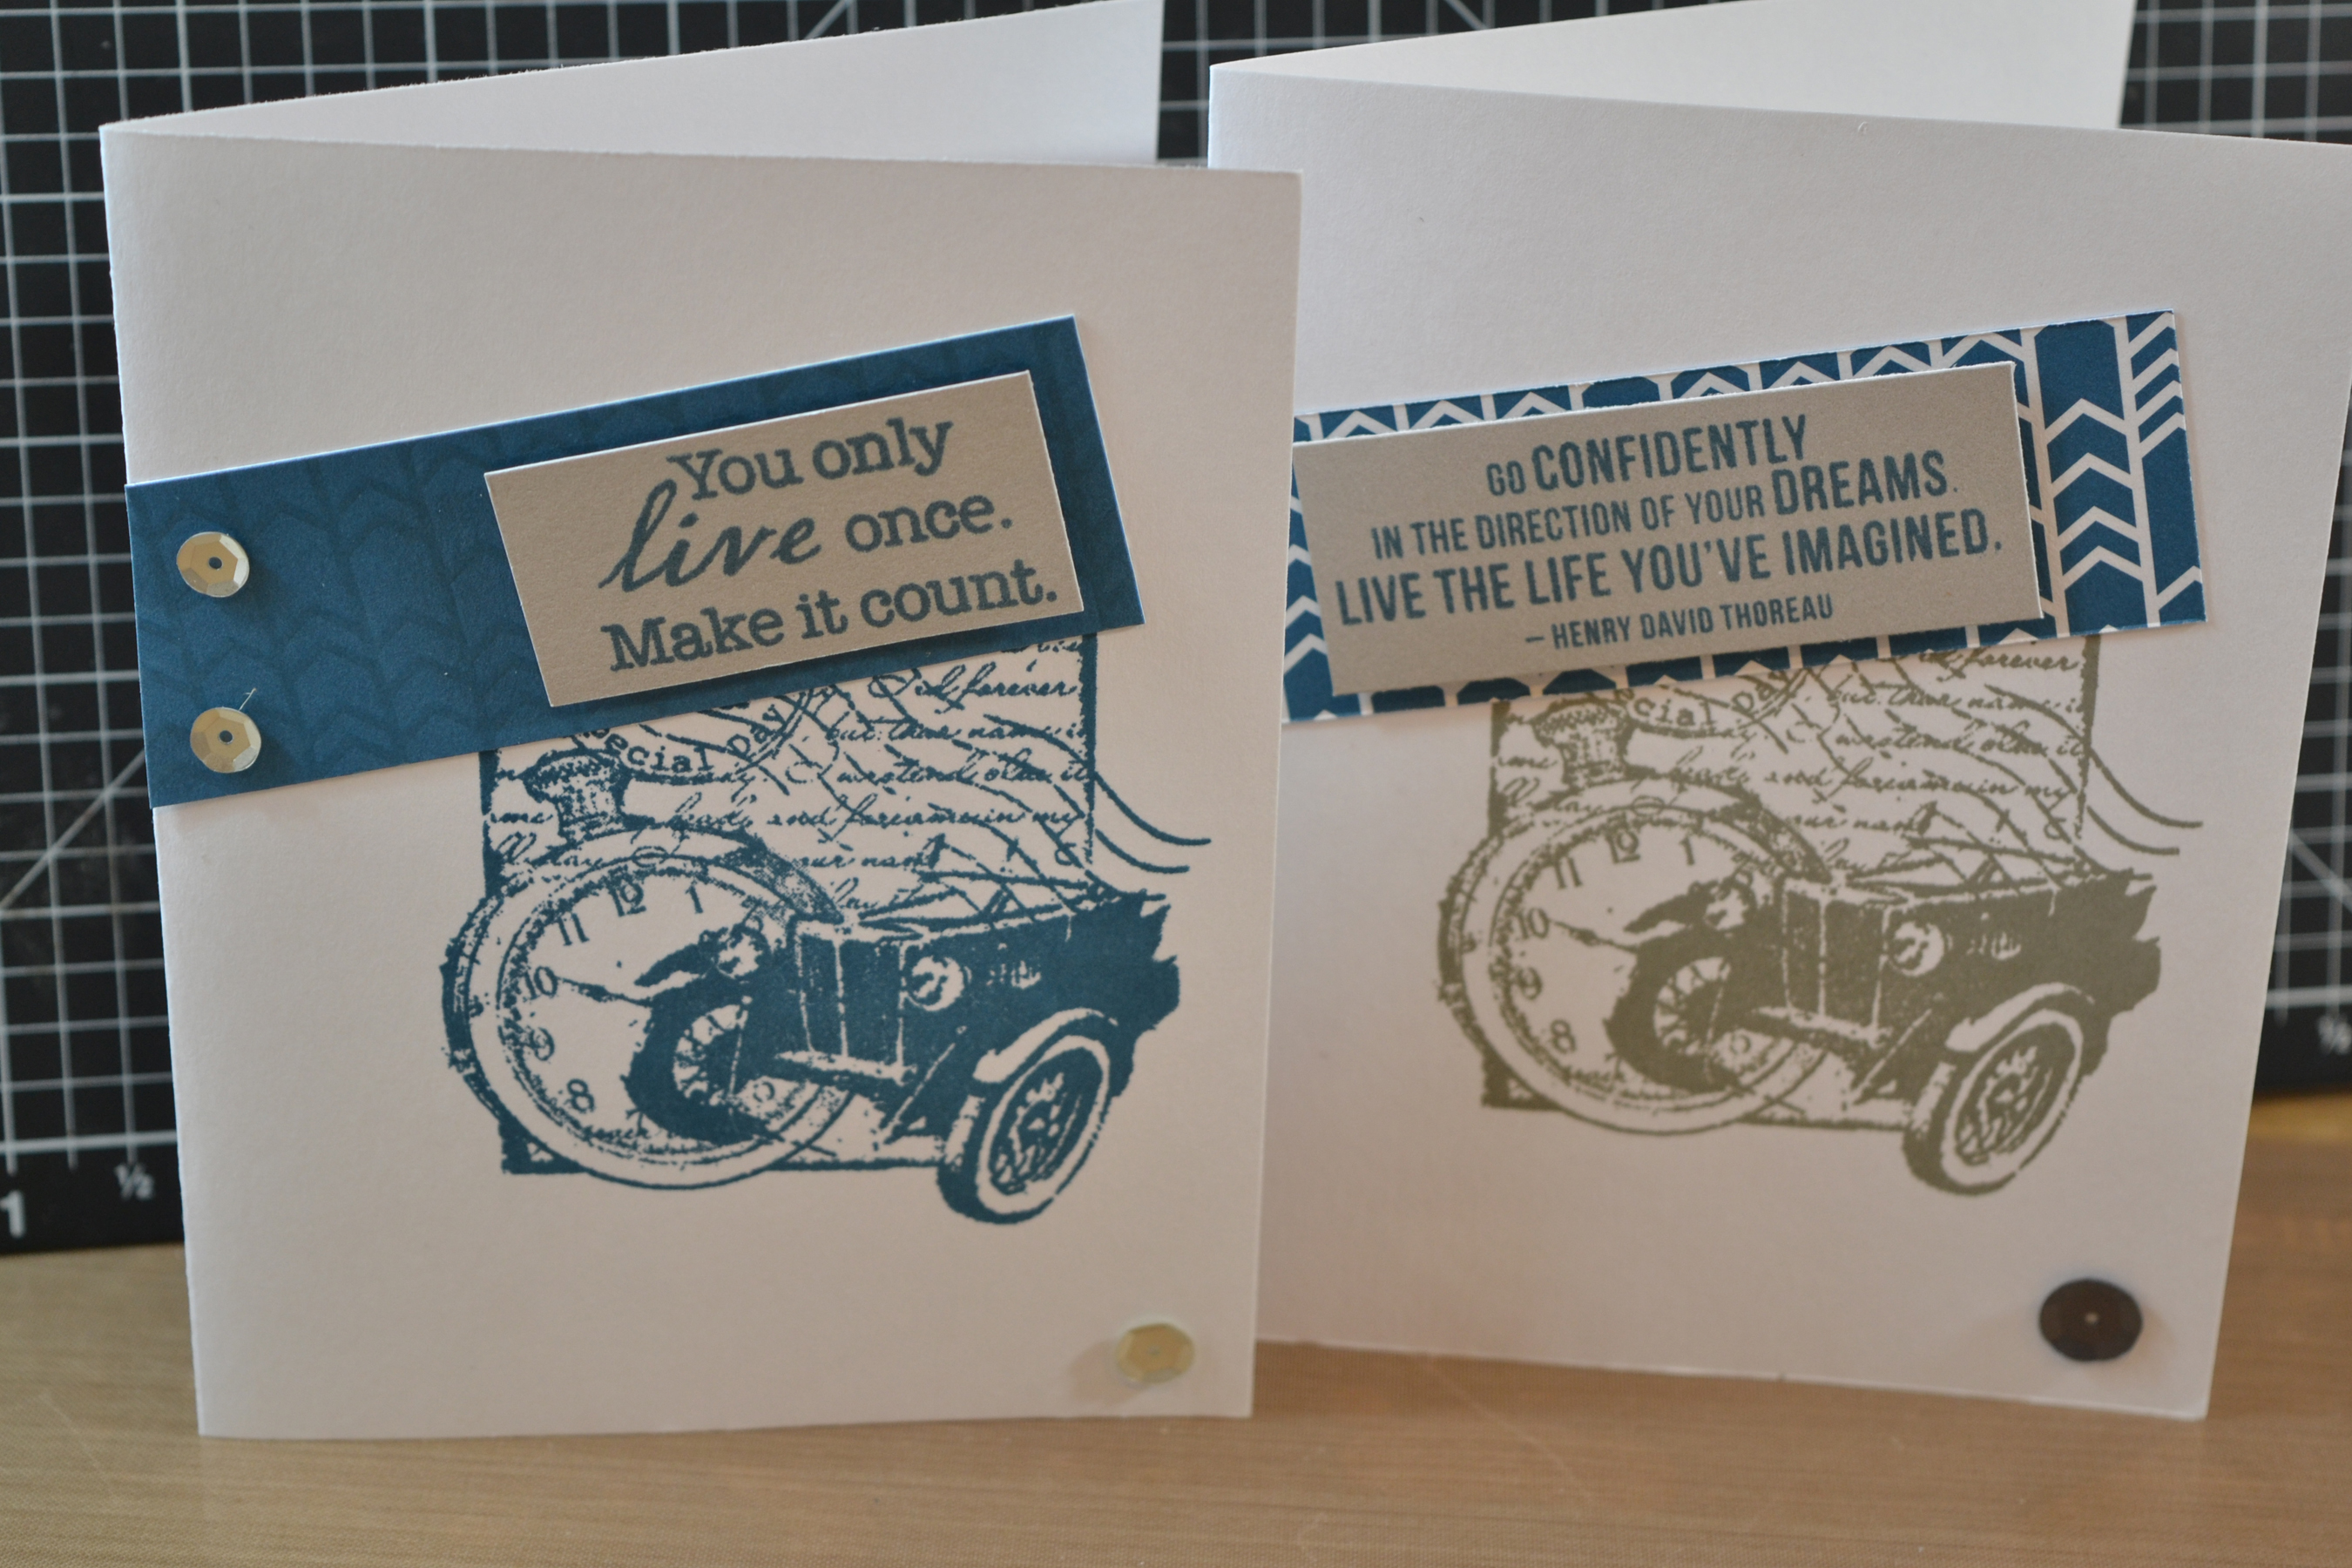
Here is some of the artwork created with this video.

In the above cards,  I tried both the slate & the pacifica inks for the car/watch,  and I prefer the pacifica blue.  Which do you like?

I also made some cards with scraps from the layout.  I will post those soon!

Happy Crafting!

Technique Tag – All done

If you are jumping in on this post series,  you might want to see all the techniques,  the links are just below.  You also might be interested in knowing that one lucky winner (USA only) will received the set of tags I created and photographed for this series.

Intro & cardstock tearing

Background Stamping & Sanding Cardstock

Tissue Inking & using sponges

Pockets & Tags

Faux Stitches & Patchwork

Pop Dots & Window Panes

Sponge Backgrounds & Crinkling

Random Stamping & Doodling

Fabric Fun & Water Misting

Accordion Medallion & Baker’s Twine

DTP Inking & Dry Embossing

Fill Negative Space & Generation Stamping

Shimmer Brush & Rock N Roll

Masking & Spot Lighting

Washi Tape Fun

The series of tags is finally coming to an end.  We have gone through 30 different ways to enhance your paper crafting projects.  I hope you have learned something and enjoy getting back into crafting and using some of these 30 techniques.

If  you have commented on any of these posts, shared or re-pinned on pinterest you have earned an entry for each.  I will be gathering all the entries and drawing a lucky winner.  I will make every effort to contact the winner and look forward to sending you the set of tags I created for this series.

Good Luck & Happy Crafting!

Technique Tags – Masking & Spotlight

If you are jumping in on this post series,  you might want to see all the techniques,  the links are just below.  You also might be interested in knowing that one lucky winner (USA only) will received the set of tags I created and photographed for this series.  (Information at the end of the post!)

Intro & cardstock tearing

Background Stamping & Sanding Cardstock

Tissue Inking & using sponges

Pockets & Tags

Faux Stitches & Patchwork

Pop Dots & Window Panes

Sponge Backgrounds & Crinkling

Random Stamping & Doodling

Fabric Fun & Water Misting

Accordion Medallion & Baker’s Twine

DTP Inking & Dry Embossing

Fill Negative Space & Generation Stamping

Shimmer Brush & Rock N Roll

Masking & spotlighting  are two great techniques and in my mind,  somewhat related.  They each let you choose one part of your project to be your focus.
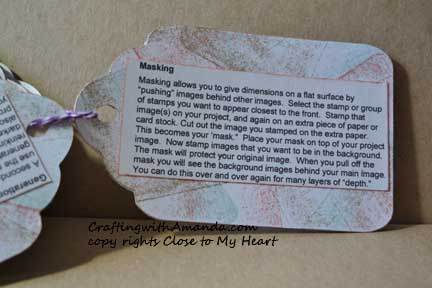
With masking,  you decide which image you want in the “front” of your project and stamp that first.  then you stamp and cut that same image our from a scrap piece of paper.  Before you stamp any “background” images,  you cover your feature image with the “mask” you created.  When you’re done stamping,  you remover your mask and wah-la you have your featured image fully visible.
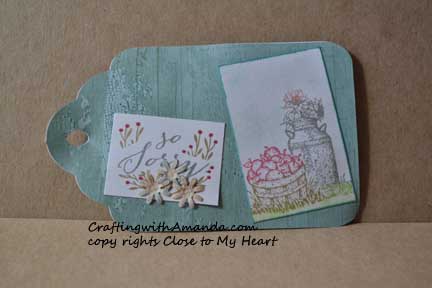
In the above sample I masked the words so sorry and the basket of apples.  Everything else goes “behind” those images.

Now spotlighting also requires you stamp your feature image twice,  this time though,  the second stamped image will be colored or highlighted in someway and attached over the your first stamped image.
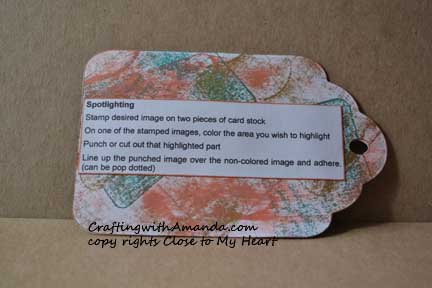
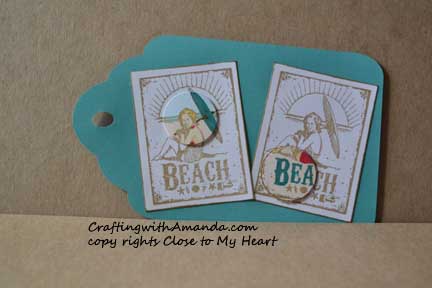
As you might have noticed,  it is up to you which part of your image you wish to feature on your project.
Now you might want to know how you can earn chances to win These tags.   There are several ways.  Write a comment on this post.  (1 entry)   Share this post link on your Facebook post and let me know on my FB page Crafting with Amanda that’s you’ve done it.  (1 entry per share).  Like my FB page.  (3 entries)  If you’re a pinterest person, for every technique tag you pin, you receive an entry.  (up to 35!)    At the end of the contest I will assign each entry a number and using a random number generator will pick a winner.  I will announce the winner on this blog, and then contact them to get the address where the tag book should be sent.

If you would like a copy of my technique instructions file,  leave a comment with your email and I will send it to you.

Happy Crafting and Good Luck!