Cricut

Day 2 Mini Retreat project(s)

In celebration of National Scrapbooking Month,  Close to My Heart had a Taste of Summer paper pack as the monthly special.  12 sheets of B&T (Background & Texture) paper for only $8.95.  They also had a stamp set that coordinated with the paper pack.  For club night last month I took a half sheet of the pattern paper, a half sheet of black cardstock and a third of a sheet of our great fundamental cardstock and created four cards.   As we had graduations, family illness and other conflicts there weren’t many ladies there so I had lots of paper already cut and ready to use.  I decided instead of leaving the half sheets in a bag to be found in 6 months when I can’t remember how I created the cards I would create the cards now.
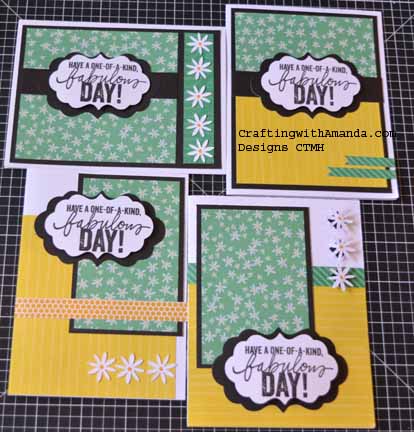
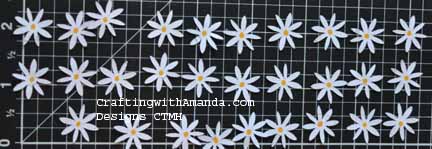
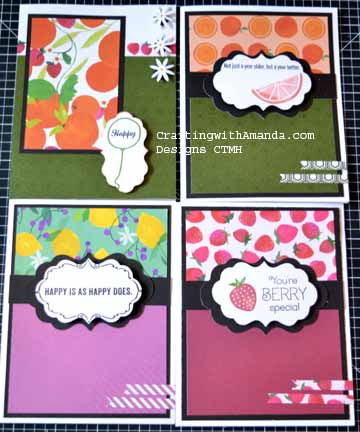
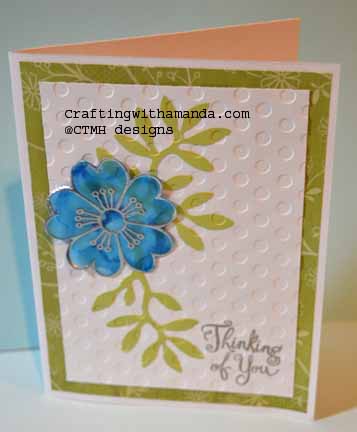
ToS-Cards-Samp1Here is a sample of the 4 different cards.  As you can see,  I also added precut sentiment medallions in White Daisy matted on Black.  I also used the Art Philosophy cartridge and cut 205 flowers (3/4″).  They just worked so well with the papers!

AP-flowers


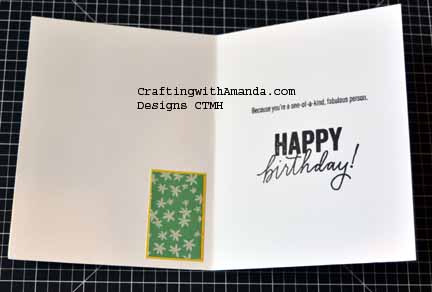
Inside each card I glued a matted piece of B&T paper and stamped my sentiment.  In addition to the Taste of Summer stamp set, I also used the Happy Everything stamp set.  This stamp set is great, and it is also the Operation Smile stamp, where all proceeds from the sale of it goes to Operation Smile.  (Orders your now as they won’t be available after August.)

ToS-Cards-inside

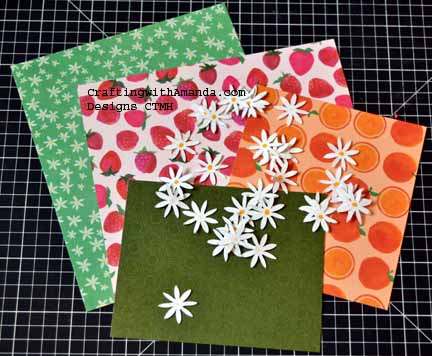
Here is another combination of the papers.

ToS-Cards-Samp2

All said and done, I was able to create 52 cards all using the same cutting guide.
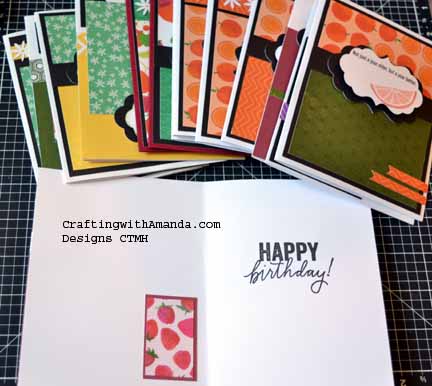
ToS-Cards-LotsI still had some pieces left, so last night after I put kids to bed,  I created some card fronts for embedded embossing.  I got 13 more cards that way, and this is what I have left.  (I haven’t embossed them yet, and need to cut a few more sentiment medallions for after they are embossed,  but I can do those in the evenings.)

TOS-Cards-Leftovers

65 cards and counting.   I am guessing I’ll get 4 more cards out of this pile and call it done.   I found an OLD club night project  that’s already cut and just needs to be assembled (birthday calendar book) so now when I finish putting that together, I will have cards to go in it right away.

Happy Crafting!


Who Doesn’t Love to win Something?

tag_liquidglass_samp Not me. I am starting a series of blog posts around a technique tag book that my club night gals and I made over the last year. We did four techniques each month over nine months. 4 x 9 = 36 techniques right? Wrong. I duplicated one of the techniques, so one month we only did three new ones. What does all of this have to do with winning? You can win all 35 of the new technique tags that I am making just for this contest! Over the next several weeks, I will be posting a couple of techniques each day.

Now you might want to know how you can earn chances to win this great prize. There are several ways. Write a comment on this post. (1 entry) Share this post link on your Facebook post and let me know on my FB page that’s you’ve done it. (1 entry per share)(https://www.facebook.com/CraftingWithAmanda). Like my FB page. (3 entries) If your a pinterest person, for every technique tag you pin, you receive an entry. (up to 35!) At the end of the contest I will assign each entry a number and using a random number generator will pick a winner. I will announce the winner on this blog, and then contact them to get the address where the tag book should be sent.

I will be showing photos of the technique samples tags that I made for the club night gals, AND the brand new tags using Seaside papers & Skylark. With no further ado. . .

Technique #1

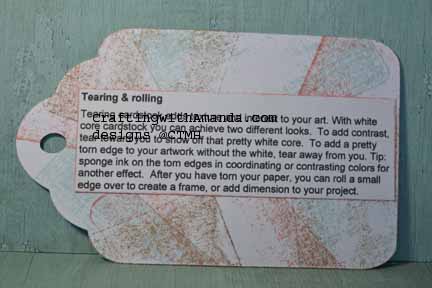
tag_tearroll_insCardstock paper Tearing & Rolling:

This is a great technique to add interest to your project without adding bulk. If your cardstock is white core, (like CTMH) you can also add contrast or help direct your focus to your photos or other focal point.

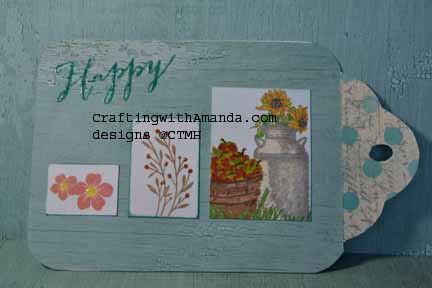
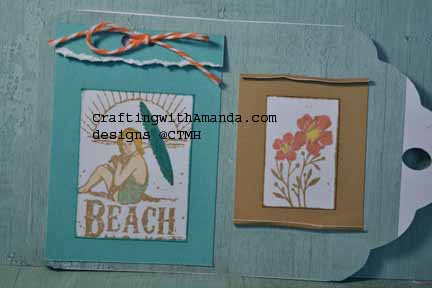
In my example I rolled the edges on one of my samples to help bring the focus to the flowers. On the beach image I used the torn edge to help balance the white of the image and help draw your eye to it.

tag_tearroll_sampHere are the stamp sets I’ve used in this example, and many of the other tags that we will be looking at in the upcoming posts:

C1605 Happy to Be Friends

D1632 Amour

I also used Seaside papers (X7192B)

Our awesome markers were also put to use throughout this process of creating the technique tags.

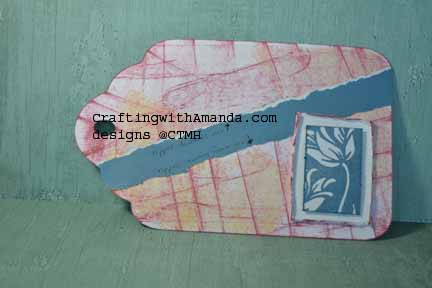
tagclub_tearroll This is the sample from our club night. Notice on this one I rolled all the edges of the framed image. I also showcased the tearing techniques for showing the white core (top) and not showing (bottom) of the cardstock running diagonal. It can be varied depending upon which way you tear the paper. (towards you or away from you.)

So. Remember to comment on this post, share on FB, and pin the tag to Pinterest to earn entries into this contest. You can share your pinterest shares with me on the FB page.

If you would like a copy of my technique instructions file, leave a comment with your email and I will send it to you.


Happy Crafting and Good Luck!


Vellum Embossing and fussy cuts

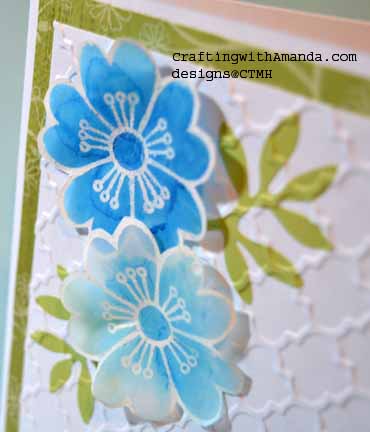
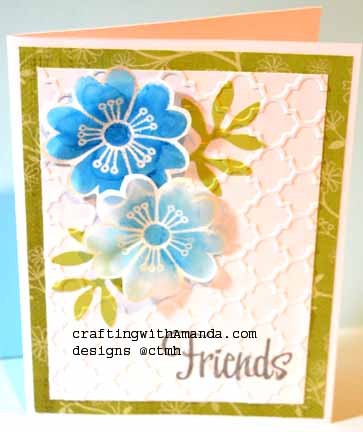
I’m still in my use up scraps/old paper packs trend, but I am also trying to do some research for my April Crafting Retreat.   So, you can see some paper from the Emporium paper, but I’m mostly focused on the vellum flowers.vellumflowerupcloseHere is a close up shot.  I’m not sure if you can see it, but I stamped versamark ink on vellum and covered with white (or silver) embossing powder.  Being careful to not overheat the vellum, I set the powder with my heat gun then fussy cut out each of the flowers.  (I did 4 silver and 4 white)  vellumflower1I then played with our alcohol markers and colored on the back (side without the embossing) with Z2449 Cerulean Blue light.  Some I colored lightly and others with many “layers” of ink.  After I added the color, I tried and move some of it with the blender pen.  I really didn’t like this.  Ideally I would have liked a mister with rubbing alcohol, but all of my spray pens had ink/color in them, so instead I used a dropper and “dropped” rubbing alcohol on the back of the flowers and let gravity pull it around to the edges.emporiumscrapcard11I  hope to revisit these vellum flowers (hopefully finding a flower punch that coordinates with a cricut cartridge so I don’t have to fussy cut).  Instead of a dropper, I’ll be prepared and have a spray pen available to “move” the alcohol marker ink.

That’s it for now.

Happy Crafting!


Instructions to find Pop-up Cards

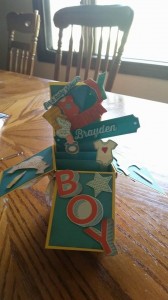
Erica Popup Baby

It was brought to my attention that I could post the instructions for these cards.  We used the Card Makers Magazine (Winter 2014) instructions and I’m sure I can’t post those here.  Copyright laws and all.  So, I found another set of instructions at Split Coast Stampers.

Erica Popup Baby2

This card was created by Erica and she took a baby shower invitation she received, and taking the pieces about carefully, used the paper and embellishments from the invitation to create this card.  I thought is was clever! Here is the card opened.

Can you tell I’m loving these pop up cards!

I sponsored a card sketch challenge this weekend, so I’ll post the sketch and my take on it soon!  (It’s still packed.)

Happy Crafting.


Glimpses from the Weekend

It’s a new week.  I’m not sure why the Friday post didn’t get updated until Monday, but there it is.

Had another great weekend talking with creative ladies and seeing some beautiful artwork.

I might not have finished the samples for even one scrapbook workshop, but  I was pleased with what I managed to get done.

Scaredy Cat 1lt


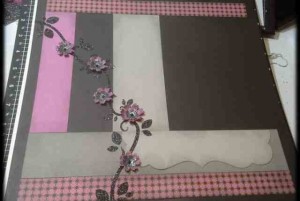
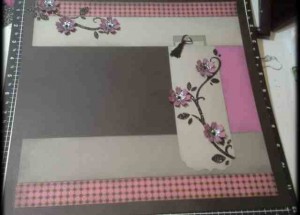
This Layout is from Magic pg 28 (I think).  I cut the branches out of black glitter paper using the Artfully Sent Cartridge.  (Not just for cards!)

Scaredy Cat 1rt


CTMH glitter paper cuts beautifully too!

Here is the right side of this layout.  I don’t have a title yet, but I love the little tassel on the hidden journaling spot.

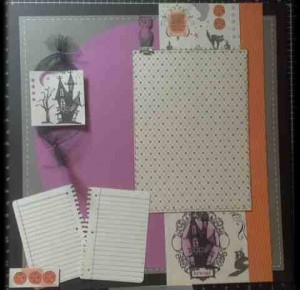
This next layout embraces the fun of the Scaredy Cat paper.

It too comes from Magic.  (I think page 48)

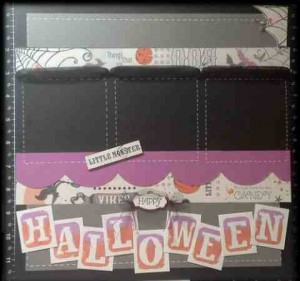
Scaredy Cat 2ltThe square house is on black tulle and was cut from one of the patterned papers.  I also cut the owl, three pumpkins, little monsters sign (right page) and spider web too.

To ink the two tone “HALLOWEEN” I used sunset & thistle.  I inked thistle on the top of the stamp, then (because I could see through) I did the other part in the sunset.

Scaredy Cat 2rt

Really like the effect on this themed Layout.

I used a Gel White pen and made “stitch” marks around the edges of the slate CS and to highlight the photos on the right hand page.  It still amazes me what the little touches do to highlight photos!

Hopefully I’ll find some time this weekend to finish the floral pages and put together the third LO for this workshop.

Happy Crafting!

Amanda