Cricut

My New Stamp Set Swap Card

It’s been several years since I’ve participated in a swap,  but I did it.  We were asked to pick 5 stamp sets from the new Annual Inspirations book, then we were assigned one from our list.  I got Ink Blot as my stamp set, and was really excited to get to work.
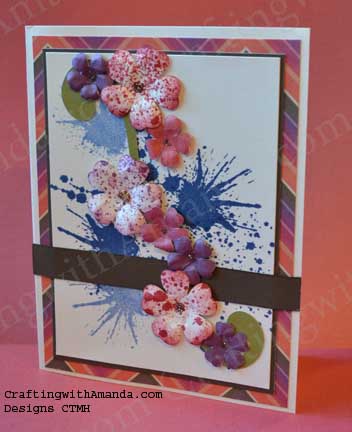
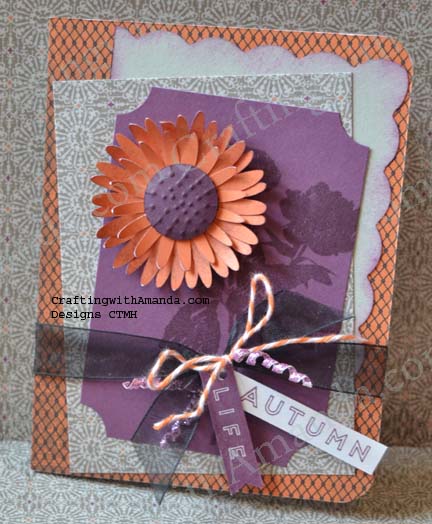
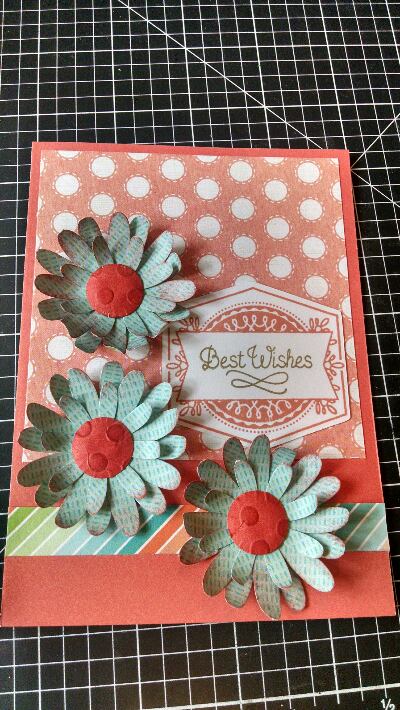
swap cardHere is my final product,  but I’ll give you some tips and my thought process in creating this.  (I’m really pleased with the results!)

ink blot

I knew that many consultants like to create some “noise” using background stamps,  and there are hundreds,  if not thousands of examples of that on pinterest.  I wanted to do something more with the stamps.

First I found the shape flower I wanted.  It happened to be on Art Philosophy.  The paper is Sangria.
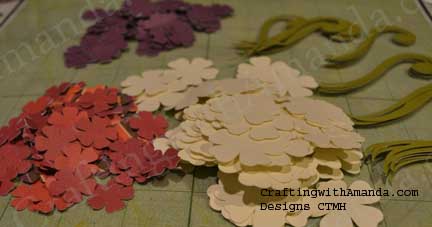
swap card1Now I had all my flowers cut I need to make them come to life.  The colonial white ones are a half inch bigger than the purple and pomegranate ones so they are perfect for some color.  Using two of the stamps from Ink Blot I inked some with pomegranate, first and second generation, and some with eggplant.   I let them dry overnight.  (Not that  you need to,  but it was late and I was tired!)  The next day I dry embossed them to curl the edges and make them have some dimension.   I also added a dot of bronze glitz  (which is on sale for only $1.95 while supplies last) in the center.
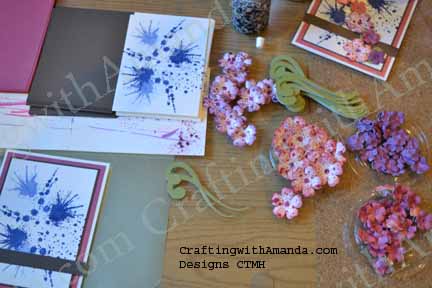
swap card2I stamped the main piece of the card using sapphire ink and 4 different stamps from the set.    Once I started to dry fit the layers together,  they needed something.  I added cocoa card stock as a layer directly below the colonial white stamped piece, and another strip across the bottom half of the card.  I think the cards needed to be anchored and the dark cardstock took care of that.

As I am not one to have a “blank” inside,  I did a little stamping inside as well.
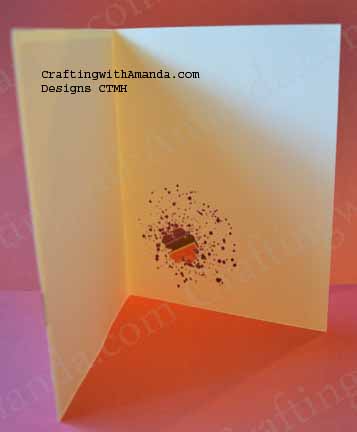
swap card inI had some extra smaller flowers left from cutting them out of the B&T paper,  so I adhered one over the stamping on the inside.

swap cardI created these over a month ago, and I really am enjoying  how they look.  I made a few extras so I would be able to share with others, but so far I’ve been hording them in my studio and letting them bring me a smile.   I think it’s time to send one (or maybe two) away from home to let some others smile.

Happy Crafting!


Mum – family flower Tutorial

As I’ve been posting some of my cards with the big sunflowers on them,  or colorful mum like flowers,  I’ve been asked how I do them.  I tried writing out instructions,  but some were still confused,  so tonight I created another flower and this time took photos as I worked.  So are a bit blurry,  but I hope you get the idea.

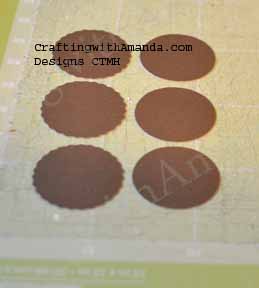
Step one.  Cut your flowers & centers out on the cricut.  I used the Art Philosophy cartridge.   Cut 2 <Flower1> (Shift 1 ) at 2.5″ and 1 <Flower1> (Shift 1) at 2″  I then cut 1 smooth <circle1> (1) at 1″ and 1 scallop <circle2> (q) at 1″  Now you have all the pieces you need to create one flower.

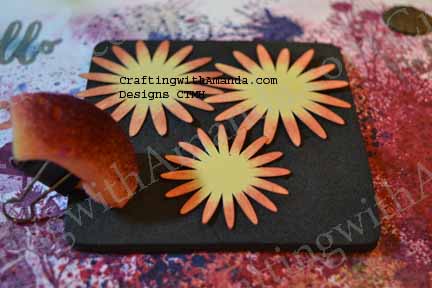
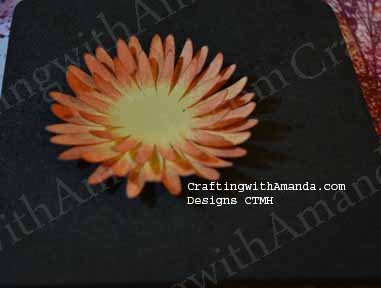
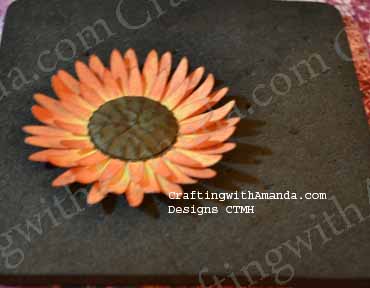
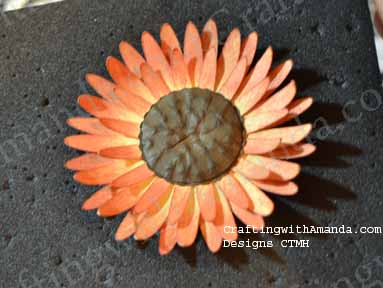
sunflower1To make the centers look more “real,”  I took my small round stylus and gently poked dots starting at the outside edge and working toward the center on the smooth circle.

sunflower2Ends up looking like this.

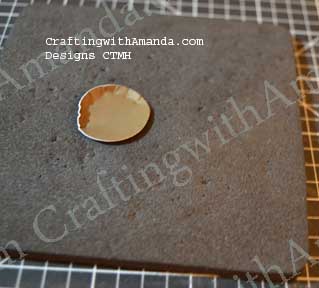
sunflower3Next I attach some pop tape to help it hold it’s shape before I use a sponge and rub ink over the dots.

sunflower5

I also ink the edges of the scallop circle and normally the edges of the smooth, now dotty circle, but didn’t so you would be able to see the layers better.

sunflower4

sunflower7You’ve just created a sunflower center sandwich  🙂

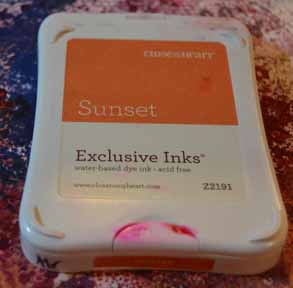
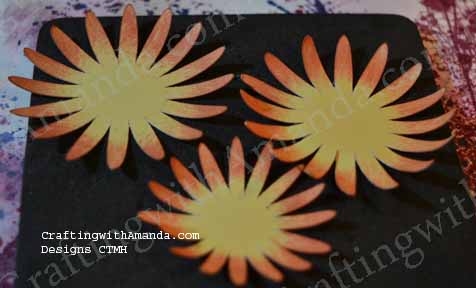
Next you get to play with the flower petals.  In this example I used sunset ink to add color to all three of the flower petals.

sunflower8

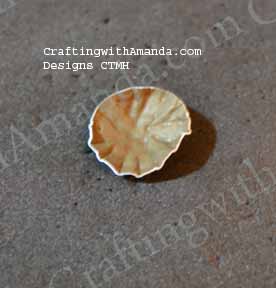
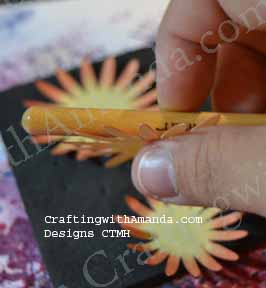
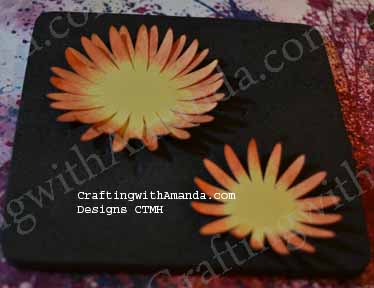
sunflower9To give the flower a natural look,  I curved the petals by pulling the handle of my piercing tool over them.  (if you ever curled ribbon for a package with scissors it’s kind of like that.)

sunflower10

Now you can start assembling all your components to create a stunning accent to any of your projects!

sunflower11sunflower12sunflower13sunflower14sunflower15

Here are some of my creations using this flower.

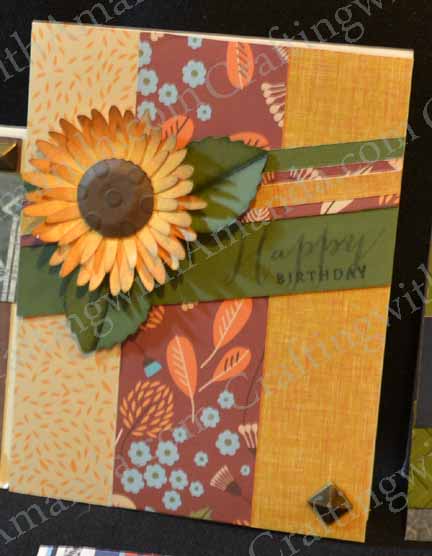
NeverMore-SeptSOTM_frontpathfinding_APZoe&Blossom_Card

Happy Crafting!


Introducing Zoe and some Artistry Images

Hi,

The haying isn’t completely finished,  but I’ve found some crafting time to wind down at the end of the day.   Some of these cards  combine paper packs and I will try to include the names for you!

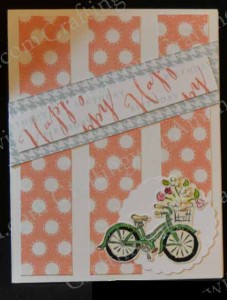
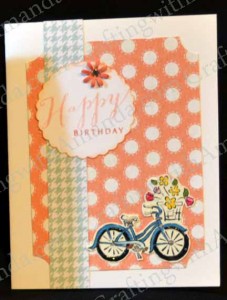
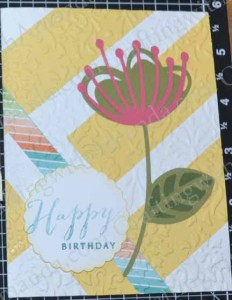
Zoe&Artistry_vaseThis card uses some of the new Zoe paper and cuts from Artistry.   I have been using up scraps lately and so it was refreshing to cut into a whole sheet of NEW paper!  Before I forget to include them,  here are the stamps that I used on these cards.   C1605 Happy to Be Friends  & S1508 Framed

circle_bday zoe_bday_bike zoe_bday_bike2

Here are some other cards that combine Zoe, Artistry and some Blossom Paper too!

There are some artistry cuts on each of these cards. Chalk It Up makes a cameo appearance and Pathfinding too.  The sunflower was cut using the Art Philsophy cartridge.

zoe&Artistry Artistry_cut blossom_artistry blossom_Artistry2 Artistry-Blossom-Card pathfinding_AP Zoe&Artistry_vase Blossom_SOTM

And for good measure I will throw  some other cards that I made this past week.

blossom_card chalk_it_up zoe&florentine zoe&SOTM

Happy Crafting!
Where to Start?!?

There is so much to be excited about this month.

Close to my Heart is releasing sneak peaks to the next Annual Inspirations!

New paper packs, colors, stamps & ARTISTRY!   yippee.

I can’t just pick one area to start,  so I’ll cheat and show the new colors & the new Cricut Cartridge.  (tee hee)

CTMH Cricut Cartridge - Artistry

CTMH Cricut Cartridge – Artistry

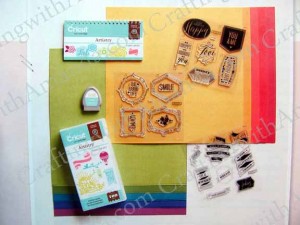
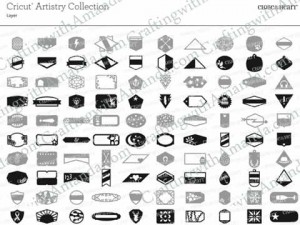
See the new colors in the background,  the coordinating stamp sets & A few of the images you can create.
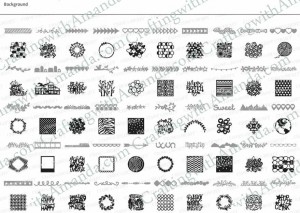
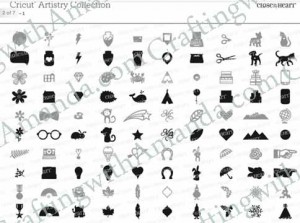
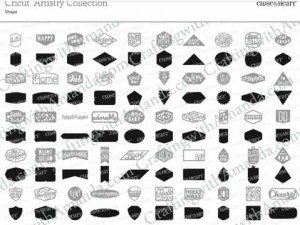
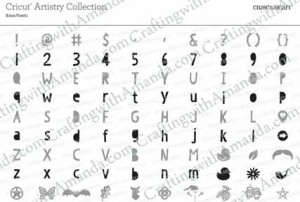
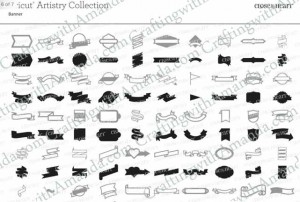
Here’s some more details images of all the many shapes!Artistry-Background Artistry- Artistry-shapes Artistry-layers Artistry-icon Artistry-fonts Artistry-bannersYou can order this Cartridge a month before the new Annual Inspirations book is released.
There are a few more items you can order as a sneak peak,  I will list them here,  and hope to put up photos soon.  Now the tractor is calling.  (Have to make hay when the sun shines.)

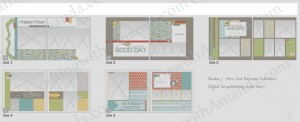
Studio J - Zoe Layouts

Happy Crafting!
Gypsy Card Workshop & .gypsy files

My Mom is an amazing woman.  She has always embraced technology and was quick to use design studio with her Cricut Expression machine.  When she learned about the gypsy,  she got one of those and quickly fell in love.  I wasn’t sold on the cricut line as I sell CTMH and wanted something that would help me cut the stamped images.  I looked into the Sure Cuts A Lot and Makes the Cuts and decided there was too much grey area for my comfort and researched other cutting machines.  I ended up purchasing a machine that allowed me to scan my stamped images and it would cut that exact shape/size.  I was in heaven.

Then,  CTMH had to jump into the Cricut Cartridge wagon and I had to have a cricut.  Once I got the first CTMH cartridge Art Philosophy I was impressed with all the great things I could cut and with a little imagination I could do so many cool things!   I did think I was wasting time when I wanted to do many images at different sizes, but I worked my way around that problem too.
As we do with family,  I asked Mom to watch the kids for me so I could go to a scrap camp.  We arrived a couple days before the camp to settle in and have some fun with grandma.  I had a camp roommate project in mind and as I knew Mom had a cricut I packed my paper & tool bag ready to create some cool gifts in the evenings before camp.  This is when I fell in love with the Gypsy.  Mom is fortunate enough to have a summer place and a winter place.  She doesn’t carry all her stuff back and forth, so her cartridges were only on her gypsy and I would have to use it to create my gifts.  After very little time and a few pointers from Mom,  I was designing and cutting using the gypsy.  Now I wanted one, but the practical side of me rebelled against the price tag.   Patience paid off and I found a used gypsy with some cartridges already loaded on it for a great price.  (Part of the cost was covered by bartered crafting supplies!)

CraftingwithAmanda.com .gypsy filesJumping ahead 4 years, I use the Gypsy for all my workshops and in day to day personal crafting.  It’s so nice to have all the cuts that I made for a workshop sample layout all ready to go when the ladies are here.  We just load their paper and presto,  the cuts are exactly the same.    It also means that they will have the same amount of paper left that I did so they can create their layouts the same if they want.

Why do I share all this with you?   This winter was strange for many of my ladies.  Some were out of town taking care of  family,  other’s left us and the snow for a while and headed south,  and a couple who did stay in town were also dealing with family health issues, or the occasional snow storm prevented us from getting together.  As we were scattered to the winds,  it was hard to have everyone order the workshops at the right time.   Wanting to have a workshop with my gals,  I decided I would create one of my own using the bulk papers from one of the new paper packs.  (At that time the new seasonal book had just come out so I choose the Heartstrings paper pack.)  I got out my Wishes book and my gypsy and came up with these three cards.

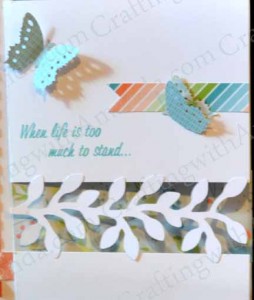
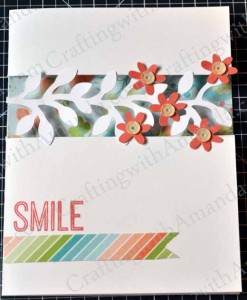
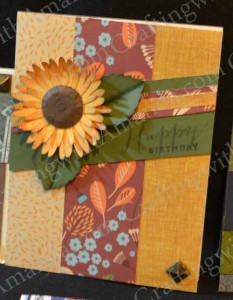
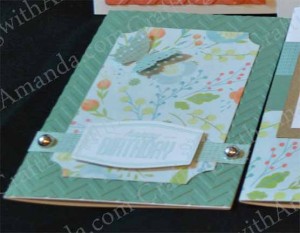
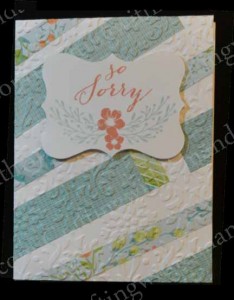
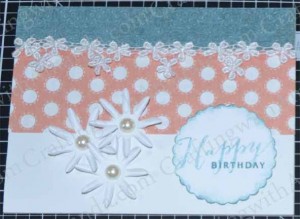
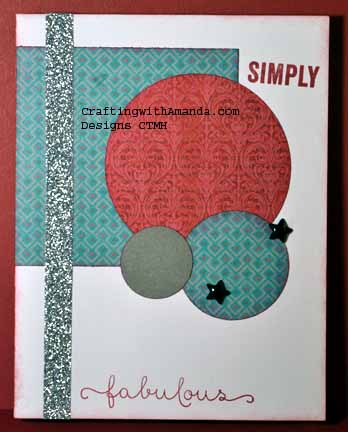
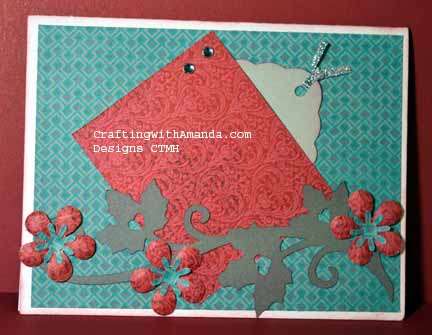
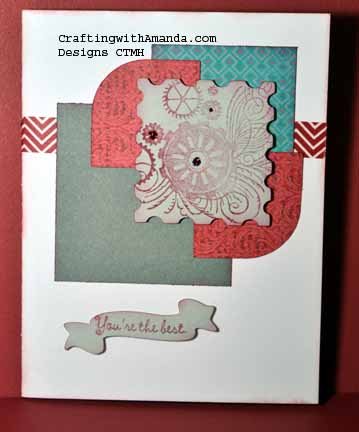
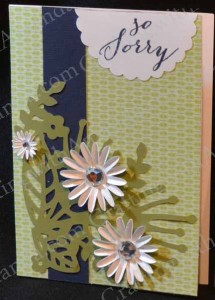
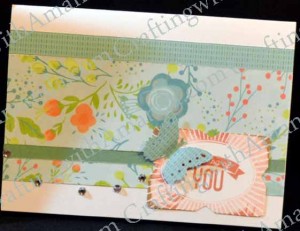
CraftingwithAmanda.com Gyspy card workshop CraftingwithAmanda.com Gyspy card workshop CraftingwithAmanda.com Gyspy card workshopThe top card (card #1) is from page 53,  the middle card (card #2) p89 and the bottom card (card #3) was inspired by p 97.

Each lady would make 5 of each card and have 15 cards to take home at the end of the workshop.  The gypsy files are set up to cut for 2 sets of workshops, so if you cut all the different sheets you will have pieces to create 30 cards!   There is also an instruction file that you don’t really cut,  but I use it for instructions as there are some simple squares and rectangles that you can cut with a straight cutter.  I think I limited myself to the Artbooking Cartridge & Art Philosophy.

Here are the files.
Heartstrings Cranberry
Heartstrings Neutral CS
Heartstrings Dark CS
Heartstrings Other Cut Info

Happy Crafting