Cricut

Library Auction Pages – Third Helping

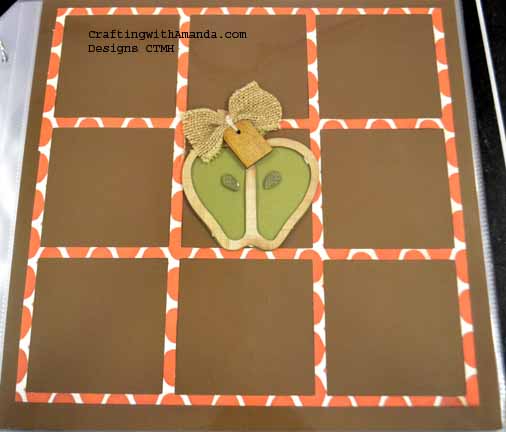
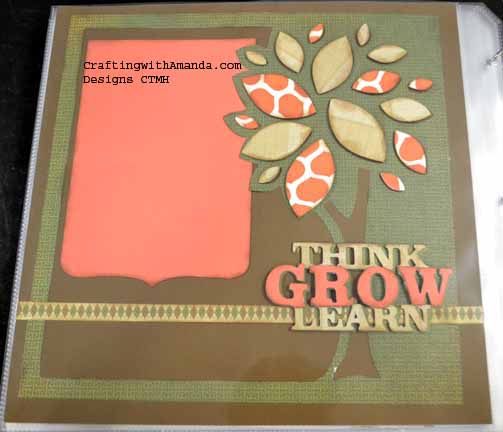
Well,  here’s the next pages for your viewing & learning pleasure.

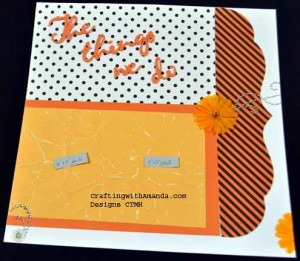
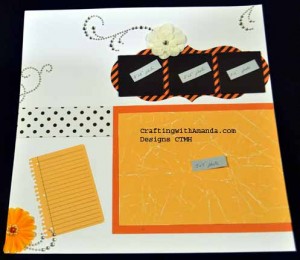
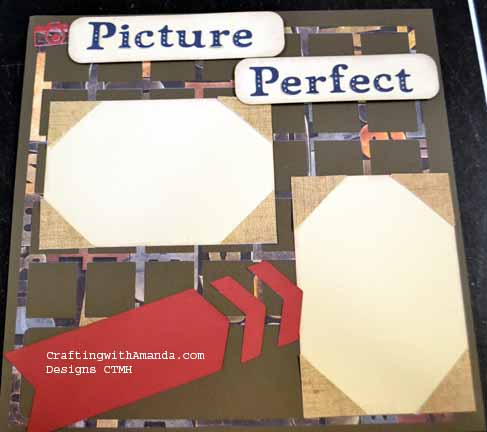
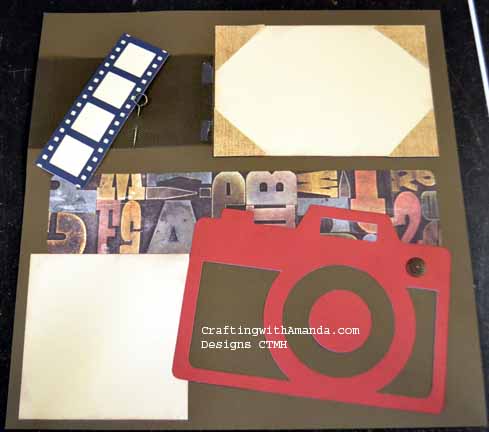
TTWDLeft TTWDRight

The titles are the same, but the paper sure does make a difference!

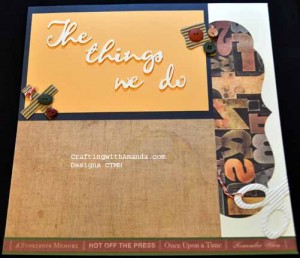
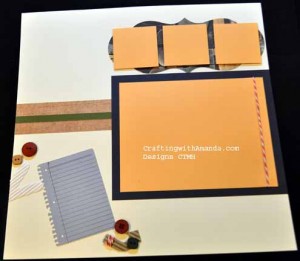
SchTTWDLeft SchTTWDRight

The title for the next pages came about because I had taken a break from this donation scrapbook and did some prep for the upcoming Sparkle and Shine workshop.  I loved how the stamp & cricut shape worked so well together, and as it’s a title that could be used for many different photos it would work well in this book.

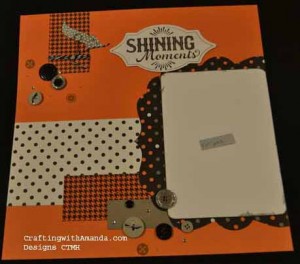
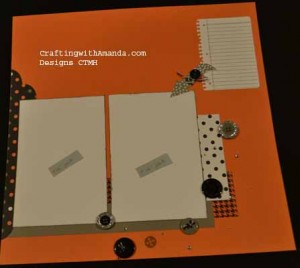
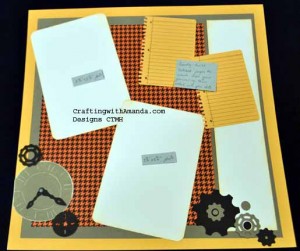
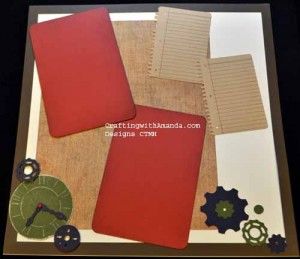
SMLeft SMRight

SchSMLeft
SchSMRight

I don’t know about you, but I often struggle with generic embellishments that are not “girly.”  Gears, clocks, and keys  are a great  fall back if you don’t have a sports theme or other defining theme to help you.

(Really pleased with how both sets of these turned out!)

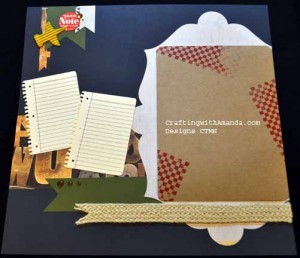
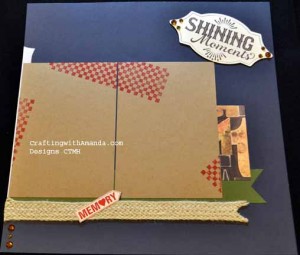
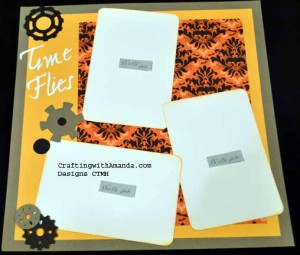
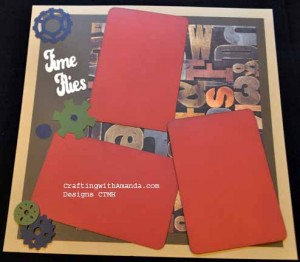
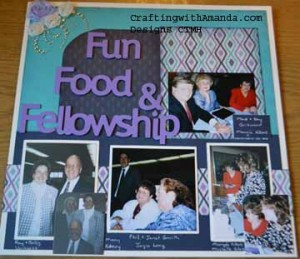
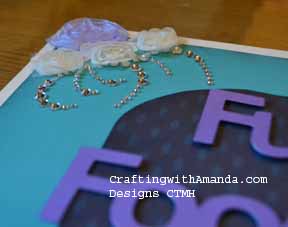
TFLeft TFRight

SchTFLeft SchTFRight

Come back soon and check out the rest of the pages.   I think it’s only a few more posts and you’ll be caught up on the pages I’ve finished.  The scholastic book is a work in progress, but as I turned in the Spellbound  album for the auction today, it’s DONE!

Happy Crafting!


Artbooking: Cross Cartridge Collaboration Video

Well,  I finished a great 25 page album for our local library silent auction.  I used the retired Spellbound papers, as our school’s colors are Orange & Black.  It’s has taken a great deal of my time, and I want to do it justice when I talk about the different details on this blog.  So, while I am editing the photos and getting them ready for you to see, I thought I would give you another installation of the Close To My Heart’s Artbooking series.   I used this cartridge quiet a bit in the library auction item, so it ties all together!

Happy Crafting!
Artbooking Challenge Part 2 & a teaser

Hi Everyone.

I have 6 more pages for you to look at today.   These are the last ones from the cropping weekend I hosted in October.  As a reminder, I gifted everyone a full pack of paper, we had several Artbooking Cartridges available to borrow, and I challenged them to create a layout using one of the artbooking buttons (or combine a couple).  Many of these gals are cricut users, but more for the one off cuts.  The artbooking cartridge is all scaled for them so they can pick the size if the finished product they want to create and all the embellishments and “accessories” items will be scaled to that number.

So first up is Erica.  She is a CTMH consultant in a community 20 miles north and she did this layout for one of her gathering projects.

EA Right EA Left

I love the fresh look of these pages.  Erica said she used the “ugly” paper from a constant campaign pack, but I don’t see the ugly.  Do you?

JB right

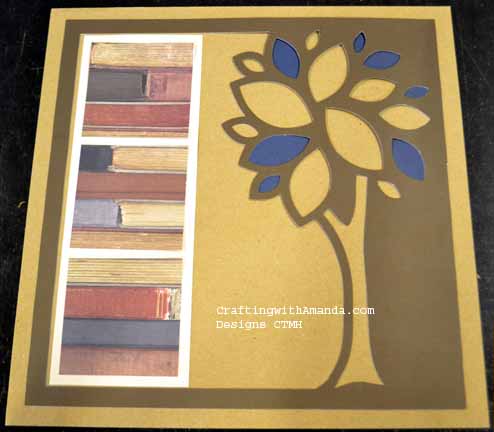
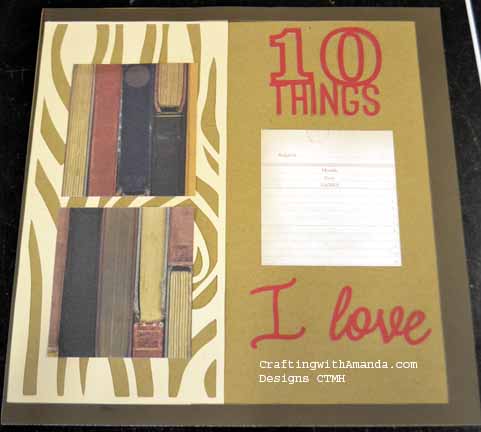
JB leftNext I want to show you Jan’s Layouts.  She used the same tree layout from Artbooking, but broke it up differently.  She also paired it with a different right hand page.  I love the book pattern paper and knowing Jan, it’s one of the 10 things she loves!

LH leftLH rightOur last pages are from  Lorna.  She struggled with this challenge and did a bit of stewing, but in the end create these great pages!


So three more layouts from the Artbooking cartridge.  I just love the versatility of it and the ease of having your embellishments/accents come together so quickly and without having to guess at what size would work!

Huntington Workshop is tomorrow and I hope to get some photos of that beautiful paper pack up along with the rest of the Sarita workshop layouts!

Happy Crafting!
 

Sarita Workshop sneak peak

Even though the Sarita workshop was last Thursday, I’m still working on finishing the layouts.  I don’t consider a layout done until it is album ready.  This means, titled, journaled and blinged!  On this last layout, I didn’t even have all the papers attached at the time of the workshop.

SaritaLO3left

I’m not finished with this page yet, but I’m definitely making progress.  If I could just get someone else to come in and cook, clean, do laundry and do the truck dispatch and the bookwork, I could craft almost as much as I want to!

My crafting weekend, that I host, starts Friday, so I’ve been busy doing preparations for that.   By the time I do sit down at my craft table, either my hubby needs to discuss plans for a new grain bin with me, or our children need some Momma time.  I know those days of the kids wanting to spend time with me are number, so I try and remind myself to embrace it!page3cornerbling

I cut the title using the Art Philosophy cartridge and welded the letters on the gypsy.  I could have cut a “shadow” of the letters, but  instead I pop dotted them.  I really like that look and might add some twine around some of the letters.  Here’s a close up of the one corner of “bling” I did get finished.  I cut apart the swirls so I could have more of a cascade effect.

Back to the last of my cooking for the weekend, then I will sit down and make my lists of what I need to pack in the cooler at the last minute, write my grocery lists and make sure I have everything I need for the projects.

Happy Crafting!
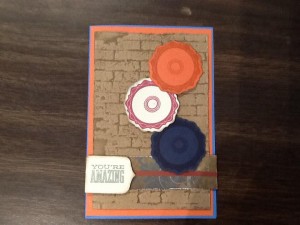
Cards from May Scrapbook weekend

Yes, I am still working on putting together the cards from a crafting weekend in May 2013!.   A friend and I each designed 4 cards and we cut enough pieces for each of us to make 5 cards.  In theory we would each end up with 40 cards at the end of the weekend.  I did get more completed than she did, but neither one of us finished them all.  I came across the cards  & pieces the other day, so I decided this would be a quick project.  (I was so wrong!)

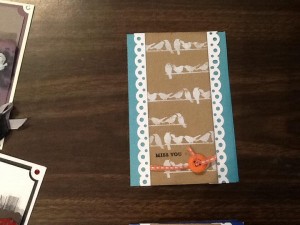
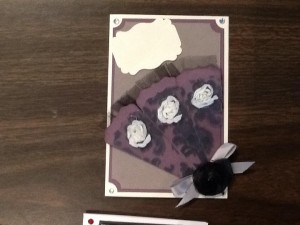
Theses first two cards are ones that did complete, but I thought you would like to see all the great cards my friend designed for us!maycard4

maycard2


The next cards are my work in progress cards.  The photos are the completed work of my friend, but she shared her photos so I could re-create her ideas!

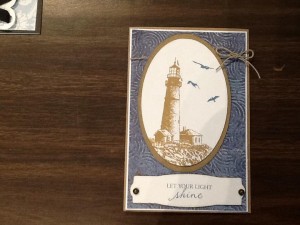
maycard5 maycard3 maycard1

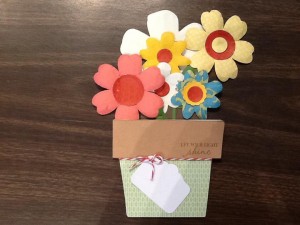
I did help with the layout of the flowers in the flower pot card, but I was grateful that all the pieces were already cut out for me!

Happy Crafting!