Artwork

Sept Club Night Card Photos

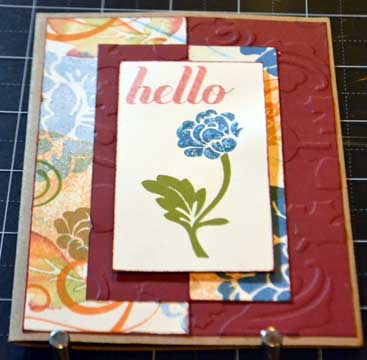
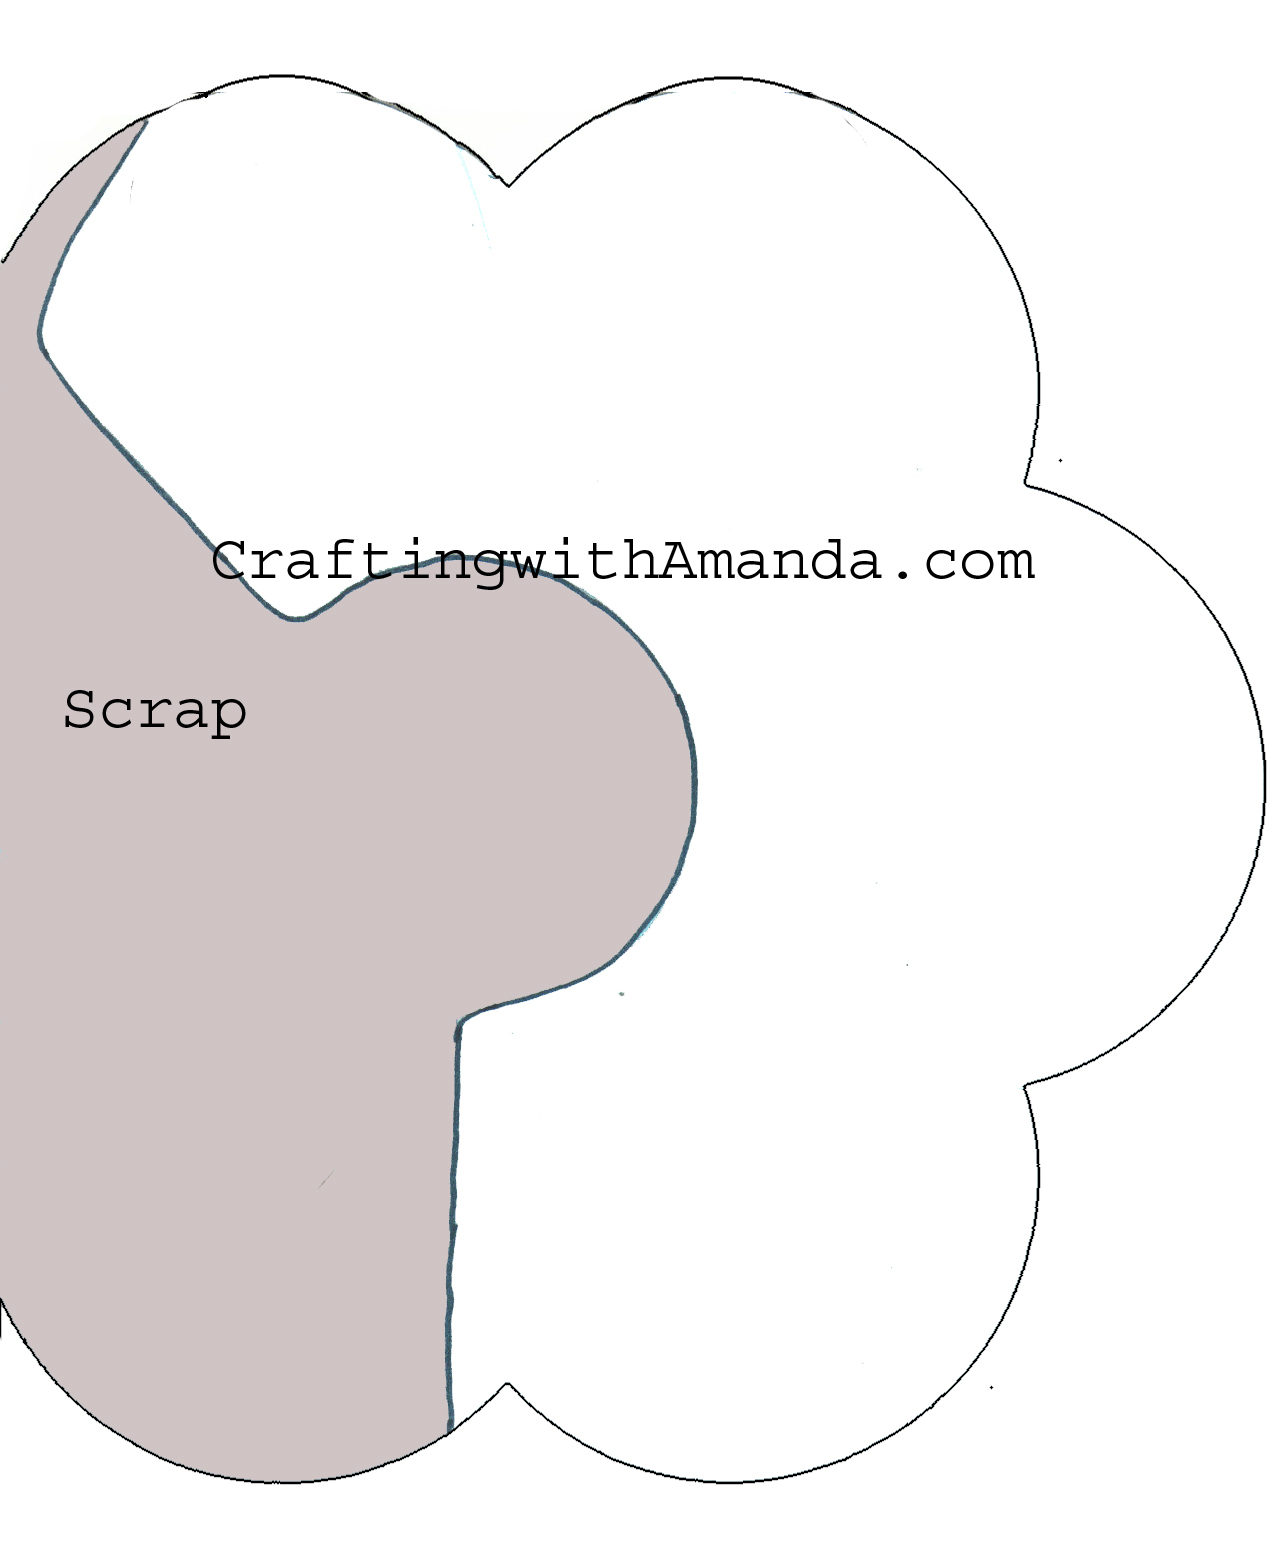
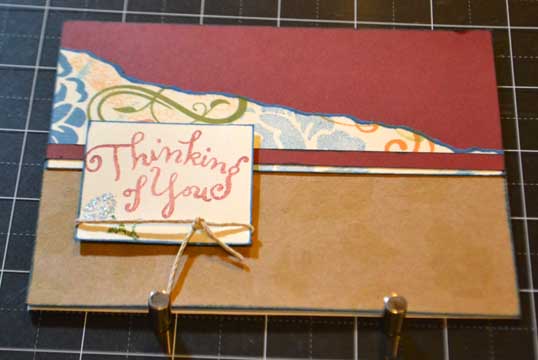
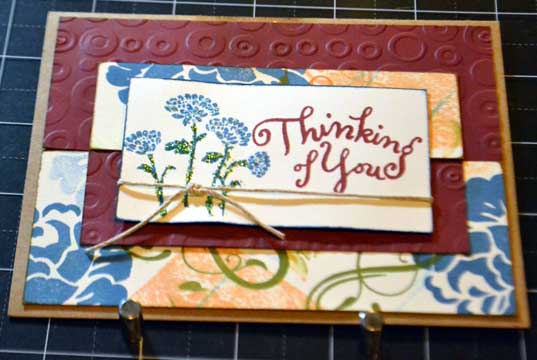
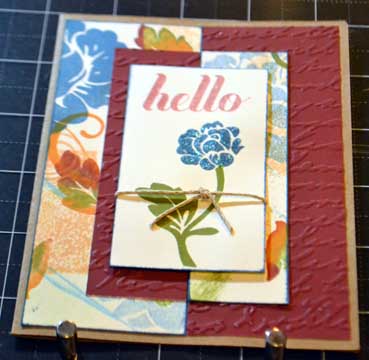
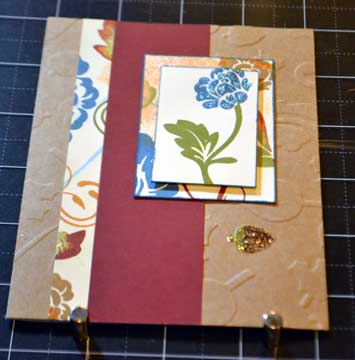
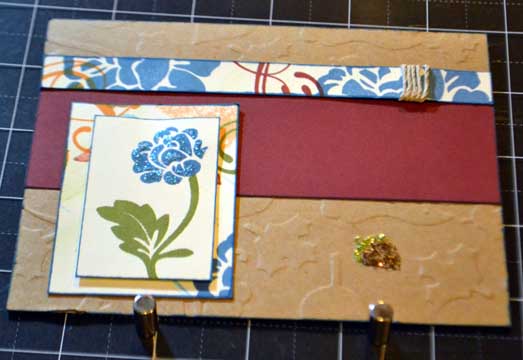
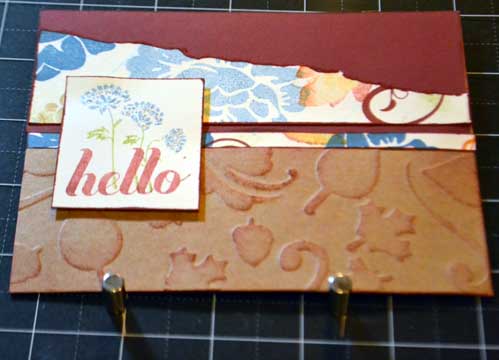
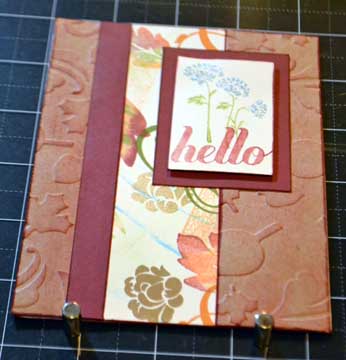
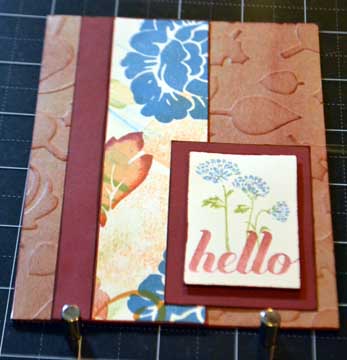
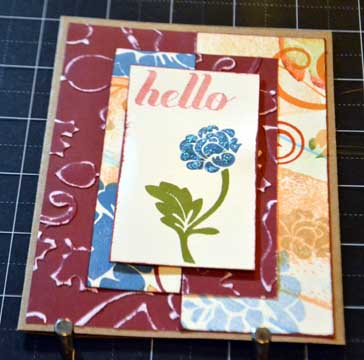
Here they are.  The 10 cards we made at our September club night.  I showed you my random stamped piece in this blog, so now you can see what I did with that custom sheet. septclubcard12I’m posting them in the order that I created them as I believe there was a marked improvement in the cards as I went along and found my mojo. In addition to the 12×12 random stamped paper, we used a 12×12 color cardstock, 2 sheets of kraft paper (12×12) ,  a scrap of neutral for the sentiment. and 6- 5.5 x 8.5 card bases. On this first one I ripped the patterned paper and edged everything in Indian Corn Blue.  Nice card, missing something  I tried a tone on tone stamping of leaves on the kraft paper, but I wasn’t happy with the results the next morning. septclubcard32     On this card, I got out my free cuttlebug (long story on that) and decided I would try embossing.  I haven’t used the cuttlebug, and only own a few dies and embossing folders.  The “words” folder wouldn’t work for the orientation of the card, so I tried the circles.  It’s okay, but I wasn’t happy with the circles on my “fall” themed card. I loved how the glitz really helped “Pop” the flowers on the cards.  (Wouldn’t do the stems again, but when you’re having fun, sometimes it just goes too far!) septclubcard34Changed the orientation on the next card so I could use the words.  Better, but I still wasn’t happy.  At that point, I decided to finish up some other duties and I could try again the next day. So, after getting the kids to school, and staring at my card pieces for a LONG time, I decided I needed a fall themed embossing folder.  I knew I had seen something (probably on Youtube) about creating your own embossing plate, so I did a little research and after a few hiccups, I was giddy with my home made embossing folder. septclubcard22 It’s faint in the photo, but I embossed the kraft paper.  I even “highlighted” an acorn from the embossing with glitz glitter.  (In hindsight, but probably would decide against the glitz on the acorn, but it was done.)   septclubcard23 The pattern I created for cutting these cards, creates 5 cards from each half of the patterned and color cardstock papers, so after I “played” with the first set of five, I whipped together the next set very quickly. septclubcard11 Added a little sponging to the embossed leaves, and even though you can’t see it on every card, the flowers all have a touch of glitz on them. septclubcard21 I used  Barn Red on my edges and for sponging on this second set of cards.   Just made them a little different than the first set.septclubcard24 septclubcard31 I loved the second generation stamping of “hello.” Here’s a list of the other stamps and such I used. Swirls Around Happy Autumn Patterned Pennants Stardust Glitz                     septclubcard33                 I tried sanding, and I do like this technique, but it wasn’t the look I wanted for these cards on this day!  (Have you had days like that?)   Happy Crafting!
Guest Artist – Cindy Butler

dream pop paper (12)Cindy Butler is a retired school teacher and a great crafter.  She knew that I was looking for guest artists for this blog and sent me these seven photos.

All the cards are from the Dream Pop paper pack.  This paper was a special in May.

Cindy didn’t share many details, so  I’m guessing on some of this based on my memory.

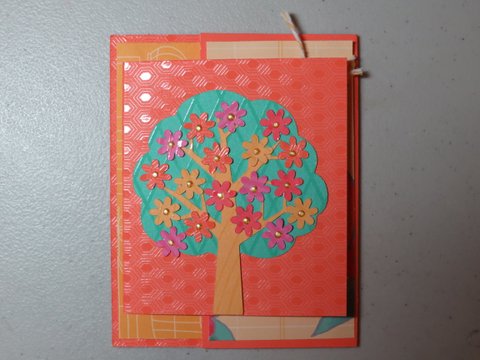
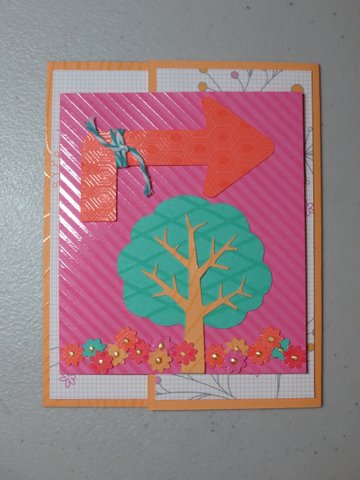
This first card looks to have a tree from the Art Philosophy cartridge as it’s focal point.  Love all the trees on the texture resist background.dream pop paper (13)


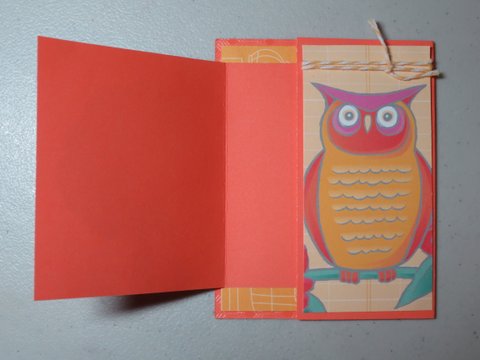
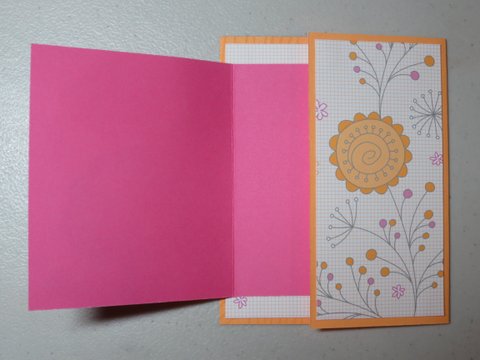
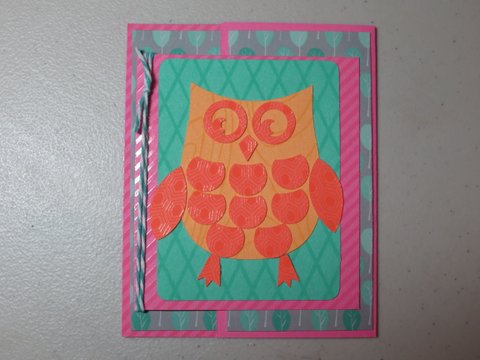
All these cards are a gate fold card (except the dragon fly.)  Look at the great colors on this owl. Just pops right off the page at us.


Here’s another one!  (I really think I need to get out my Dream Pop paper and scraplift these cards.  Cindy will have to give me some more information to create them.  I don’t know where the owls all came from!)

dream pop paper (10)

dream pop paper (11)One of my favorite papers in this set is the “little green tree” paper.  How fun to have “Woodsie the owl” with the trees!

dream pop paper (9)


dream pop paper (8)


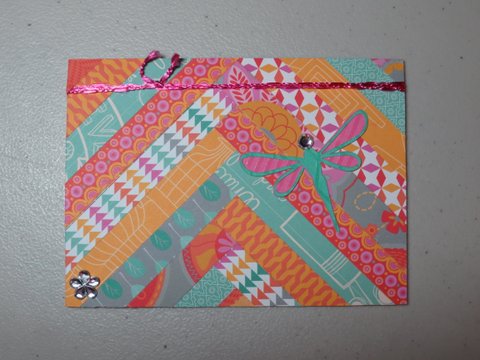
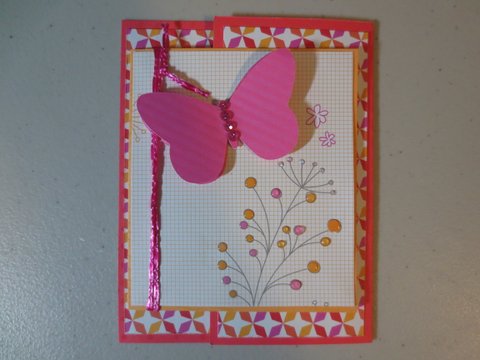
Here’s a great card for using up small scraps!  I think it would take some patience too.dream pop paper (4)I saved my favorite for last.  Love butterflies, and this card is just so cheerful how can you not smile when you see it!
Thanks Cindy for sharing some of your wonderful creations!  You really are inspiring.


Happy Crafting!


This card would be a great way to use up some smaller scrap pieces!  Think it would take some patience too!

Tuturial on Random Stamping – Amanda’s Style

I found a minute to do some crafting, then another minute to edit some photos, and now I’m squeezing in a moment while the kids eat a donut to post the results.endproduct

This week at our monthly club night I’ve decided to do random stamping, then cut that sheet and create some cards.  The ladies love, I mean, LOVE to random stamp, and it’s been a while since we’ve done it.  We have some new girls that have joined us and they need to be initiated into the joy of random stamping!

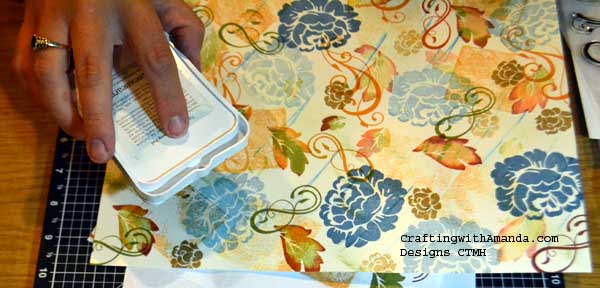
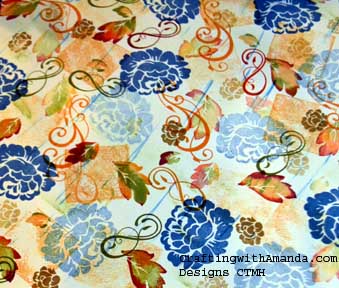
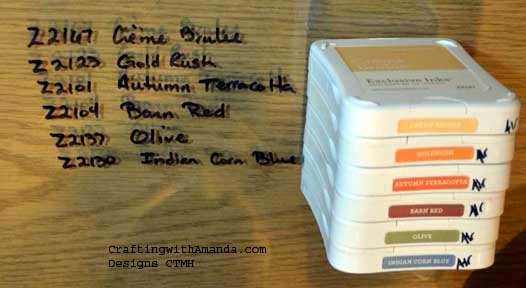
Indian Corn Blue is one of my favorite colors, and when I am having a stressful day, or can’t decide on what colors, this is a go to for me.  So it will come as no surprise to those that know me that the biggest image is done in Indian Corn Blue.  Here are a list of what I used to create this wonderful paper.

rdinksusedIn addition, I swiped with Sky blue ink as my very last step.

So, random stamping is just that, random, right?  No, not so much.  My husband is an computer engineer, and he often reminds me there is no such thing a random.  Random stamping is a great technique of layering.  You can achieve many different looks with the same sets of stamps and ink.  You can create themed paper to match your event or set the tone on an invitation or card.

Where to begin?  Random stamping was one of the first techniques I taught myself.  I had looked on line and had a definition of random stamping, and even some suggestions of stamping images in triangles, but when I tried that, I wasn’t happy with the results.  I will attempt to share with you what I do to create my custom paper.

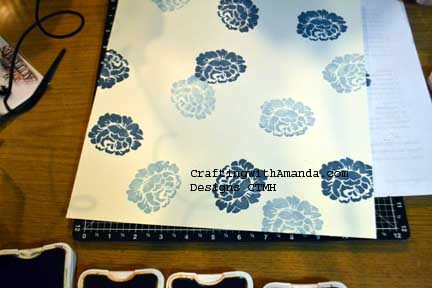
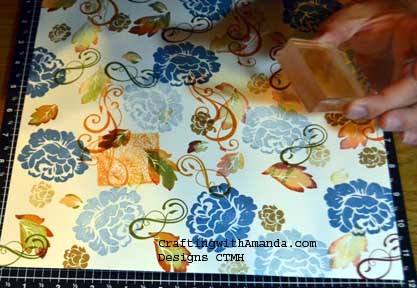
First I choose all of my stamps and select the ink colors I want to use.  Today I choose Happy Autumn and Swirls Around Flair as my stamp sets.  My inks are shown above.  I like to arrange my inks from lightest color to darkest color.  This is incase I want to do some “rock and roll” stamping I have my ink pads already in place and don’t have to worry about putting a darker ink on a lighter colored pad.

I grabbed a couple sheets of scrap typing paper and a sheet of colonial white.  (I like the softer tone in Colonial white for the autumn colors.)  I choose the largest image first and go smaller and smaller as I continue to create my paper.  I found if I stick to one color for each image the results are less “muddy.”  You may find you like the look of each image in all the colors, but for me it was too busy.  rsgeneration2

I do like to use 2nd and sometimes 3rd generation stamping to add depth.  (first generation is you ink and stamp, 2nd generation, don’t re-ink, stamp a second time after your first stamping of the image.)  Also be sure to stamp off the edge of the paper.

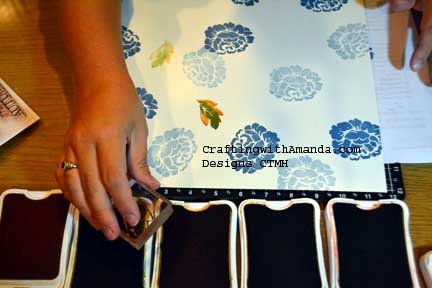
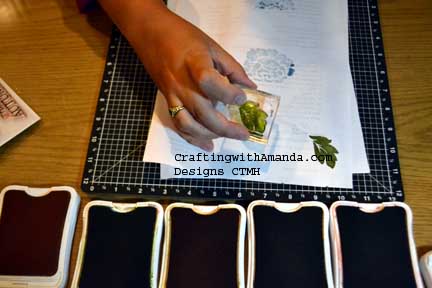
rsrockrollFor my leaf I decided I wanted to rock and roll.  I was able to continue adding second generation with this as well.

rsrockroll1The Olive ink was a little darker than I wanted all the time, so I sometimes inked up the image then stamped it on my scrap paper before I continued to rock and roll the image into the other colors.

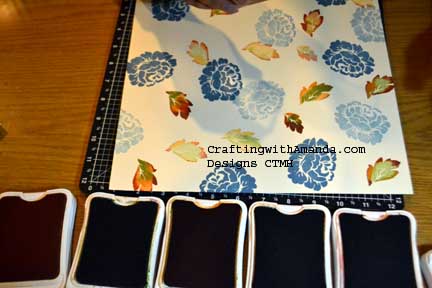
One more tip that works for me and took my random stamped sheets from good to wow was being sure to overlap some of the stamped images.  In other words don’t leave a space around each image.

An exception to starting with my biggest image is any swirls or frills that I use towards the end of my creation.rsrockroll3colorblock

I wanted some more color on my creation, and if my 3×3 block had been handy, I would have used that, but as I didn’t want to leave my chair to search for the block I made due with my 2×2.  Without putting any stamp on the block, I inked up the surface and stamped the square on my paper.  Again you can do second generation stamping with this technique as well.  I think if I would have had my bigger block I might have called it good, but still seeing so many open areas I decided to swipe the sky ink directly on the paper.dtpswipeSo now that I have created my paper, need to figure out a cutting guide for my ladies to use on Thursday to create some cards.  I hope to post those tomorrow, but we’ll see what tonight brings.   I need to make lunches and get both kids ready for school, fingers crossed!

Happy Crafting!

Fun, Fast, Fall Project – Wine Glass Shade

I really enjoy the ambiance of candlelight.  For whatever the reason, I relax and slow down.

In the summer, especially up  here in the north where it stays light so much longer, candles just don’t work well.   We’ve had such a cool summer that it has felt like October weather.  I’m starting to think of hot soup simmering on the stove, candles lit around the living room and a good book, all while I’m wrapped in an afghan.

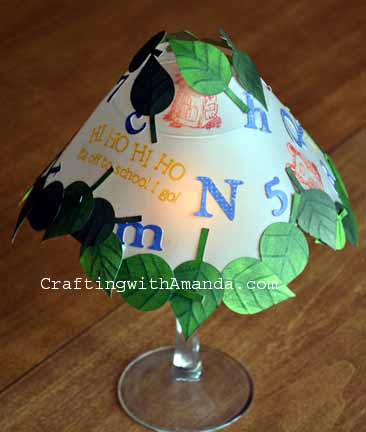
wineshade-schoolWhere is this leading you may ask?  Each year I look forward to pulling out my wine glass candle shades, and  I typically make one or two new shades each fall.  As I was on a tractor this afternoon I started planning my fall design and decided that I would share my pattern and instructions with my blog followers.

If you have the Art Philosophy cartridge, you will have an easy time putting these together.

I scored a whole box of wine glasses at a flea market for $3, so I’ve been creating many of these for hostess gifts, thank you, or just because.  Like I said quick and easy.

One tip if you stamp on your vellum and emboss it, it is better to go slow and take a little longer to “melt” the embossing powder than to burn the vellum and have to cut it all over again.  (Not that I have ever done that!)

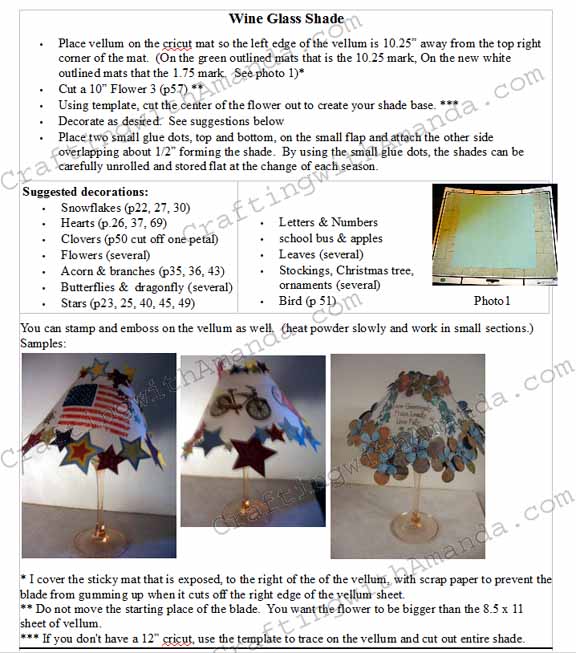
Here are the written instructions as well as the printable cut out pattern if you don’t have a cricut. Happy Crafting!

wineshadeinstructionswineshadetemplate

Techniques used on Laughing Lola Pages

Well,  here they are.  Most of these are probably familiar to you, but there are always new scrapbookers every day so maybe this will help someone.  Also, as my friend once said.  “When you do more, you can do more and you’ll have more.”  What she meant is the more techniques you use on a regular basis, the more techniques you will do without even thinking about it, then with the basics masters you’ll be able to learn more techniques,  expanding upon what you already have in your bag of tricks!  cuttingframes

First Tip/Trick is a paper saver.

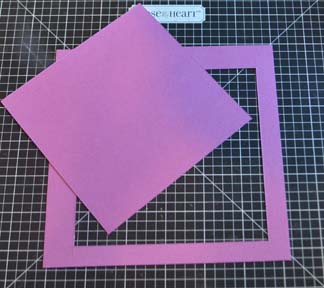
Some of the new CTMH paper packs have colors that are exclusive to that paper.  This is great in that we can stay trendy with our colors, but this can also pose a challenge as we might run out of a particular color and don’t want to purchase another paper pack for that one sheet.  To help stretch my exclusive cardstock colors from a kit,  if I’m using it for photo matting, I’ll cut the size I want, then remove the center to be used later.  In this example I cut a 1/2″ frame for my photo to be placed, then kept the center to use later.  punch from DE ScrapsYou don’t have to be exact on your cutting, just make sure your photo will overlap all sides.

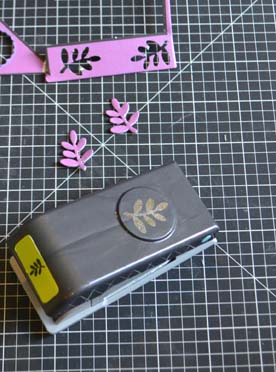
Another paper saver is using the left over scraps from dimensional elements and punching out shapes to use later.  These were punched from the edge of the Laughing Lola Dimensional Elements.cuttingribbonends

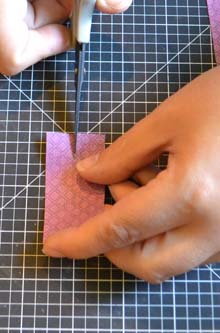
Do you know how to cut ribbon ends on paper so they end up being centered?   Here’s what I do.

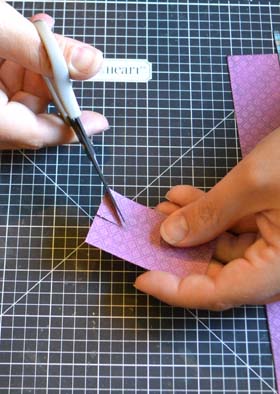
First, as I often use scraps for my little do dads, they are rarely an even inch measurement.  To work around that, I center the paper on my cutting mat grid.  This allows me to clip a line up the center of the paper.  cuttingribbonends2It doesn’t matter how far you clip as you will becuttingribbonends3 cutting from the corners to the top of that line.

So, pick up your paper so you can see it and starting from the bottom corner angle your scissors to end at the top of the line you just clipped.  Do that for both sides.

inkingribbonends


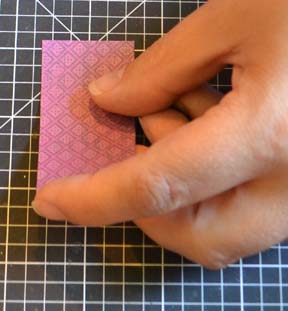
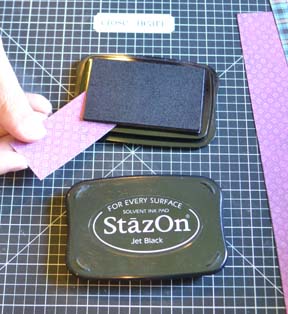
I often like to ink the edges of my paper to give it some depth.  Sponges can’t reach all the way into the corner, and I can’t be bothered to get out a cotton swap, so I use the corner of my ink pad.  you might need to push your paper in at an angle (unlike this photo where it just worked out perfectly).


LLFeatureRightDry

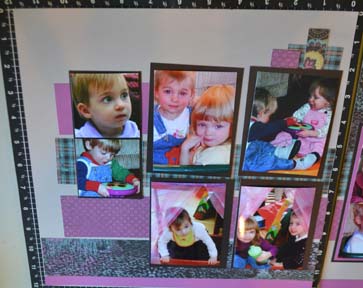
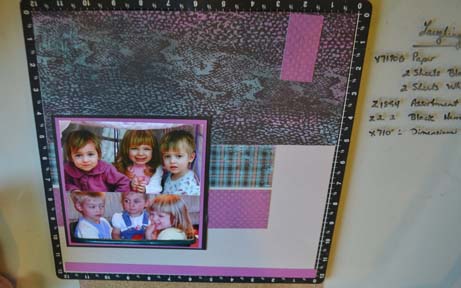
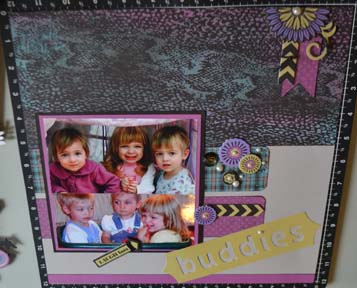
When I do a scrapbook workshop, I strongly encourage people to dry fit their layouts.  This will save many embellishment opportunities as well as give you a chance to “tweak” it to make it your own.    This is my layout not glued down.  I then decided I want to ink all the edges of the papers and the base page, cut the ribbon ends for my cluster in the top right corner, and rounded the corners of the strips poking out from the left of the photos.  I will also point out that the original pattern called for 2 x 2 photos on the left and I just couldn’t cut mine down that much so I used 2.5 x 2.5.  It meant I had to adjust the mat size for under them, but I don’t cut any of the photo mats until I’m doing the dry fit, so it was fine.  I’ve cut so many photo mats and not used them as my photos didn’t match exactly, that I now mark in my books which pieces are mats and I don’t cut them when I am cutting the rest of the papers.  The pattern used on this was the workshop brochure from the Laughing Lola workshop on the go scrapbooking kit.

LLFeatureRightDryfitThe right side is also dry fit together.  See the mat that has the center cut out of it?  I have recently started double and triple matting and I love the look.  Soon I hope to shake things up and double and triple mat and twist them too!   Might be a little adventurous for me, but when I find the right photos watch out!

See my list of what products I used? (on the right)  I had an old desk from my Grandmother that had this on it and when we moved the desk out of the house I didn’t want the glass to break so we put it on my crafting table.  It’s actually been a great addition.  My four year old will come and draw with dry erase markers while I work and I can make a list of my products.  If I use a permanent maker, I snap a photo, then clean it off with rubbing alcohol.  By using a permanent marker I don’t have to worry about it rubbing off on my layouts.

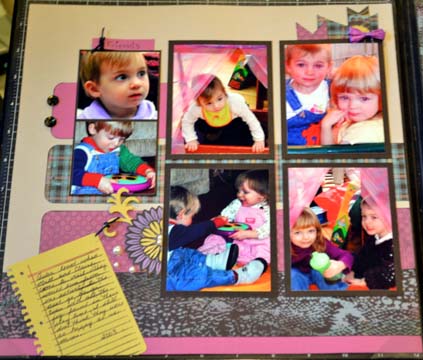
Here’s the finished layout.

LLFeatureleftFinish3aLLFeatureRightFinish


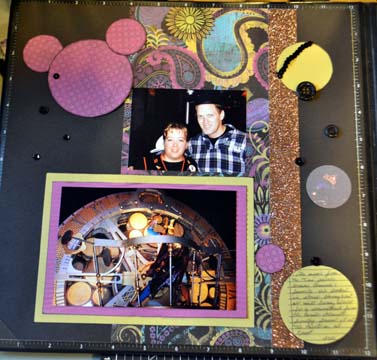
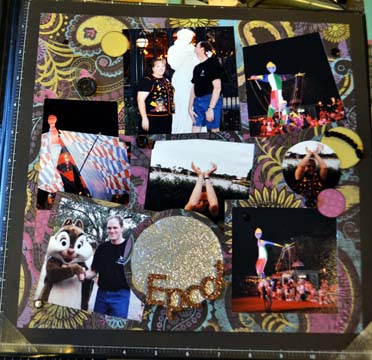
The next Layout uses two single pages. The right side is from the Artbooking cartridge (p87) and the left used pattern #17 from the Make it from your Heart Vol2 book.    I choose the Artbooking one because I was excited to do a Layout using the cartridge, and I choose the other because I had 2 photos left and it seemed like it would be a good fit.  I didn’t ink the edges, just punched out different size circles, cut the word “Epcot” on the cricut out of the bronze glitter paper.  I used the bronze glitter paper to balance the bronze strip on the left page.  I embellished with the punched circles, sequence ribbon from the black mini medley and also used the glitter buttons and single sequence from the medley as well.    Tips for getting your photos to fit just right in the overlay can be found here.LLFeatureleftFinish2 LLFeatureRightFinish2ahttp://www.craftingwithamanda.com/2013/08/09/laughing-lola-artbooking-layout/

Happy Crafting!