Artwork

Techniques #4 & #5

Two more great techniques today!  These will help you get some truly individual looks from the same stamp.  Tissue Inking and using Sponges.  (See the information at the end of this blog to learn how you could win all 35 of these technique tags in this series.)

Tissue Inking:
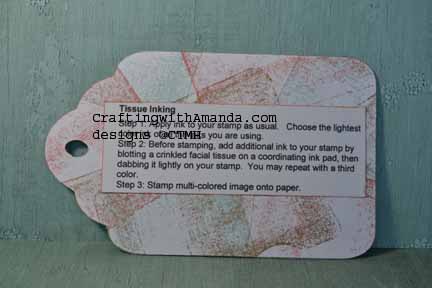
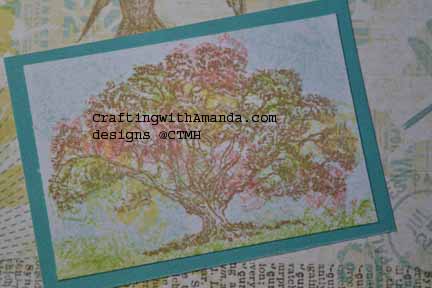
tag_tissue_ins You can do tissue inking in a couple different ways.   One way is to dab a tissue in the ink, then dab it on the stamp.  You can do this with multiple colors.  Keep in mind before you stamp on your project you will want to “huff” on your stamp to re-moisten the ink.

Another way to do this is to ink the whole stamp in one lighter color, then add the darker shades with tissues in the same manner as the first method.   You will also need to “huff” your stamp if you choose this method.
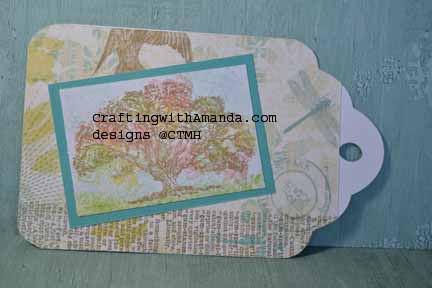
tag_tissue_samp tag_tissue_samp2In this sample I inked the whole tree in desert sand ink, then added honey, cranberry and pear ink with a tissue.   After I stamped the image, I used crinkled clear wrap to add the blue and green in the background.

Here is the tissue sample from my club night tag book.tagclub_tissueSponges Technique:
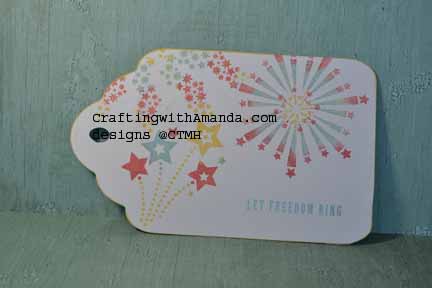
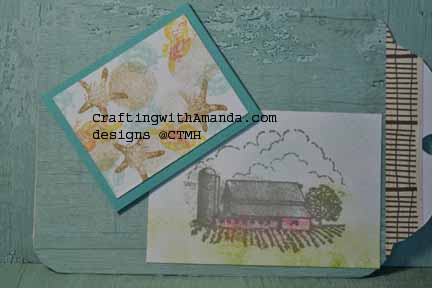
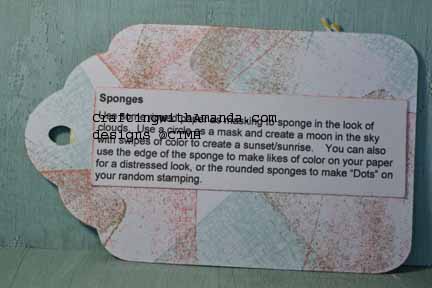
tag_sponges_sampSponges are a great way to add color to your backgrounds, stamps, or create a polka dot effect on your projects.  For this Seaside tag book sample I used sponges to color the image of the farm stamp and used them to add multiple colors to the shells & star fish stamps.
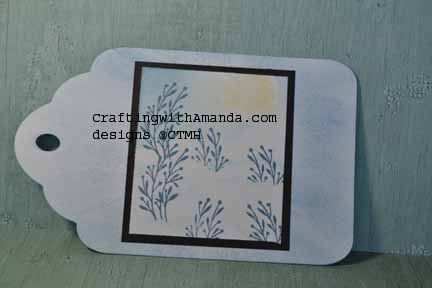
tag_sponges_insHere is the sample from our club night project.   In this one I used sponges to create colors around the floral stems and also some masking (another technique in a future post) to create a sand dune look.  (Hard to see in the photo, sorry)tagclub_sponges
 

Now you might want to know how you can earn chances to win this great prize.   There are several ways.  Write a comment on this post.  (1 entry)   Share this post link on your Facebook post and let me know on my FB page that’s you’ve done it.  (1 entry per share) Crafting with Amanda   Like my FB page.  (3 entries)  If your a pinterest person, for every technique tag you pin, you receive an entry.  (up to 35!)    At the end of the contest I will assign each entry a number and using a random number generator will pick a winner.  I will announce the winner on this blog, and then contact them to get the address where the tag book should be sent.

Here are the stamp sets I’ve used in this example, and many of the other tags that we will be looking at in the upcoming posts:

C1605 Happy to Be Friends

D1632 Amour

I also used Seaside papers (X7192B)

Our awesome markers were also put to use throughout this process of creating the technique tags.

If you would like a copy of my technique instructions file,  leave a comment with your email and I will send it to you.

Happy Crafting & Good Luck!


Techniques #2 & #3

Here they are, numbers two and three in our technique tag series.    (See the information at the end of this blog to learn how you could win all 35 of these technique tags in this series.)tag_bkgstamp_samp

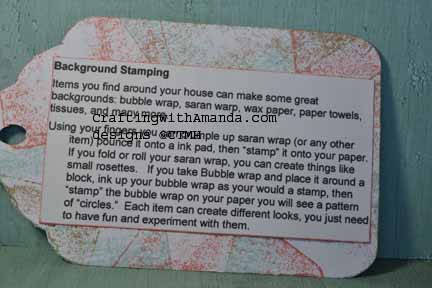
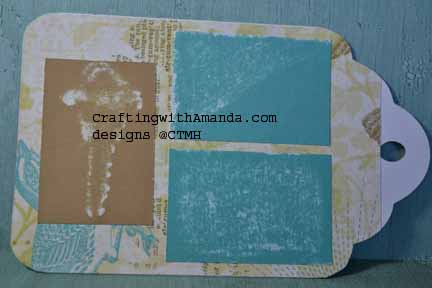
Background Stamping: 

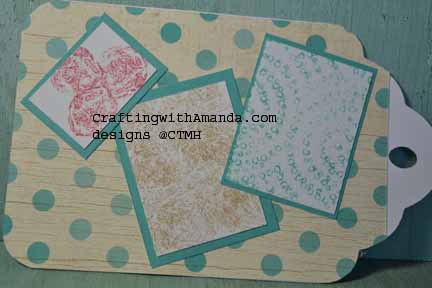
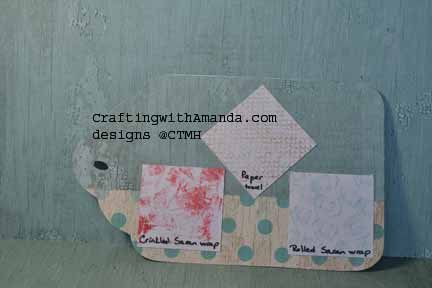
In this sample I rolled some clear plastic wrap to form “rosettes,”  (top left)  in the middle sample I crinkled up some clear plastic wrap and pounced it on the paper.  The last example I wrapped a piece of paper towel around a block, inked it then stamped on the paper.   Other items around your house that make for great backgrounds include onion bags, bubble wrap, orange sacks and many other everyday items.  I would love to see or hear about your creative background stampings.tagclub_bckgrdstamptag_bckstamp_ins

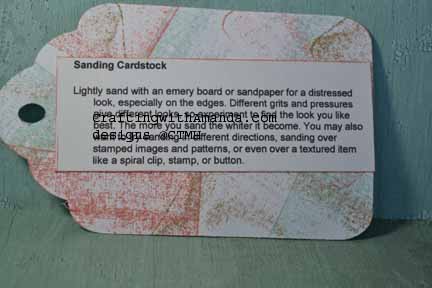
Sanding Cardstock:

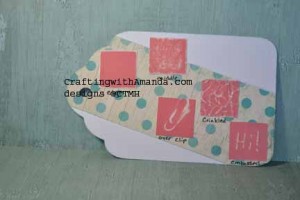
Sanding cardstock is a great way to add texture or interest to your work.   With CTMH’s white core cardstock, you have great opportunities  to customize your work in several ways.    You can crinkle it then sand.  You can sand just the edges, sand over objects like a key, paperclips or coins, and you can play with directional sanding to bring interest to your work.

tag_sandingcs_samp tag_sandingcs_instagclub_sandcs

Here is the sample from club night.

Here are the stamp sets I’ve used in this example, and many of the other tags that we will be looking at in the upcoming posts:

C1605 Happy to Be Friends

D1632 Amour

I also used Seaside papers (X7192B)

Our awesome markers were also put to use throughout this process of creating the technique tags.

Contest Information:

Now you might want to know how you can earn chances to win this great prize.   There are several ways.  Write a comment on this post.  (1 entry)   Share this post link on your Facebook post and let me know on my FB page Crafting with Amanda that’s you’ve done it.  (1 entry per share).  Like my FB page.  (3 entries)  If your a pinterest person, for every technique tag you pin, you receive an entry.  (up to 35!)    At the end of the contest I will assign each entry a number and using a random number generator will pick a winner.  I will announce the winner on this blog, and then contact them to get the address where the tag book should be sent.

If you would like a copy of my technique instructions file,  leave a comment with your email and I will send it to you.

Happy Crafting and Good Luck!


Who Doesn’t Love to win Something?

tag_liquidglass_samp Not me. I am starting a series of blog posts around a technique tag book that my club night gals and I made over the last year. We did four techniques each month over nine months. 4 x 9 = 36 techniques right? Wrong. I duplicated one of the techniques, so one month we only did three new ones. What does all of this have to do with winning? You can win all 35 of the new technique tags that I am making just for this contest! Over the next several weeks, I will be posting a couple of techniques each day.

Now you might want to know how you can earn chances to win this great prize. There are several ways. Write a comment on this post. (1 entry) Share this post link on your Facebook post and let me know on my FB page that’s you’ve done it. (1 entry per share)(https://www.facebook.com/CraftingWithAmanda). Like my FB page. (3 entries) If your a pinterest person, for every technique tag you pin, you receive an entry. (up to 35!) At the end of the contest I will assign each entry a number and using a random number generator will pick a winner. I will announce the winner on this blog, and then contact them to get the address where the tag book should be sent.

I will be showing photos of the technique samples tags that I made for the club night gals, AND the brand new tags using Seaside papers & Skylark. With no further ado. . .

Technique #1

tag_tearroll_insCardstock paper Tearing & Rolling:

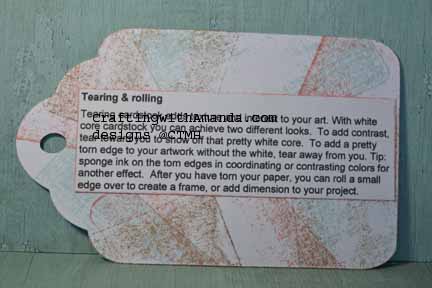
This is a great technique to add interest to your project without adding bulk. If your cardstock is white core, (like CTMH) you can also add contrast or help direct your focus to your photos or other focal point.

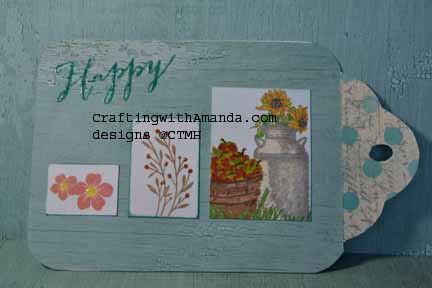
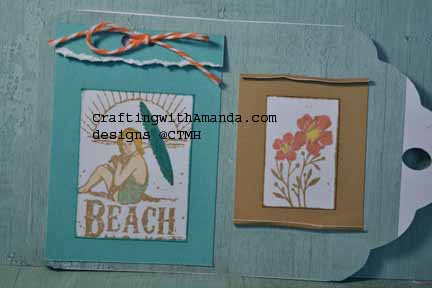
In my example I rolled the edges on one of my samples to help bring the focus to the flowers. On the beach image I used the torn edge to help balance the white of the image and help draw your eye to it.

tag_tearroll_sampHere are the stamp sets I’ve used in this example, and many of the other tags that we will be looking at in the upcoming posts:

C1605 Happy to Be Friends

D1632 Amour

I also used Seaside papers (X7192B)

Our awesome markers were also put to use throughout this process of creating the technique tags.

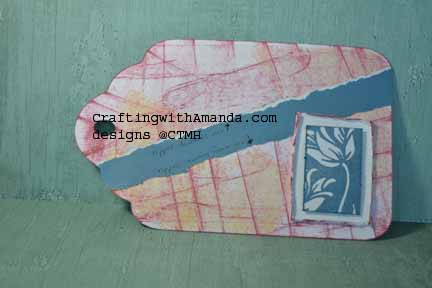
tagclub_tearroll This is the sample from our club night. Notice on this one I rolled all the edges of the framed image. I also showcased the tearing techniques for showing the white core (top) and not showing (bottom) of the cardstock running diagonal. It can be varied depending upon which way you tear the paper. (towards you or away from you.)

So. Remember to comment on this post, share on FB, and pin the tag to Pinterest to earn entries into this contest. You can share your pinterest shares with me on the FB page.

If you would like a copy of my technique instructions file, leave a comment with your email and I will send it to you.


Happy Crafting and Good Luck!


Heartstrings Card Workshop


We typically do the scrapbook workshops, but we like to mix it up with a card one now and then.  None of my gals needed the love themed cards in the Heartstrings workshop CTMH created, so I challenged myself to create one they would enjoy.   These ladies are advanced crafters, and very particular on their cards.  I have learned to create “my” workshop and not be upset when they make changes and do them better!   This time I cut all the pieces for them.  (I haven’t done this in years as I’ve taught them how to use their cutters and follow instruction booklets)   At first there was grumbling that the workshop would only be a short one, and we do so enjoy our crafting time.    About half the pieces were cut on the cricut using Art Philosophy  and Artbooking.  The rest where manually cut.  I chose three patterns from Wishes,  page 53, 89, & 97.  I then cut five of each card.  Here is the first card.

heartstrings1I had challenged my club group that if they purchased so many of You’re the Bomb stamp set, I would do a drawing for a free paper pack.  We are currently short of our numbers, so I thought they needed some inspiration of how to use it.    I was thinking that by keeping the sentiment open, the cards could be thank you, birthday, or congratulation cards.  Here’s another variation of the first card.heartstrings1a

The other two cards followed the same philosophy.  I will say the ladies took the full workshop time to complete the cards, and were actually happy to not have scraps to worry about using up later.  heartstrings2 heartstrings2tagI have really enjoyed adding tags to cards.  Some I create as a bookmark for the recipient.

heartstrings3 heartstrings3poppeStill using up some my glitz, and of course love to pop dot!   We also used a hostess reward stamp on this card as most of my workshop gals are past hostesses and if they liked the stamp set already have it!

As I have all the cuts on my cricut (saved files), I think I will do these cards again with a different paper pack.  Look for a post highlighting another great CTMH paper.

Happy Crafting!


Vellum Embossing and fussy cuts

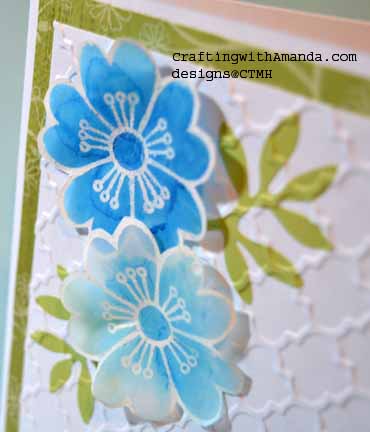
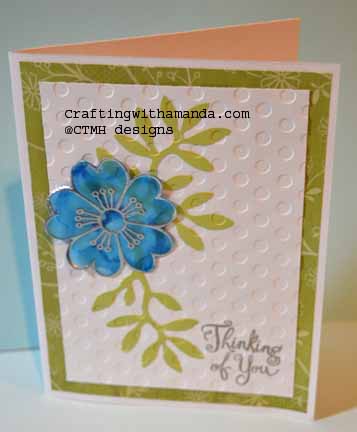
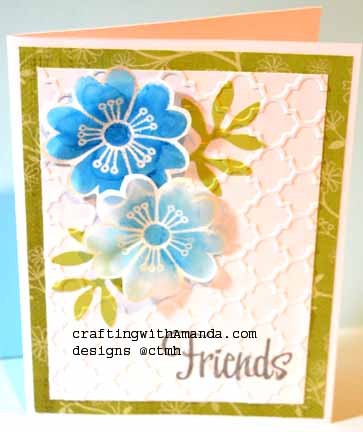
I’m still in my use up scraps/old paper packs trend, but I am also trying to do some research for my April Crafting Retreat.   So, you can see some paper from the Emporium paper, but I’m mostly focused on the vellum flowers.vellumflowerupcloseHere is a close up shot.  I’m not sure if you can see it, but I stamped versamark ink on vellum and covered with white (or silver) embossing powder.  Being careful to not overheat the vellum, I set the powder with my heat gun then fussy cut out each of the flowers.  (I did 4 silver and 4 white)  vellumflower1I then played with our alcohol markers and colored on the back (side without the embossing) with Z2449 Cerulean Blue light.  Some I colored lightly and others with many “layers” of ink.  After I added the color, I tried and move some of it with the blender pen.  I really didn’t like this.  Ideally I would have liked a mister with rubbing alcohol, but all of my spray pens had ink/color in them, so instead I used a dropper and “dropped” rubbing alcohol on the back of the flowers and let gravity pull it around to the edges.emporiumscrapcard11I  hope to revisit these vellum flowers (hopefully finding a flower punch that coordinates with a cricut cartridge so I don’t have to fussy cut).  Instead of a dropper, I’ll be prepared and have a spray pen available to “move” the alcohol marker ink.

That’s it for now.

Happy Crafting!