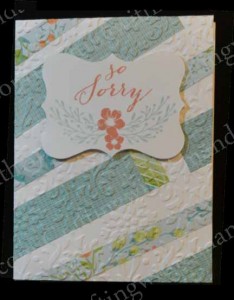
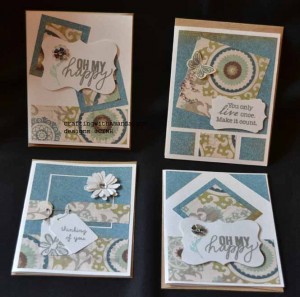
Artwork

Introducing Zoe and some Artistry Images

Hi,

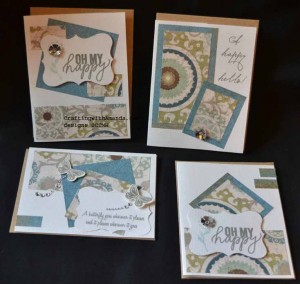
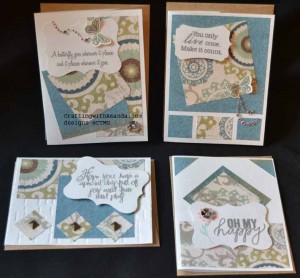
The haying isn’t completely finished,  but I’ve found some crafting time to wind down at the end of the day.   Some of these cards  combine paper packs and I will try to include the names for you!

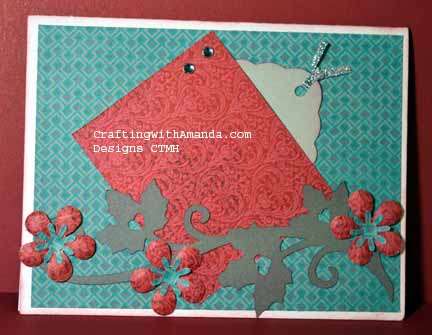
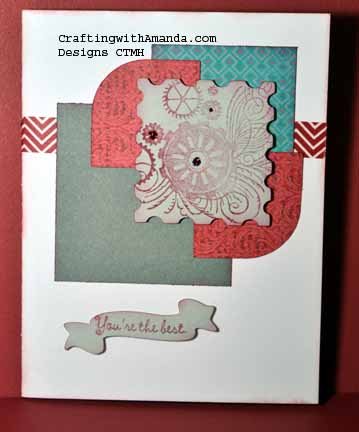
Zoe&Artistry_vaseThis card uses some of the new Zoe paper and cuts from Artistry.   I have been using up scraps lately and so it was refreshing to cut into a whole sheet of NEW paper!  Before I forget to include them,  here are the stamps that I used on these cards.   C1605 Happy to Be Friends  & S1508 Framed

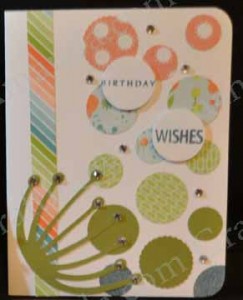
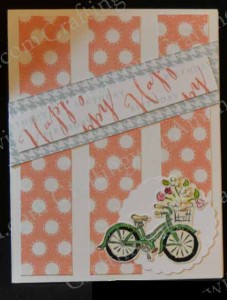
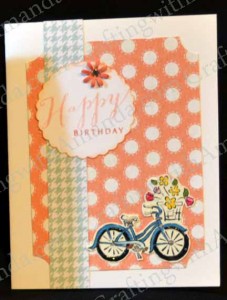
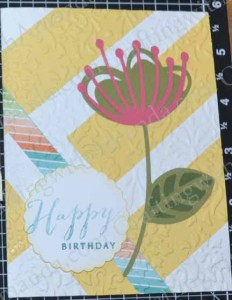
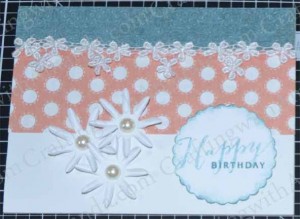
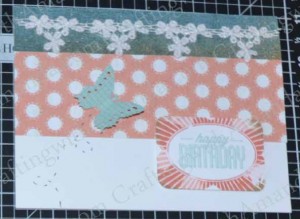
circle_bday zoe_bday_bike zoe_bday_bike2

Here are some other cards that combine Zoe, Artistry and some Blossom Paper too!

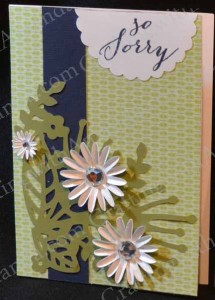
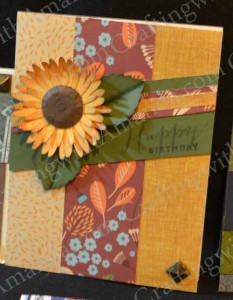
There are some artistry cuts on each of these cards. Chalk It Up makes a cameo appearance and Pathfinding too.  The sunflower was cut using the Art Philsophy cartridge.

zoe&Artistry Artistry_cut blossom_artistry blossom_Artistry2 Artistry-Blossom-Card pathfinding_AP Zoe&Artistry_vase Blossom_SOTM

And for good measure I will throw  some other cards that I made this past week.

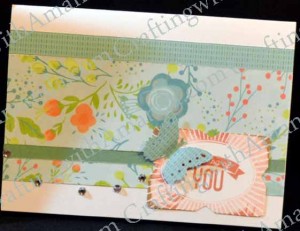
blossom_card chalk_it_up zoe&florentine zoe&SOTM

Happy Crafting!

More “Scrap” Cards

After Nine years with CTMH,  I’ve accumulated a LOT of left over bulk papers and club night project partial kits and such.  I have also received gifts from friends and family of non-CTMH product.  (Shocking I know!)  So,  in my “de-clutter life” campaign,  I’ve decided to use these papers and embellishments.

I will try to indicate which paper I’ve used.   I had taken a photo of my craft table with a pile of scraps,  but then my teenage daughter started a planner and added to my pile so it’s actually bigger now than when I started.

I’ll start with a OSW (one sheet wonder) project that I started.  Like I said earlier,  I have TONS of extra bulk paper,  and instead of using one pattern paper and adding cardstock,  I paired multiple paper packs.

DSC_0023 DSC_0021 DSC_0018

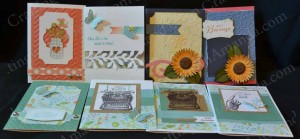
Avonlea and Florentine combined beautifully in these cards.  I used a pattern I found on Pinterest.  Unfortunately  it didn’t pin correctly so I don’t have it anymore  🙁
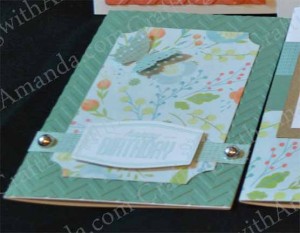
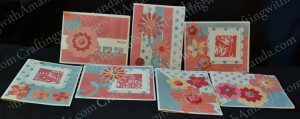
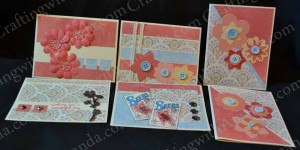
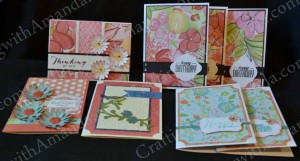
Here are two more sets of One Sheet wonder cards from 6×6 papers.  I used Bulk Roxie for both sets and then Seaside in one and Balloon Ride in the other.  I also found a pack of die cut flowers that I used to embellish them.

OWS-B&T_Scraps_Cards1 OWS-B&T_Scraps_Cards2 OWS-B&T_Scraps_Cards3

Now these next cards are truly just using up bits and pieces that were in SEVERAL locations around my studio.  Some were from name tags I made for my April Crop weekend and others are from a weekend crop I attended 2 years ago!  Yikes.

B&T_scraps_cards B&T_Scraps_cards2If some of the cards were similar I stacked them inside each other for the photos.  I think I have 44 cards that have been created from scraps and “old” paper and embellishments.  (All during haying too!)    I know I’ll have more.  This has been a great wind down in the evenings for me.

Happy Crafting


Quick Creation Time


This uses the new Zoe paper & some of the current Blossom Paper.  I’m still trying to use up scraps and sneak some crafting time in around Mom, farm, bookwork and other duties!

Zoe&Blossom_Card

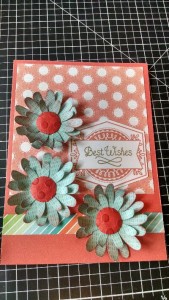
I ran the centers of the flowers through using the dotty embossing folder.  (Not sure the photo shows it.   Also used the bone folder to curve the edges of the petals a little.

The sentiment is from the August SOTM Framed.  The shape is cut with the new Cricut Artistry Cartridge!

Happy Crafting!

Gypsy Card Workshop & .gypsy files

My Mom is an amazing woman.  She has always embraced technology and was quick to use design studio with her Cricut Expression machine.  When she learned about the gypsy,  she got one of those and quickly fell in love.  I wasn’t sold on the cricut line as I sell CTMH and wanted something that would help me cut the stamped images.  I looked into the Sure Cuts A Lot and Makes the Cuts and decided there was too much grey area for my comfort and researched other cutting machines.  I ended up purchasing a machine that allowed me to scan my stamped images and it would cut that exact shape/size.  I was in heaven.

Then,  CTMH had to jump into the Cricut Cartridge wagon and I had to have a cricut.  Once I got the first CTMH cartridge Art Philosophy I was impressed with all the great things I could cut and with a little imagination I could do so many cool things!   I did think I was wasting time when I wanted to do many images at different sizes, but I worked my way around that problem too.

As we do with family,  I asked Mom to watch the kids for me so I could go to a scrap camp.  We arrived a couple days before the camp to settle in and have some fun with grandma.  I had a camp roommate project in mind and as I knew Mom had a cricut I packed my paper & tool bag ready to create some cool gifts in the evenings before camp.  This is when I fell in love with the Gypsy.  Mom is fortunate enough to have a summer place and a winter place.  She doesn’t carry all her stuff back and forth, so her cartridges were only on her gypsy and I would have to use it to create my gifts.  After very little time and a few pointers from Mom,  I was designing and cutting using the gypsy.  Now I wanted one, but the practical side of me rebelled against the price tag.   Patience paid off and I found a used gypsy with some cartridges already loaded on it for a great price.  (Part of the cost was covered by bartered crafting supplies!)

CraftingwithAmanda.com .gypsy filesJumping ahead 4 years, I use the Gypsy for all my workshops and in day to day personal crafting.  It’s so nice to have all the cuts that I made for a workshop sample layout all ready to go when the ladies are here.  We just load their paper and presto,  the cuts are exactly the same.    It also means that they will have the same amount of paper left that I did so they can create their layouts the same if they want.

Why do I share all this with you?   This winter was strange for many of my ladies.  Some were out of town taking care of  family,  other’s left us and the snow for a while and headed south,  and a couple who did stay in town were also dealing with family health issues, or the occasional snow storm prevented us from getting together.  As we were scattered to the winds,  it was hard to have everyone order the workshops at the right time.   Wanting to have a workshop with my gals,  I decided I would create one of my own using the bulk papers from one of the new paper packs.  (At that time the new seasonal book had just come out so I choose the Heartstrings paper pack.)  I got out my Wishes book and my gypsy and came up with these three cards.
CraftingwithAmanda.com Gyspy card workshop CraftingwithAmanda.com Gyspy card workshop CraftingwithAmanda.com Gyspy card workshopThe top card (card #1) is from page 53,  the middle card (card #2) p89 and the bottom card (card #3) was inspired by p 97.

Each lady would make 5 of each card and have 15 cards to take home at the end of the workshop.  The gypsy files are set up to cut for 2 sets of workshops, so if you cut all the different sheets you will have pieces to create 30 cards!   There is also an instruction file that you don’t really cut,  but I use it for instructions as there are some simple squares and rectangles that you can cut with a straight cutter.  I think I limited myself to the Artbooking Cartridge & Art Philosophy.

Here are the files.
Heartstrings Cranberry
Heartstrings Neutral CS
Heartstrings Dark CS
Heartstrings Other Cut Info

Happy Crafting


Techniques Pop Dots & Window Panes

It’s been a comfortable summer so far.  We could use a stretch of sunny dry days so the hay can be finished.   All in all,  a lot better than snow.  🙂

If you would like a copy of my technique instructions file,  leave a comment with your email and I will send it to you.

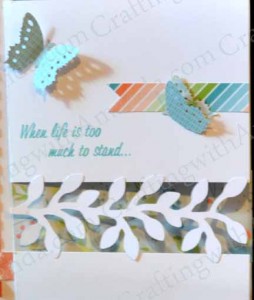
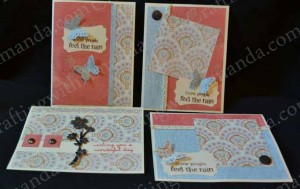
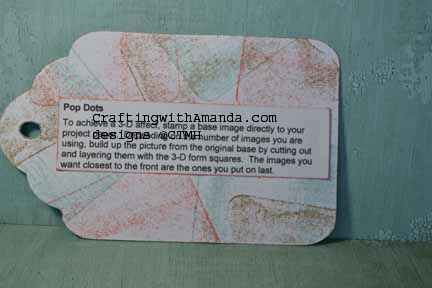
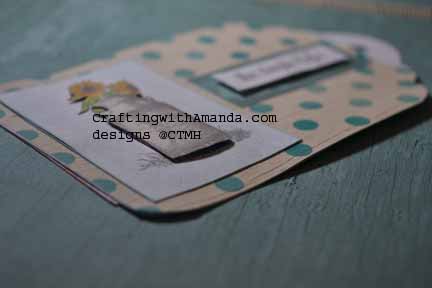
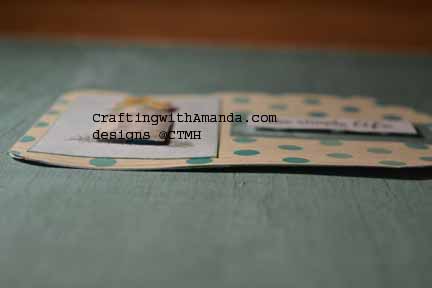
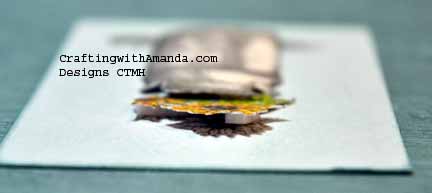
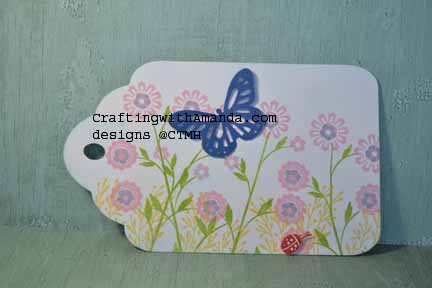
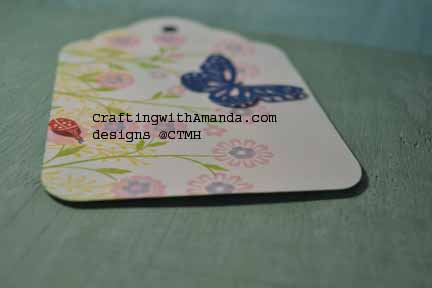
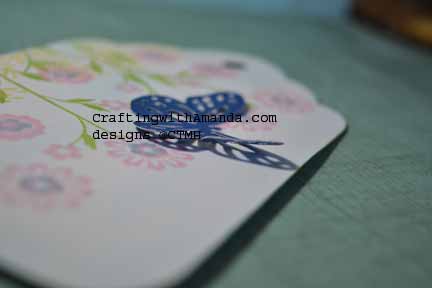
Love using Pop Dots on cards especially.  Gives some dimension to the card, but still ships without extra postage.  I’ve also been know to use pop dots to keep the wings of my butterfly away from the page and look more like they are ready to take off and fly.

craftingwithAmanda.com Technique Tags

craftingwithAmanda.com Technique Tags craftingwithAmanda.com Technique Tags craftingwithAmanda.com Technique Tags craftingwithAmanda.com Technique TagsOn the club night sample hopefully you can see what I mean with the butterfly wings.

craftingwithAmanda.com Technique Tags craftingwithAmanda.com Technique Tags craftingwithAmanda.com Technique Tags

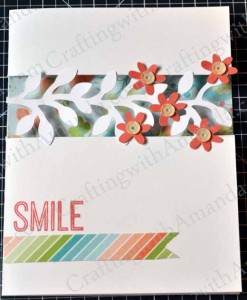
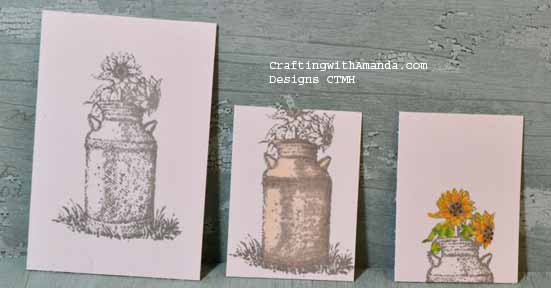
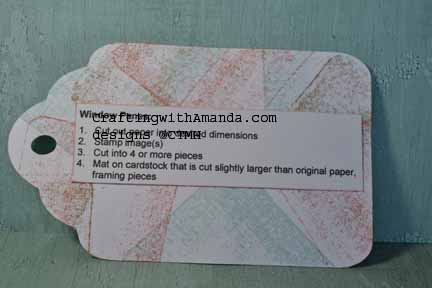
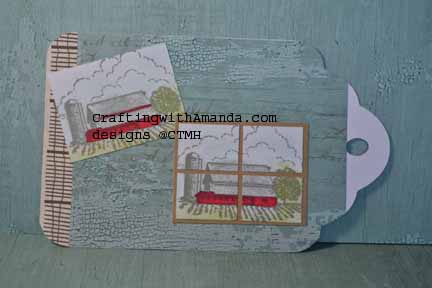
Using the window pane technique is a great way to fill a little more space if your image is just a tad smaller than you would like it to be.  I’ve also found that it can make a quick stunning card too.  (I’ve taken a flower and cut it into a window pane and voila a card.)

craftingwithAmanda.com Technique Tags

You don’t have to back it with another color,  but it does make it easier to dry fit in the window pane part is already glued down to another paper.
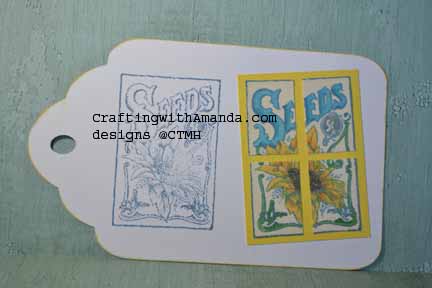
craftingwithAmanda.com Technique Tags

Here is the club night sample.

craftingwithAmanda.com Technique Tags

Here are the stamp sets I’ve used in this example, and many of the other tags that we will be looking at in the upcoming posts:

C1605 Happy to Be Friends

D1632 Amour

I also used Seaside papers (X7192B)

Our awesome markers were also put to use throughout this process of creating the technique tags.

Contest Information:

Now you might want to know how you can earn chances to win this great prize.   There are several ways.  Write a comment on this post.  (1 entry)   Share this post link on your Facebook post and let me know on my FB page Crafting with Amanda that’s you’ve done it.  (1 entry per share).  Like my FB page.  (3 entries)  If your a pinterest person, for every technique tag you pin, you receive an entry.  (up to 35!)    At the end of the contest I will assign each entry a number and using a random number generator will pick a winner.  I will announce the winner on this blog, and then contact them to get the address where the tag book should be sent.

Happy Crafting and Good Luck!