Artwork

Time to starting thinking about 2017.

Yes,  our CTMH planners are available now.    Supper cute and a great way to keep yourself on schedule,  but for me it is also a great way to look back on everything that has happened in the year.

I’m re-using my binder from last year,  so I will make a new cover for last year’s pages.  It’s a great way to preserve our family memories.  (good and bad!)

Happy Crafting.

So many have asked about these great big Flowers in the Holiday Expressions

Now you can make them yourself!   So much fun and a big WOW moment


I would love to see you version!

Happy Crafting.

Pop & Twist!

Yes,  I have joined the pop and twist card fan club.   We did this at our Fall Craft Weekend and everyone loved it!  Here are the instructions I gave out at the retreat.

Open Office Format       Word Document Format

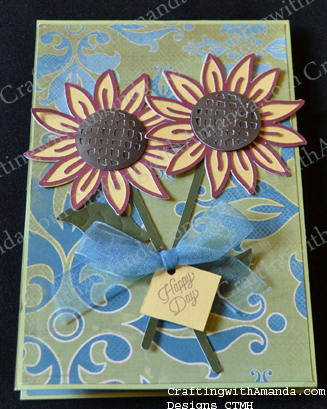
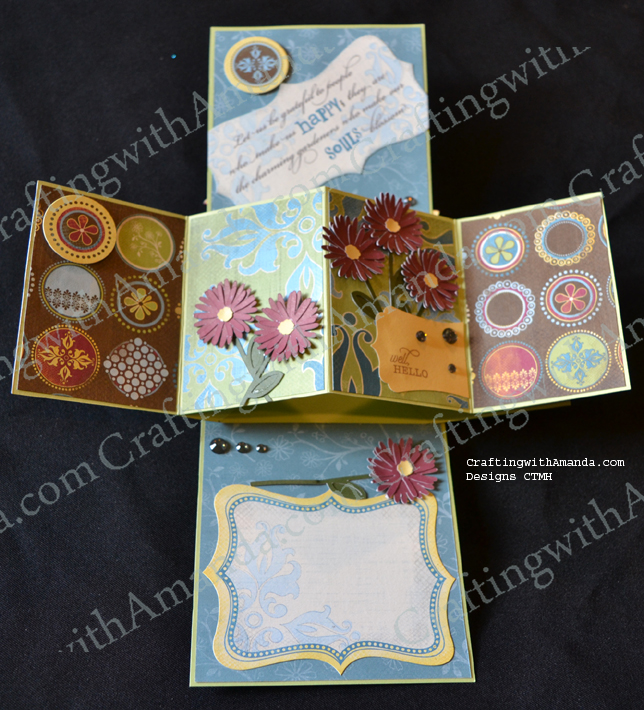
And now,  here are my samples!  The first one I am going to show you is the very first pop up & twist card that I ever did.  I was using older papers from a bag under my craft table as I didn’t think it was going to see the light of day.  (Typically I  learn something when I do fancy folding cards and end up scraping the first one or two.)  Not this one,  and I LOVE how it turned out.  I just put it in the mail today for a friend.   After I had successfully mastered the card,  and I was finding (creating) things to decorate it,  I knew who it would be going to as soon as I had used it as a sample for people to look at!

poptwist_emporiumclosed poptwist_emporiumopenThe flowers are all done with the new Flower Market Cartridge.   (Loving it!)  Hint,  I needed to add an extra 23 cents when I mailed it.

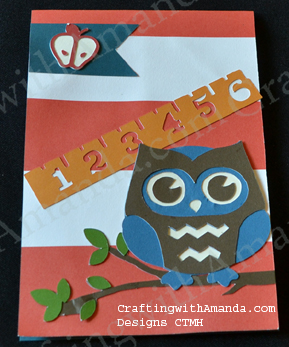
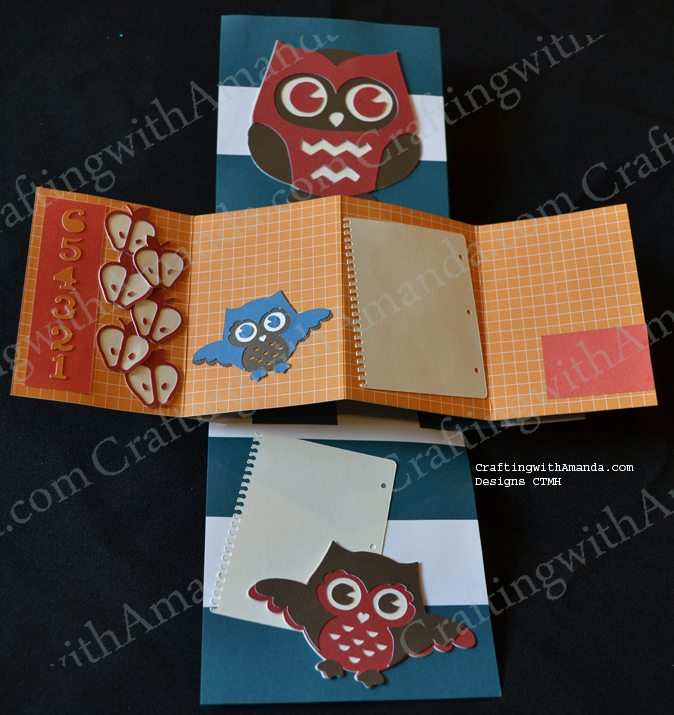
This next sample is more a result of me playing with the new cricut explore and the cool layers in our images on our cartridges.  I have a feeling this will be going to a 2nd grade teacher soon!

poptwist_owlclosed poptwist_owlopenThe papers are fundamental papers and everything else is cricut cuts!

Happy Crafting!


Pop Dots & Window Pane

It’s been a comfortable fall so far, love getting out the sweatshirts and making stews!  Pot Dots are a staple in my tool bag,  and hopefully they are,  or will be in your bag too!  (See the information at the end of this blog to learn how you could win all 35 of these technique tags in this series.)

If you would like a copy of my technique instructions file, leave a comment with your email and I will send it to you.

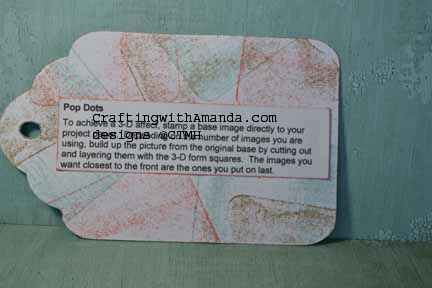
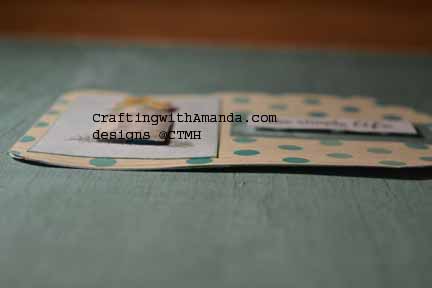
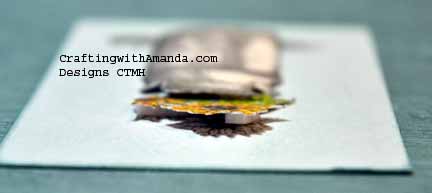
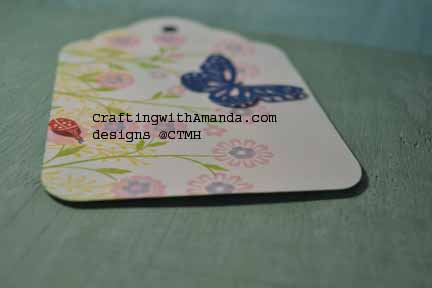
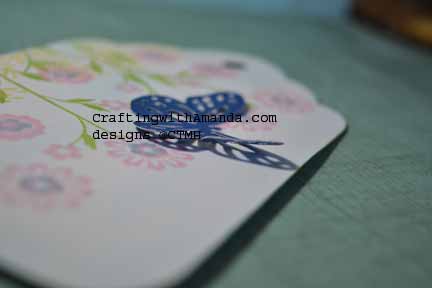
Love using Pop Dots on cards especially. Gives some dimension to the card, but still ships without extra postage. I’ve also been know to use pop dots to keep the wings of my butterfly away from the page and look more like they are ready to take off and fly.

craftingwithAmanda.com Technique Tags

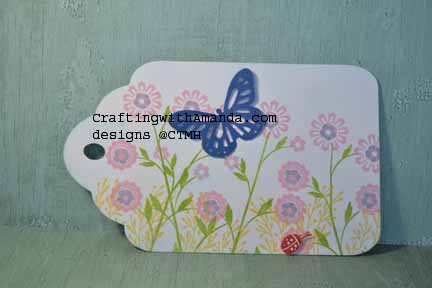
craftingwithAmanda.com Technique Tags craftingwithAmanda.com Technique Tags craftingwithAmanda.com Technique Tags craftingwithAmanda.com Technique TagsOn the club night sample hopefully you can see what I mean with the butterfly wings.

craftingwithAmanda.com Technique Tags craftingwithAmanda.com Technique Tags craftingwithAmanda.com Technique Tags

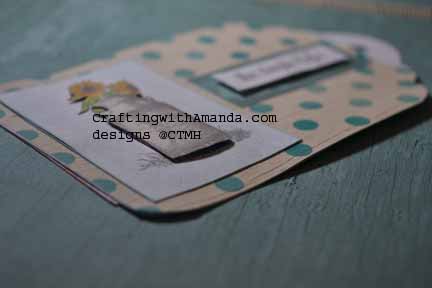
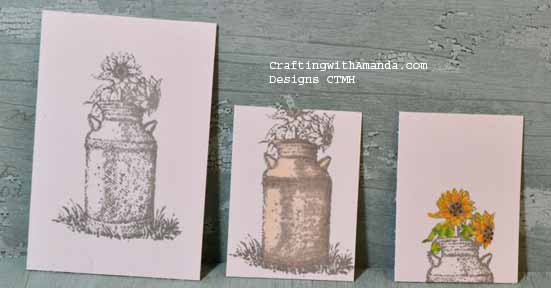
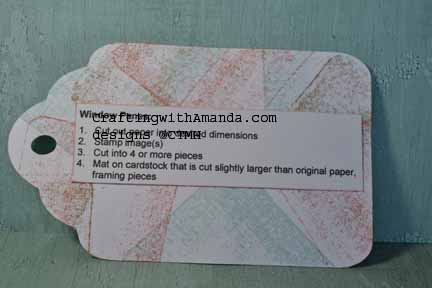
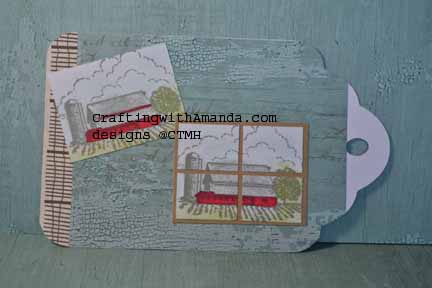
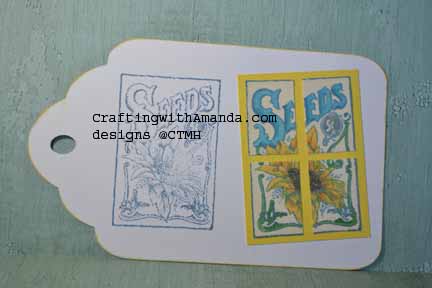
Using the window pane technique is a great way to fill a little more space if your image is just a tad smaller than you would like it to be. I’ve also found that it can make a quick stunning card too. (I’ve taken a flower and cut it into a window pane and voila a card.)

craftingwithAmanda.com Technique Tags

You don’t have to back it with another color, but it does make it easier to dry fit in the window pane part is already glued down to another paper.

craftingwithAmanda.com Technique Tags

Here is the club night sample.

craftingwithAmanda.com Technique Tags

Here are the stamp sets I’ve used in this example, and many of the other tags that we will be looking at in the upcoming posts:

C1605 Happy to Be Friends

D1632 Amour

I also used Seaside papers (X7192B)

Our awesome markers were also put to use throughout this process of creating the technique tags.

Contest Information:

Now you might want to know how you can earn chances to win these tags.   There are several ways.  Write a comment on this post.  (1 entry)   Share this post link on your Facebook post and let me know on my FB page Crafting with Amanda that’s you’ve done it.  (1 entry per share).  Like my FB page.  (3 entries)  If you’re a pinterest person, for every technique tag you pin, you receive an entry.  (up to 35!)    At the end of the contest I will assign each entry a number and using a random number generator will pick a winner.  I will announce the winner on this blog, and then contact them to get the address where the tag book should be sent.

If you would like a copy of my technique instructions file,  leave a comment with your email and I will send it to you.

Happy Crafting and Good Luck!
 

Faux Stitching & Patchwork Techniques

Here they are,  the next two techniques in our series. (See the information at the end of this blog to learn how you could win all 35 of these technique tags in this series.)  Summer life is very busy around here,  now that school is going we are back into a routine and I have carved a little of time out to do some creating!

I also managed to take a few more photos of the completed technique tags. (Still have some craft time in my future to finish the rest! yay) That means I have some more techniques to share with you. I’ve really enjoyed being able to re-visit techniques that I have forgotten about, or just haven’t taken the time to do them.

You may have noticed that I’ve used the same stamp sets and colors for all of the tags. Part of that is so the completed book is prettier, but most of all it was to show the versatility of stamps when you employ different techniques as you use them.
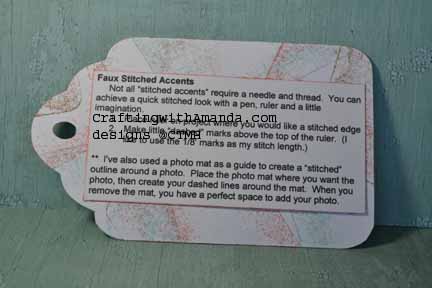
tag_fauxstitch_ins

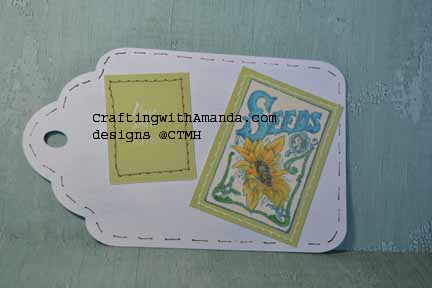
Faux Stitching is a fast and fun way to add some framing or interest to your project. After I finished the “stitching” around the bicycle, I wish I would have done it closer to the edge of the white paper, but I do think it looks pretty real.
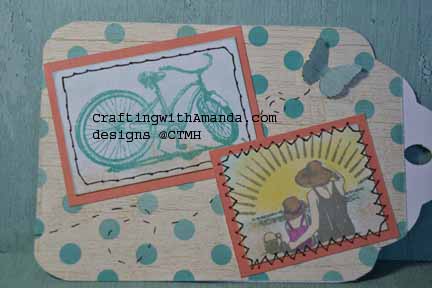
tag_fauxstitch_samp

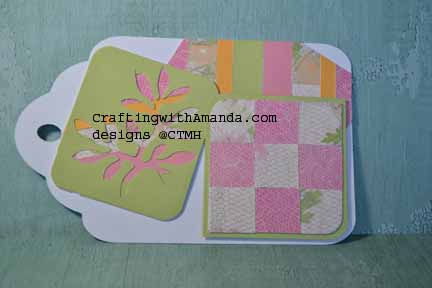
I really like this patchwork for using up scraps too. I will attach strips of left over paper to typing paper then cut it up as accent pieces on my project.
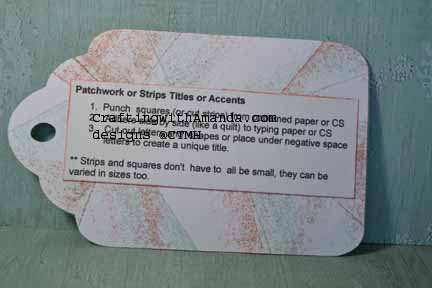
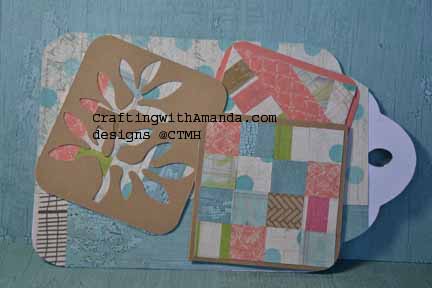
tag_patchword_instag_patchwork_samp

If you don’t want to cut out (or punch) an image, you can always use it to fill in the negative space of a punched image.
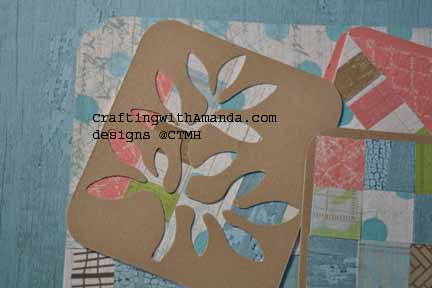
tag_patchword_samp2

Club night samples:CraftingwithAmanda.com Patchwork Technique

CraftingwithAmanda.com Faux Stitching

Here are the stamp sets I’ve used in this example, and many of the other tags that we will be looking at in the upcoming posts:

C1605 Happy to Be Friends

D1632 Amour

I also used Seaside papers (X7192B)

Our awesome markers were also put to use throughout this process of creating the technique tags.

Contest Information:

Now you might want to know how you can earn chances to win these tags.   There are several ways.  Write a comment on this post.  (1 entry)   Share this post link on your Facebook post and let me know on my FB page Crafting with Amanda that’s you’ve done it.  (1 entry per share).  Like my FB page.  (3 entries)  If you’re a pinterest person, for every technique tag you pin, you receive an entry.  (up to 35!)    At the end of the contest I will assign each entry a number and using a random number generator will pick a winner.  I will announce the winner on this blog, and then contact them to get the address where the tag book should be sent.

If you would like a copy of my technique instructions file,  leave a comment with your email and I will send it to you.

Happy Crafting and Good Luck!