Artwork

Technique Tags Random Stamping & Doodling

If you are jumping in on this post series,  you might want to see all the techniques,  and you can find them here. You also might be interested in knowing that one lucky winner (USA only) will received the set of tags I created and photographed for this series.  (Information at the end of the post!)

Intro & cardstock tearing

Background Stamping & Sanding Cardstock

Tissue Inking & using sponges

Pockets & Tags

Faux Stitches & Patchwork

Pop Dots & Window Panes

Sponge Backgrounds & Crinkling

One of the all time favorite techniques of my gals is Random Stamping.  Every time,  EVERY time I make a project that includes random stamping the girls love it.   I think sometimes we crafters get too focused on finishing a layout, a card, or a project that we forget to step back and have some fun with our tools.
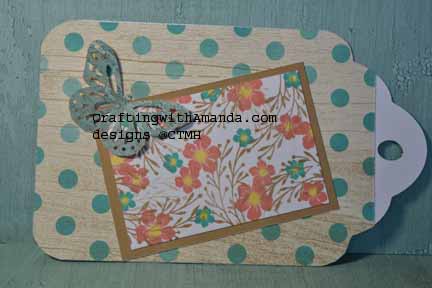
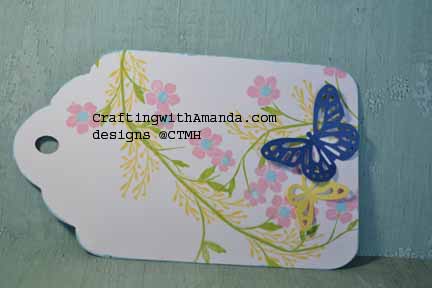
tag_randomstamp_sampTa da.     Create custom backgrounds, one of a kind cards,  and get the exact color & pattern match for a layout.   You choose your colors and stamp images, then just fill in your paper.   There are some hints that will help you like your end product and I go into details of those in this post, Random Stamping.
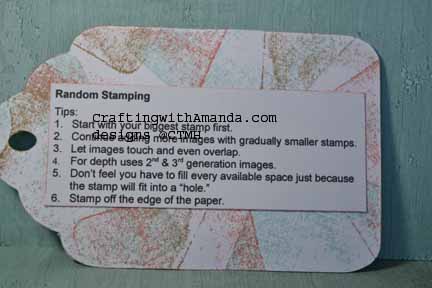
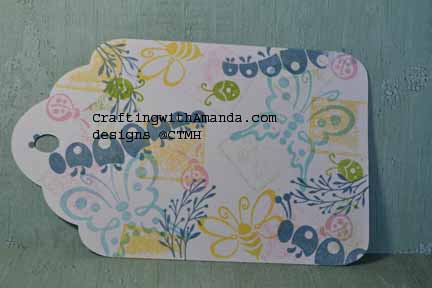
tag_randomstamp_ins tagclub_randomstampThe caterpillar and butterfly stamped tag was the sample when we did this at our monthly club.

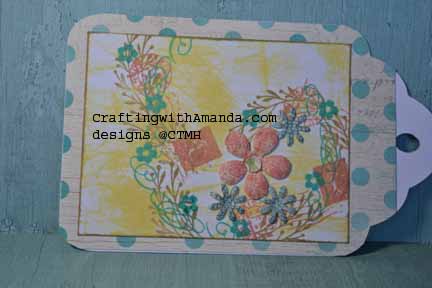
The second technique we are going to look at today is similar to random stamping, but does have a couple differences.  It’s called doodle stamping, and you still choose your colors and stamp images, but in stead of randomly stamping on a blank piece of paper,  you create a flow towards or around a focal image.  In the sample below I envisioned the #6 with my focal point being the loop on the six.

tag_doddle_samp

I used several different stamps, and incorporated paper flowers as well.
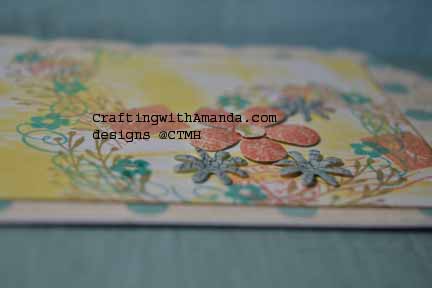
tag_doodle_samp2I didn’t realize it when I created this sample,  but I must like the number six as my focal point because I used it for our club night sample as well.   opps!
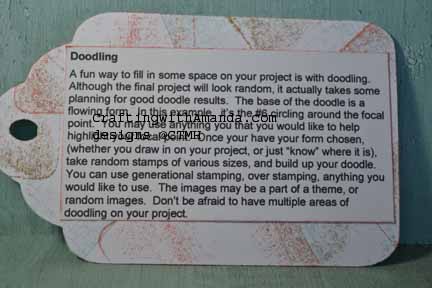
tag_doodle_ins tagclub_doodleHere are the stamp sets I’ve used in this example, and many of the other tags that we will be looking at in the upcoming posts:

C1605 Happy to Be Friends

D1632 Amour

I also used Seaside papers (X7192B)

Our awesome markers were also put to use throughout this process of creating the technique tags.

Now you might want to know how you can earn chances to win these tags.   There are several ways.  Write a comment on this post.  (1 entry)   Share this post link on your Facebook post and let me know on my FB page Crafting with Amanda that’s you’ve done it.  (1 entry per share).  Like my FB page.  (3 entries)  If you’re a pinterest person, for every technique tag you pin, you receive an entry.  (up to 35!)    At the end of the contest I will assign each entry a number and using a random number generator will pick a winner.  I will announce the winner on this blog, and then contact them to get the address where the tag book should be sent.

If you would like a copy of my technique instructions file,  leave a comment with your email and I will send it to you.

Happy Crafting and Good Luck!


Technique Tags – Sponged Backgrounds & Crinkling

A few months ago I started a series of blog posts showing off different techniques,  and promised when I got to the end I would select a lucky winner to receive (USA only) the book of tags featured in this blog.   Today I am picking up where I left off.  If you want to see the other posts,  they are:

Intro & cardstock tearing

Background Stamping & Sanding Cardstock

Tissue Inking & using sponges

Pockets & Tags

Faux Stitches & Patchwork

Pop Dots & Window Panes

Today’s techniques are a mixed bag.  I seem to use one or the other periodically when I craft,  but typically not my go to techniques.   In fact,  I was creating some thank you cards,  and almost crinkled some of the layers to add interest to the card,  but decided not to when it was all said and done.  (or it didn’t get done as I thought about it,  got distracted and when I sat back down to glue the pieces to the card base I didn’t think about crinkling again.)

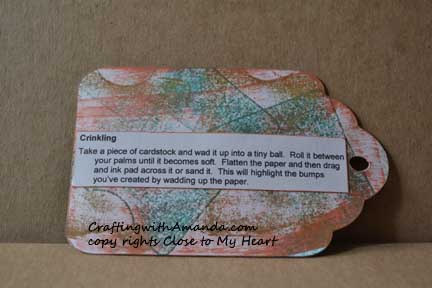
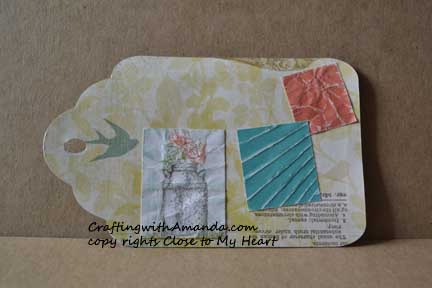
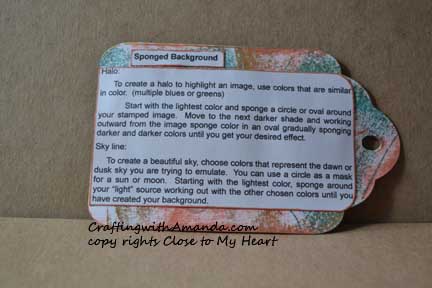
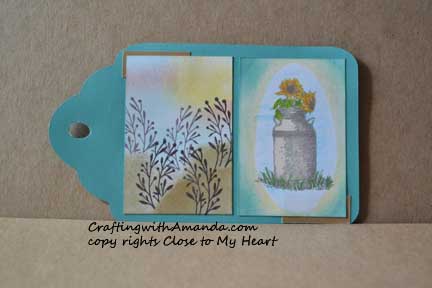
Crinkling_ins This technique will work with non white core paper,  but instead of sanding the paper to help the wrinkles show,  you would need to ink it instead.crinkling_imgBackground sponging can add so much to any project.  Create a sunset or a spooky sky,  shade in some sand dunes. . .  only your imagination is the limit.

spongeBck_InsCreating an old fashion “halo” to help highlight an image is easy with sponges!

Sponge_bck_img

Now you might want to know how you can earn chances to win this great prize.   There are several ways.  Write a comment on this post.  (1 entry)   Share this post link on your Facebook post and let me know on my FB page Crafting with Amanda that’s you’ve done it.  (1 entry per share).  Like my FB page.  (3 entries)  If you’re a pinterest person, for every technique tag you pin, you receive an entry.  (up to 35!)    At the end of the contest I will assign each entry a number and using a random number generator will pick a winner.  I will announce the winner on this blog, and then contact them to get the address where the tag book should be sent.

Happy Crafting!


It’s time to begin using your 2017 planner.

Don’t you just love new things?  I do.   I sometimes get bogged down in silliness and don’t want to use up something new as then I won’t have it anymore.   I am beginning to realize that if I don’t use new stuff,  I am losing out on some “joy” moments in my life.  So,   I am cracking open my new pages for 2017 planning and recording our family activities.  Good, bad, ugly.  Hopefully there will be more ups than downs!

As I was writing this post,  I realized my plate is pretty full today and I was thinking I won’t have any time to start this,  I’ll do it tomorrow.    I put the brakes on those thoughts and began going over my plans.   I will have a full 30 minutes while I wait for my daughter to be done with an appointment she has.   Guess what?!?  That means if I take about 2 minutes now and pull out some fun colored pencils, which I got for Christmas, bag up some washi tape and a few other small supplies,  I can begin to mark up my planner and start recording our events for 2017.  Yay.  If I am remembering correctly,  I will even pull out a dedicated planner bag and put all my supplies in there and can have it all together for future out of the house down times.  (Which happen from time to time with kids!)

In the meantime as I open all the bills and mail from holiday back up,  I think I will watch this video and see if It gives me more inspiration on my new 2017 journal endeavor.  If you don’t have a 2017 planner yet,  you can find what  I’ll be using here.

Happy Crafting.

Jeepers Creepers – Workshop Part 2 – Cards

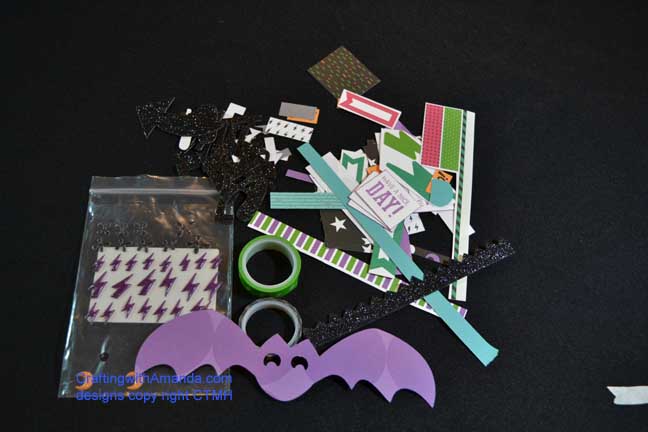
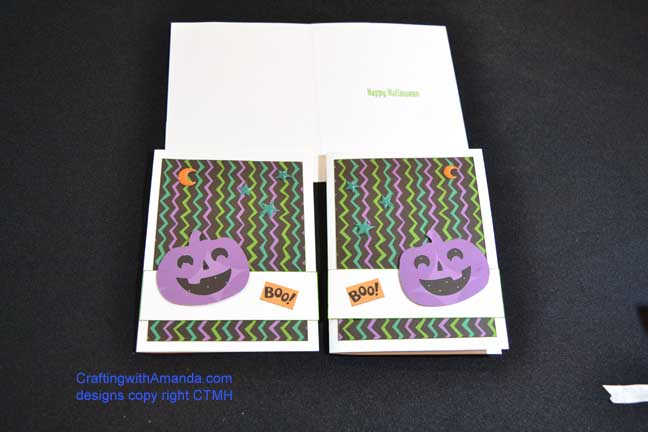
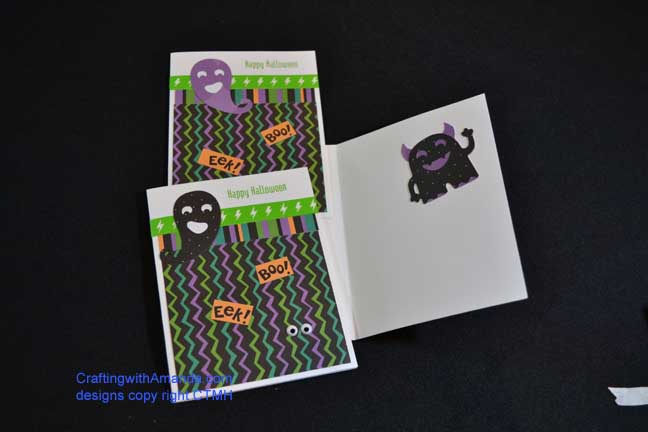
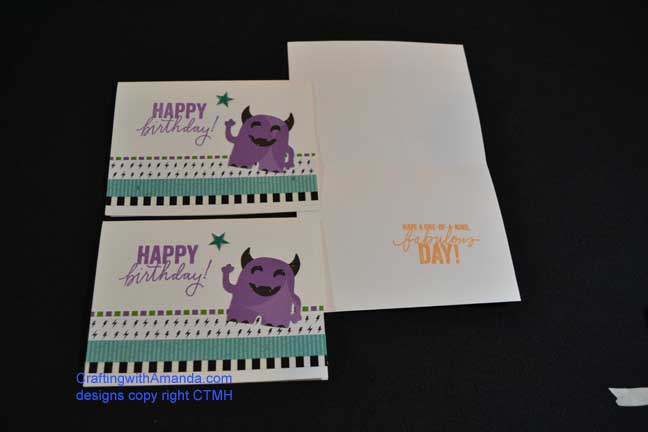
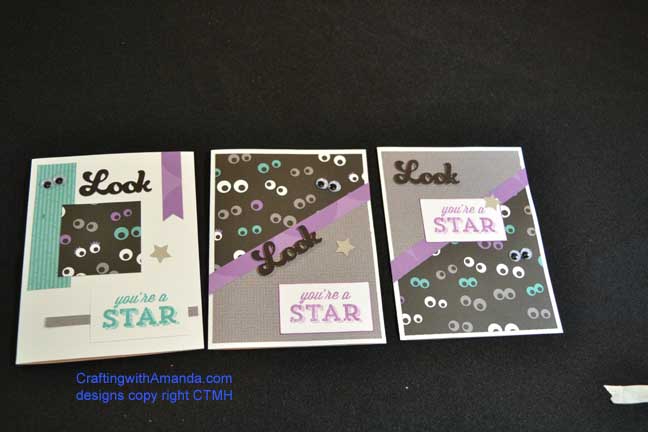
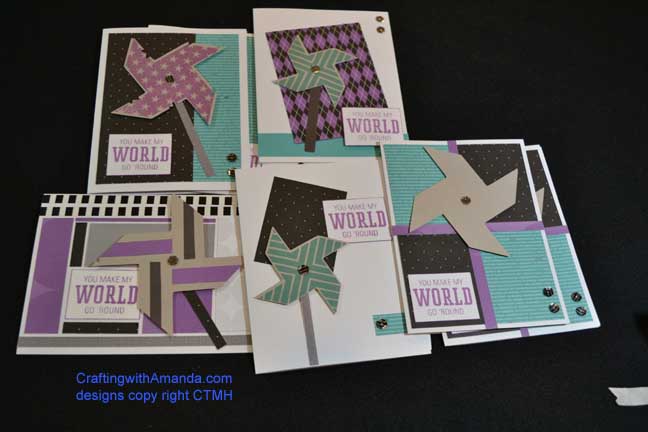
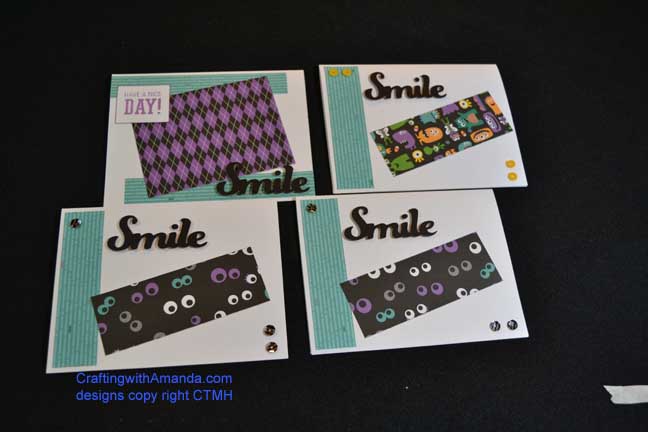
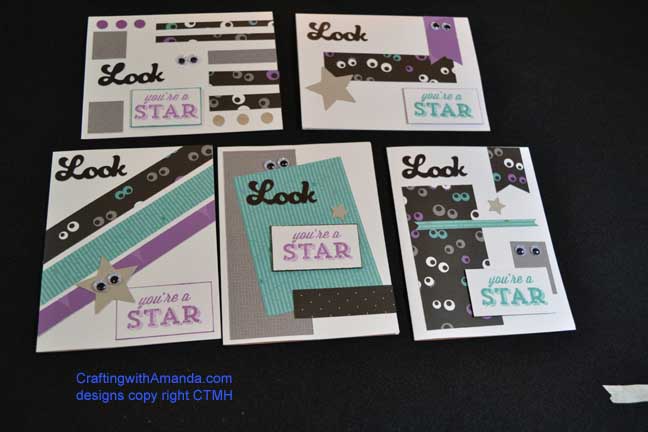
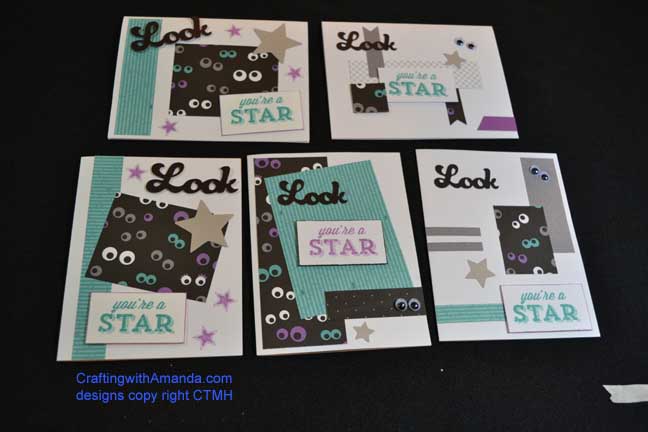
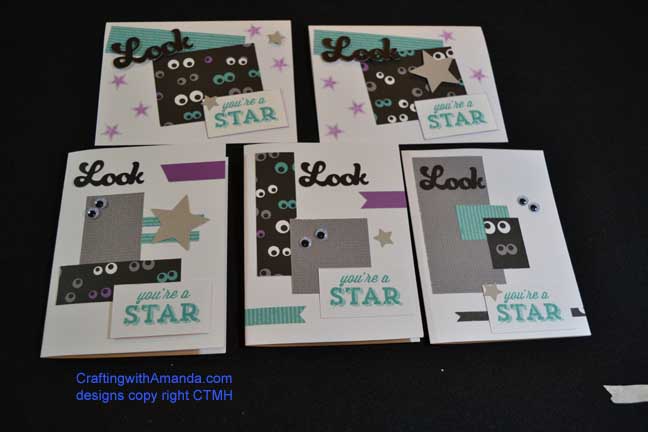
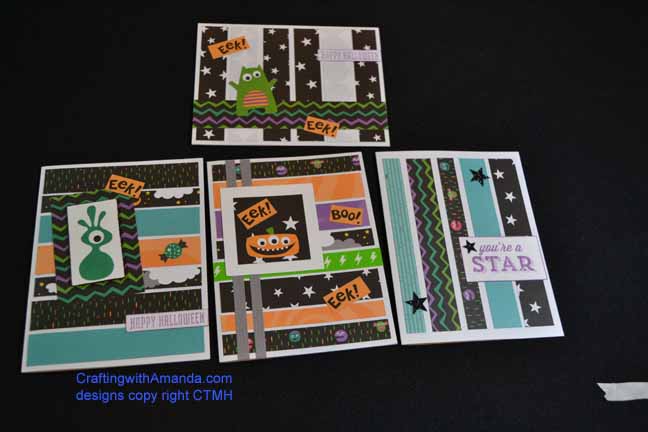
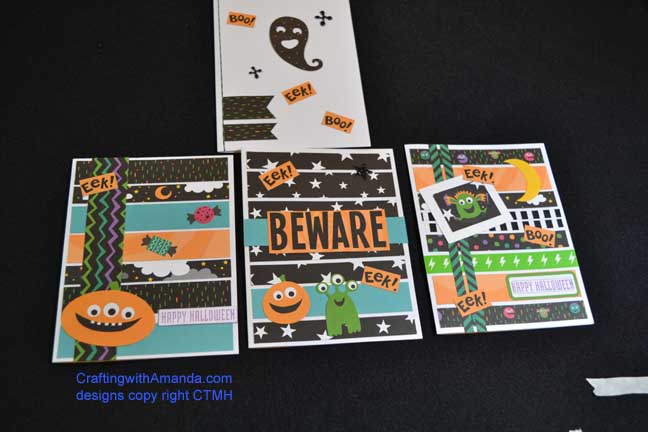
So,  with one paper pack and a few extra colored cardstock piece and bases,  I was able to create six 2page layouts and 47 cards!   This was every bit of paper that was left from the workshop your way kit when I was done.  (phew)

jc12

Nine of the cards were cut from the workshop instructions,

jc8 jc9 jc10

Some of the cards were cut from the Kathern’s 6×6 pattern and another one I found (Previous posts)

jc4 jc11 jc3

Others were just what struck my fancy at the time I was creating!

jc7 jc6 jc5 jc2 jc1

Happy Crafting.

Jeepers Creepers – Workshop Part 1

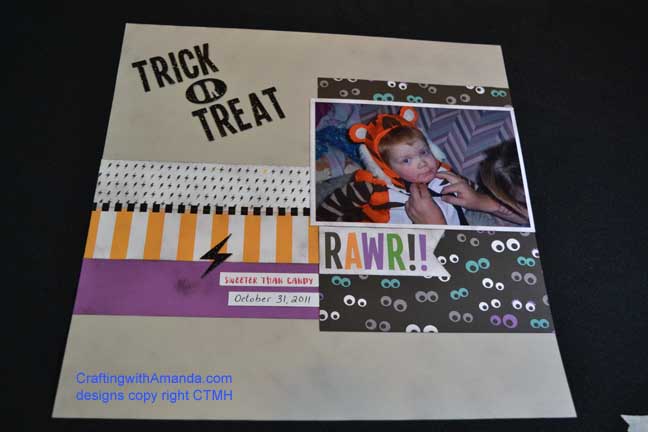
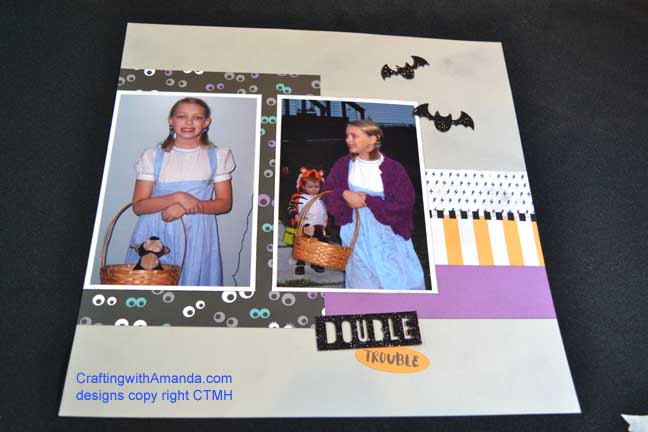
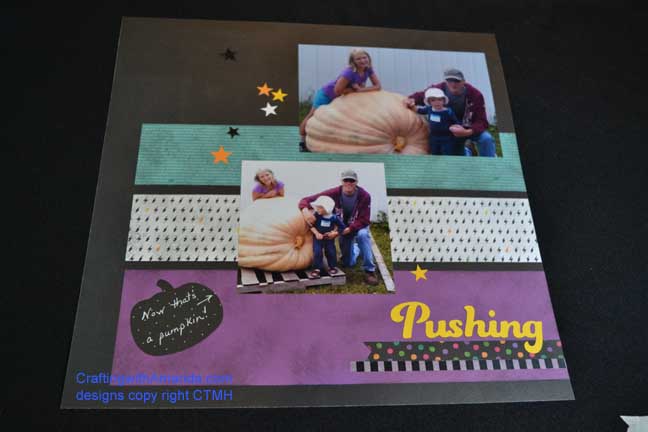
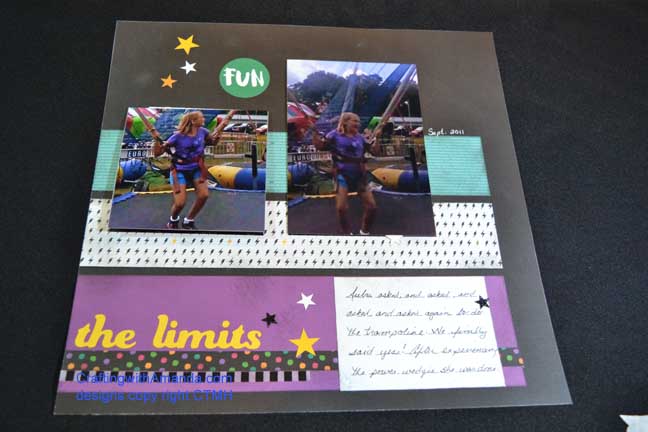
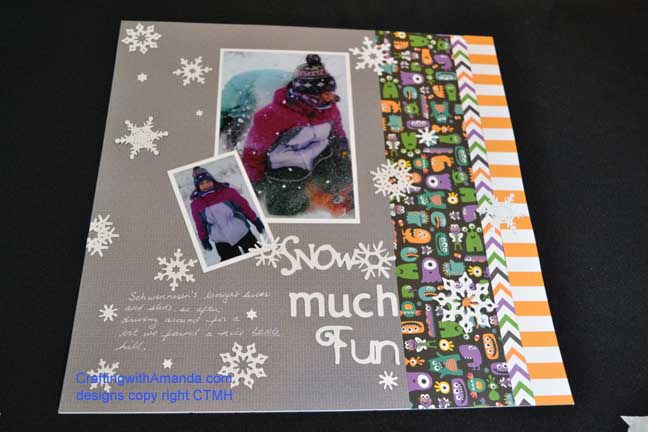
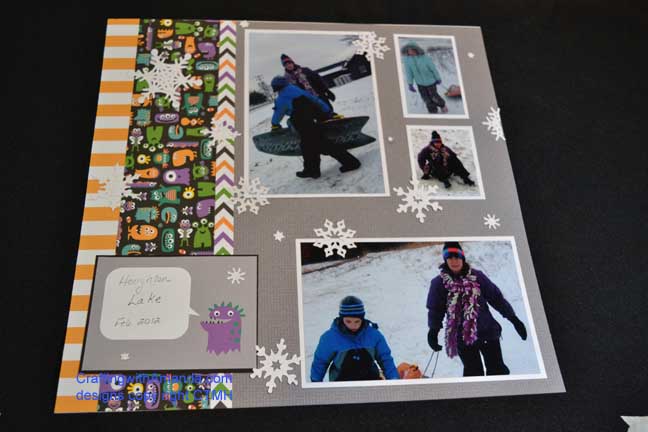
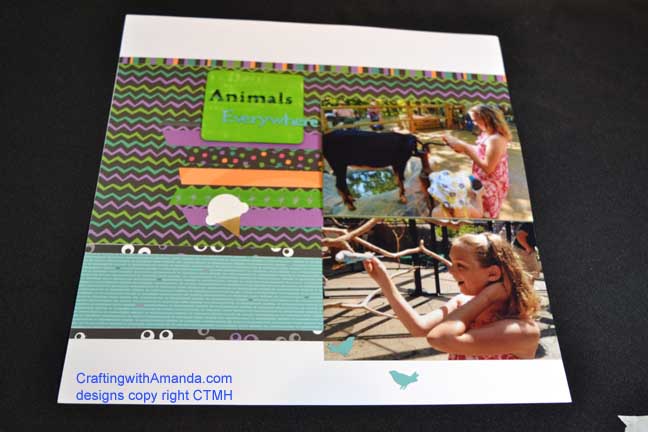
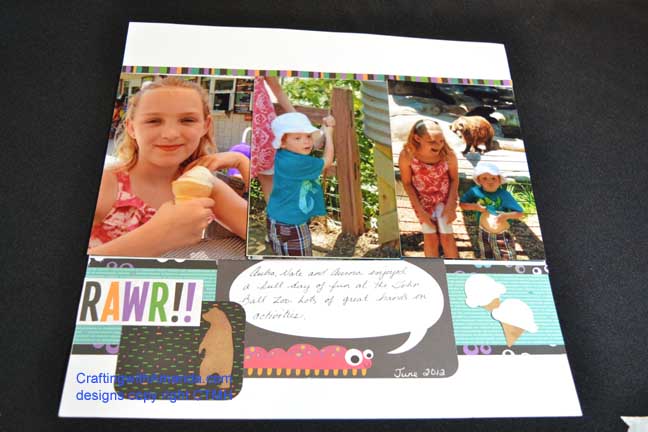
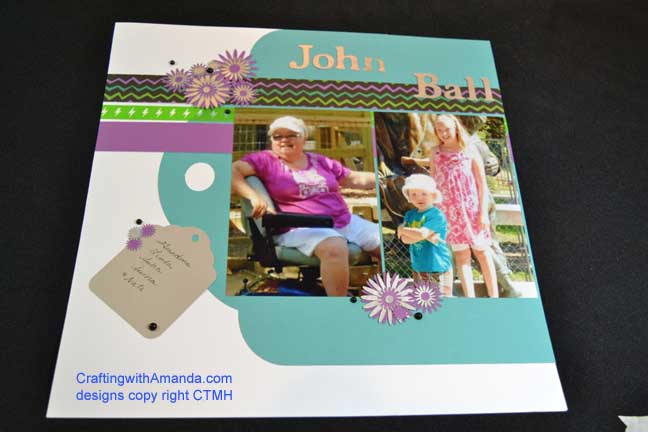
Yes,  I am finally posting my sample layouts for the Jeepers Creepers paper pack.   The first three are from the Workshop your way directions,  and the last three were created from sketches.   By just adding a few colored cardstock and some base pages,  I got 6 layouts and 47 (yes,  47) cards.  I will have the cards in the next post.

LO #1

jc25 jc26

LO #2

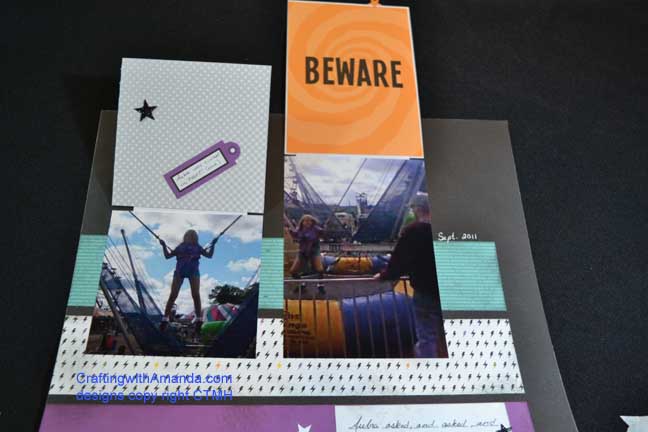
jc23 jc24 lo_flapsHad so many photos,  but the quality was poor (I think I had turned off the auto focus ).

LO #3

jc21 jc22

Bonus #1

jc18jc20

Bonus #2

jc15jc16The silver flowers were cut on the cricut from the grain bin painted paper!

Bonus #3

jc13 jc14

If you haven’t noticed,  I challenge myself to use themed paper in ways vastly different from the intended theme.   I would love to see what you did with them!

Happy Crafting!