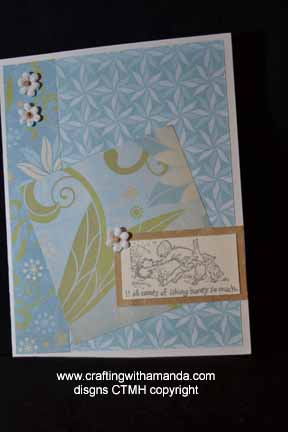
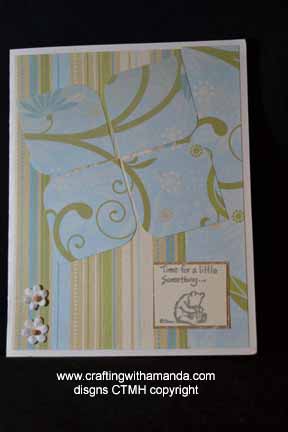
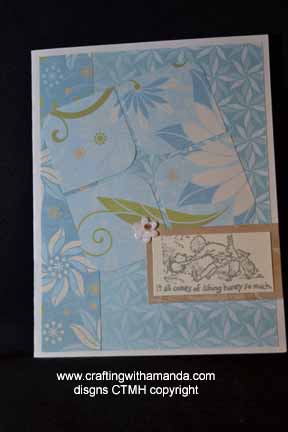
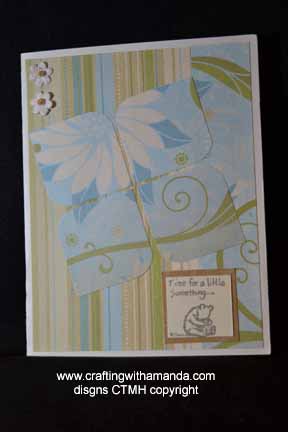
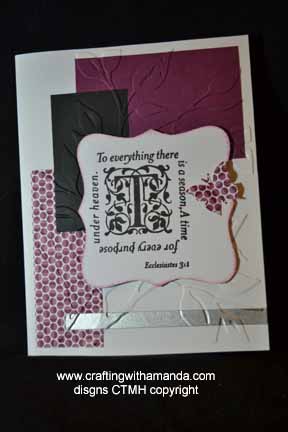
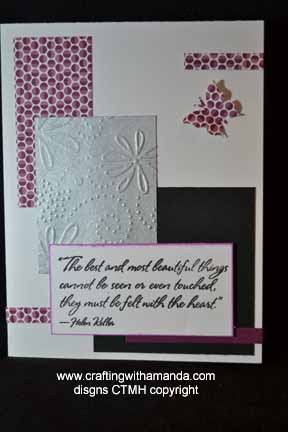
Cards

Tissue Inking & Using sponges

Two more great techniques today! These will help you get some truly individual looks from the same stamp. Tissue Inking and using Sponges. (See the information at the end of this blog to learn how you could win all 35 of these technique tags in this series.)

Tissue Inking:
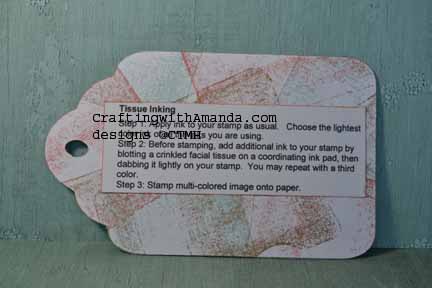
tag_tissue_ins You can do tissue inking in a couple different ways. One way is to dab a tissue in the ink, then dab it on the stamp. You can do this with multiple colors. Keep in mind before you stamp on your project you will want to “huff” on your stamp to re-moisten the ink.

Another way to do this is to ink the whole stamp in one lighter color, then add the darker shades with tissues in the same manner as the first method. You will also need to “huff” your stamp if you choose this method.
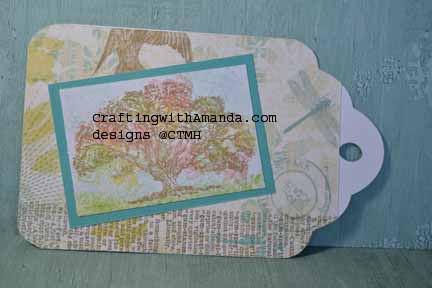
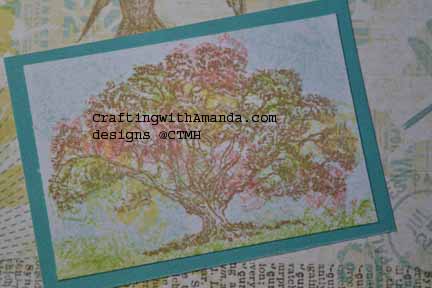
tag_tissue_samp tag_tissue_samp2In this sample I inked the whole tree in desert sand ink, then added honey, cranberry and pear ink with a tissue. After I stamped the image, I used crinkled clear wrap to add the blue and green in the background.

Here is the tissue sample from my club night tag book.tagclub_tissueSponges Technique:
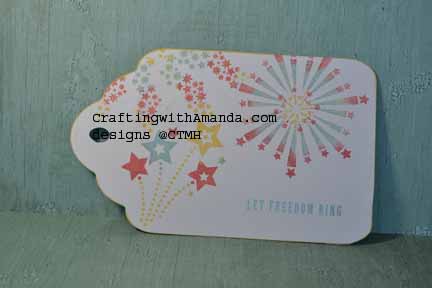
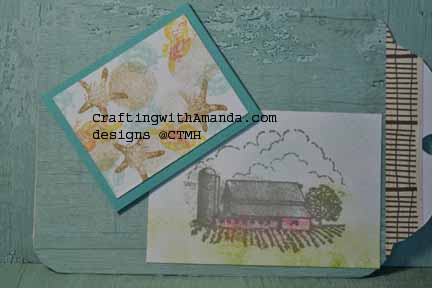
tag_sponges_sampSponges are a great way to add color to your backgrounds, stamps, or create a polka dot effect on your projects. For this Seaside tag book sample I used sponges to color the image of the farm stamp and used them to add multiple colors to the shells & star fish stamps.
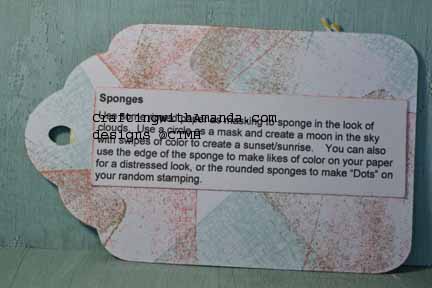
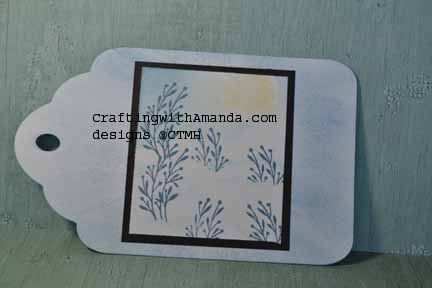
tag_sponges_insHere is the sample from our club night project. In this one I used sponges to create colors around the floral stems and also some masking (another technique in a future post) to create a sand dune look. (Hard to see in the photo, sorry)tagclub_sponges
 

Now you might want to know how you can earn chances to win this great prize. There are several ways. Write a comment on this post. (1 entry) Share this post link on your Facebook post and let me know on my FB page that’s you’ve done it. (1 entry per share) Crafting with Amanda Like my FB page. (3 entries) If your a pinterest person, for every technique tag you pin, you receive an entry. (up to 35!) At the end of the contest I will assign each entry a number and using a random number generator will pick a winner. I will announce the winner on this blog, and then contact them to get the address where the tag book should be sent.

Here are the stamp sets I’ve used in this example, and many of the other tags that we will be looking at in the upcoming posts:

C1605 Happy to Be Friends

D1632 Amour

I also used Seaside papers (X7192B)

Our awesome markers were also put to use throughout this process of creating the technique tags.

If you would like a copy of my technique instructions file, leave a comment with your email and I will send it to you.

Now you might want to know how you can earn chances to win these tags.   There are several ways.  Write a comment on this post.  (1 entry)   Share this post link on your Facebook post and let me know on my FB page Crafting with Amanda that’s you’ve done it.  (1 entry per share).  Like my FB page.  (3 entries)  If you’re a pinterest person, for every technique tag you pin, you receive an entry.  (up to 35!)    At the end of the contest I will assign each entry a number and using a random number generator will pick a winner.  I will announce the winner on this blog, and then contact them to get the address where the tag book should be sent.

If you would like a copy of my technique instructions file,  leave a comment with your email and I will send it to you.

Happy Crafting and Good Luck!
 

It’s Here, the new Holiday Inspirations Book!

Get your own copy of the new Holiday Expressions book delivered to your door when you place any order on my website.   www.craftingwithamanda.closetomyheart.com

16-he-cover

I am loving all the new paper.  I typically do,  but there are some papers that take longer for me to find my mojo than others.  This book also had a couple of those,  but I am now hooked.  Looking forward to getting back in to the school routine and perhaps some crafting time for me!  I have so many ideas of projects that I want to create with these great papers.

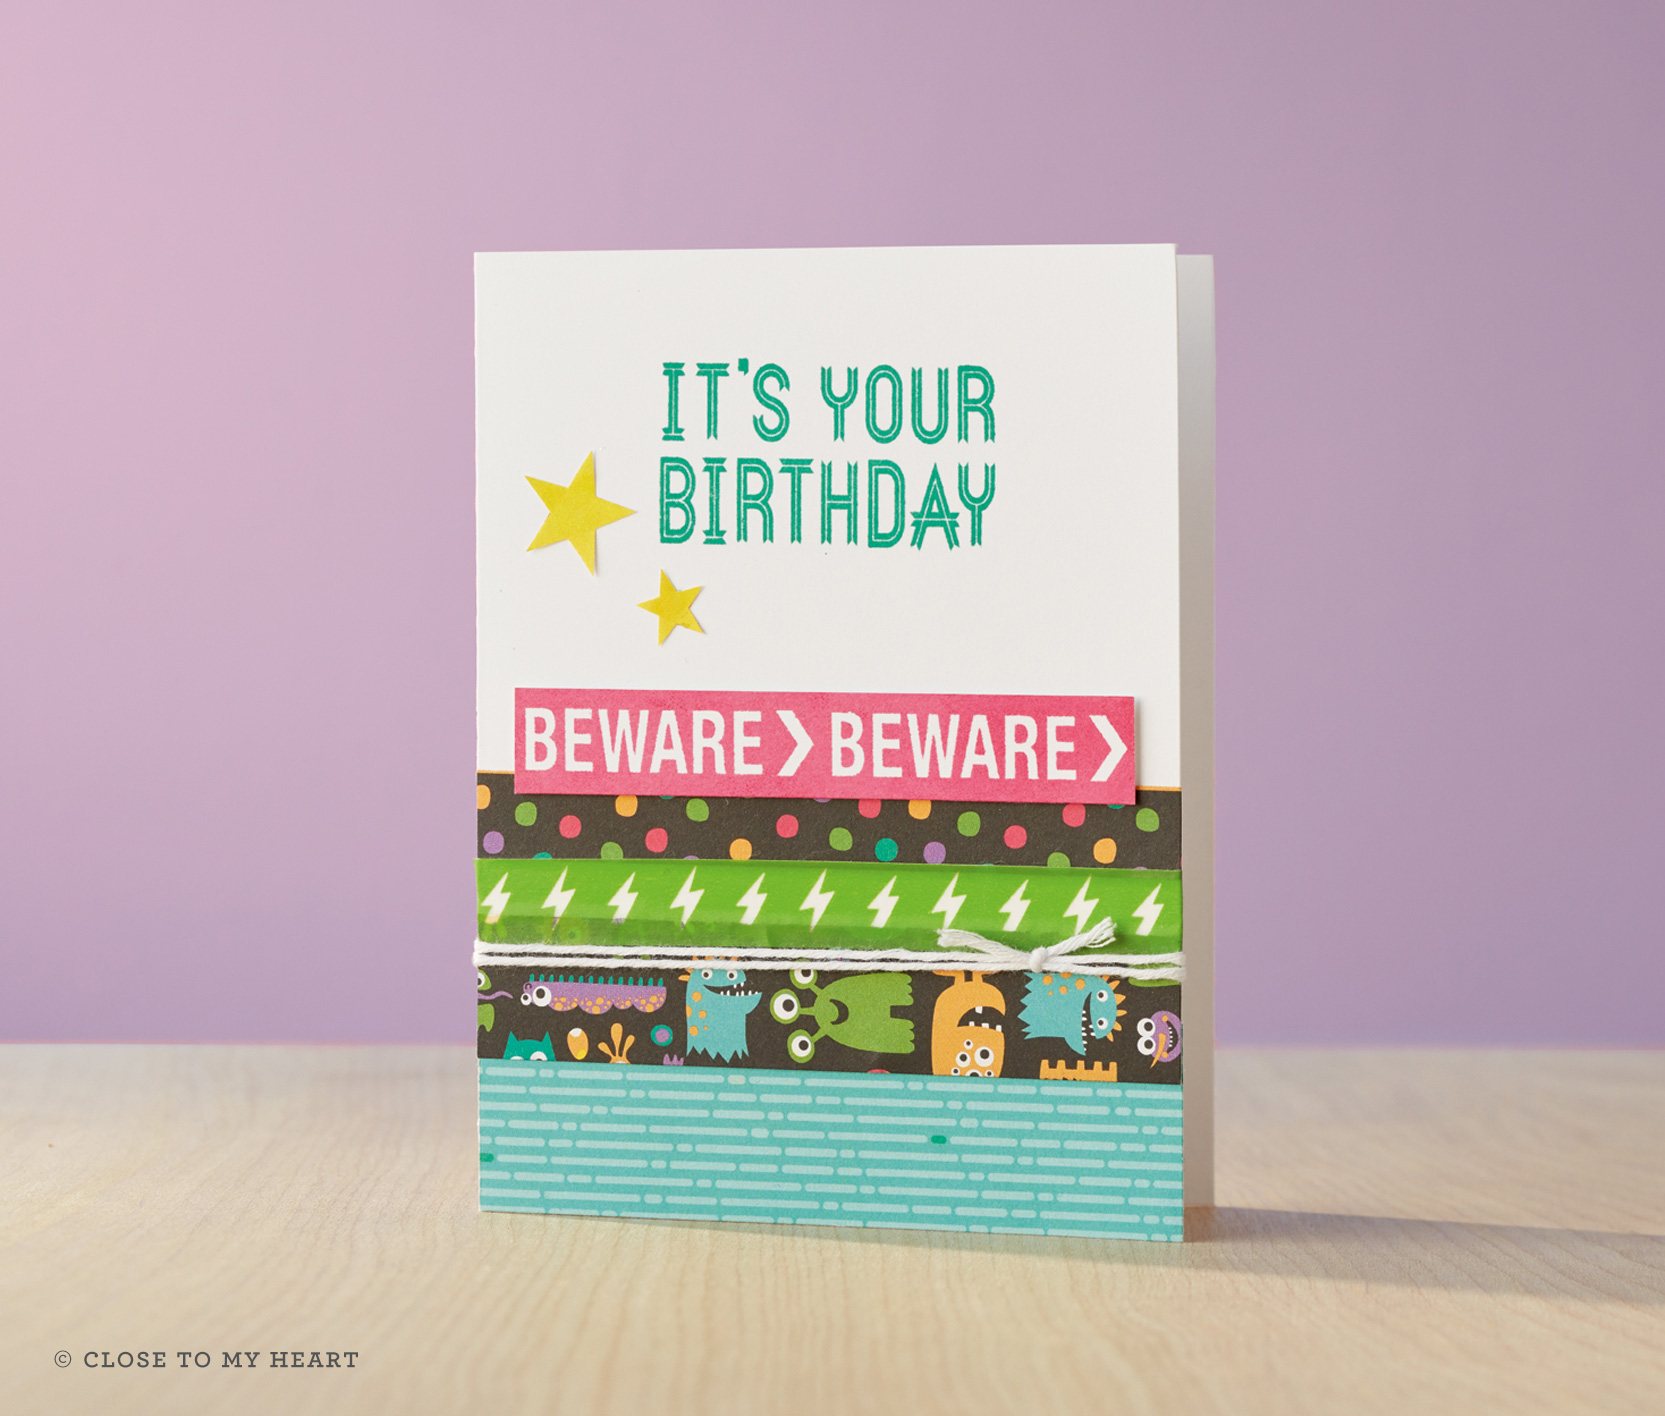
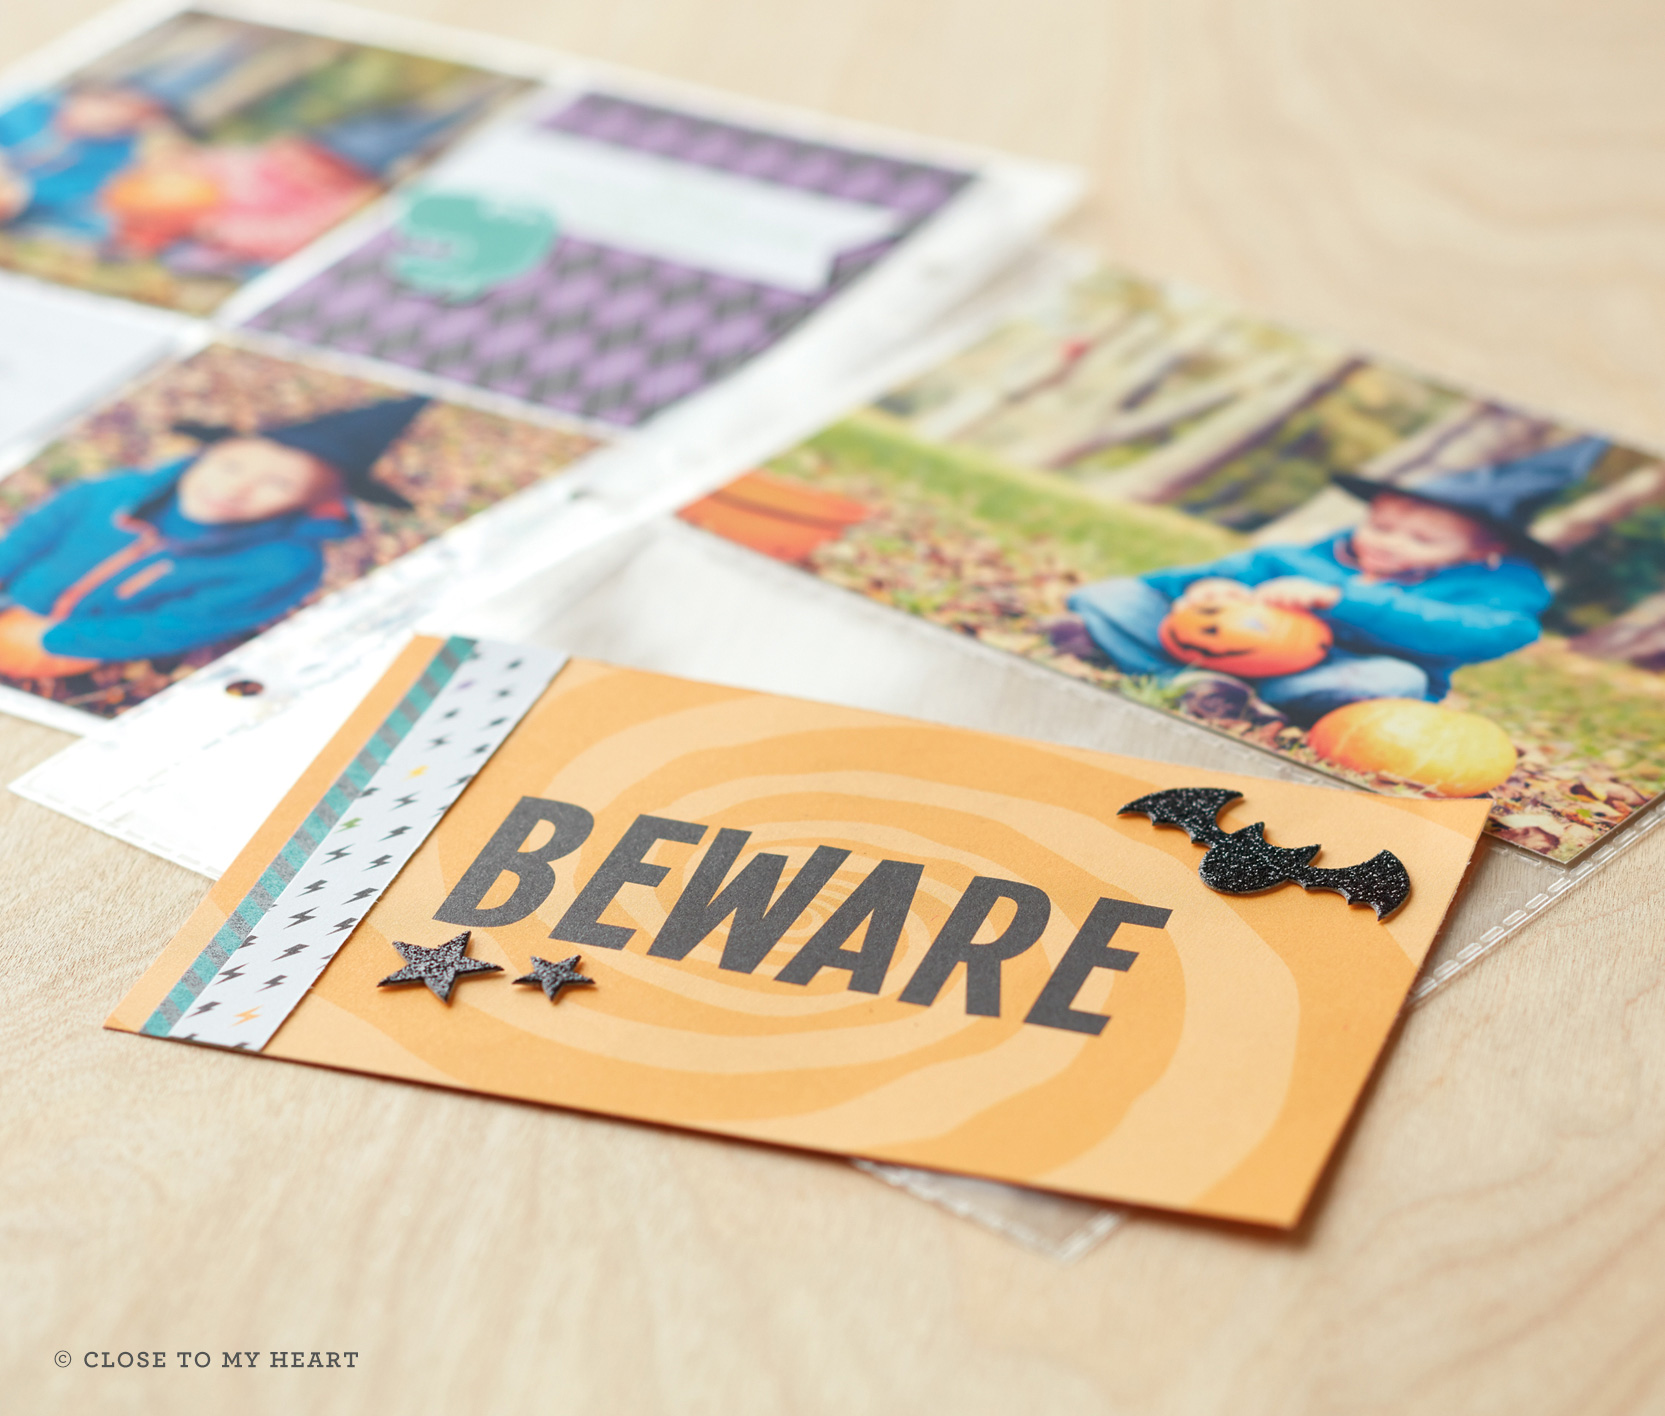
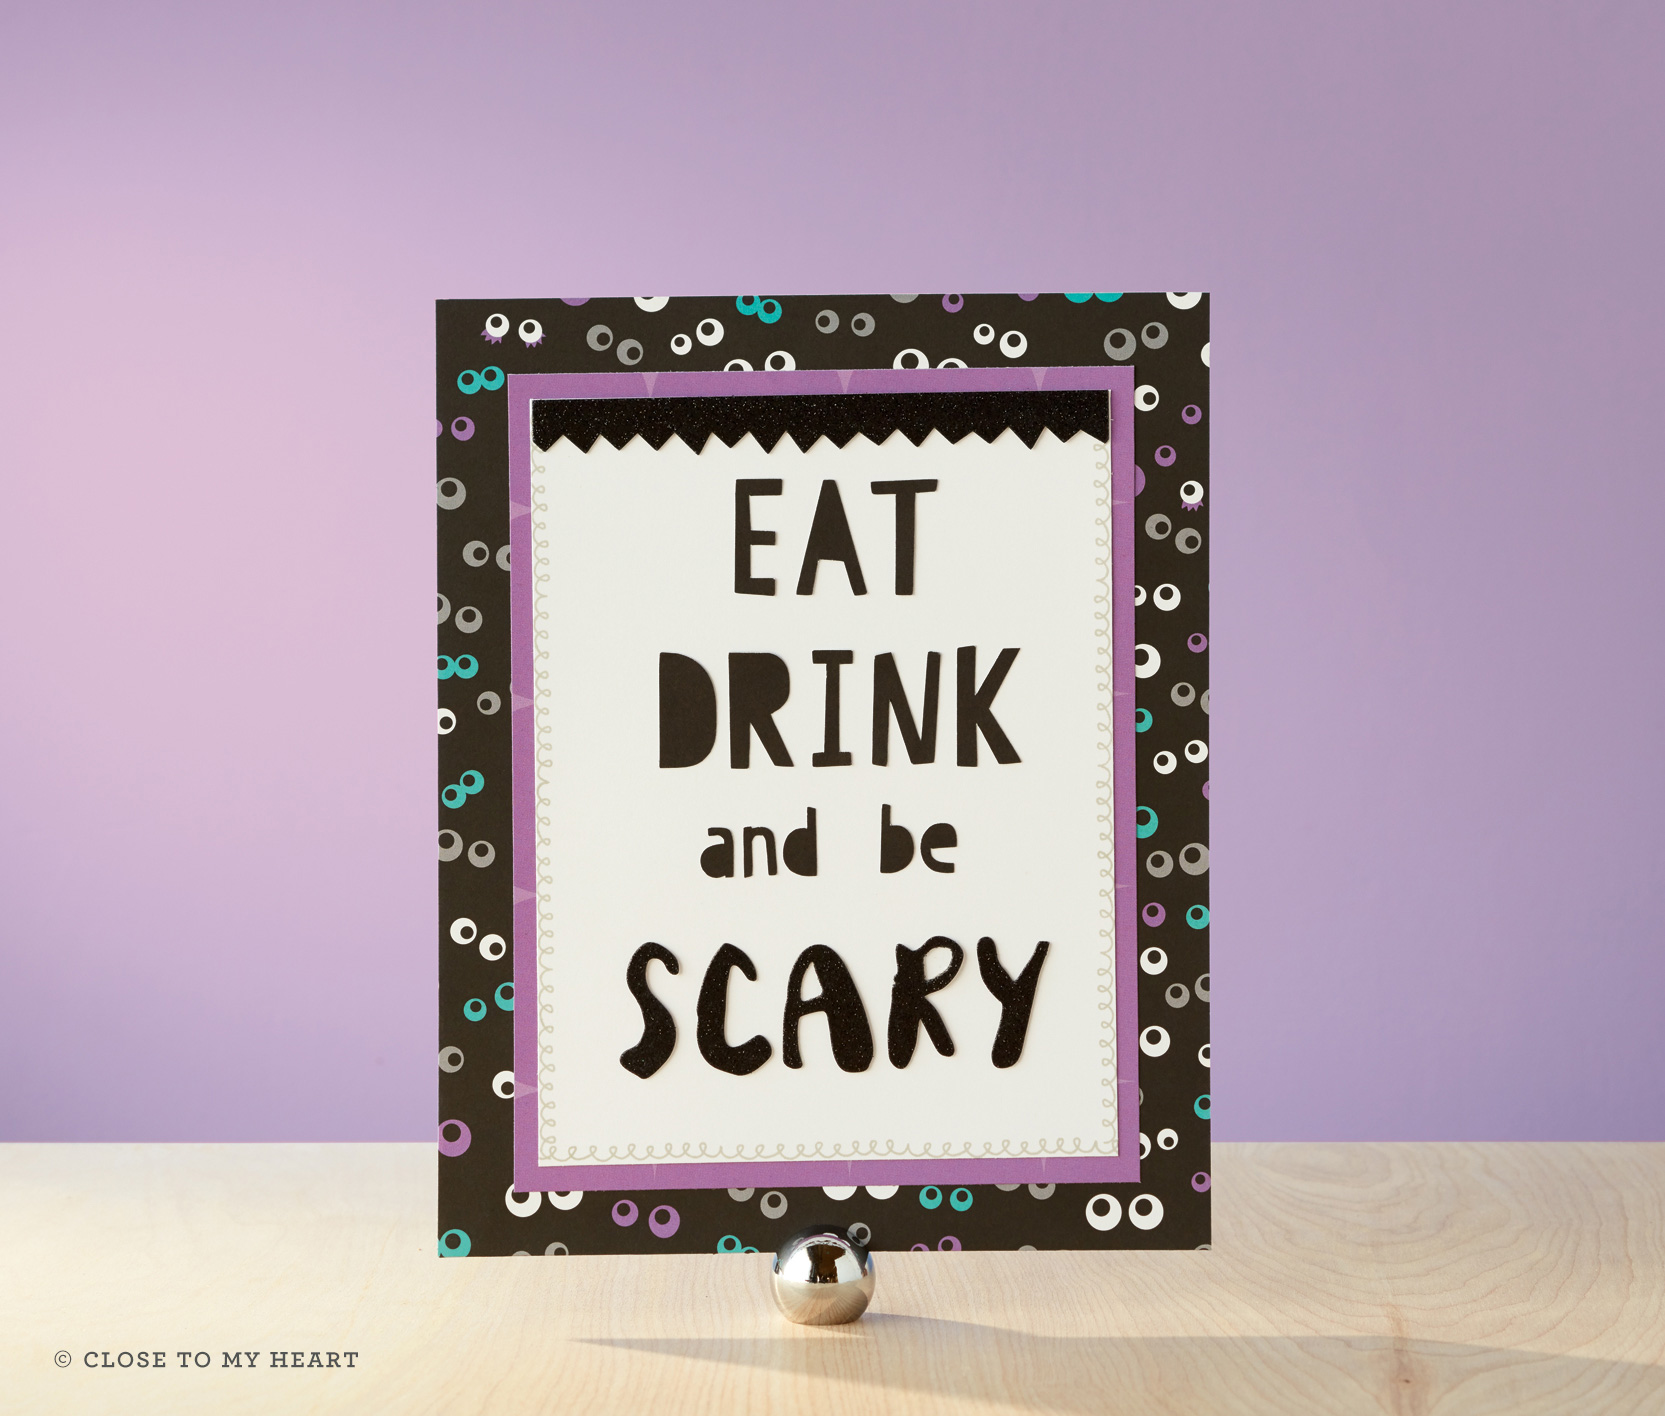
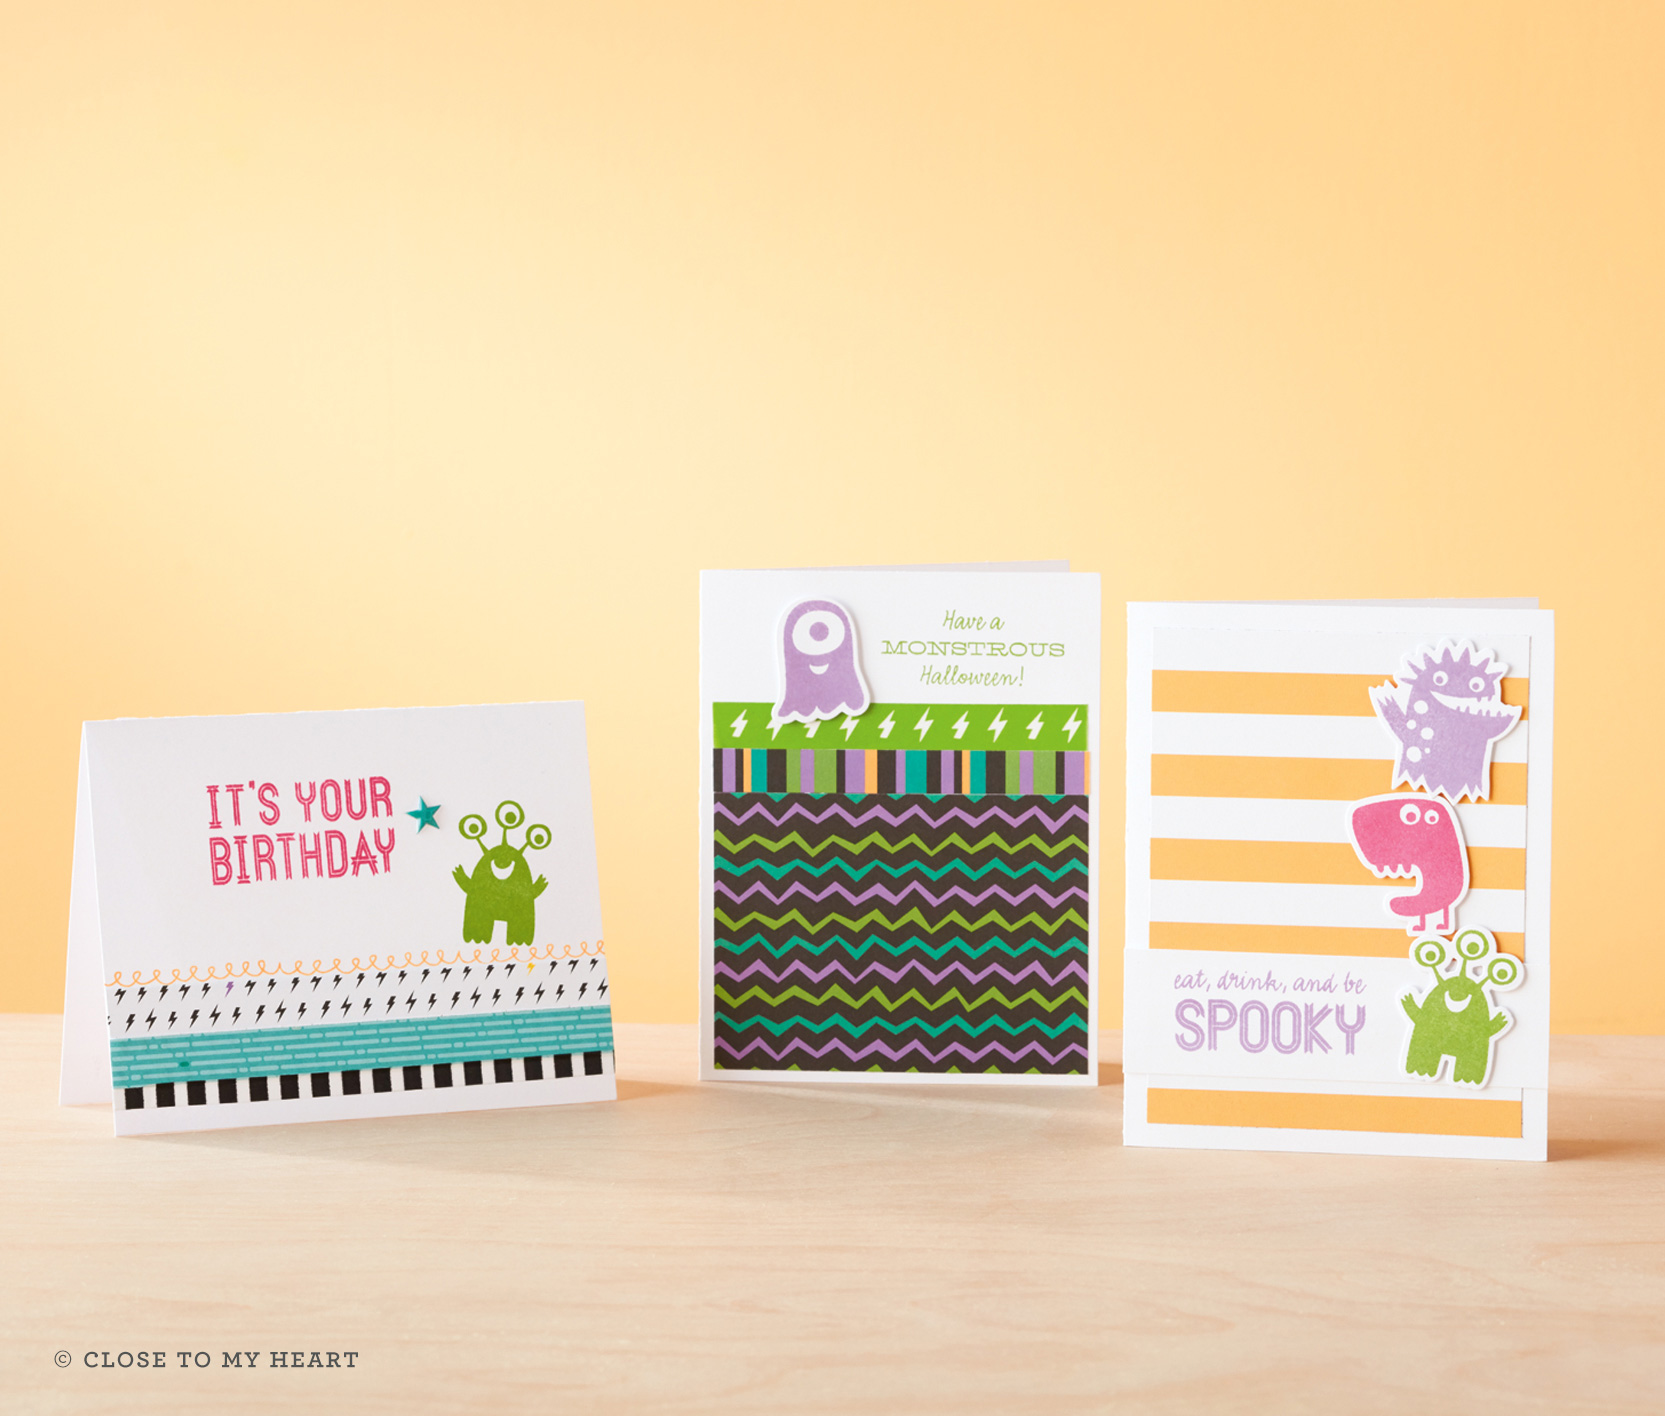
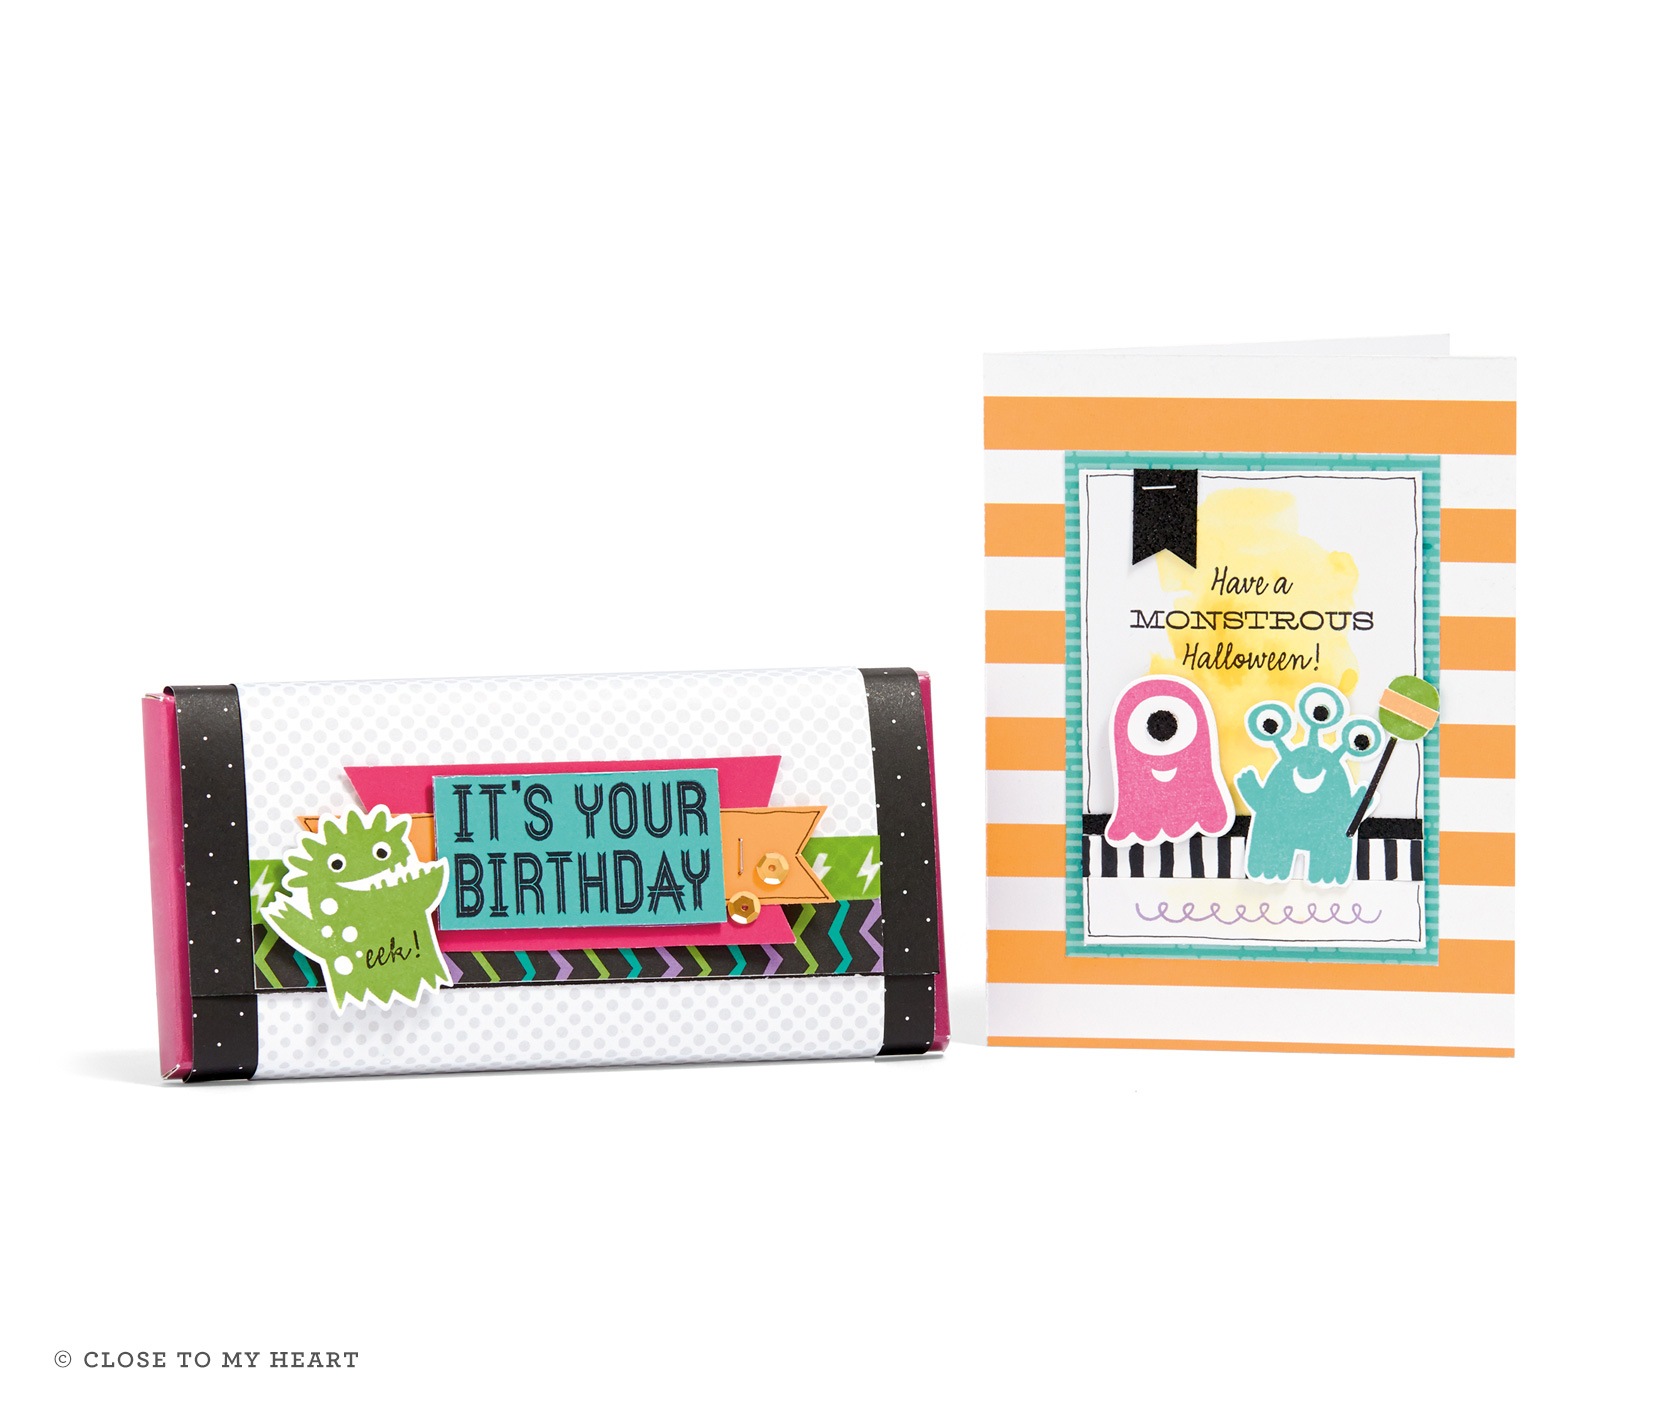
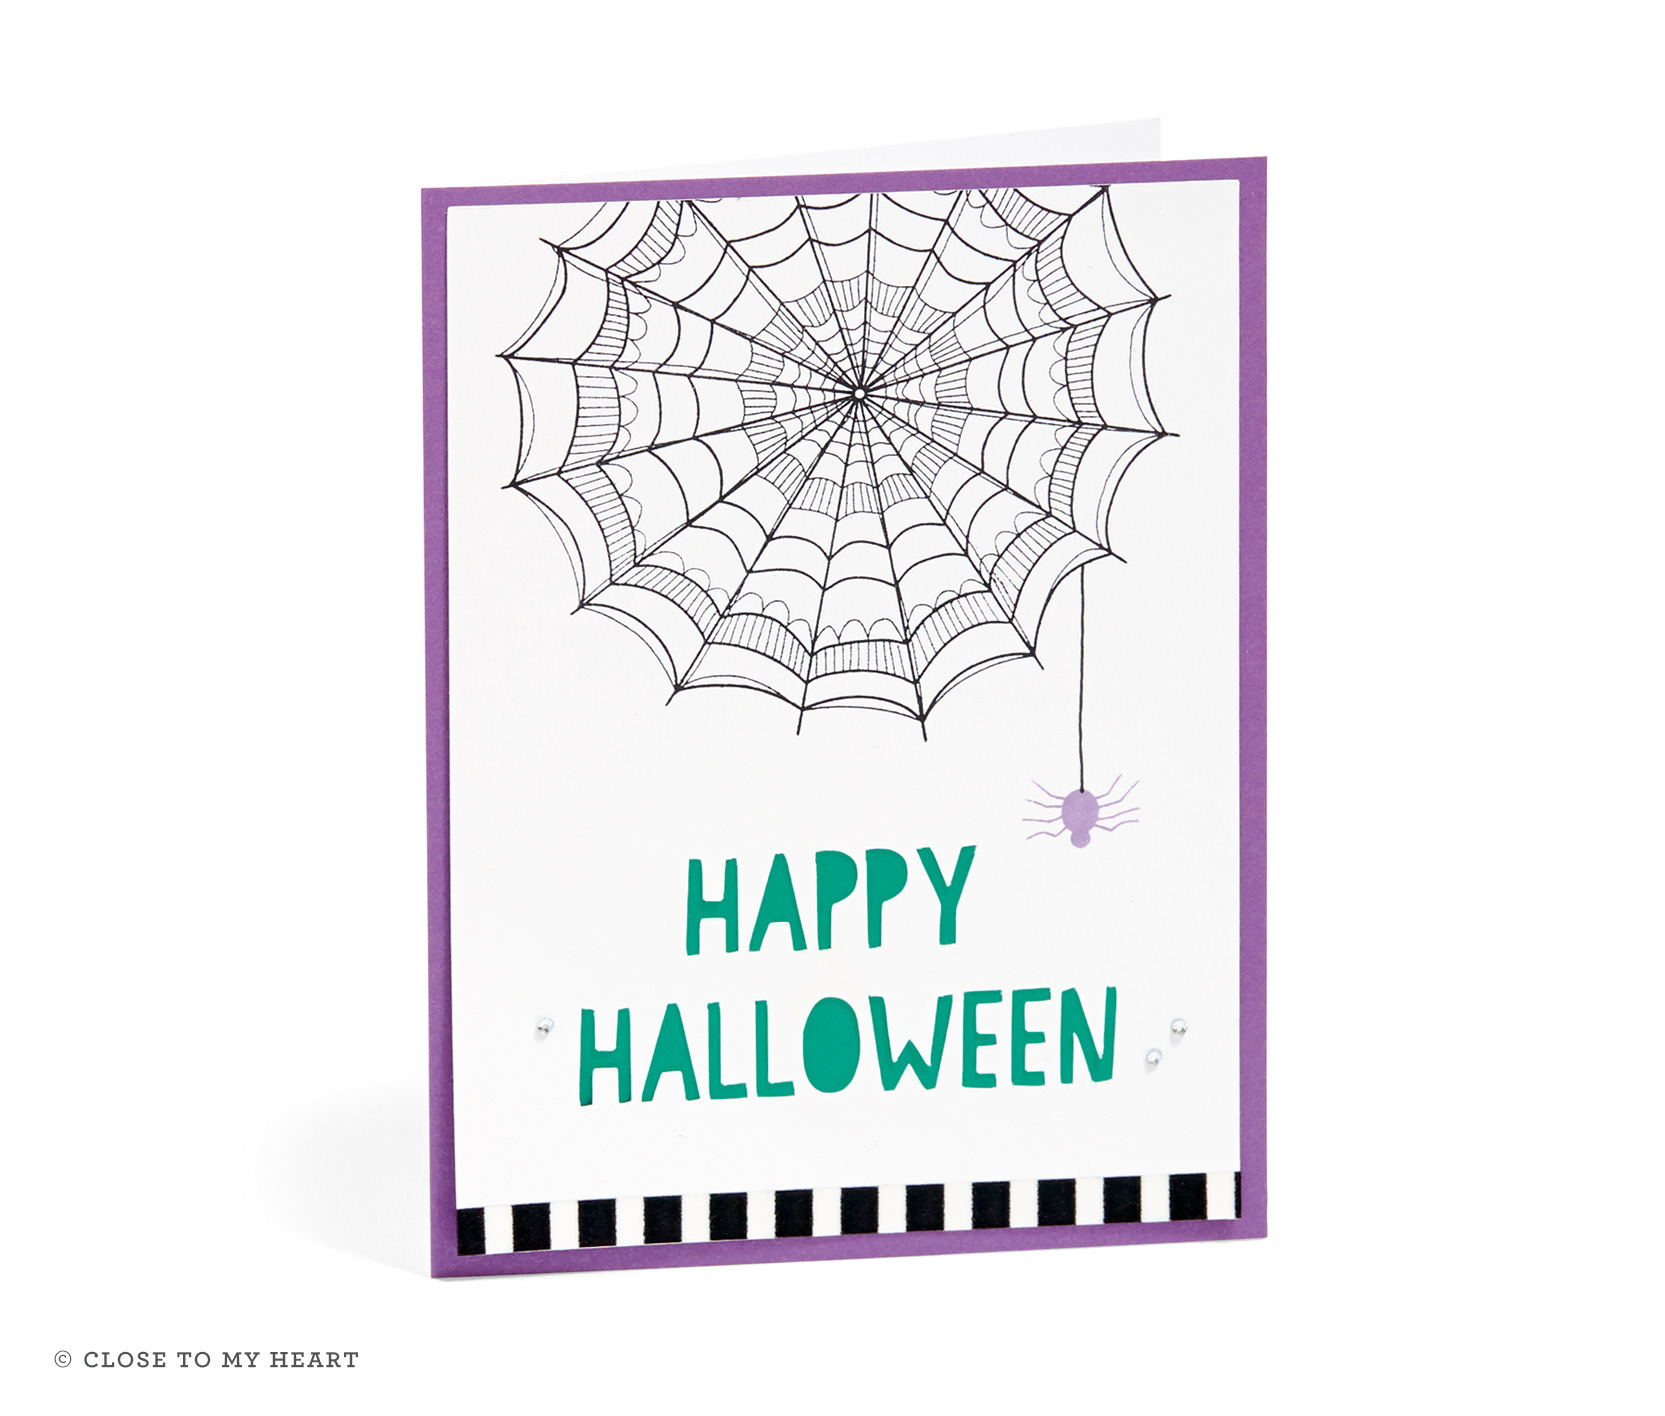
Close to my Heart has started highlighting a paper pack of the month,  it is available after that time,  but the bulk of their marketing will be about this paper.  In September Jeepers Creepers is their choice.   Here are some of the artwork their artists created.

16-he-jeepers-creepers-birthday-card 16-he-jeepers-creepers-pocket-pages 16-he-jeepers-creepers-be-scary-card 16-he-jeepers-creepers-wyw-card-set  16-he-jeepers-creepers-monstrous-card-set 16-he-jeepers-creepers-happy-halloween-card 16-he-party-time-wyw-cardmaking-kit I’ve selected all the cards to start with,  I will do another post with the scrapbook pages!   Some of these cards are from the Jeepers Creepers workshops your Way.  I am truly loving the new workshops your way that CTMH has put together.  Everything I need in one kit,  little waste,  and both layouts & cards.  SIX layouts come together quickly!

Happy Crafting!

Who doesn’t love to win something?

tag_liquidglass_samp Not me.  **I am starting a series of blog posts around a technique tag book that my club night gals and I made over the last year.   We did four techniques each month over nine months. 4 x 9 = 36 techniques right? Wrong.  I duplicated one of the techniques, so one month we only did three new ones.   What does all of this have to do with winning?   You can win all 35 of the new technique tags that I am making just for this contest!  Over the next several weeks, I will be posting a couple of techniques each day.

Now you might want to know how you can earn chances to win this great prize.   There are several ways.  Write a comment on this post.  (1 entry)   Share this post link on your Facebook post and let me know on my FB page that’s you’ve done it.  (1 entry per share)(https://www.facebook.com/CraftingWithAmanda).  Like my FB page.  (3 entries)  If your a pinterest person, for every technique tag you pin, you receive an entry.  (up to 35!)    At the end of the contest I will assign each entry a number and using a random number generator will pick a winner.  I will announce the winner on this blog, and then contact them to get the address where the tag book should be sent.

I will be showing photos of the technique samples tags that I made for the club night gals, AND the brand new tags using Seaside papers & Skylark.  With no further ado. . .

Technique #1

tag_tearroll_insCardstock paper Tearing & Rolling:

This is a great technique to add interest to your project without adding bulk.   If your cardstock is white core, (like CTMH)  you  can also add contrast or help direct your focus to your photos or other focal point.

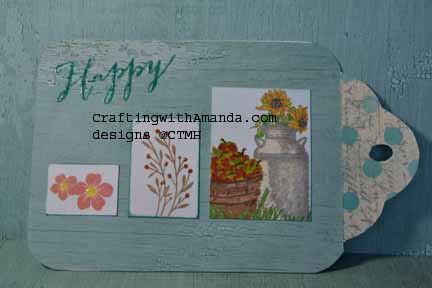
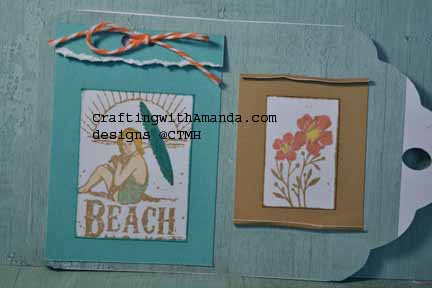
In my example I rolled the edges on one of my samples to help bring the focus to the flowers.  On the beach image I used the torn edge to help balance the white of the image and help draw your eye to it.

tag_tearroll_sampHere are the stamp sets I’ve used in this example, and many of the other tags that we will be looking at in the upcoming posts:

C1605 Happy to Be Friends

D1632 Amour

I also used Seaside papers (X7192B)

Our awesome markers were also put to use throughout this process of creating the technique tags.

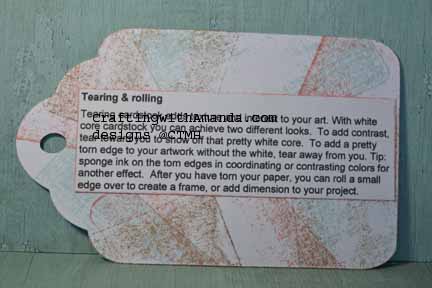
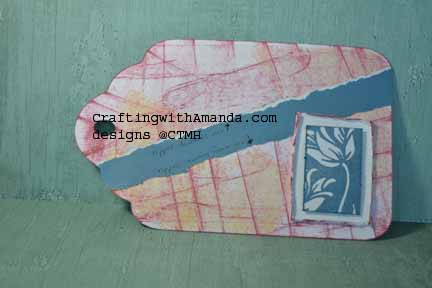
tagclub_tearroll  This is the sample from our club night.  Notice on this one I rolled all the edges of the framed image.  I also showcased the tearing techniques for showing the white core (top)  and not showing (bottom) of the cardstock running diagonal.  It can be varied depending upon which way you tear the paper.  (towards you or away from you.)

So.  Remember to comment on this post, share on FB, and pin the tag to Pinterest to earn entries into this contest.  You can share your pinterest shares with me on the FB page.

If you would like a copy of my technique instructions file,  leave a comment with your email and I will send it to you.

** – This series was started over a year ago,  but never finished.  I am reposting all of them over the next few weeks with the last ones that were never completed and will go back and collect the entries from the beginning and now.

Happy Crafting and Good Luck!


Revisiting old favorites

Do you have those paper packs that you just loved but can’t get anymore?   Me too.  I have LOTS of partial packs left over from scrapbook workshops and other projects.  I’ve decided to love it or leave it.  Meaning I am going to use up the partial packets or give them new homes.  This will free up some space for other papers that I can use!
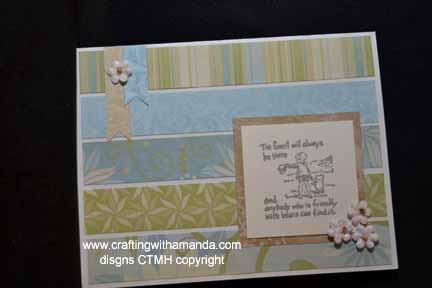
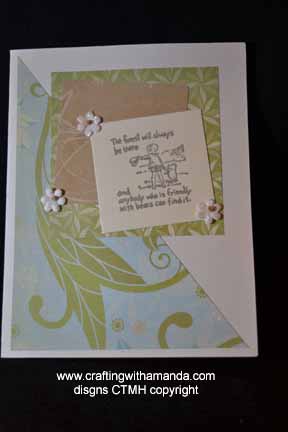
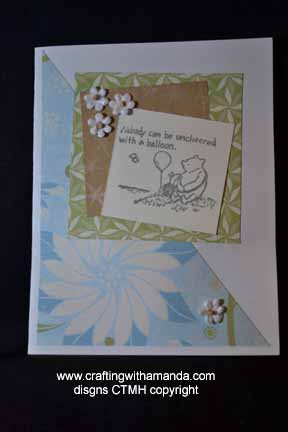
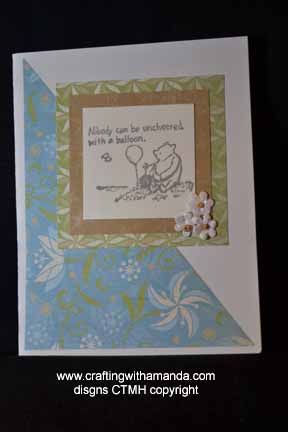
In the quest to use old papers,  I have more card photos to share.     These were from an old paper pack called Miracle and I used Kathryn’s 6×6 patterns again.    (Found them here  http://kathrynscards.blogspot.com/2013/05/6×6-cutting-formula.html)

Pattern #1 Card #1miracle06 miracle03 miracle10 miracle07Pattern #1 Card #2miracle01Pattern #1  Card #3miracle08 miracle09 miracle11If you didn’t  notice I split the triangles up and made more cards from the same pattern.   I had some extra scraps left,  so I was able to incorporate those papers with the open space.

Pattern #1 Card #4miracle04 miracle05Once again the stamp set is one my Mom got me several years ago.

Happy Crafting!


Scraps that were just lying around the studio

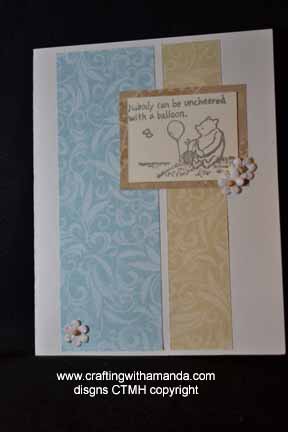
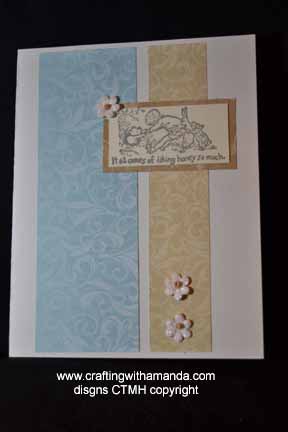
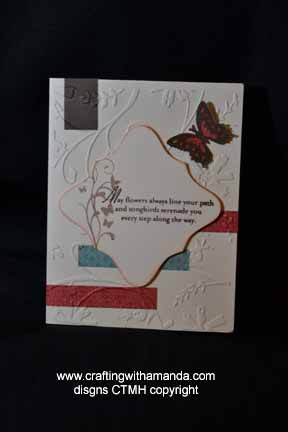
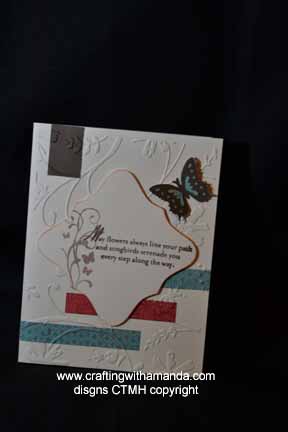
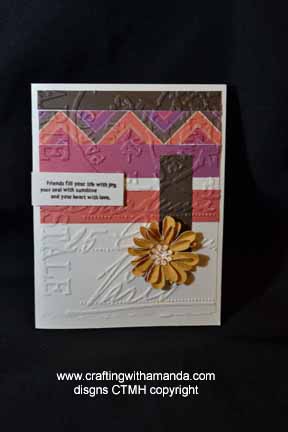
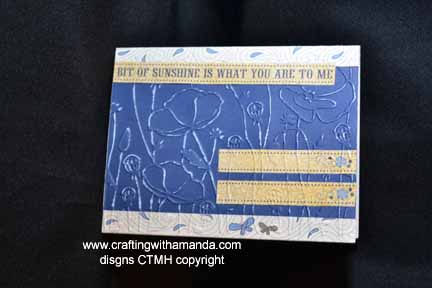
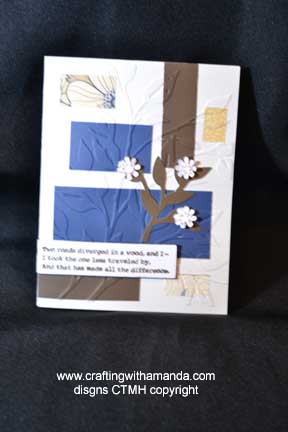
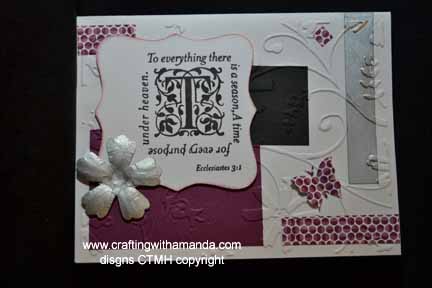
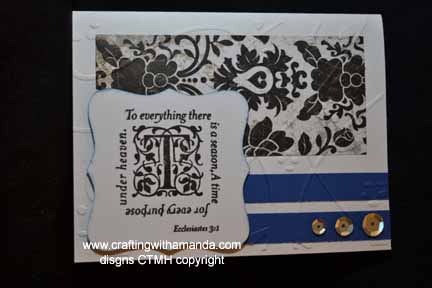
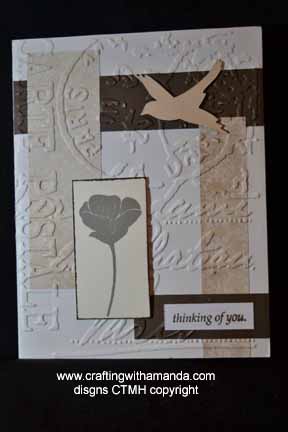
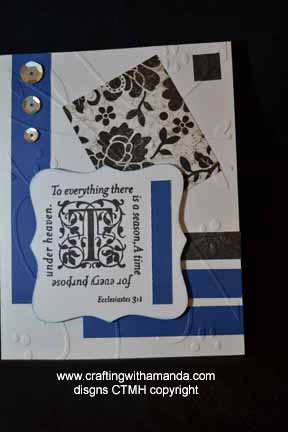
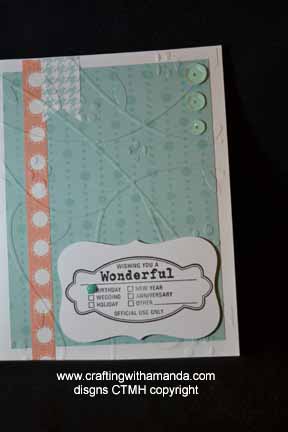
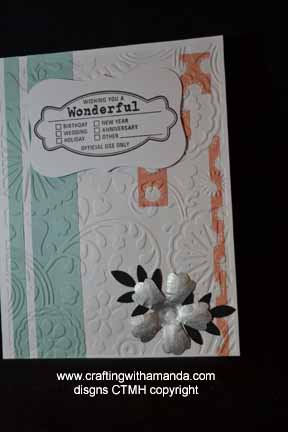
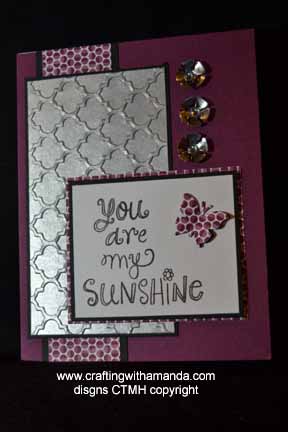
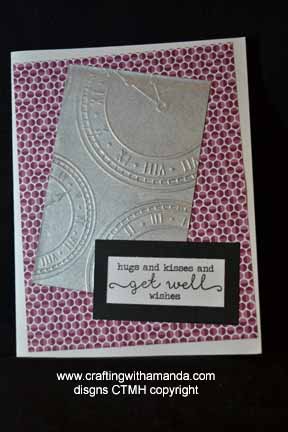
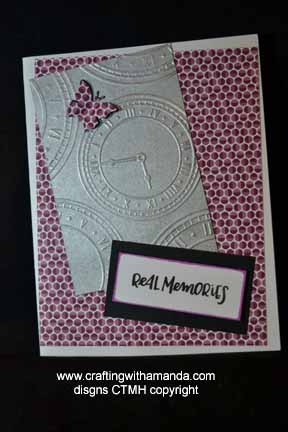
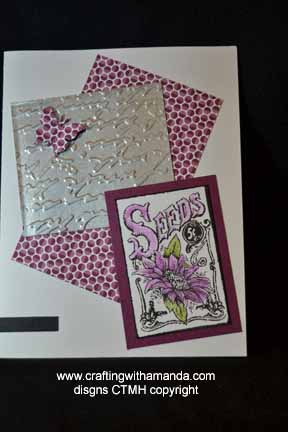
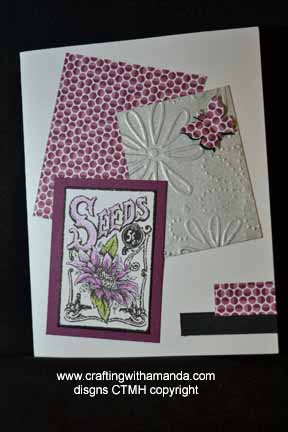
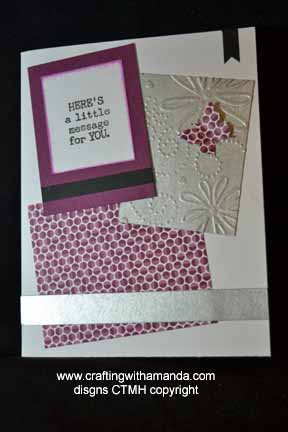
For the past several months paper scraps have been gathering from club night, quick cards,  and left overs from the teenager’s school projects.   In an effort to find my craft table again,  I started to glue the pieces on to card bases.  Not with much rhyme or reason,  but with the goal of clean crafting space.  Here are some (most) of the results.scraps04 scraps03 scraps02 scraps05 scraps01

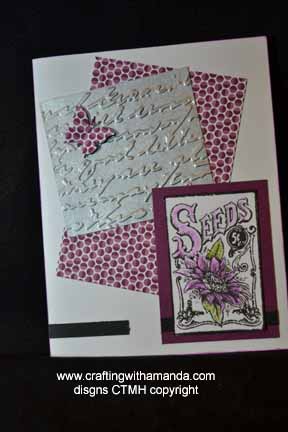
As you can see I love embedded embossing.   Next set:scraps09 scraps08 scraps14 scraps17 scraps13 scraps23The next group was paper that was given to me at a crop weekend.   Paired it with some of the aluminum grain bin paint embellishments and black cardstock.   scraps20 scraps16 scraps22 scraps21 scraps15 scraps12 scraps24 scraps25 scraps18 scraps19Happy Crafting!