Cards

Card Workshop Video #3 & Artwork

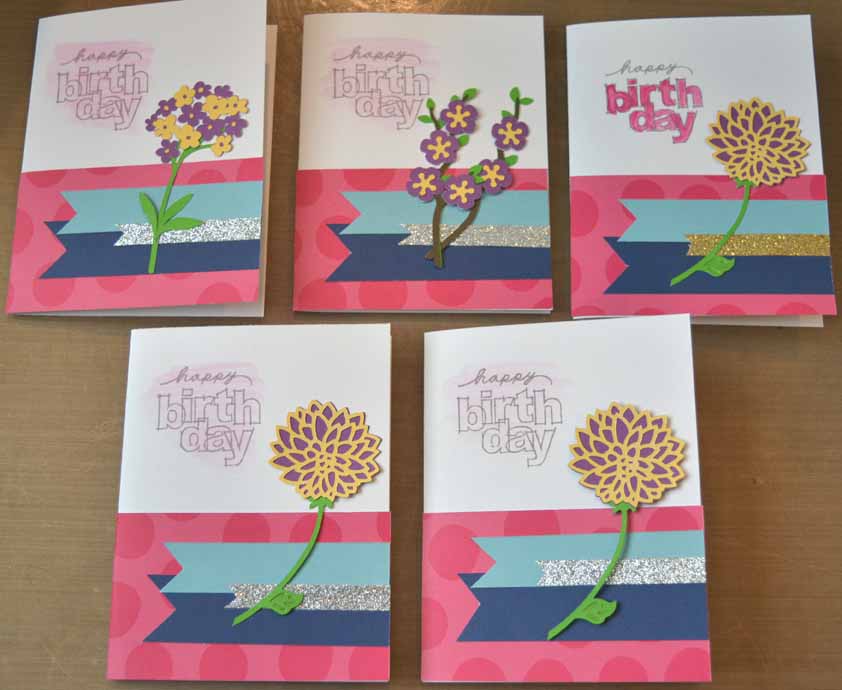
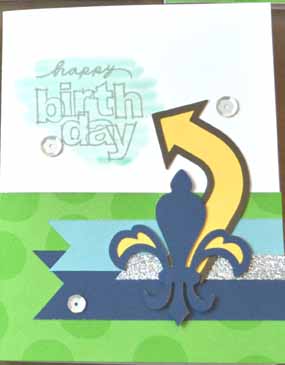
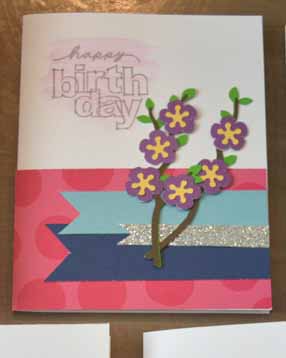
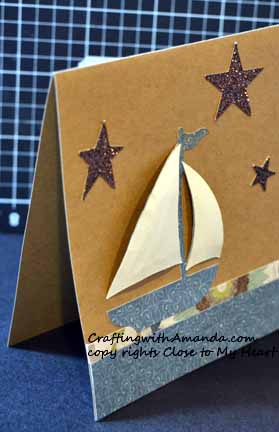
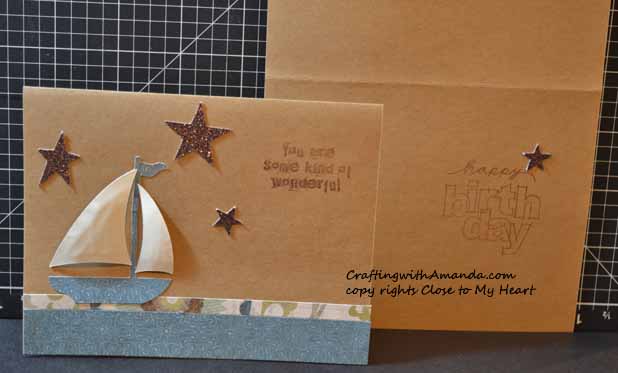
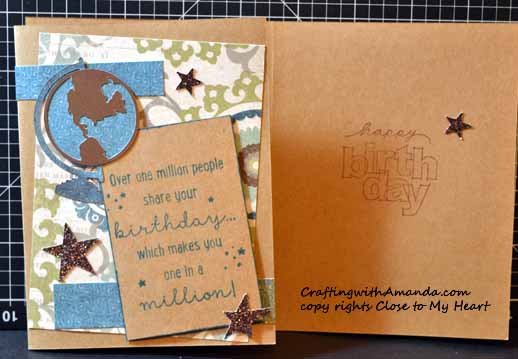
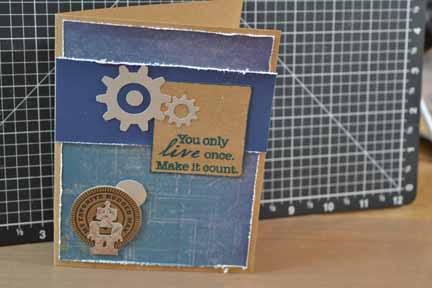
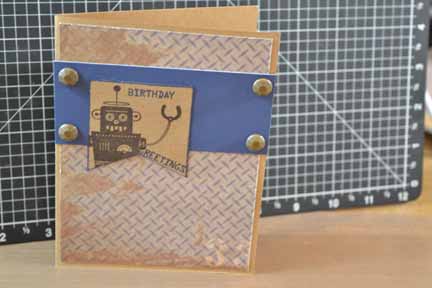
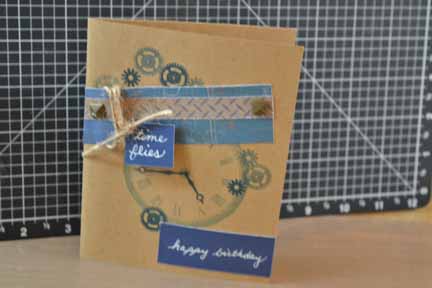
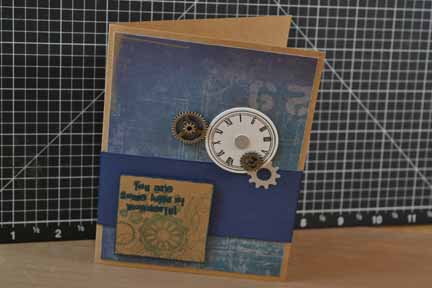
I had a lot of fun making these cards.   For me it was whimsy meets style.  I used the cricut cartridge Artbooking.
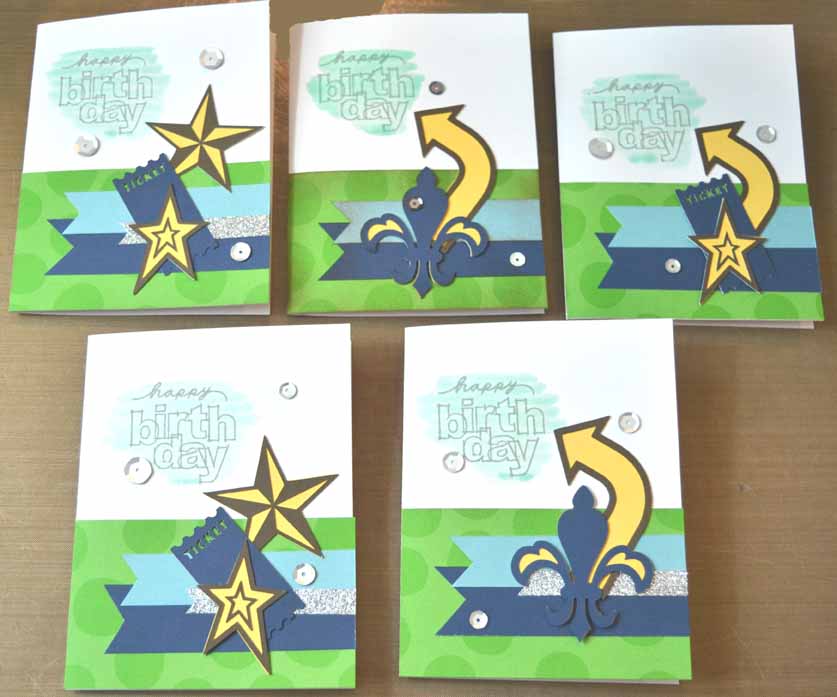
I have to say that I don’t always enjoy the tediousness of assembling the cricut cuts,  but sometimes it’s a great project when I need to feel accomplished but the brain power is on low.  Assembling these fell into that low brain power night.

The pattern is quick and easy and can be found here.


These cards use the green side of the paper so I went in a “boy” direction.
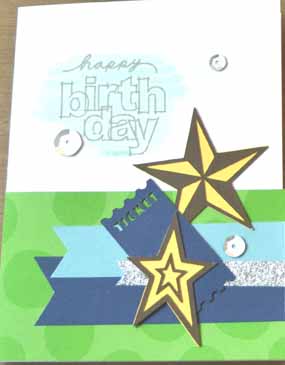
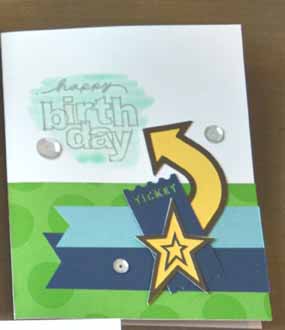
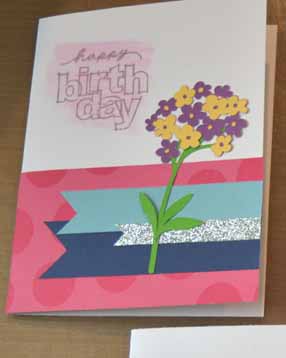
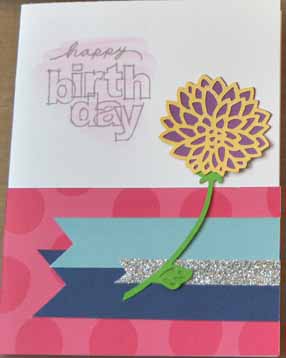
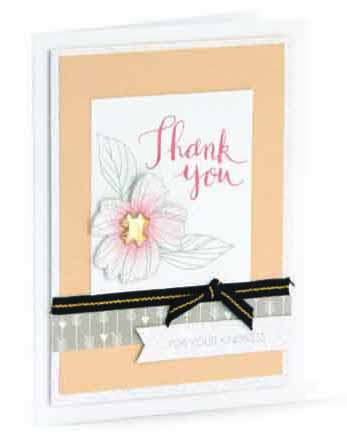
Now, these used the pink side of the paper so I went to the flowery side.
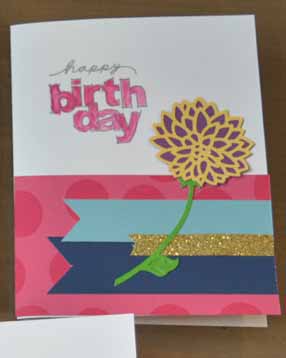
If you want help with the cutting guides, or the assembly,  you can watch the video.

FB Live Card Workshop – Close to My Heart(CTMH)

Week #3 Card Set- Video Workshop guides are in the photo album Video #3 Feb 17th. Grab your cutter, paper pack(s), adhesive and join us in some crafty fun time.If you miss walking through the cuts, remember you can always watch the video later after it's over. To ensure you receive notices about my upcoming live workshop, like and follow my page https://www.facebook.com/CraftingWithAmanda/. Share this video with your crafty friends for entries into a drawing for a free close to my heart paper pack of your choice.

Posted by Crafting with Amanda Close to my Heart Consultant on Friday, February 17, 2017

Happy Crafting!

Great Pattern (12 cards)

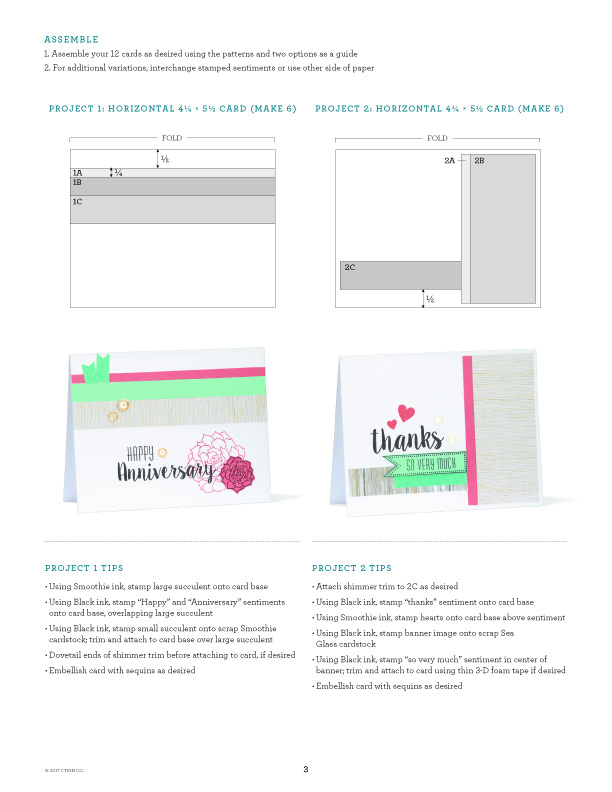
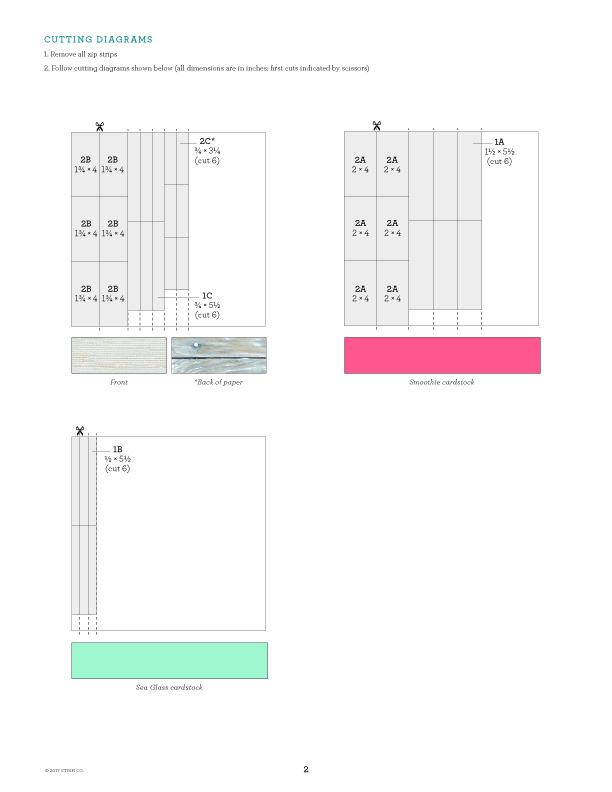
Club night project used the new “Anniversary Cards” workshop guide.  Everyone got to pick their own patterned paper & cardstock.  I choose For Always for my bulk and one of my old favorites “Dutch Blue”  for the cardstock.    I really like this pattern as it doesn’t need a lot of different patterned papers.   I don’t know about you, but  I have lots of old paper packs that have big scraps.  This pattern will be great for working through some of my old partial paper packs.

You can save and print these images,  or if you click on the “Anniversary Card” link you can download the original PDF file.  (I’ve been told the PDF prints much clearer.)

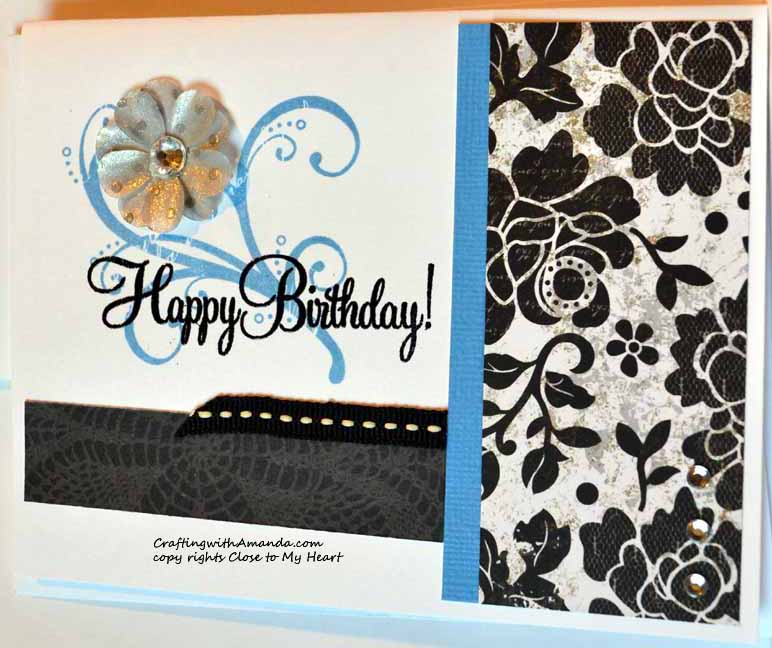
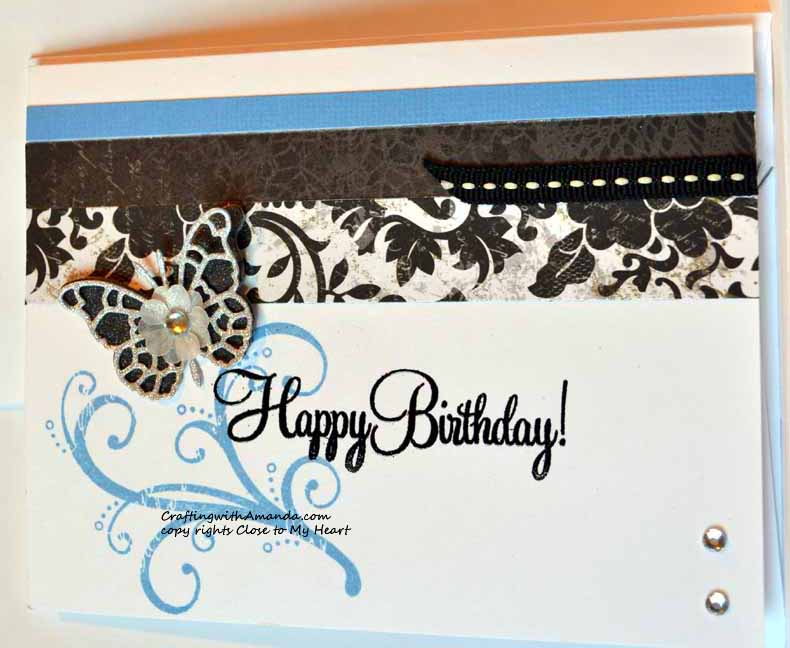
This first card represents all 6 cards I made from pattern 2.  I had 6 of the polka-dotty flowers in my embellishment stash and used one on each card.   Yea it’s a  win/win.  I get quick beautiful cards & use up a miniscule portion of my embellishment stash.  Love how the butterfly accented this card.   Looks even better in person.Love the mix of flowers on this one! Another butterfly,  can’t lose with a butterfly (or balloon). These flowers are made from a beautiful white shinny vellum and add some elegance to this card. Almost didn’t want to give up this gorgeous butterfly,  but it looked so perfect I had to use it! 
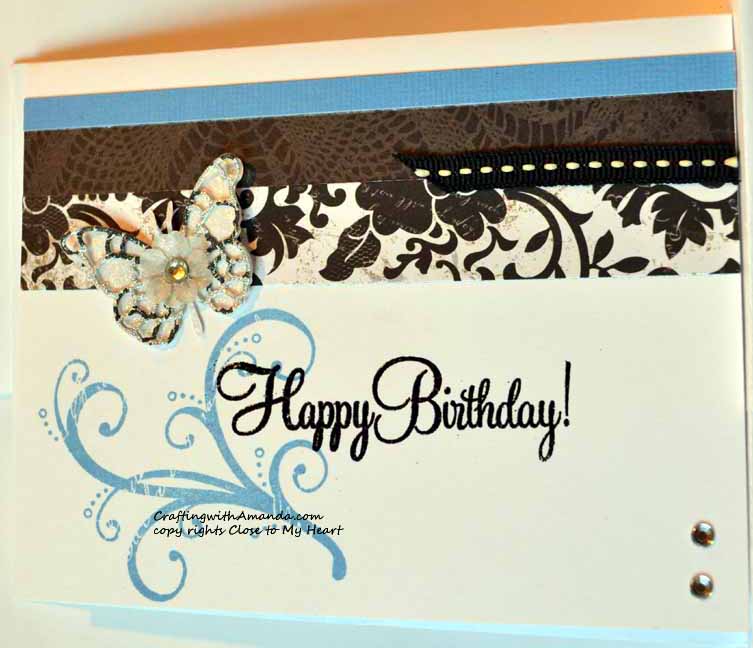
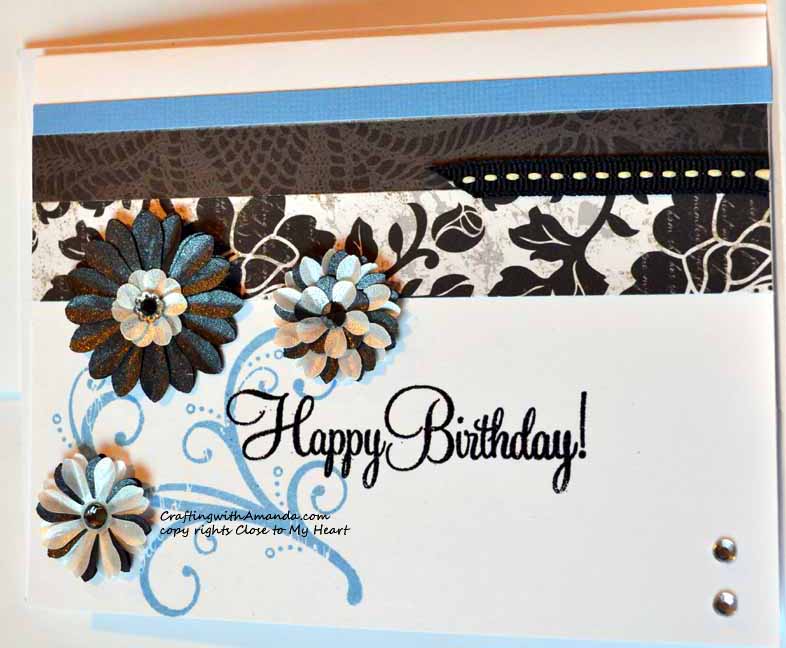
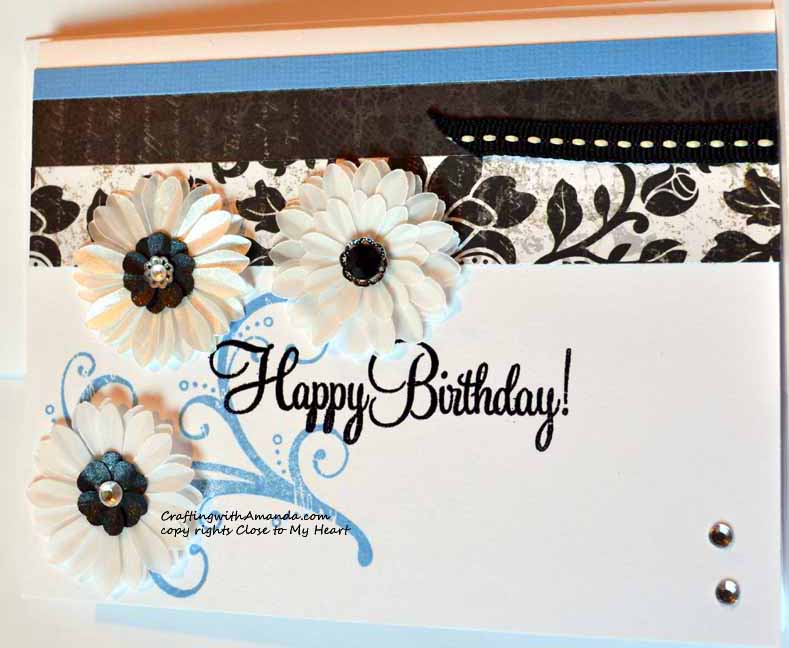
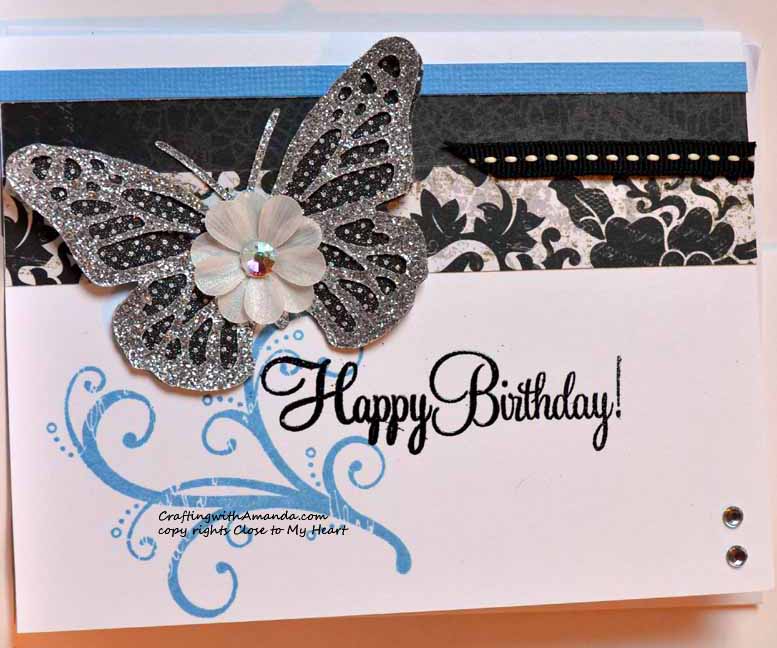
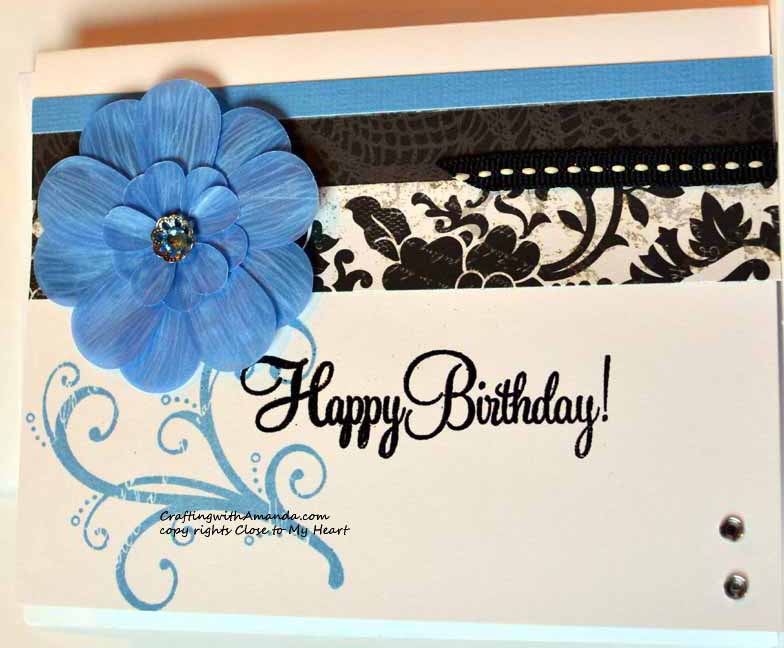
Now this is my favorite of the bunch.   Wish I had more big blue flowers,  or little ones for that matter.

If you create some cards using this “Happy Anniversary” pattern,  please share your artwork with me!

Happy Crafting!


Card cutting Guides For quick cards

If you haven’t already tuned in,  I have begun doing facebook live videos for scrapbooking & card making.   Today I’ve decided to share a few of the cutting guides for the card workshops, and the links to the videos that walk you through the cuts and assembly.  

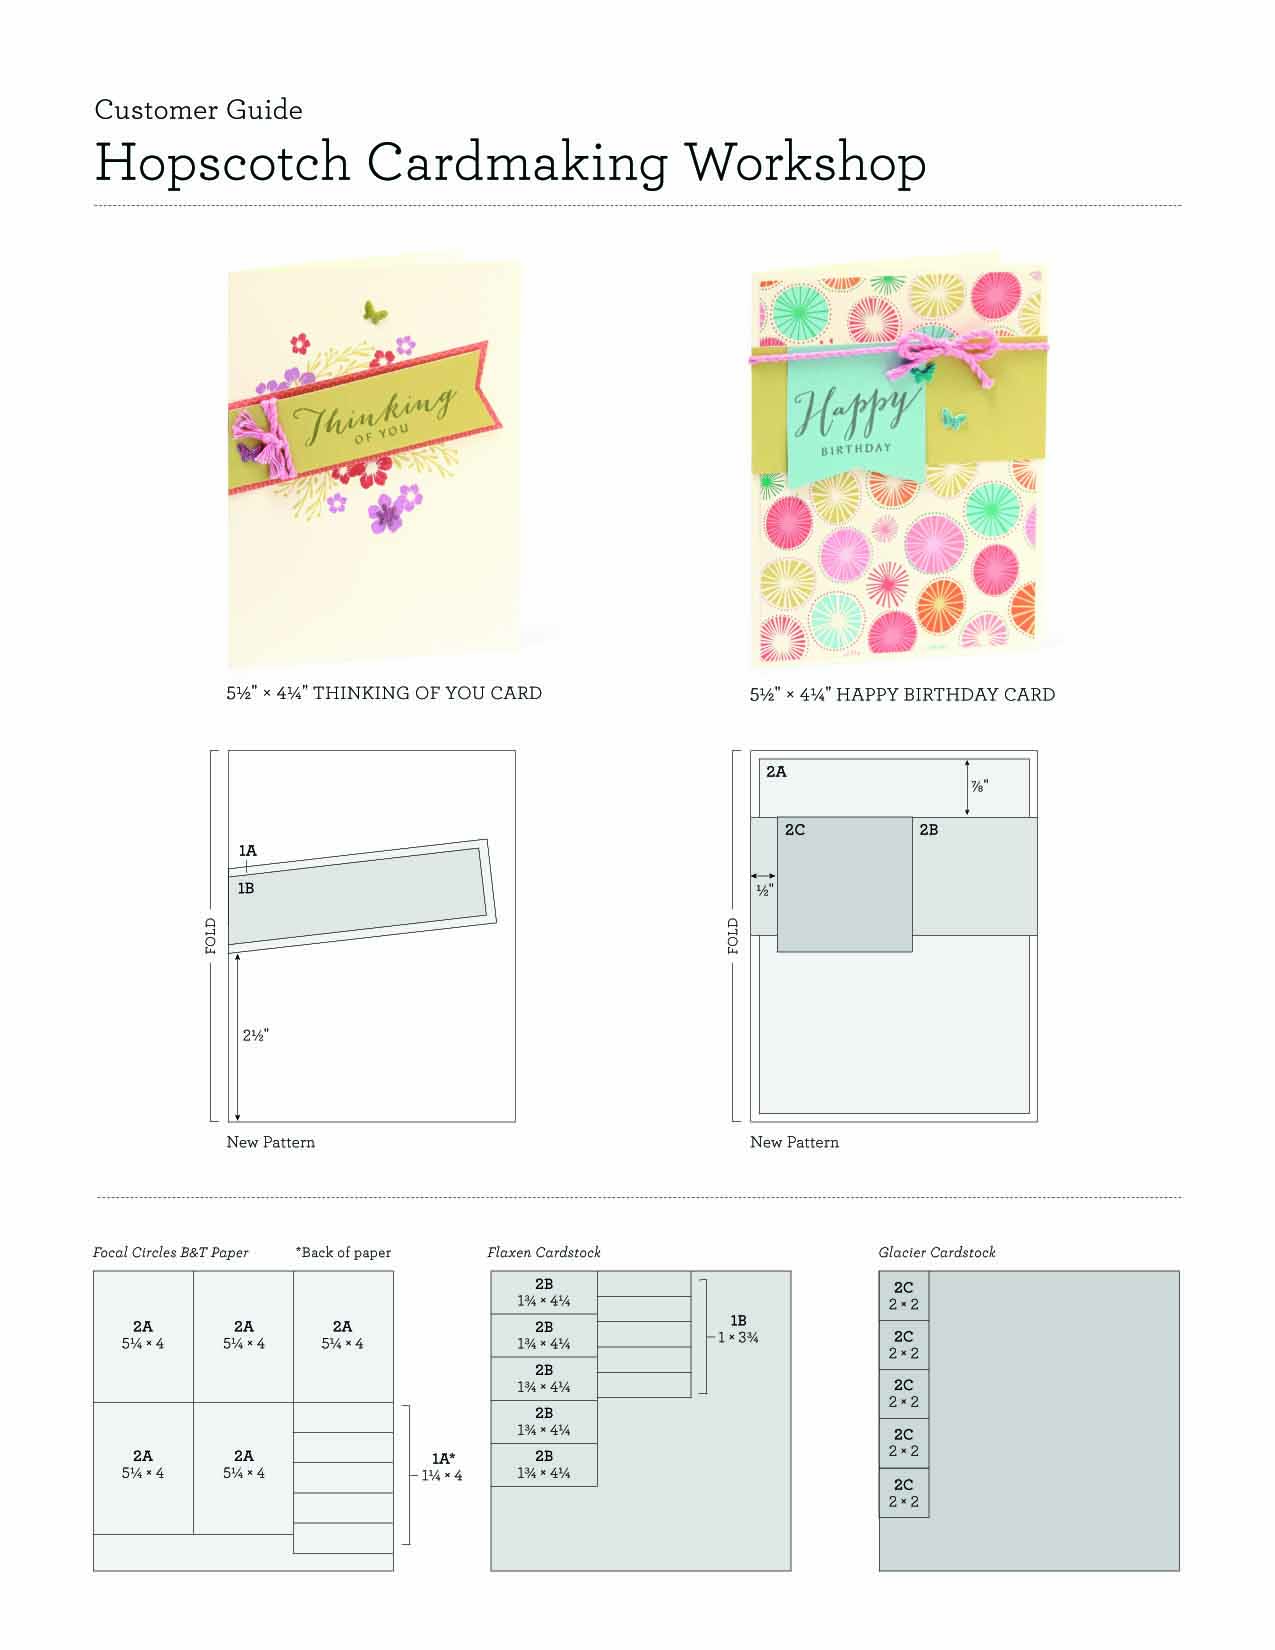
The first video & patterns (hopscotch) can be found in this post

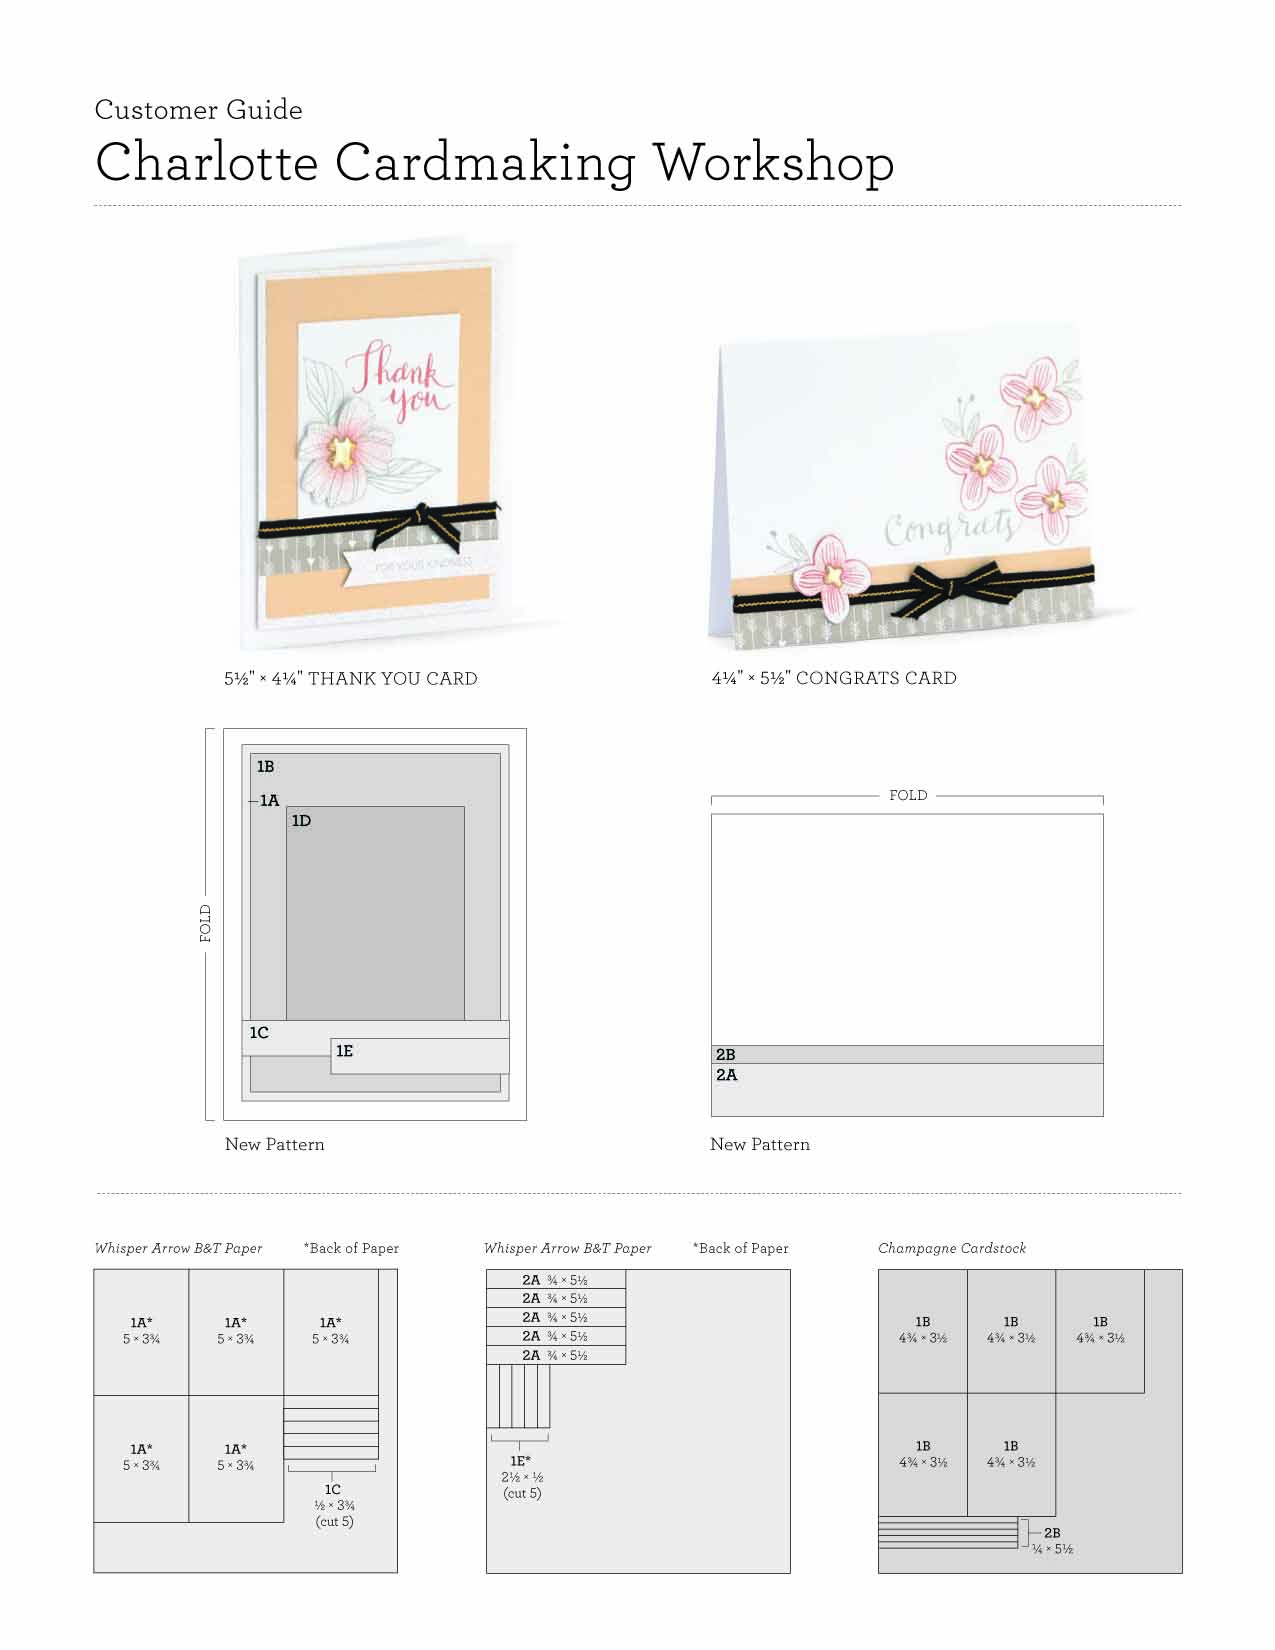
Here is the pattern and some sample artwork for our second video.


The papers are old retired (Avonlea & Blossom)  and the cuts are from the new cricut cartridge Flower Market.

I really like how the sails turned out on the Avonlea cards.   Here is the video if you want to see how they come together.

Happy Crafting!

Scrapbook & Card Workshop Video

Hi,

After much consideration and planning,  I jumped in with both feet and have started Facebook Live Video Workshop.  Currently I am doing them once a week on Friday Mornings and I hope I’m making improvements each week.   This video has both the scrapbook & Card workshop cuts at the beginning of the video,  then assembly is after.   If you just want cards,  skip to about minute 30 and that’s where I start the card set cuts walk through.  Here are the links to the Cutting Guides:

Blossom Scrapbook Layout

Hopscotch Card Set

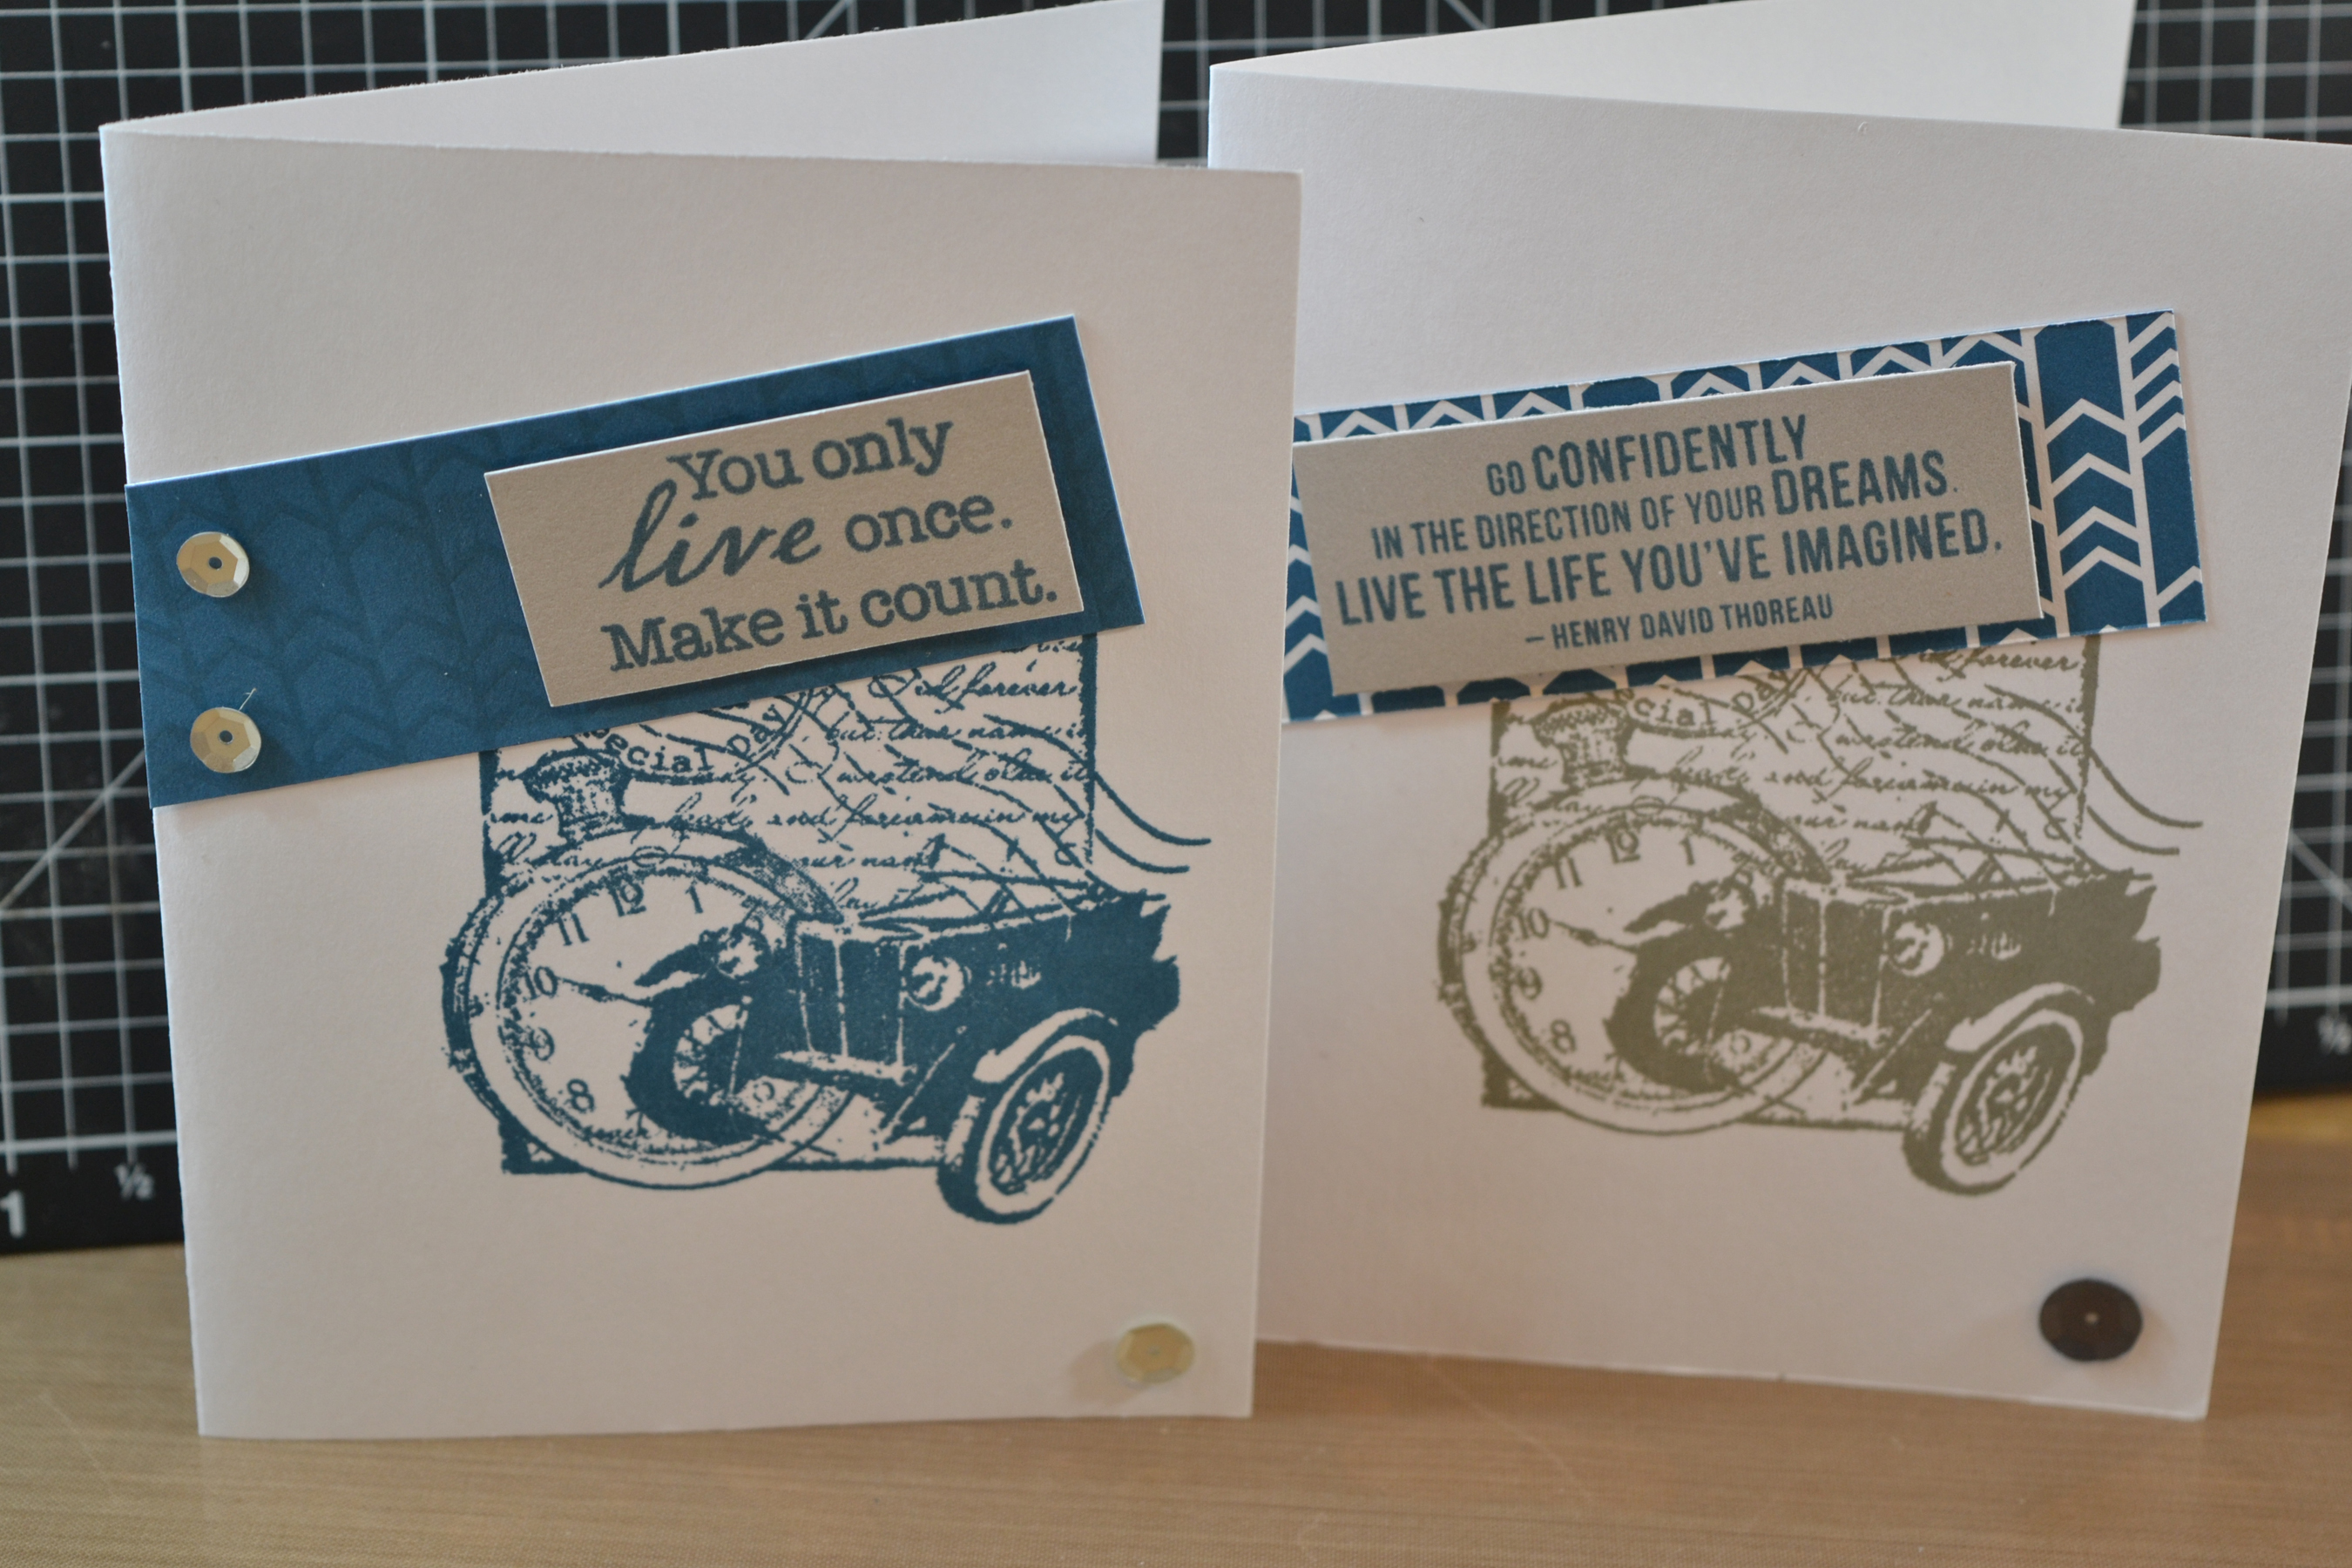
Here is some of the artwork created with this video.

In the above cards,  I tried both the slate & the pacifica inks for the car/watch,  and I prefer the pacifica blue.  Which do you like?

I also made some cards with scraps from the layout.  I will post those soon!

Happy Crafting!

Technique Tags – Sponged Backgrounds & Crinkling

A few months ago I started a series of blog posts showing off different techniques,  and promised when I got to the end I would select a lucky winner to receive (USA only) the book of tags featured in this blog.   Today I am picking up where I left off.  If you want to see the other posts,  they are:

Intro & cardstock tearing

Background Stamping & Sanding Cardstock

Tissue Inking & using sponges

Pockets & Tags

Faux Stitches & Patchwork

Pop Dots & Window Panes

Today’s techniques are a mixed bag.  I seem to use one or the other periodically when I craft,  but typically not my go to techniques.   In fact,  I was creating some thank you cards,  and almost crinkled some of the layers to add interest to the card,  but decided not to when it was all said and done.  (or it didn’t get done as I thought about it,  got distracted and when I sat back down to glue the pieces to the card base I didn’t think about crinkling again.)

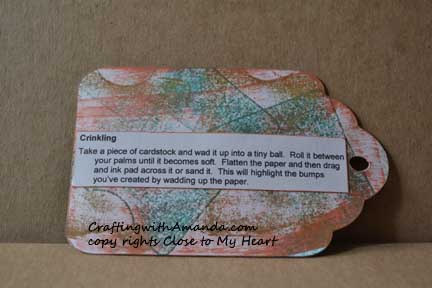
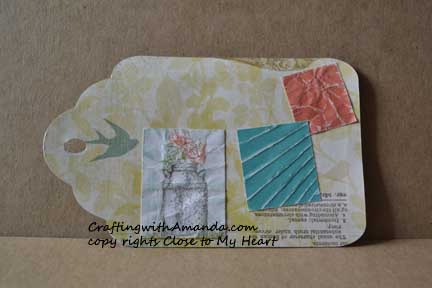
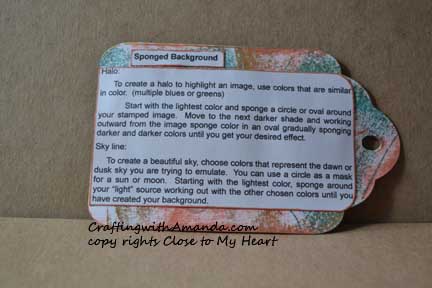
Crinkling_ins This technique will work with non white core paper,  but instead of sanding the paper to help the wrinkles show,  you would need to ink it instead.crinkling_imgBackground sponging can add so much to any project.  Create a sunset or a spooky sky,  shade in some sand dunes. . .  only your imagination is the limit.

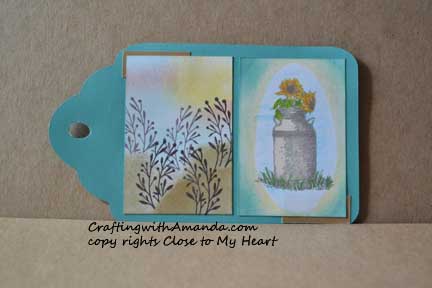
spongeBck_InsCreating an old fashion “halo” to help highlight an image is easy with sponges!

Sponge_bck_img

Now you might want to know how you can earn chances to win this great prize.   There are several ways.  Write a comment on this post.  (1 entry)   Share this post link on your Facebook post and let me know on my FB page Crafting with Amanda that’s you’ve done it.  (1 entry per share).  Like my FB page.  (3 entries)  If you’re a pinterest person, for every technique tag you pin, you receive an entry.  (up to 35!)    At the end of the contest I will assign each entry a number and using a random number generator will pick a winner.  I will announce the winner on this blog, and then contact them to get the address where the tag book should be sent.

Happy Crafting!