Cards

October Club fold part two: Double Z fold Card

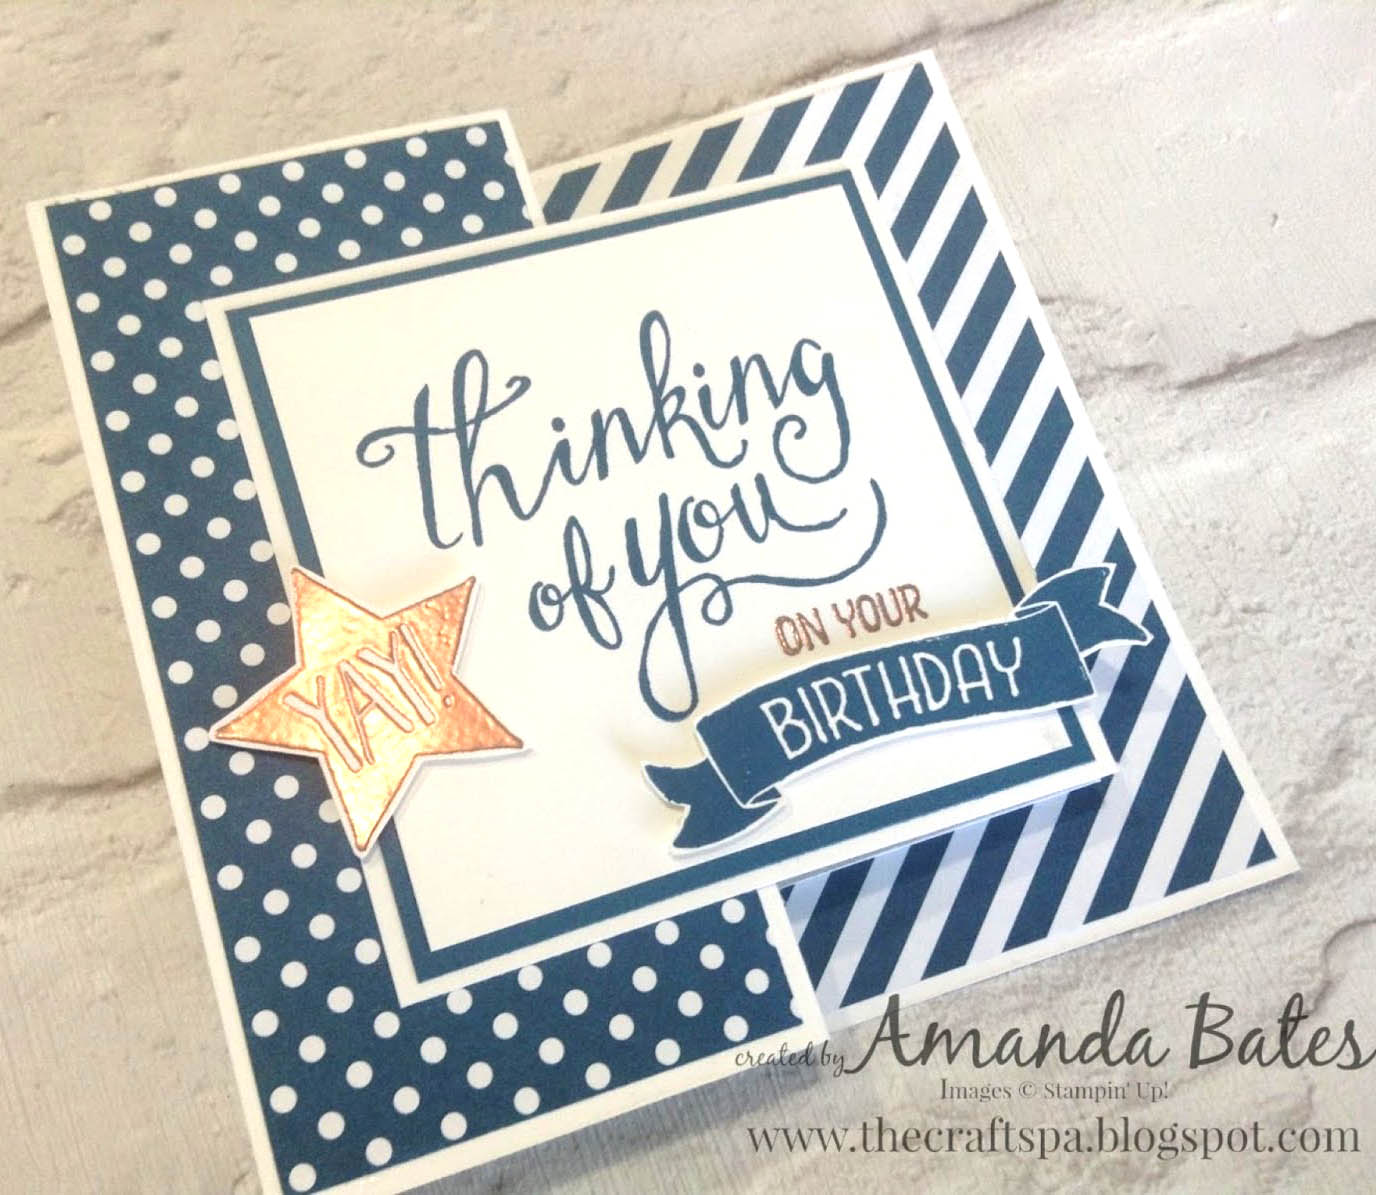
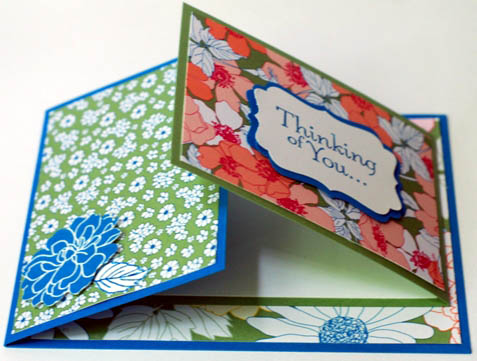
And the folds keep on coming.   We did both the z fold and this double z-fold in October.  Many of our normal attendees weren’t able to make it,  but they all got caught up at the craft retreat that started the next day.

Once you have mastered the z-fold,  I highly recommend the double z-fold.  It takes a little more time,  but so worth it.
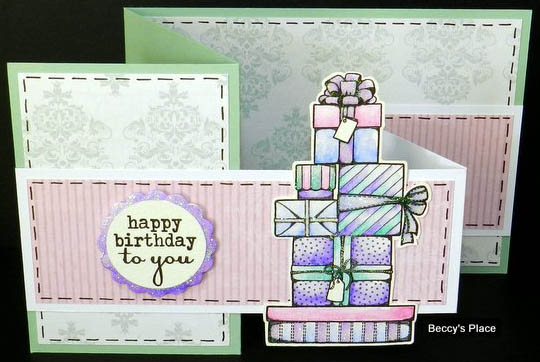
(This photos was found on google. )

Double Z-Fold: The trick to this to ensure that it will always work is the middle of each fold is the same length. Here is the fold measurements for a standard card (4.25 & 5.5). All measurements are from a 8 ½ x 5 ½ card base.

Base: Score at 2 1/8 & 4 ¼,

Top: Trim second base (5 ½ x 8 ½) to height desired and cut to 7.5″ in

length, then score at 3 ¼ and 5 3/8.

Attach top base to bottom base by aligning the 2 1/8″ section to the right edge of the base and glue that in place. Fold the base and then put glue on the back of the top that will overlap the front of the base.

Happy Crafting!


October Club Fold Part One: Z fold Card

Well,  second installment of fun folds from our local club night.  If you missed the first fold,  you can find it here.  I will be doing a series of card folds,  and have an idea for putting together  samples of each in a book.  I don’t know about you,  but I find if I have a physical sample with instructions at my fingertips,  I am much more likely to use the different folds I’ve learned.

Our next fold is the Z fold card (which will be followed next week by the double z fold card).

Again,  I don’t have photos of my samples to show.  I made them,  but need to set up a photo session with my cards.  🙂  So,  I turned to google and found this.

I don’t know if her card will fit in a standard envelope,  but if you followed any of the samples in the instructions,  they will fit.  🙂

Here are the instructions:

Z-Fold: You can fold your card base in any configuration that works for you. Here are some measurements for a standard card (4 ¼ x 5 ½ ).

All measurements are from a 8 ½ x 5 ½ card base.

Option 1: Score at 3 3/8 & 5 ½

2: Score at 2 3/4 & 4 7/8

3: Score at 1 ¼ & 4 ¼

Decorate as desired

Happy Crafting!


Folding Fun Begins now.

In September I decided that our club night group needed something different.  We have mastered the creative insider guide card kits, know lots of different techniques and our scrapbooks are continuing to grow in pages.  What to do,  what to do?   Fun Folds to expand our card variety!

First up.  Joy fold.

(Found this sample on Google.  There wasn’t any information from where it originated.)

Love this card.   You can trade it up by making the “mini card” that folds on top different shapes.  Hearts, Starts, tree, oval. . .   Sky is the limit.

Sorry that I don’t have any photos of my samples at this time,  but as I’ve been running with my hair on fire I thought I would post now,  and let you do some playing.   Soon I will make some crafting time and put together some samples and update the post.

Ready to create your own Joy Fold card?   Here’s the instructions.

Start with standard base (5.5 x 8.5)

Fold in half

Cut 2″ off front of the card (2 x 5.5)

Cut mini card base 4.25 x 5.5 and fold in half

Decorating tips:

If you are going to put paper on the inside of the big card base, put it on BEFORE attaching the mini card base. It’s also easier to decorate the mini card before attaching to the big card base.

No embellishments should extend past the fold on the mini card or it will be difficult to open the card and see the inside.

Some of the colors from the folds might show through, especially on the inside. If you want, ink the edges before you attach any papers.

Happy Crafting!


September is almost over

Kids are back in school and summer has finally arrived in the upper peninsula.   As at all times there is work to be done on a farm,  but this year find us with several fields that need all the hay that we were unable to harvest to be cut.  What does that mean,  less time at my craft table,  and many hours in the tractor dreaming of the designs I could be making.  sigh.

Enough of the pity party, today I leave for 4 days at a private cottage where I only have to cook one meal and provide some snacks for us.  The snacks are all prepared so now I can let my dreams of creations soar and grow.   I might not have the photos ready for next weeks blog,  but I will post soon.

In the meantime,  Here is a fun video showing some fun things to do with the Flower Market Cartridge.

Happy Crafting!


Card Workshop Video Week 5

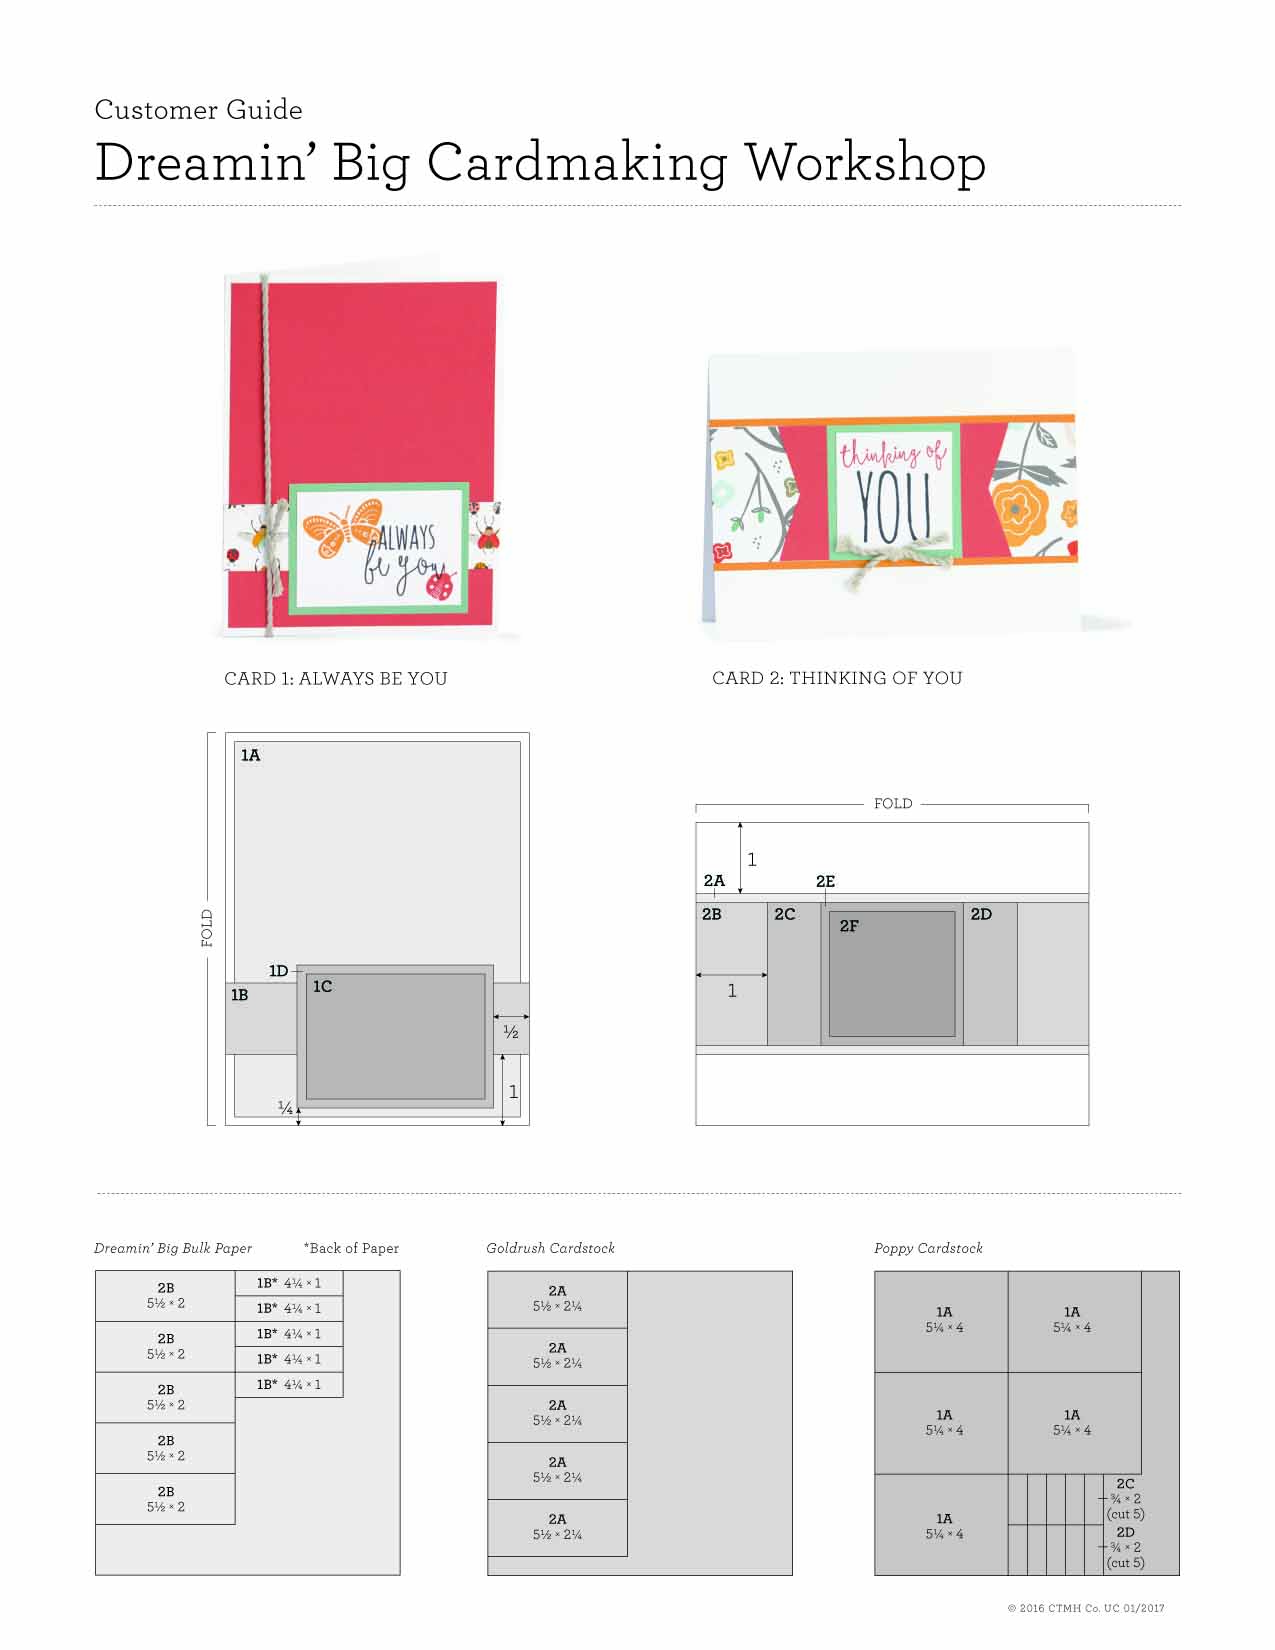
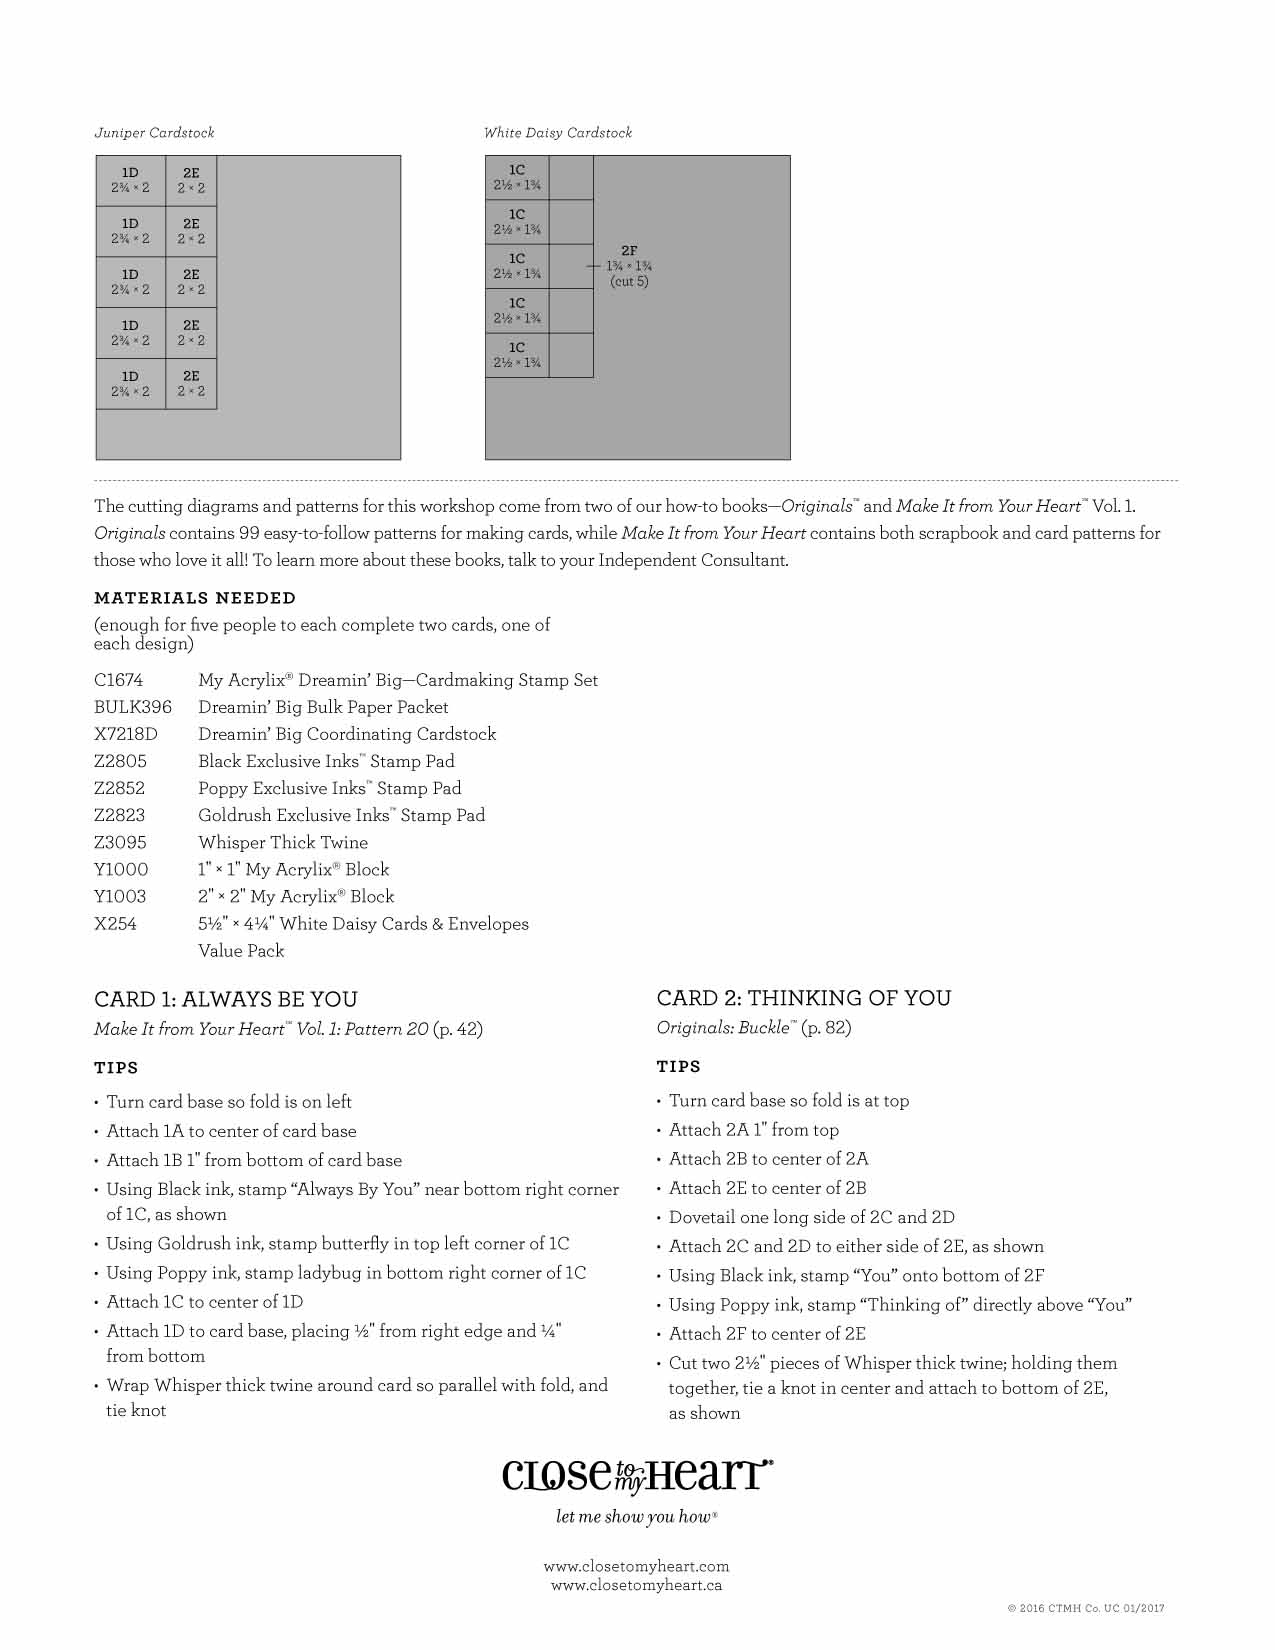
This video shows you how to cut papers from the guide below,  and walks you through my processes for using up scrap pieces to create cards.   I hope you enjoy!

Unfortunately I gave away the cards I made in this video before I took photos of them.  Opps!

Happy Crafting!