Cards

Guest Artist – Cindy Butler

dream pop paper (12)Cindy Butler is a retired school teacher and a great crafter.  She knew that I was looking for guest artists for this blog and sent me these seven photos.

All the cards are from the Dream Pop paper pack.  This paper was a special in May.

Cindy didn’t share many details, so  I’m guessing on some of this based on my memory.

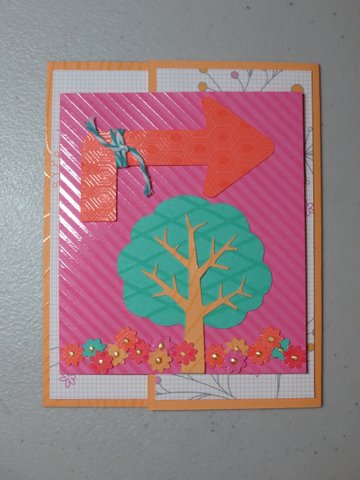
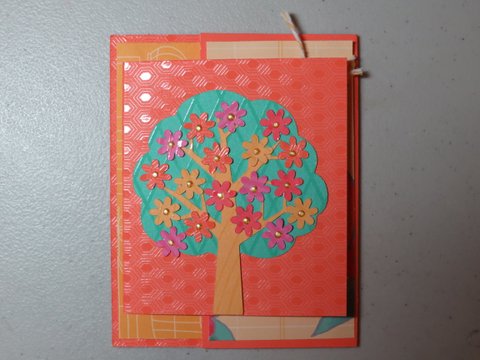
This first card looks to have a tree from the Art Philosophy cartridge as it’s focal point.  Love all the trees on the texture resist background.dream pop paper (13)


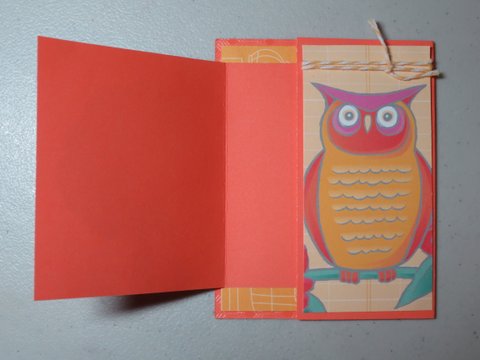
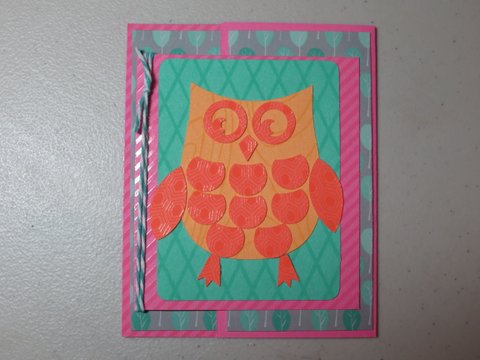
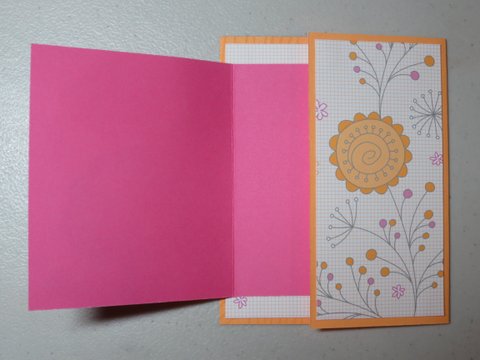
All these cards are a gate fold card (except the dragon fly.)  Look at the great colors on this owl. Just pops right off the page at us.


Here’s another one!  (I really think I need to get out my Dream Pop paper and scraplift these cards.  Cindy will have to give me some more information to create them.  I don’t know where the owls all came from!)

dream pop paper (10)

dream pop paper (11)One of my favorite papers in this set is the “little green tree” paper.  How fun to have “Woodsie the owl” with the trees!

dream pop paper (9)


dream pop paper (8)


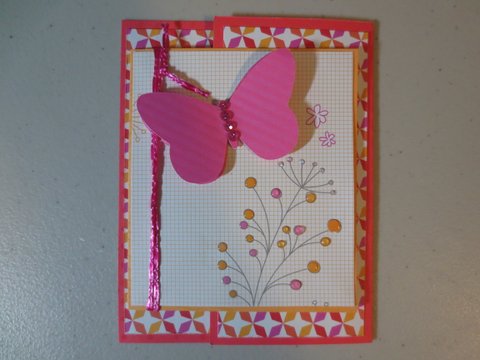
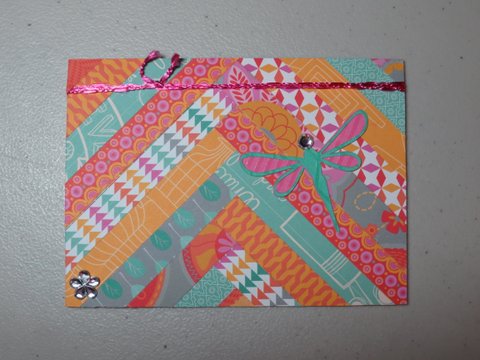
Here’s a great card for using up small scraps!  I think it would take some patience too.dream pop paper (4)I saved my favorite for last.  Love butterflies, and this card is just so cheerful how can you not smile when you see it!

Thanks Cindy for sharing some of your wonderful creations!  You really are inspiring.


Happy Crafting!


This card would be a great way to use up some smaller scrap pieces!  Think it would take some patience too!

Tuturial on Random Stamping – Amanda’s Style

I found a minute to do some crafting, then another minute to edit some photos, and now I’m squeezing in a moment while the kids eat a donut to post the results.endproduct
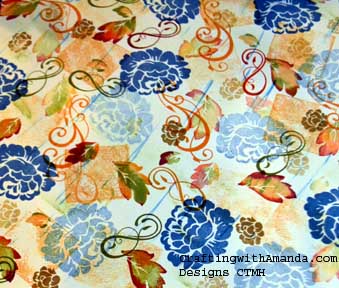
This week at our monthly club night I’ve decided to do random stamping, then cut that sheet and create some cards.  The ladies love, I mean, LOVE to random stamp, and it’s been a while since we’ve done it.  We have some new girls that have joined us and they need to be initiated into the joy of random stamping!

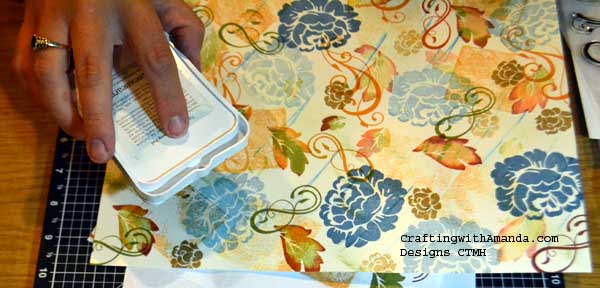
Indian Corn Blue is one of my favorite colors, and when I am having a stressful day, or can’t decide on what colors, this is a go to for me.  So it will come as no surprise to those that know me that the biggest image is done in Indian Corn Blue.  Here are a list of what I used to create this wonderful paper.
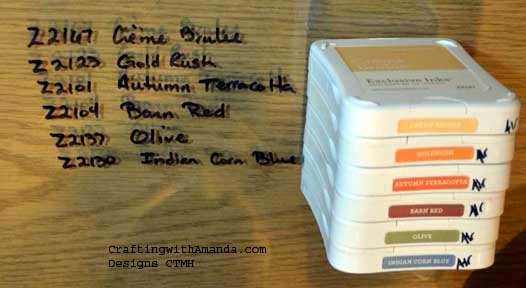
rdinksusedIn addition, I swiped with Sky blue ink as my very last step.

So, random stamping is just that, random, right?  No, not so much.  My husband is an computer engineer, and he often reminds me there is no such thing a random.  Random stamping is a great technique of layering.  You can achieve many different looks with the same sets of stamps and ink.  You can create themed paper to match your event or set the tone on an invitation or card.

Where to begin?  Random stamping was one of the first techniques I taught myself.  I had looked on line and had a definition of random stamping, and even some suggestions of stamping images in triangles, but when I tried that, I wasn’t happy with the results.  I will attempt to share with you what I do to create my custom paper.

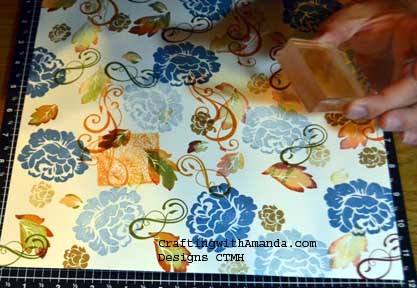
First I choose all of my stamps and select the ink colors I want to use.  Today I choose Happy Autumn and Swirls Around Flair as my stamp sets.  My inks are shown above.  I like to arrange my inks from lightest color to darkest color.  This is incase I want to do some “rock and roll” stamping I have my ink pads already in place and don’t have to worry about putting a darker ink on a lighter colored pad.

I grabbed a couple sheets of scrap typing paper and a sheet of colonial white.  (I like the softer tone in Colonial white for the autumn colors.)  I choose the largest image first and go smaller and smaller as I continue to create my paper.  I found if I stick to one color for each image the results are less “muddy.”  You may find you like the look of each image in all the colors, but for me it was too busy.  rsgeneration2
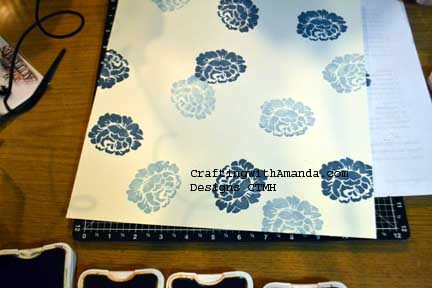
I do like to use 2nd and sometimes 3rd generation stamping to add depth.  (first generation is you ink and stamp, 2nd generation, don’t re-ink, stamp a second time after your first stamping of the image.)  Also be sure to stamp off the edge of the paper.
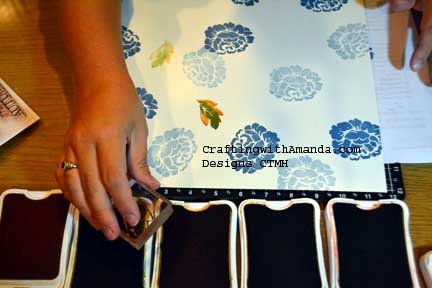
rsrockrollFor my leaf I decided I wanted to rock and roll.  I was able to continue adding second generation with this as well.
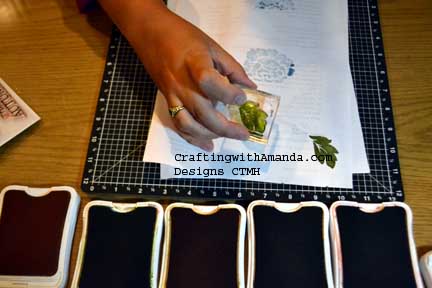
rsrockroll1The Olive ink was a little darker than I wanted all the time, so I sometimes inked up the image then stamped it on my scrap paper before I continued to rock and roll the image into the other colors.

One more tip that works for me and took my random stamped sheets from good to wow was being sure to overlap some of the stamped images.  In other words don’t leave a space around each image.

An exception to starting with my biggest image is any swirls or frills that I use towards the end of my creation.rsrockroll3colorblock
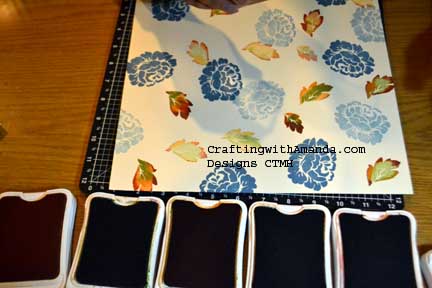
I wanted some more color on my creation, and if my 3×3 block had been handy, I would have used that, but as I didn’t want to leave my chair to search for the block I made due with my 2×2.  Without putting any stamp on the block, I inked up the surface and stamped the square on my paper.  Again you can do second generation stamping with this technique as well.  I think if I would have had my bigger block I might have called it good, but still seeing so many open areas I decided to swipe the sky ink directly on the paper.dtpswipeSo now that I have created my paper, need to figure out a cutting guide for my ladies to use on Thursday to create some cards.  I hope to post those tomorrow, but we’ll see what tonight brings.   I need to make lunches and get both kids ready for school, fingers crossed!
Happy Crafting!
Feature Artist! Pam Barnherdt

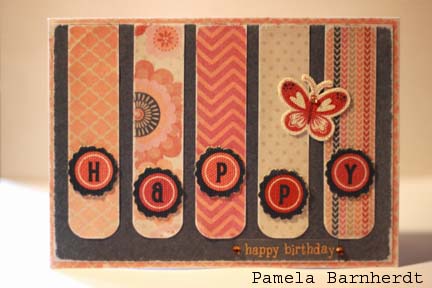
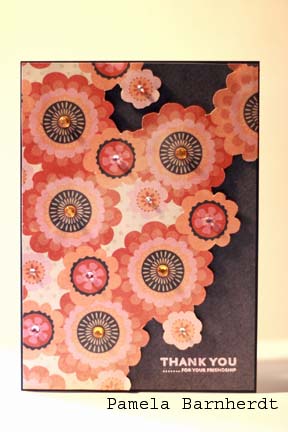
Today I’m sharing with you some cards created by one talented lady!  She doesn’t get to come and play with us often, but she does create beautiful cards to sell.

ChantillyPamB

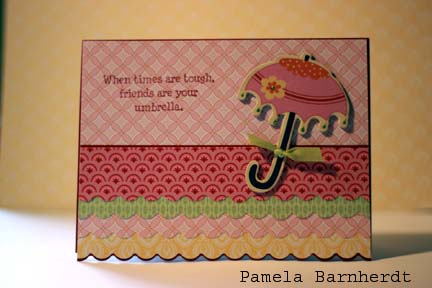
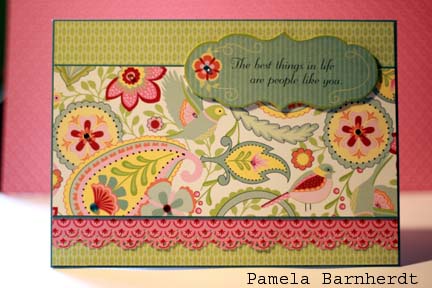
Pam Barnherdt is her name, and here is her website www.allthingsscrappedandsnapped.com.   I asked if she would be willing to send me some photos of a few of her cards and she said yes! ChantillyPamB2 So, here they are for you to enjoy and get some inspiration.  The first  two use CTMH Chantilly Paper.


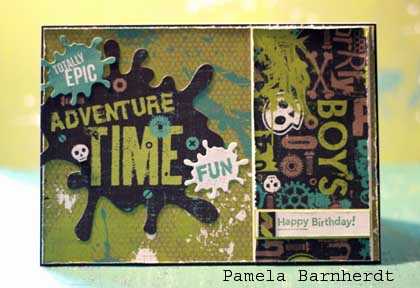
Next is a card using the fun Later Sk8r papers.  (This paper worked so well for my red headed boy!)LaterSk8rPamb

Buzz&BumblePamB

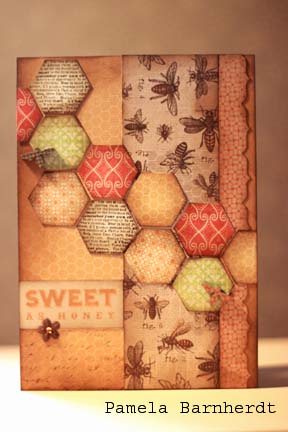
Buzz and Bumble and Tommy papers.

TommyPamB

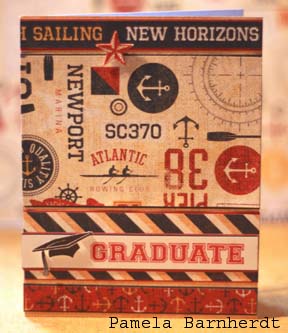
And lastly she shared two cards using the Claire papers.

Hope you’re able to be inspired.ClairePamB2

I know I am!ClairePamB

Happy Crafting!

More Babycakes Cards

babycakesflowerletter   I don’t know about you all, but I am definitely a visual person.  I do enjoy reading, but when I am on the internet, I really like to see photos and even some ‘how to’ ones along the way.  (even if they aren’t so pretty!)  That being said, I am trying to include what I would like to see.

I made this card, two versions actually with the left overs from the two previous cards.  I should have been cleaning up my supplies and transitioning over from spring/summer to autumn/winter products, but these scraps were just sitting on my desk waiting to be used!

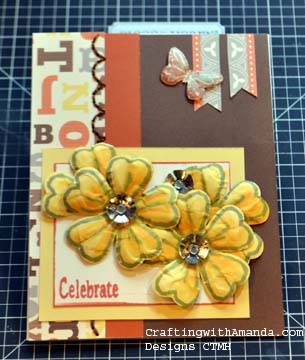
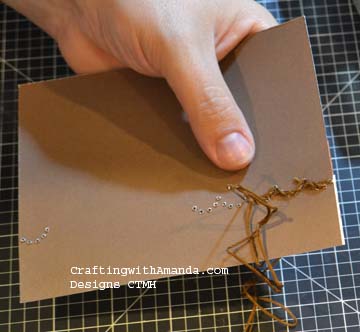
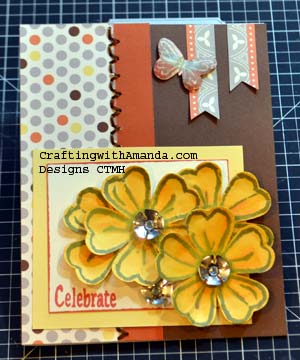
The card front is chocolate CS.  On that I placed a left over strip with letters to the left and another scrap of autumn terracotta next to it.   I used the brand new stitch guide to pierce some holes in a scallop pattern, then using a simple backstitch filled in the holes with chocolate floss.

The new stitch guide is amazing.  You just line up your paper with one of the grid lines and using a piercing tool punch through each hole.  I’ve found I work faster if I punch through the front with the piercing tool, but stitch holding the card with the back side facing me.

stitchingdryembossingstep1

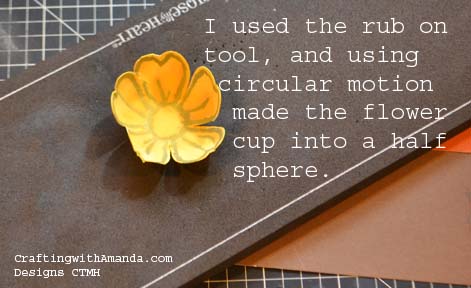
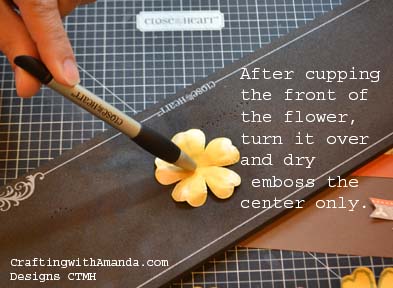
If you don’t know this, I love that the cricut cartridges work with our stamp sets so perfectly.  I used Art Philosophy and an old workshop stamp set “Lucy” to create these flowers.  I cut them out of colonial white and then colored them using buttercup and sorbet makers.  I stamped the flower outline in slate.  After they had dried I used the rub on tool and the mat for the stitch guide and dry embossed the flowers.  (see photo right & below.)

dryembossingstep2


I forgot to mention I was using card number 28 from the Make if From your Heart Vol2 as my inspiration piece.  I cut a scrap of buttercup cardstock (3.5×3) and Colonial White CS (2.5 x 3).  I matted the colonial white on the buttercup and stamped the word “celebrate.”  I then attached the flowers with glue dots and added the new metal flowers.

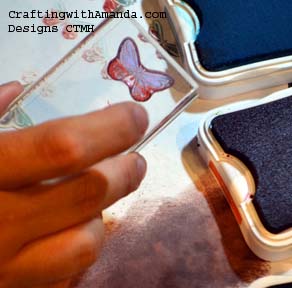
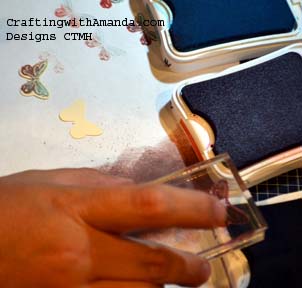
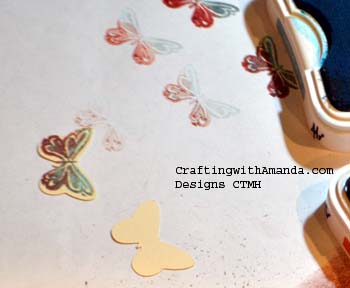
Each CTMH pattern paper comes with a zip strip along the top that tells the paper name and coordinating colors on one side and some patter or words on the other.  I cut two pieces from the zip strip (1.25 & 1.5), made ribbon ends on them and attached them to the upper right of the card.  The inspiration piece had a button as an accent, but the Lucy stamp set had a butterfly that coordinated with the Art Philosophy cartridge, so I cut out a butter fly and then rock and roll stamped it to create the multi colored wings.  Always practice so you can get the feel of how far to roll the stamp into your ink.  (see my scrap paper!)

rocknroll1

I always line my colors up lightest shade to darkest.  This will help me from putting darker ink on the lighter pads.  So I ink my full stamp in my lightest color.  In this case Crystal blue.

rocknroll3

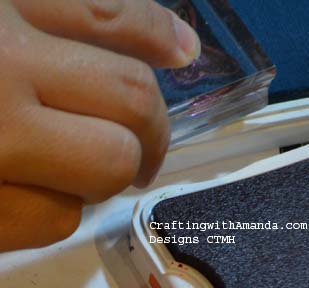
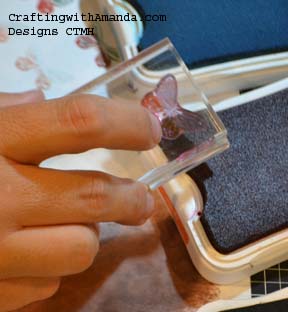
In the next color, sunset, I tip the block to just get ink on part of the stamp.  (The bottom of the butterfly)


rocknroll4

You can see where you have your ink when you use Acrylic Stamps.  (another reason to love them!)

rocknroll5


Then with my darkest color, Slate, I roll the top of the butterfly into the pad..  You can see on my scrap paper that I practiced a few times to help me reach the effect I was looking for.  I didn’t like the rocking and rolling I had done in a different order, but when did it the way described above I liked it.  I recommend doing several different combinations of coloring to find what works for you and your project.  Once you have it all inked up, line it up on your precut shape and watch your butterfly transform.  I have a small craft foam pad under my scrap paper.  It helps ensure a good stamped image.  You can also use the foam that comes in the My Acrylix stamp sets as well.rocknroll6After I stamped the butterflies, I added some more Slate ink around the edges to blend the colonial white CS that was peaking through.

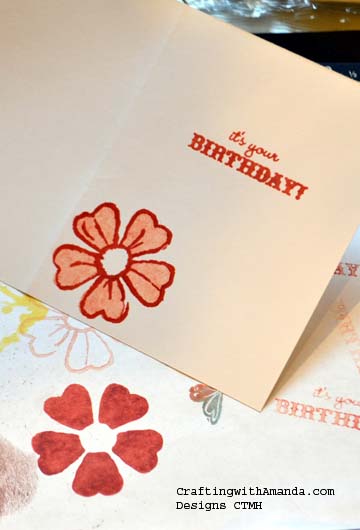
generationstampAnother stamping technique I used on this card is second generation stamping with our two stamp images.  Still using the Lucy stamp set, I inked up the solid flower petals in Sunset and stamped it on my scrap paper, then without re-inking I stamped it again on the inside of my card.  This made for a lighter shade of Sunset.  Then I used the outline flower stamp and sunset and lining up my image stamped over my solid flower petals.  I will sometimes drag the bigger solid images across the stamp pad to give it a different effect, or twist it.  Try out several different inking scenarios to see what will work best for you.

Here’s a look at the other card.  Everything is about the same except I dry embossed the flowers so the petals would curl up and I used the polka dot side of the patterned paper on the left edge.  I also choose a different stitch pattern so I can learn what I might like to use latter on my scrapbook projects.


Happy Crafting!

babycakesflowersdots


Brownie Points Card

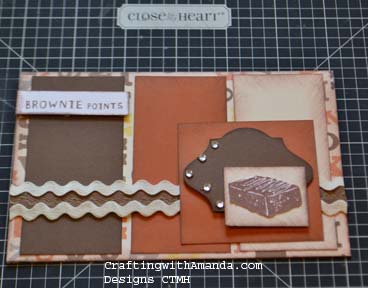
As I mentioned yesterday I had all the pieces cut out to do a second card, so here it is.  I like the brownie points saying, and I swapped out the chocolate rickrack for a twill chocolate ribbon.  Also change the orientation of the card.  I made another envelope for this card as well, but didn’t take a photo.  Sorry!

BabycakesbrowniepointsTo make both of these cards I used the following supplies:

1 – 12″ x 12″ patterned paper (Babycakes)
1 – 8.5 x 11″ Chocolate CS
1 – 8.5 x 11″ Autumn Terracotta CS
1 – 8.5 x 11″ Colonial White CS
Scraps of White Daisy CS (for stamped images)
Inks: Chocolate, Sunset
1 – red sparkle gem and
10 silver sparkle gems
adhesive tape, liquid glass, liquid applique (see previous post), glue dots, foam tape.

It’s raining again today, so I’m trying to be productive in my studio space.  I did manage, with my husband’s help, to add a Order Now button for the New Idea Books. I’m also sorting out product that has been delivered and trying to put it away!   They’ve been sitting in boxes, and I’m ready to play!  Now before you gasp that how could I let it sit in boxes, we have a farm, and they arrived in July.  It’s long  days taking care of kids, tractor driving, meals, and trying to stay on top of laundry without worrying about my CTMH goodies.  I will assure you that each box was opened and I pawed through it, but I then went to bed so I could start the next day refreshed!

Time to migrate from the Spring/Summer stamps and supplies to the Autumn/Winter ones.  Maybe for most people that’s not too hard, but I have a catalog for my stamped images, so I need to scan all the new stamps of the month, workshops and other stamps sets before I add them to my boxes.  I also need to move all my workshop samples from last fall into my family albums, making room for the new workshop samples for the new paper packs.    Once those things are done I have some general pickup/re-org in the studio (by the way, I use the word studio to describe my workspace not because it’s an over the top space with huge tables and well decorated, but  because one of my friends told me that  art is created in studios, and words are powerful.  So, instead of going to my office or craft table, I choose to go to my studio).

Guess I should go to work.

Happy Crafting!