Cards

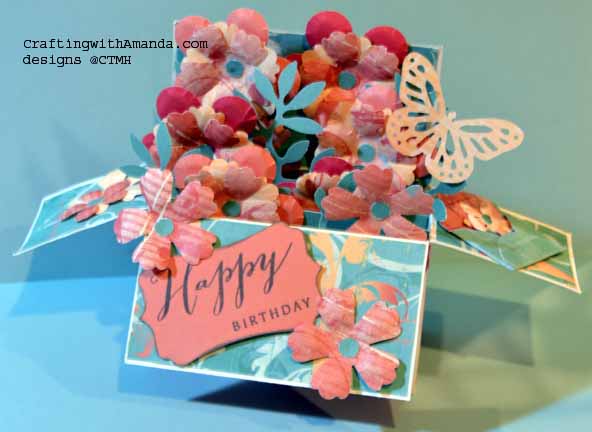
Happy Birthday to my good Friend

craftingwithamanda.com

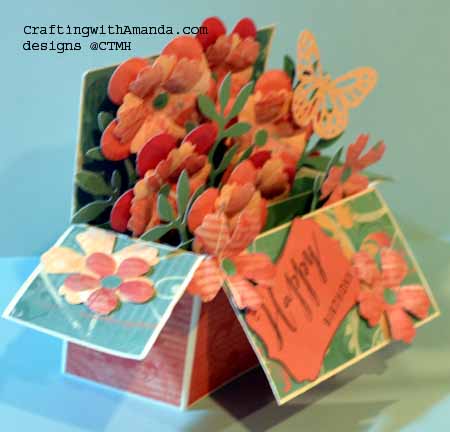
This is the front when it is opened.  I used the old Key to my Heart paper pack as it’s one of her favorites.

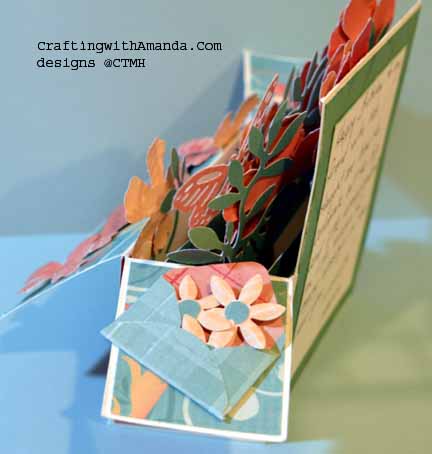
Here are a couple other views.popuprectangleside1Love the little envelope on the side.  The flowers are removable if she wants to use them for another project.

You can see the “message” on the back of the card.  You could make this many different ways.popuprectangleside

I thought later that I might like to round the points from each of the flaps, and maybe I’ll do that on the next one when I figure out dimensions for you.

Happy Crafting!


He loves me!

For Valentine’s Day, my husband made a homemade card. This was great for many reasons.  One, he knew where to find the supplies he needed.  Two, he took the time to plan and execute that plan.  And three I have a one of a kind valentine to keep for always.

He can’t remember where he saw this project.  I’m guessing Scientific America or something.  Supplies he used:

2 button cell batteries (one for each LED)
2 LEDs
Tube of Electric Paint (conductive)
black pen
Red cardstock
Card base

He drew the robot on the card, then used the conductive paint to connect the batteries (hidden under the heart) to the LED eyes.  He told me, one battery was face up and the other face down so they would be “in series.”  He also put a line of conductive paint on the back of the heart so that when you pushed the heart down it would complete the “circuit.”   It’s a bit technical to me.
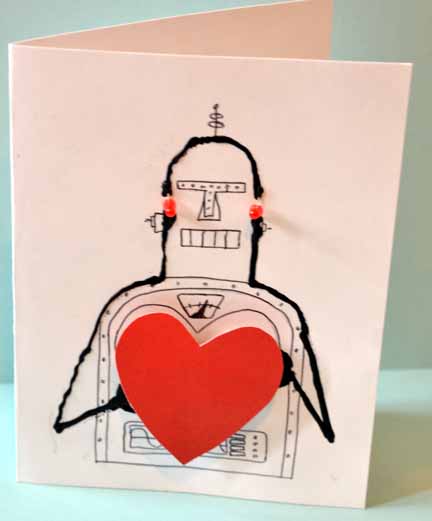
Hubby's valentine Craftingwithamanda.com

Hubby’s valentine
Craftingwithamanda.com

Here you can see me pushing the heart with my thumb, and the eyes light up!  In side it says “You make my servos sing.”
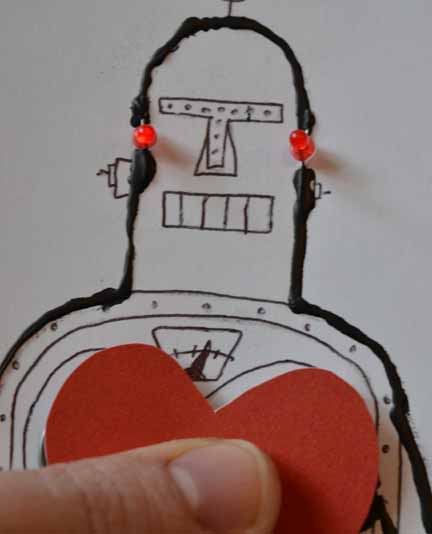
valentine lit

Just so you know, because I have looked it up for you, a servo is a device used to provide control of a desired operation through the use of feedback.

Hope to incorporate some LEDs into my future projects.  Hubby and I are already discussing how many lights we can get to work off of one battery, or if we use multiple batteries if they need to be in series or parallel.   It all has to do with current and voltage, and I’m glad he knows all about those!

Happy Crafting!
Flower Punches Modified

Hi Everyone,

I don’t know about you, but I have several punches in my scrapbooking tool box.

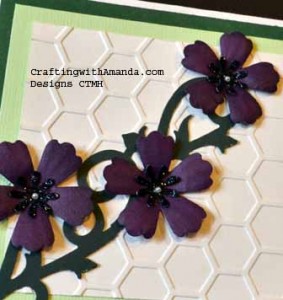
punched flowers

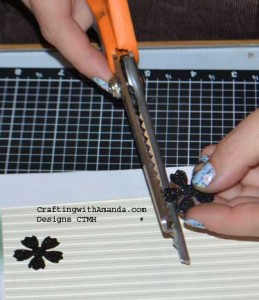
Several have been gifted to me, some have been purchased by me, and others have handed down on permanent loan.  I like doing layered flowers, but the same flower time after time gets old, so I happened upon a happy solution to give my punches a face lift.    The purple flowers started as a simple rounded petal shape.  I then used my pinking shears and cut off the tip of each of the petals to give it this “scalloped” edge.  Really changed the flowers quickly.

flowerpunchmodIn this photos I am modifying flowers I punched out of our black glitter paper, but it’s the same idea.  I will caution you that you will end up with lots of small bits around your crafting area, and in the case of using sparkle paper, you will have a shinny countenance when you are through.

I will be trying this with several more of my punches and see what new shapes I can create.

Happy Creating!

Sketch Challenge

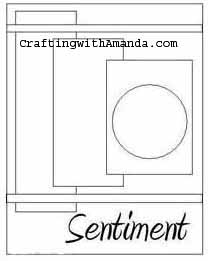
sketch challenge


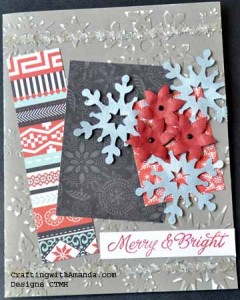
This is the sketch that I gave all the crafters at the Otsego Club Encore Weekend.  They were instructed to use it as inspiration  to create a card.  Other than that, there were no other guidelines.   Unfortunately I had camera/lighting issues and was unable to take photos of any of the cards that were entered, but as I had done a sample for people to see, I was able to retake it when I got home.  So, here is my take on the sketch.

sketch challenge frontThe snowflakes & poinsettias were left over from last year’s Christmas card.  The paper is Snowhaven   I used a snowflake embossing folder on my card base front and tilted the papers from the sketch.

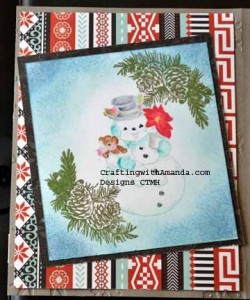
sketch challenge Inleft

On the inside left I matted the snowman from Christmas Post and framed it with the evergreen

sketch challenge Inright

boughs from the  Yuletide Workshop on the Go.  I’m not sure how clear the photos show it, but I did rock and roll the boughs in New England Ivy & Cocoa for the pine cones.

The edges of the white cardstock were sponged in Glacier, Indian Corn Blue and Outdoor Denim.

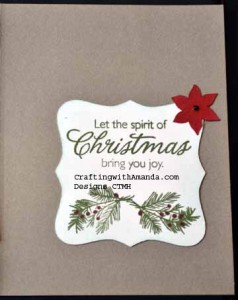
On the right side, I kept it simpler with two pine boughs, colored the berries with our Shinhan Carmine marker.  To tie into the front of the card, I added another poinsettia.

I’m glad that I made this sample as it allowed some of the other crafters to think outside the lines and we had a tough time choosing the winner!

The winner received a magnabilities necklace and as she had already been to my booth and made purchases as Christmas gifts, she was happy to pick another necklace for herself.

Happy Crafting!


An evening of creating

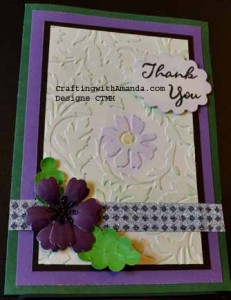
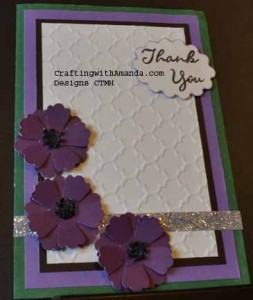
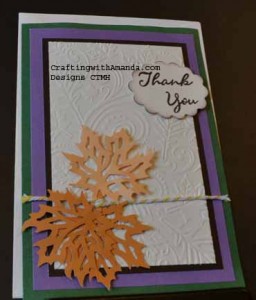
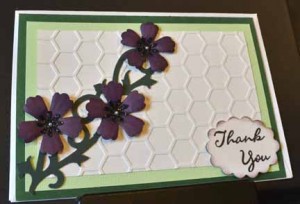
I found some blank cards in some of the boxes from my Mom and decided I needed to use them.  I dug out my scraps bucket and and here are some of the cards I created!using_up_scraps using_up_scraps2 using_up_scraps3 using_up_scraps4 using_up_scraps5