About Me

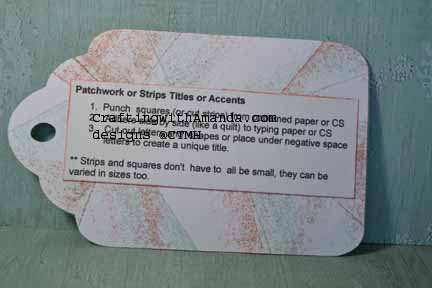
Techniques Patchwork & Faux Stitching

The 4th of July celebrations were minimal around here with tractor duties and laundry.   We did manage to end the day as a family with an icy treat and fireworks.  That was nice.

I also managed to take a few more photos of the completed technique tags. (Still have some craft time in my future to finish the rest!  yay)   That means I have some more techniques to share with you.  I’ve really enjoyed being able to re-visit techniques that I have forgotten about,  or just haven’t taken the time to do them.

You may have noticed that I’ve used the same stamp sets and colors for all of the tags.  Part of that is so the completed book is prettier, but most of all it was to show the versatility of stamps when you employ different techniques as you use them.

tag_fauxstitch_ins

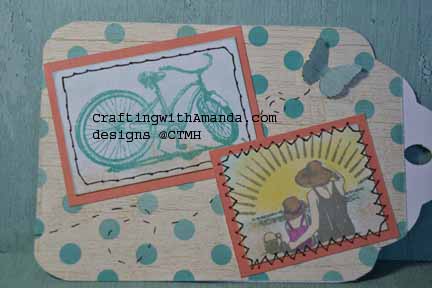
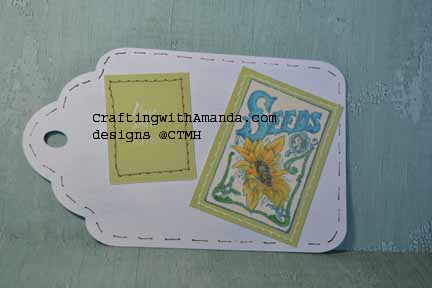
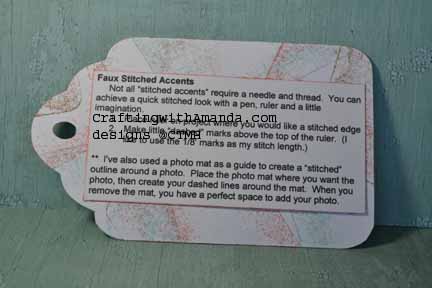
Faux Stitching is a fast and fun way to add some framing or interest to your project.  After I finished the “stitching” around the bicycle,  I wish I would have done it closer to the edge of the white paper,  but I do think it looks pretty real.

tag_fauxstitch_samp

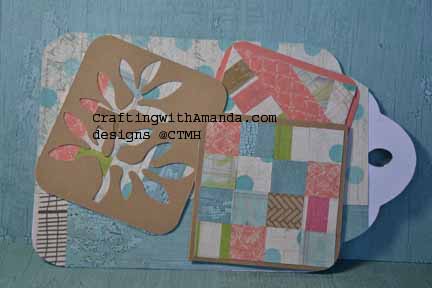
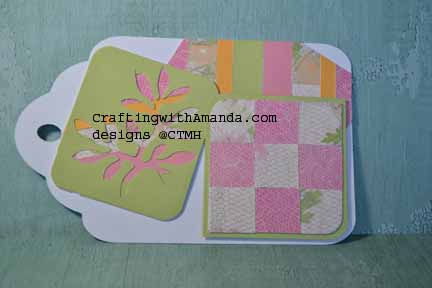
I really like this patchwork for using up scraps too.  I will attach strips of left over paper to typing paper then cut it up as accent pieces on my project.

tag_patchword_instag_patchwork_samp

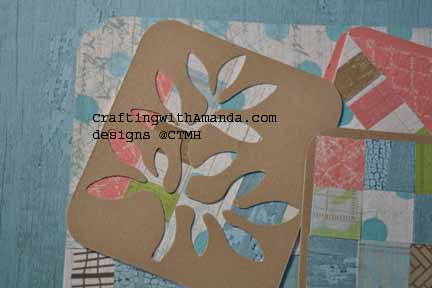
If you don’t want to cut out (or punch) an image,  you can always use it to fill in the negative space of a punched image.

tag_patchword_samp2

Club night samples:CraftingwithAmanda.com Patchwork Technique

CraftingwithAmanda.com  Faux Stitching

Here are the stamp sets I’ve used in this example, and many of the other tags that we will be looking at in the upcoming posts:

C1605 Happy to Be Friends

D1632 Amour

I also used Seaside papers (X7192B)

Our awesome markers were also put to use throughout this process of creating the technique tags.

Contest Information:

Now you might want to know how you can earn chances to win this great prize.   There are several ways.  Write a comment on this post.  (1 entry)   Share this post link on your Facebook post and let me know on my FB page Crafting with Amanda that’s you’ve done it.  (1 entry per share).  Like my FB page.  (3 entries)  If your a pinterest person, for every technique tag you pin, you receive an entry.  (up to 35!)    At the end of the contest I will assign each entry a number and using a random number generator will pick a winner.  I will announce the winner on this blog, and then contact them to get the address where the tag book should be sent.

If you would like a copy of my technique instructions file,  leave a comment with your email and I will send it to you.

Happy Crafting and Good Luck!

Who Doesn’t Love to win Something?

tag_liquidglass_samp Not me. I am starting a series of blog posts around a technique tag book that my club night gals and I made over the last year. We did four techniques each month over nine months. 4 x 9 = 36 techniques right? Wrong. I duplicated one of the techniques, so one month we only did three new ones. What does all of this have to do with winning? You can win all 35 of the new technique tags that I am making just for this contest! Over the next several weeks, I will be posting a couple of techniques each day.

Now you might want to know how you can earn chances to win this great prize. There are several ways. Write a comment on this post. (1 entry) Share this post link on your Facebook post and let me know on my FB page that’s you’ve done it. (1 entry per share)(https://www.facebook.com/CraftingWithAmanda). Like my FB page. (3 entries) If your a pinterest person, for every technique tag you pin, you receive an entry. (up to 35!) At the end of the contest I will assign each entry a number and using a random number generator will pick a winner. I will announce the winner on this blog, and then contact them to get the address where the tag book should be sent.

I will be showing photos of the technique samples tags that I made for the club night gals, AND the brand new tags using Seaside papers & Skylark. With no further ado. . .

Technique #1

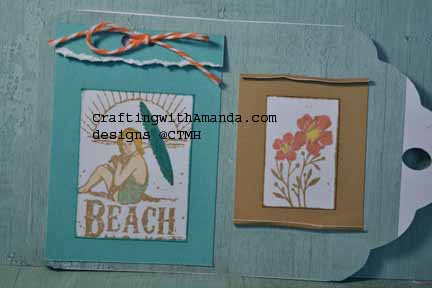
tag_tearroll_insCardstock paper Tearing & Rolling:

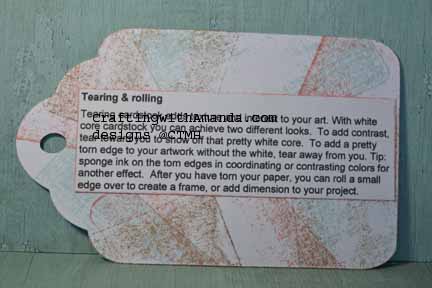
This is a great technique to add interest to your project without adding bulk. If your cardstock is white core, (like CTMH) you can also add contrast or help direct your focus to your photos or other focal point.

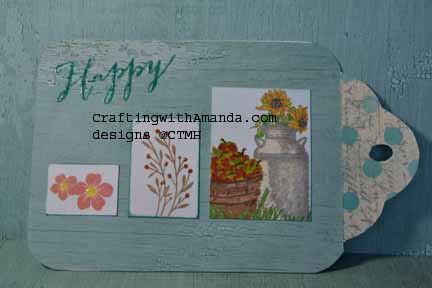
In my example I rolled the edges on one of my samples to help bring the focus to the flowers. On the beach image I used the torn edge to help balance the white of the image and help draw your eye to it.

tag_tearroll_sampHere are the stamp sets I’ve used in this example, and many of the other tags that we will be looking at in the upcoming posts:

C1605 Happy to Be Friends

D1632 Amour

I also used Seaside papers (X7192B)

Our awesome markers were also put to use throughout this process of creating the technique tags.

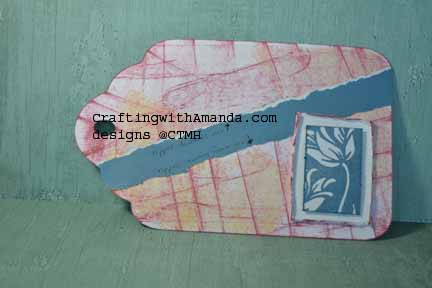
tagclub_tearroll This is the sample from our club night. Notice on this one I rolled all the edges of the framed image. I also showcased the tearing techniques for showing the white core (top) and not showing (bottom) of the cardstock running diagonal. It can be varied depending upon which way you tear the paper. (towards you or away from you.)

So. Remember to comment on this post, share on FB, and pin the tag to Pinterest to earn entries into this contest. You can share your pinterest shares with me on the FB page.

If you would like a copy of my technique instructions file, leave a comment with your email and I will send it to you.


Happy Crafting and Good Luck!


He loves me!

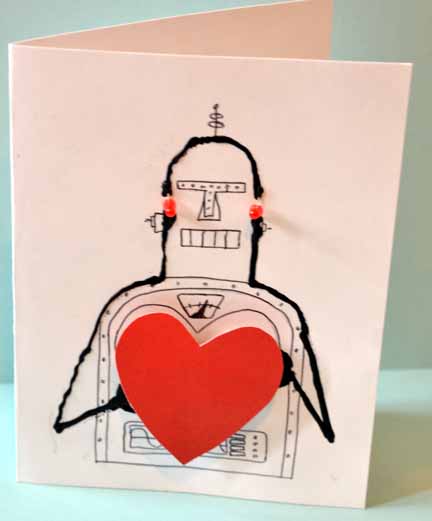
For Valentine’s Day, my husband made a homemade card. This was great for many reasons.  One, he knew where to find the supplies he needed.  Two, he took the time to plan and execute that plan.  And three I have a one of a kind valentine to keep for always.

He can’t remember where he saw this project.  I’m guessing Scientific America or something.  Supplies he used:

2 button cell batteries (one for each LED)
2 LEDs
Tube of Electric Paint (conductive)
black pen
Red cardstock
Card base

He drew the robot on the card, then used the conductive paint to connect the batteries (hidden under the heart) to the LED eyes.  He told me, one battery was face up and the other face down so they would be “in series.”  He also put a line of conductive paint on the back of the heart so that when you pushed the heart down it would complete the “circuit.”   It’s a bit technical to me.

Hubby's valentine Craftingwithamanda.com

Hubby’s valentine
Craftingwithamanda.com

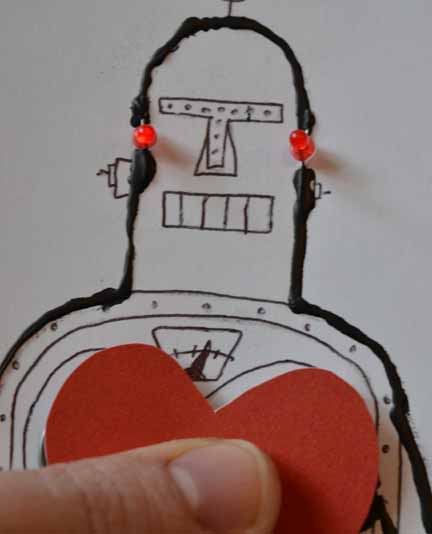
Here you can see me pushing the heart with my thumb, and the eyes light up!  In side it says “You make my servos sing.”

valentine lit

Just so you know, because I have looked it up for you, a servo is a device used to provide control of a desired operation through the use of feedback.

Hope to incorporate some LEDs into my future projects.  Hubby and I are already discussing how many lights we can get to work off of one battery, or if we use multiple batteries if they need to be in series or parallel.   It all has to do with current and voltage, and I’m glad he knows all about those!

Happy Crafting!

November campaign is just in time to help me!

As you know, I’ve been having some computer problems on and off for over a year now.  For the last few months, I’ve slowly been collecting all our digital images onto our external hard drive.  Today I finally finished putting all the images into the the proper date folders.   When I finished putting all the pictures in their folders, I went back to see when was the last time I had edited and ordered prints.   Yikes.  It was June of 2011.  That’s over THREE years ago.  No wonder I am out of fodder for my workshop layouts.

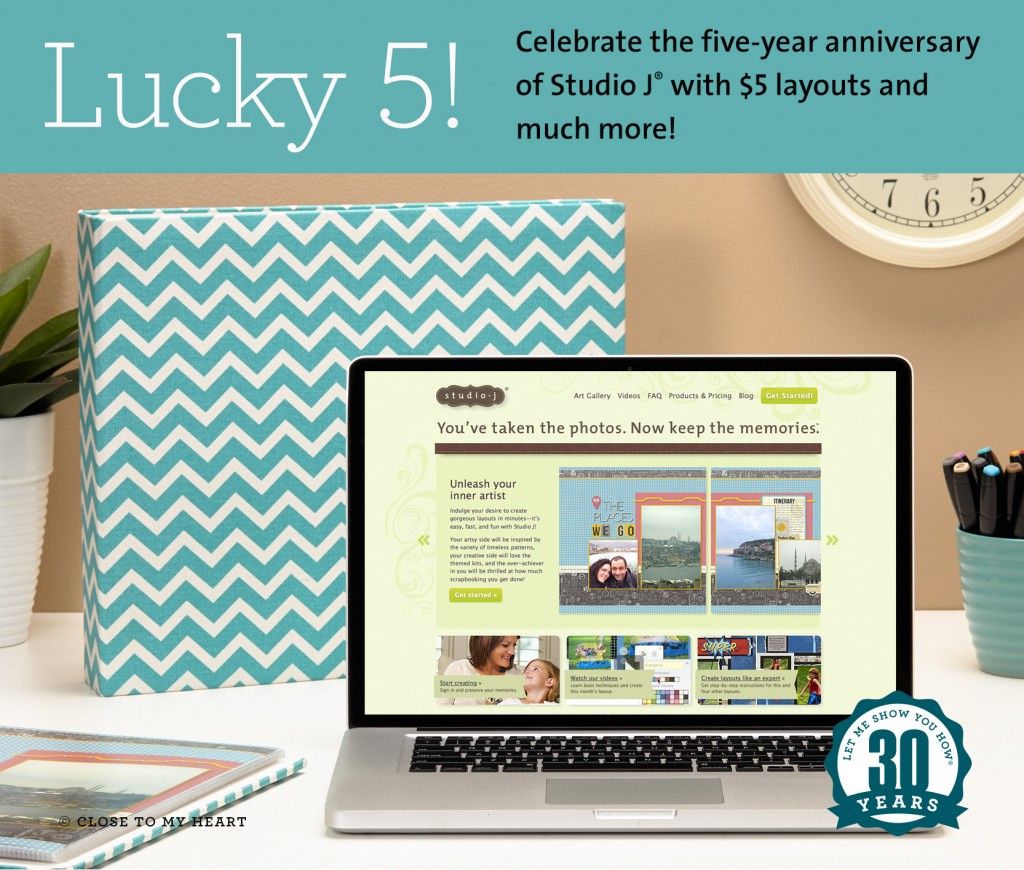
Have no fear, CTMH is offering a great deal on Studio J layouts, so I should be able to crank out some layouts and maybe even start working on photos from 2012!
1411-cc-lucky5

What is the deal you may ask?  Here it is:

Lucky 5

November Constant Campaign

November marks the five-year anniversary of Studio J®, and that means it’s your lucky month, with five amazing ways to win through Studio J and Close To My Heart social media!

First, throughout the month of November, all layouts purchased in Studio J are $5! That is a savings of over 25% off of retail! Your second chance to win big must come by sheer luck: every fifth order placed in Studio J during November receives a FREE surprise Close To My Heart accessory in its shipping box! The accessory has a retail value of $5 or more.

If luck doesn’t smile on you in that way, you might stumble upon it by finding a little extra something in your Studio J box. Five “golden tickets” will be sent out during the month of November with randomly selected Studio J print orders! This “golden ticket” is redeemable for one of Close To My Heart’s new D-ring albums* loaded with 10 Top Load Memory Protectors™.

For a fourth way to win, simply create new, gorgeous layouts in Studio J, select your favorites, and then post pictures of them on Close To My Heart’s Facebook page using the hashtag #ctmhlucky5. After November 30, five lucky winners will be selected from the entries based on their artistry and creativity and each of these winners will receive their own D-ring album loaded with 10 Top Load Memory Protectors!

And there is one last way to win: take your new Studio J artwork and post a picture of it on Instagram using the hashtag #ctmhlucky5. Just as it is with Facebook, after November 30, five lucky winners will be selected from the entries to receive their own D-ring album loaded with 10 Top Load Memory Protectors!

Plus, there is a bonus Consultant-only way to win. After the campaign has ended, the top five Consultants who had the greatest number of customers who order during the campaign will also get a D-ring album loaded with 10 Top Load Memory Protectors! This sixth way to win is only open to Consultants, so make sure to encourage every one of your customers—new to Studio J or not—to start designing now.

And to make things even more exciting, starting November 1, five brand new kits from the Annual Inspirations idea book will be made available in Studio J, so you can create new artwork using the latest papers and embellishments from Close To My Heart. With so many ways to win, five may be your new lucky number! Log in to Studio J and start creating today.

Happy Crafting!


Great Crafting Retreat

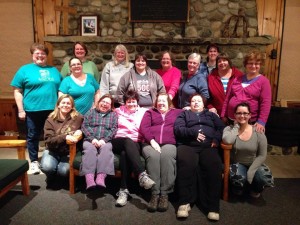
Cedarville gangHere’s the group of us that enjoyed a wonderful crafting retreat in Wiloughby Lodge.   From early twenty’s to pushing 70, all ages had fun.  (All ages also had sore laughter muscles as we did a LOT of that this weekend.)

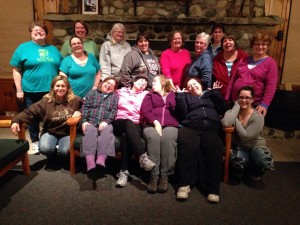
Here’s a glimpse of our lighter side.   I’ll have more photos of our projects soon!

Cedarville goofy


Happy Crafting!