I would not win any awards with the layouts that I managed to do this month, but they definitely accomplished my goal. I had not done any scrapbooking with photos for our family albums in close to 2 years. It is my goal, as we are able to unpack our stuff out of storage, to make photo organizing and scrapbooking a priority.
I came across one small packet of photos that I could scrapbook. After looking up the dates the photos were taken, I looked through the small portion of the papers I had access to, and found some that worked great!
Normally I pick my photos, chose my papers, find a layout or inspiration item to use to create the double layout, and go from there. This time it all started well, but then I went backwards. . . .
So, where may you ask did I go backward? This is a pretty straight forward, average layout in my book. Well, if you watch the Youtube video of my process of creating this, I picked my photos, chose my papers, then started to create embellishments, normally the last step. I wonder if I had done the paper cutting and put the layout together first, if I would have added more embellishments at the end. As I remember doing it, I think I was out of the embellishments I had created and was just happy to have completed some scrapbooking.
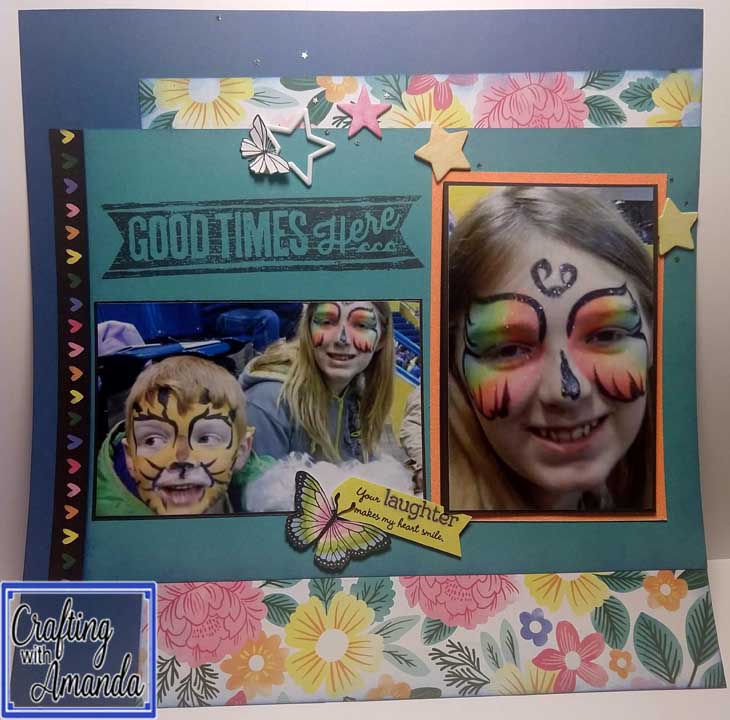
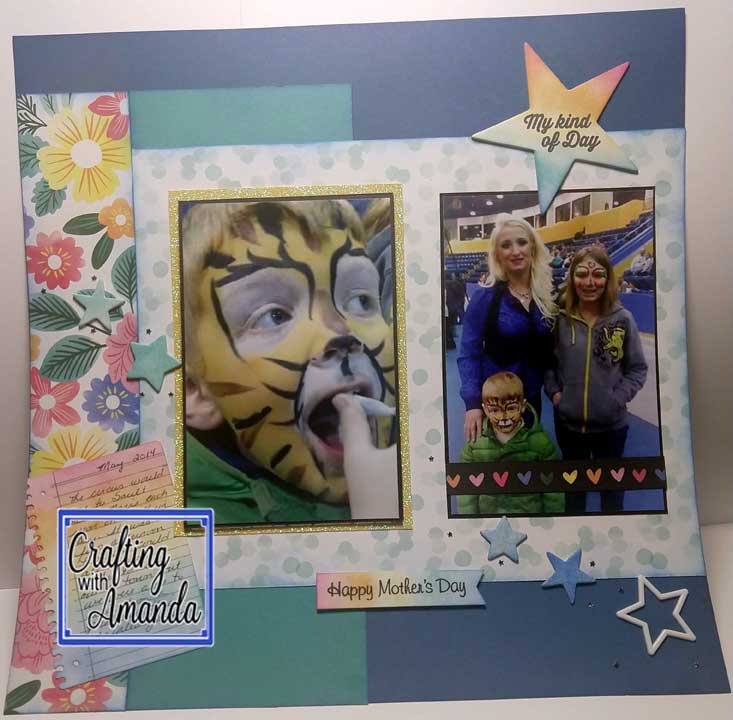
The layout is “shinier” in person as if you look closely you can see a trail of tiny stars from the upper left trailing through both pages to the lower right, and I used glitter paper as matting behind two of the photos.
Also, again, it’s hard to see in the above photos, but I did create photo hinges and anytime a page is interactive I think that’s a great thing!
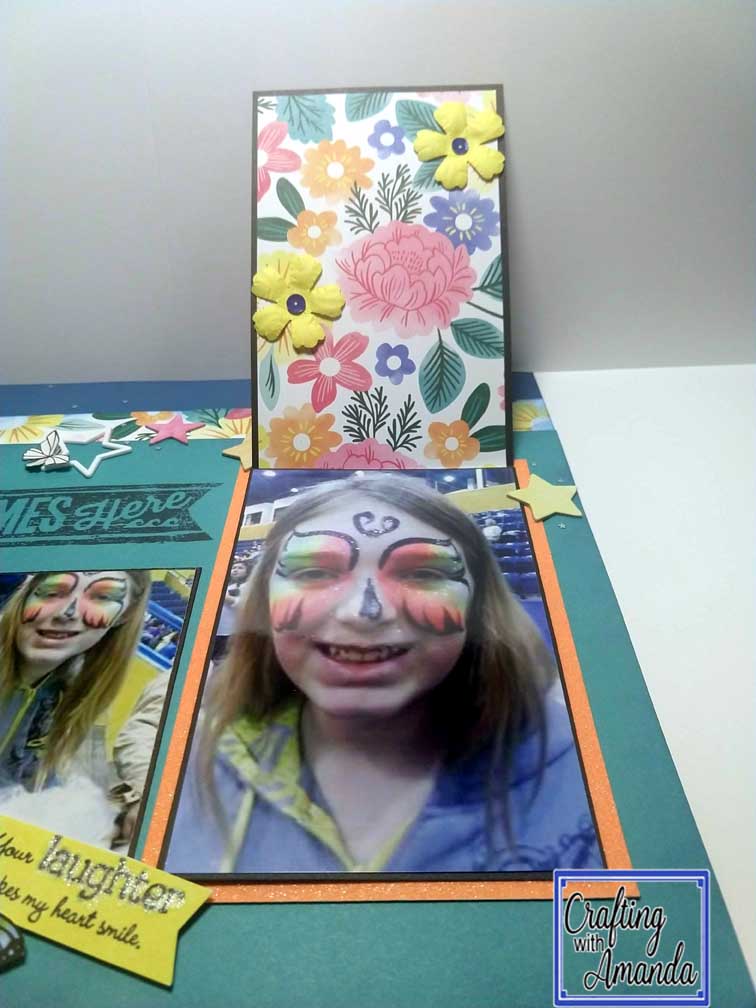

If you want to learn more about creating photo hinges, check out the youtube video. The first hinge explanation happens around the 9-minute mark on the video.
Happy Crafting!
