As I’ve been posting some of my cards with the big sunflowers on them, or colorful mum like flowers, I’ve been asked how I do them. I tried writing out instructions, but some were still confused, so tonight I created another flower and this time took photos as I worked. So are a bit blurry, but I hope you get the idea.
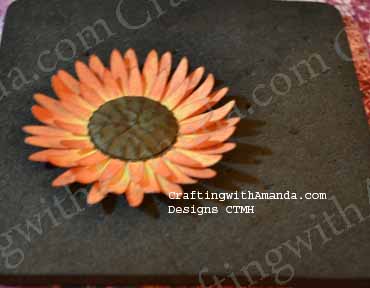
Step one. Cut your flowers & centers out on the cricut. I used the Art Philosophy cartridge. Cut 2 <Flower1> (Shift 1 ) at 2.5″ and 1 <Flower1> (Shift 1) at 2″ I then cut 1 smooth <circle1> (1) at 1″ and 1 scallop <circle2> (q) at 1″ Now you have all the pieces you need to create one flower.
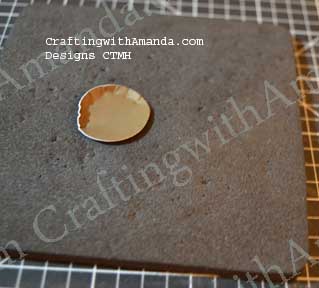
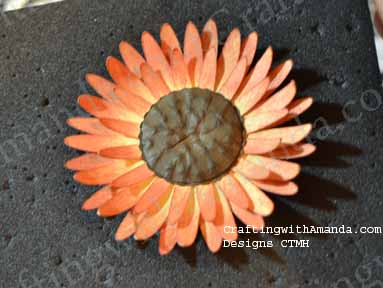
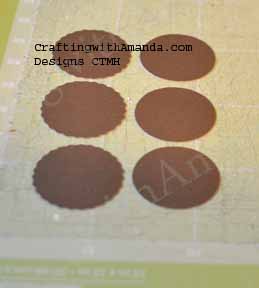 To make the centers look more “real,” I took my small round stylus and gently poked dots starting at the outside edge and working toward the center on the smooth circle.
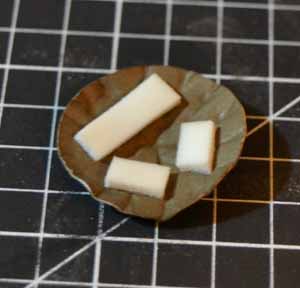
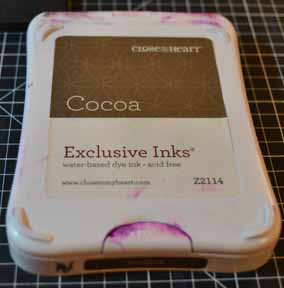
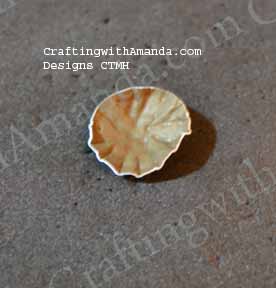 Next I attach some pop tape to help it hold it’s shape before I use a sponge and rub ink over the dots.
I also ink the edges of the scallop circle and normally the edges of the smooth, now dotty circle, but didn’t so you would be able to see the layers better.
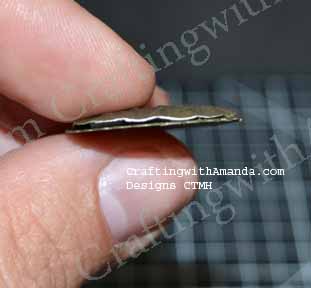 You’ve just created a sunflower center sandwich 🙂
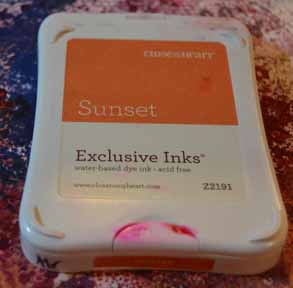
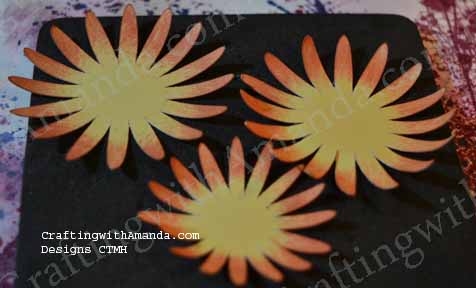
Next you get to play with the flower petals. In this example I used sunset ink to add color to all three of the flower petals.
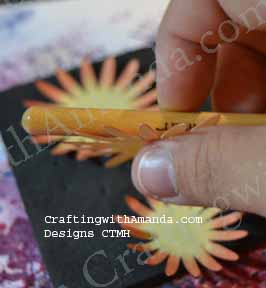
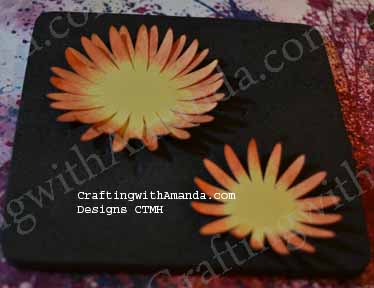
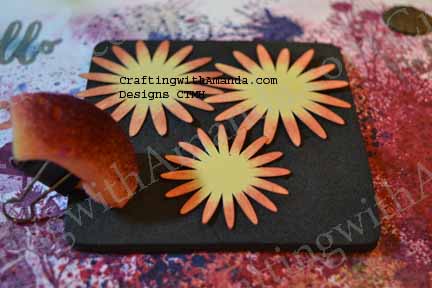 To give the flower a natural look, I curved the petals by pulling the handle of my piercing tool over them. (if you ever curled ribbon for a package with scissors it’s kind of like that.)
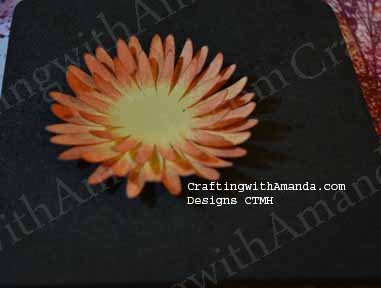
Now you can start assembling all your components to create a stunning accent to any of your projects!
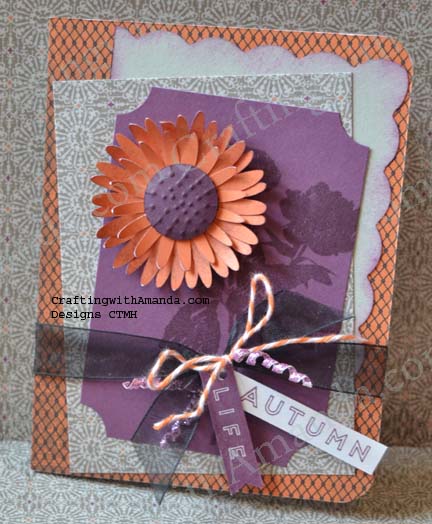
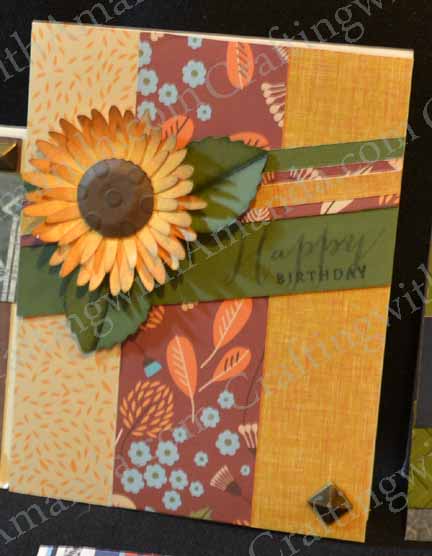
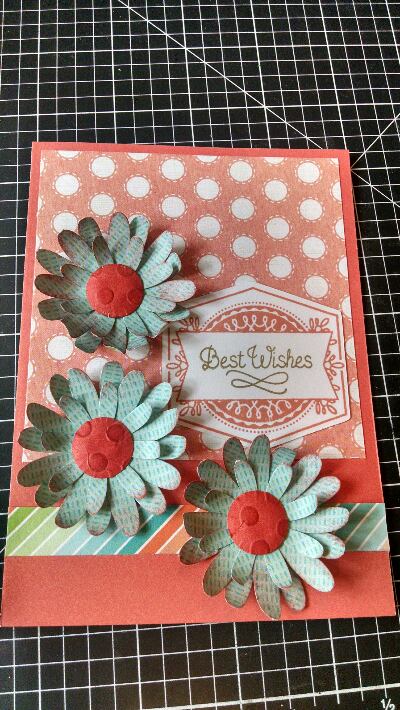
Here are some of my creations using this flower.
Happy Crafting!



What an excellent way to give directions! Because I am so visual, this was extraordinarily helpful.
Today is “making sunflower day”, and I am really looking forward to it! Thanks again for all the instructions!
Thanks for the Cricut cuts & instructions! I really enjoyed making these flowers and know I will make a lot more of them!