Archives for April 2015

I interrupt this technique series to bring to you a craft retreat project one!

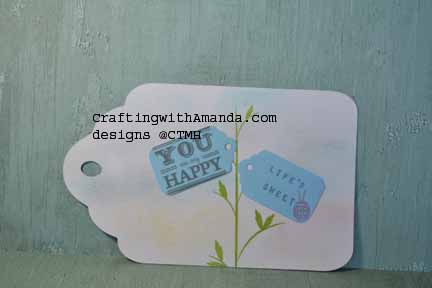
So excited to share some of the wonderful artwork that was created at my Craft Retreat in Cedarville (April 2015)   To start with, I designed these wonderful magnets, that just happen to fit perfectly in any 1″ Magnabilities pendent.

maginsert3042015 maginsert2042015 maginsert042015

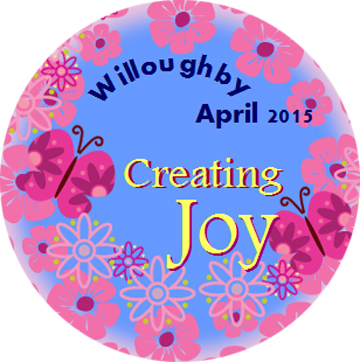
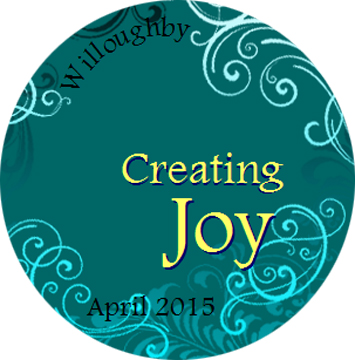
On Saturday morning I had placed one of the three designs on their tables for them to discover when they started to craft.

Our craft project for this weekend was an Art Canvas.  I spent several months collecting photos from pinterest, google, and crafty websites to have available for inspiration.  The ladies got to pick the size canvas they wanted,  small 4×6, med 9×11 or large 11×14.  Alr1sm
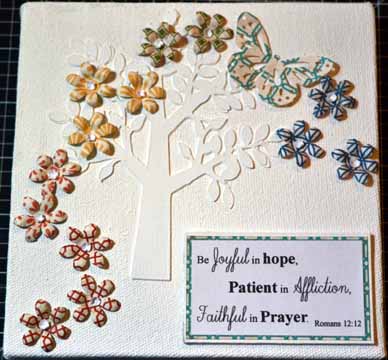
Acrylic paint has intimidated me in the past, and I didn’t want someone feeling overwhelmed.    We started this Friday night so that if the ladies were painting their canvases, which several did, then they would have time to fully dry and be ready for more decorations.

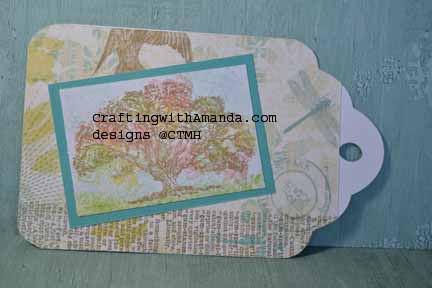
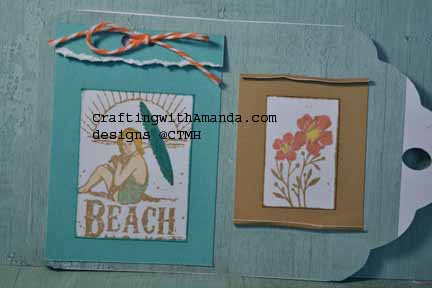
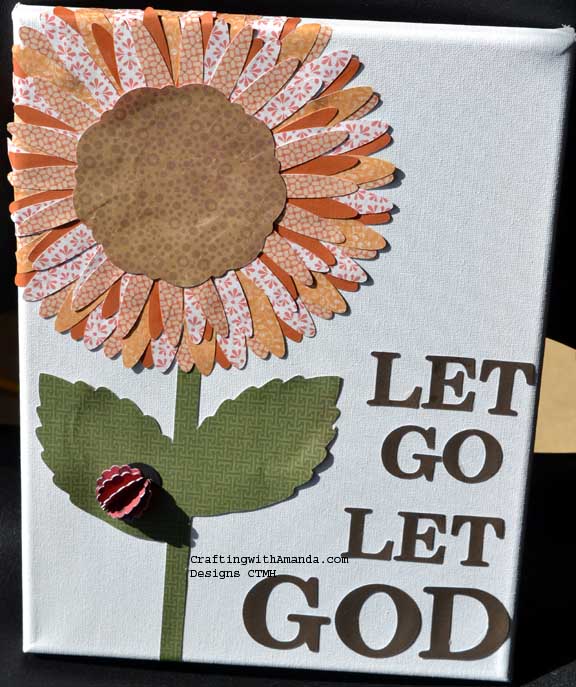
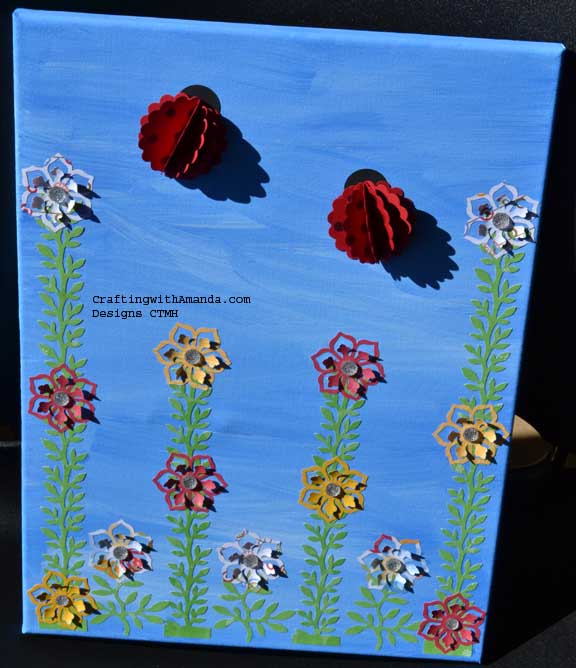
Despite having sick children, husband and even subcoming  to illness myself, I did manage to complete a small sample canvas.

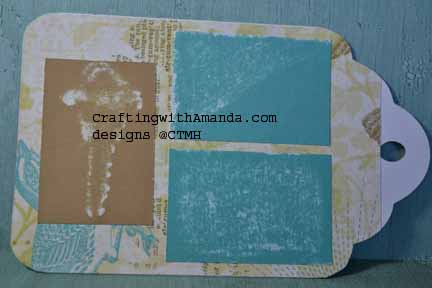
I had hoped to put together a large sample, and knew exactly what I wanted to do, but I decided going into the weekend better rested would be the wiser way to go.   I did manage to put together my idea throughout the weekend (the only crafty item I accomplish all weekend.)  Here is my sample.

Alr

This was the first paper that introduced me to CTMH.  It was a special in 2006 and my upline at the time had lots of extra and shared it with me so I would have some variety to create gathering projects.  I think she gave me so many papers that I must have gotten my fill of them, but discovering them now I have fallen in love all over again with them.

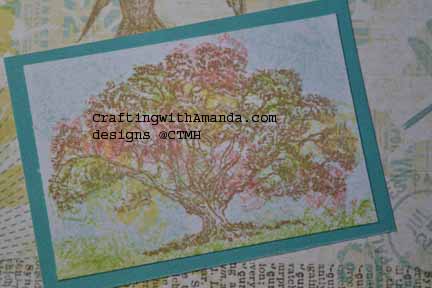
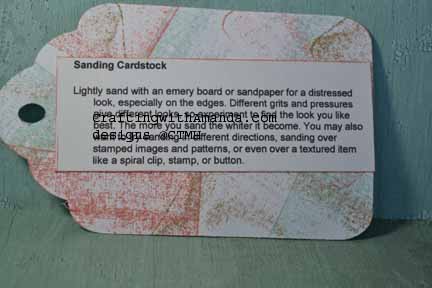
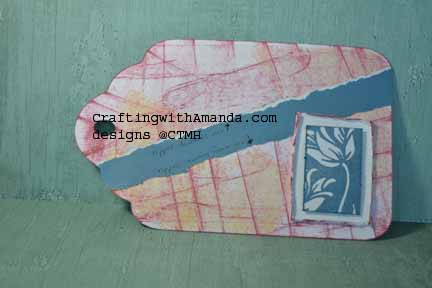
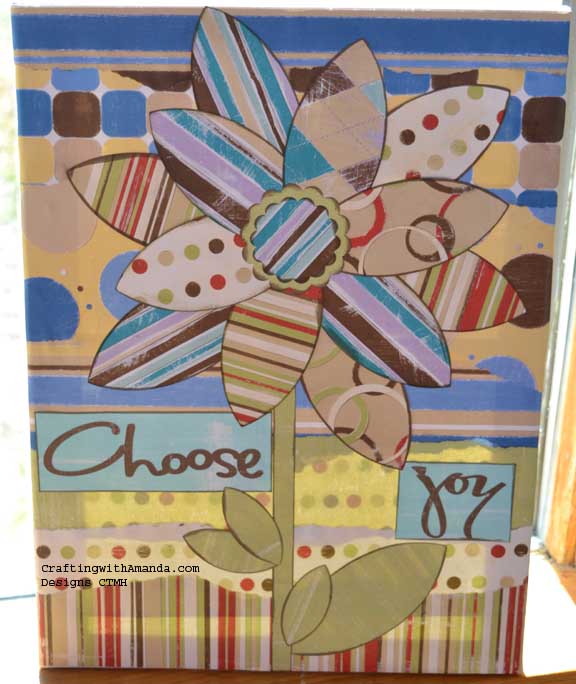
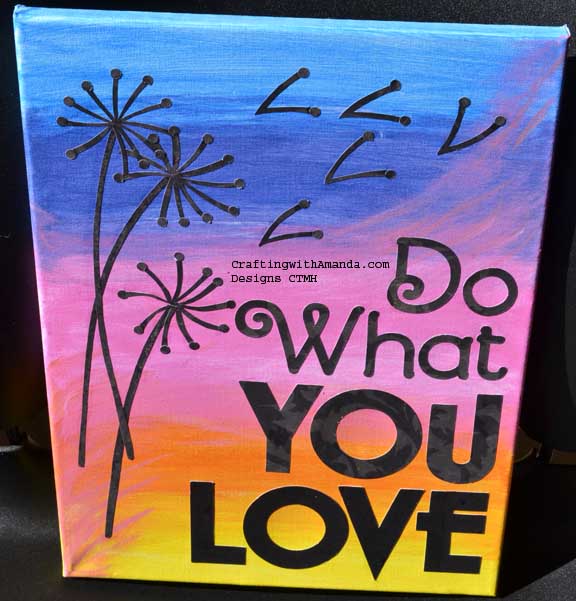
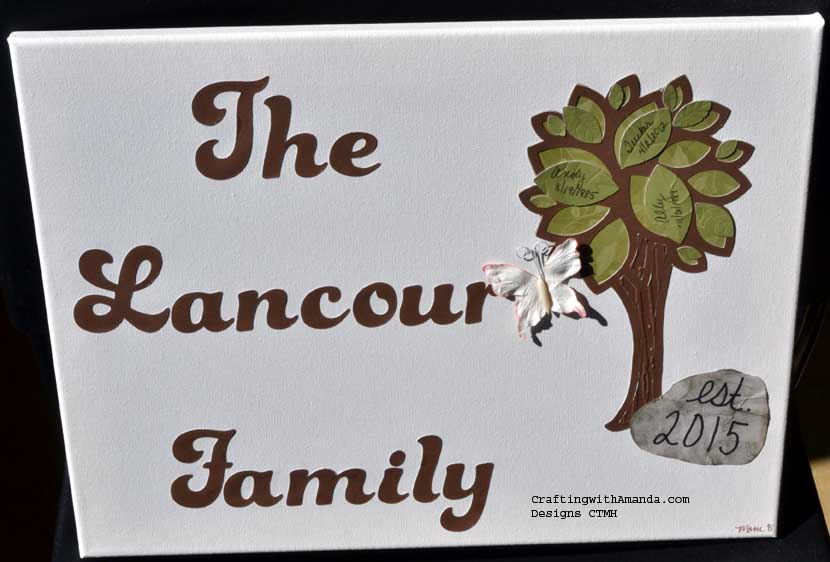
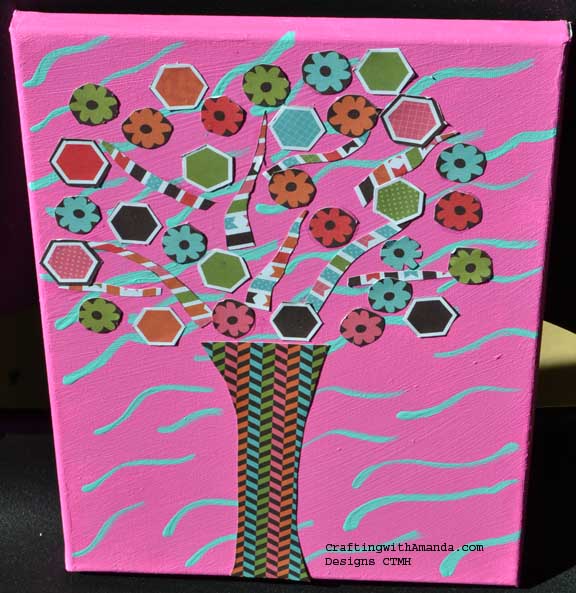
Here is another canvas that used the same inspiration artwork.

Jan

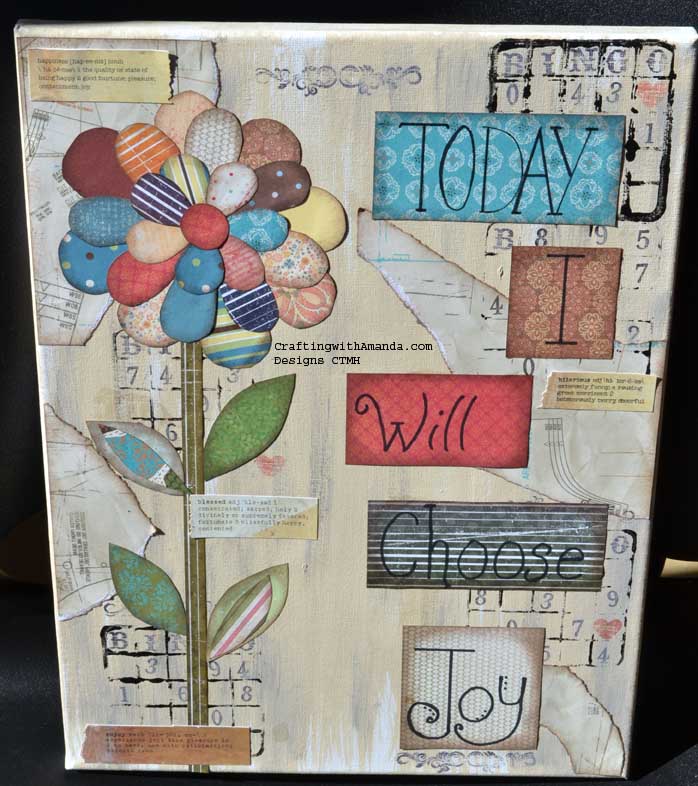
Where I merely used papers (and the cricut)  she stamped, distressed painted and handwrote her message.   I love how different, just similar they are.

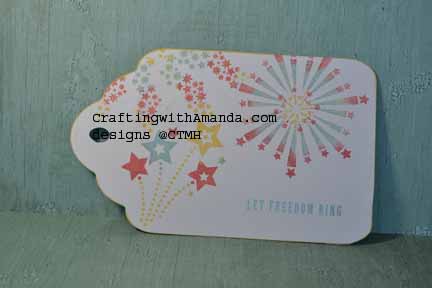
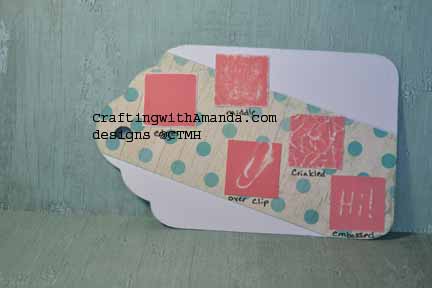
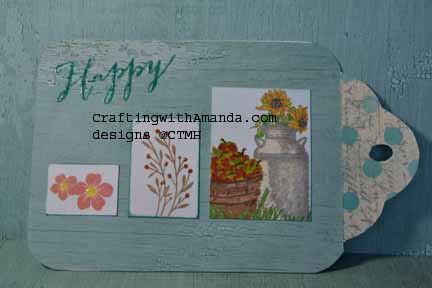
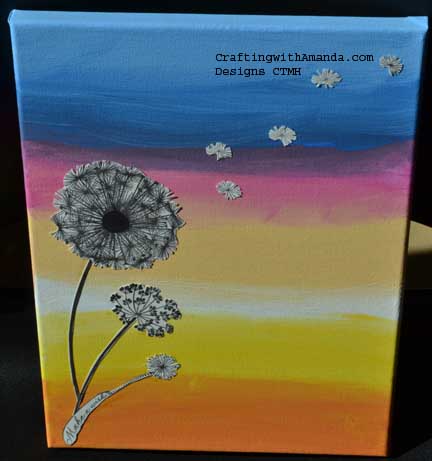
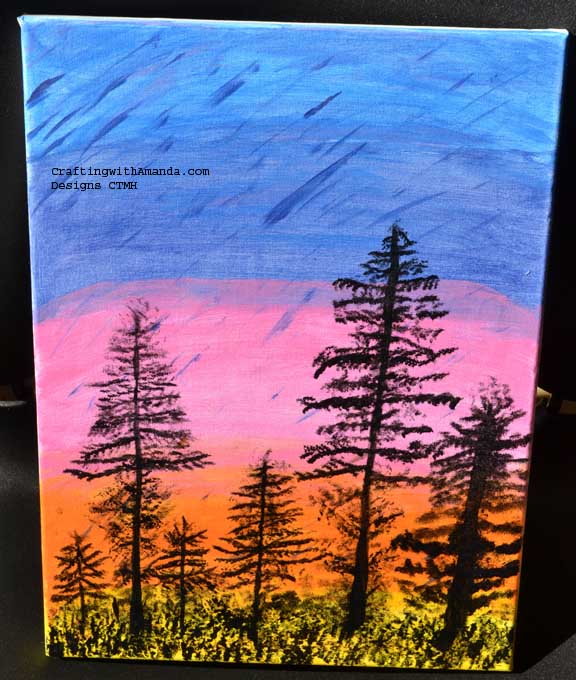
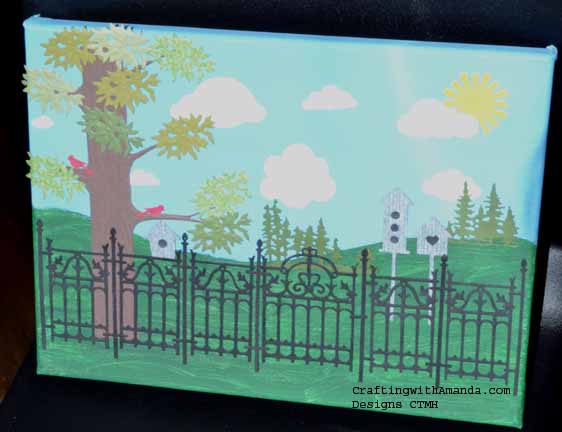
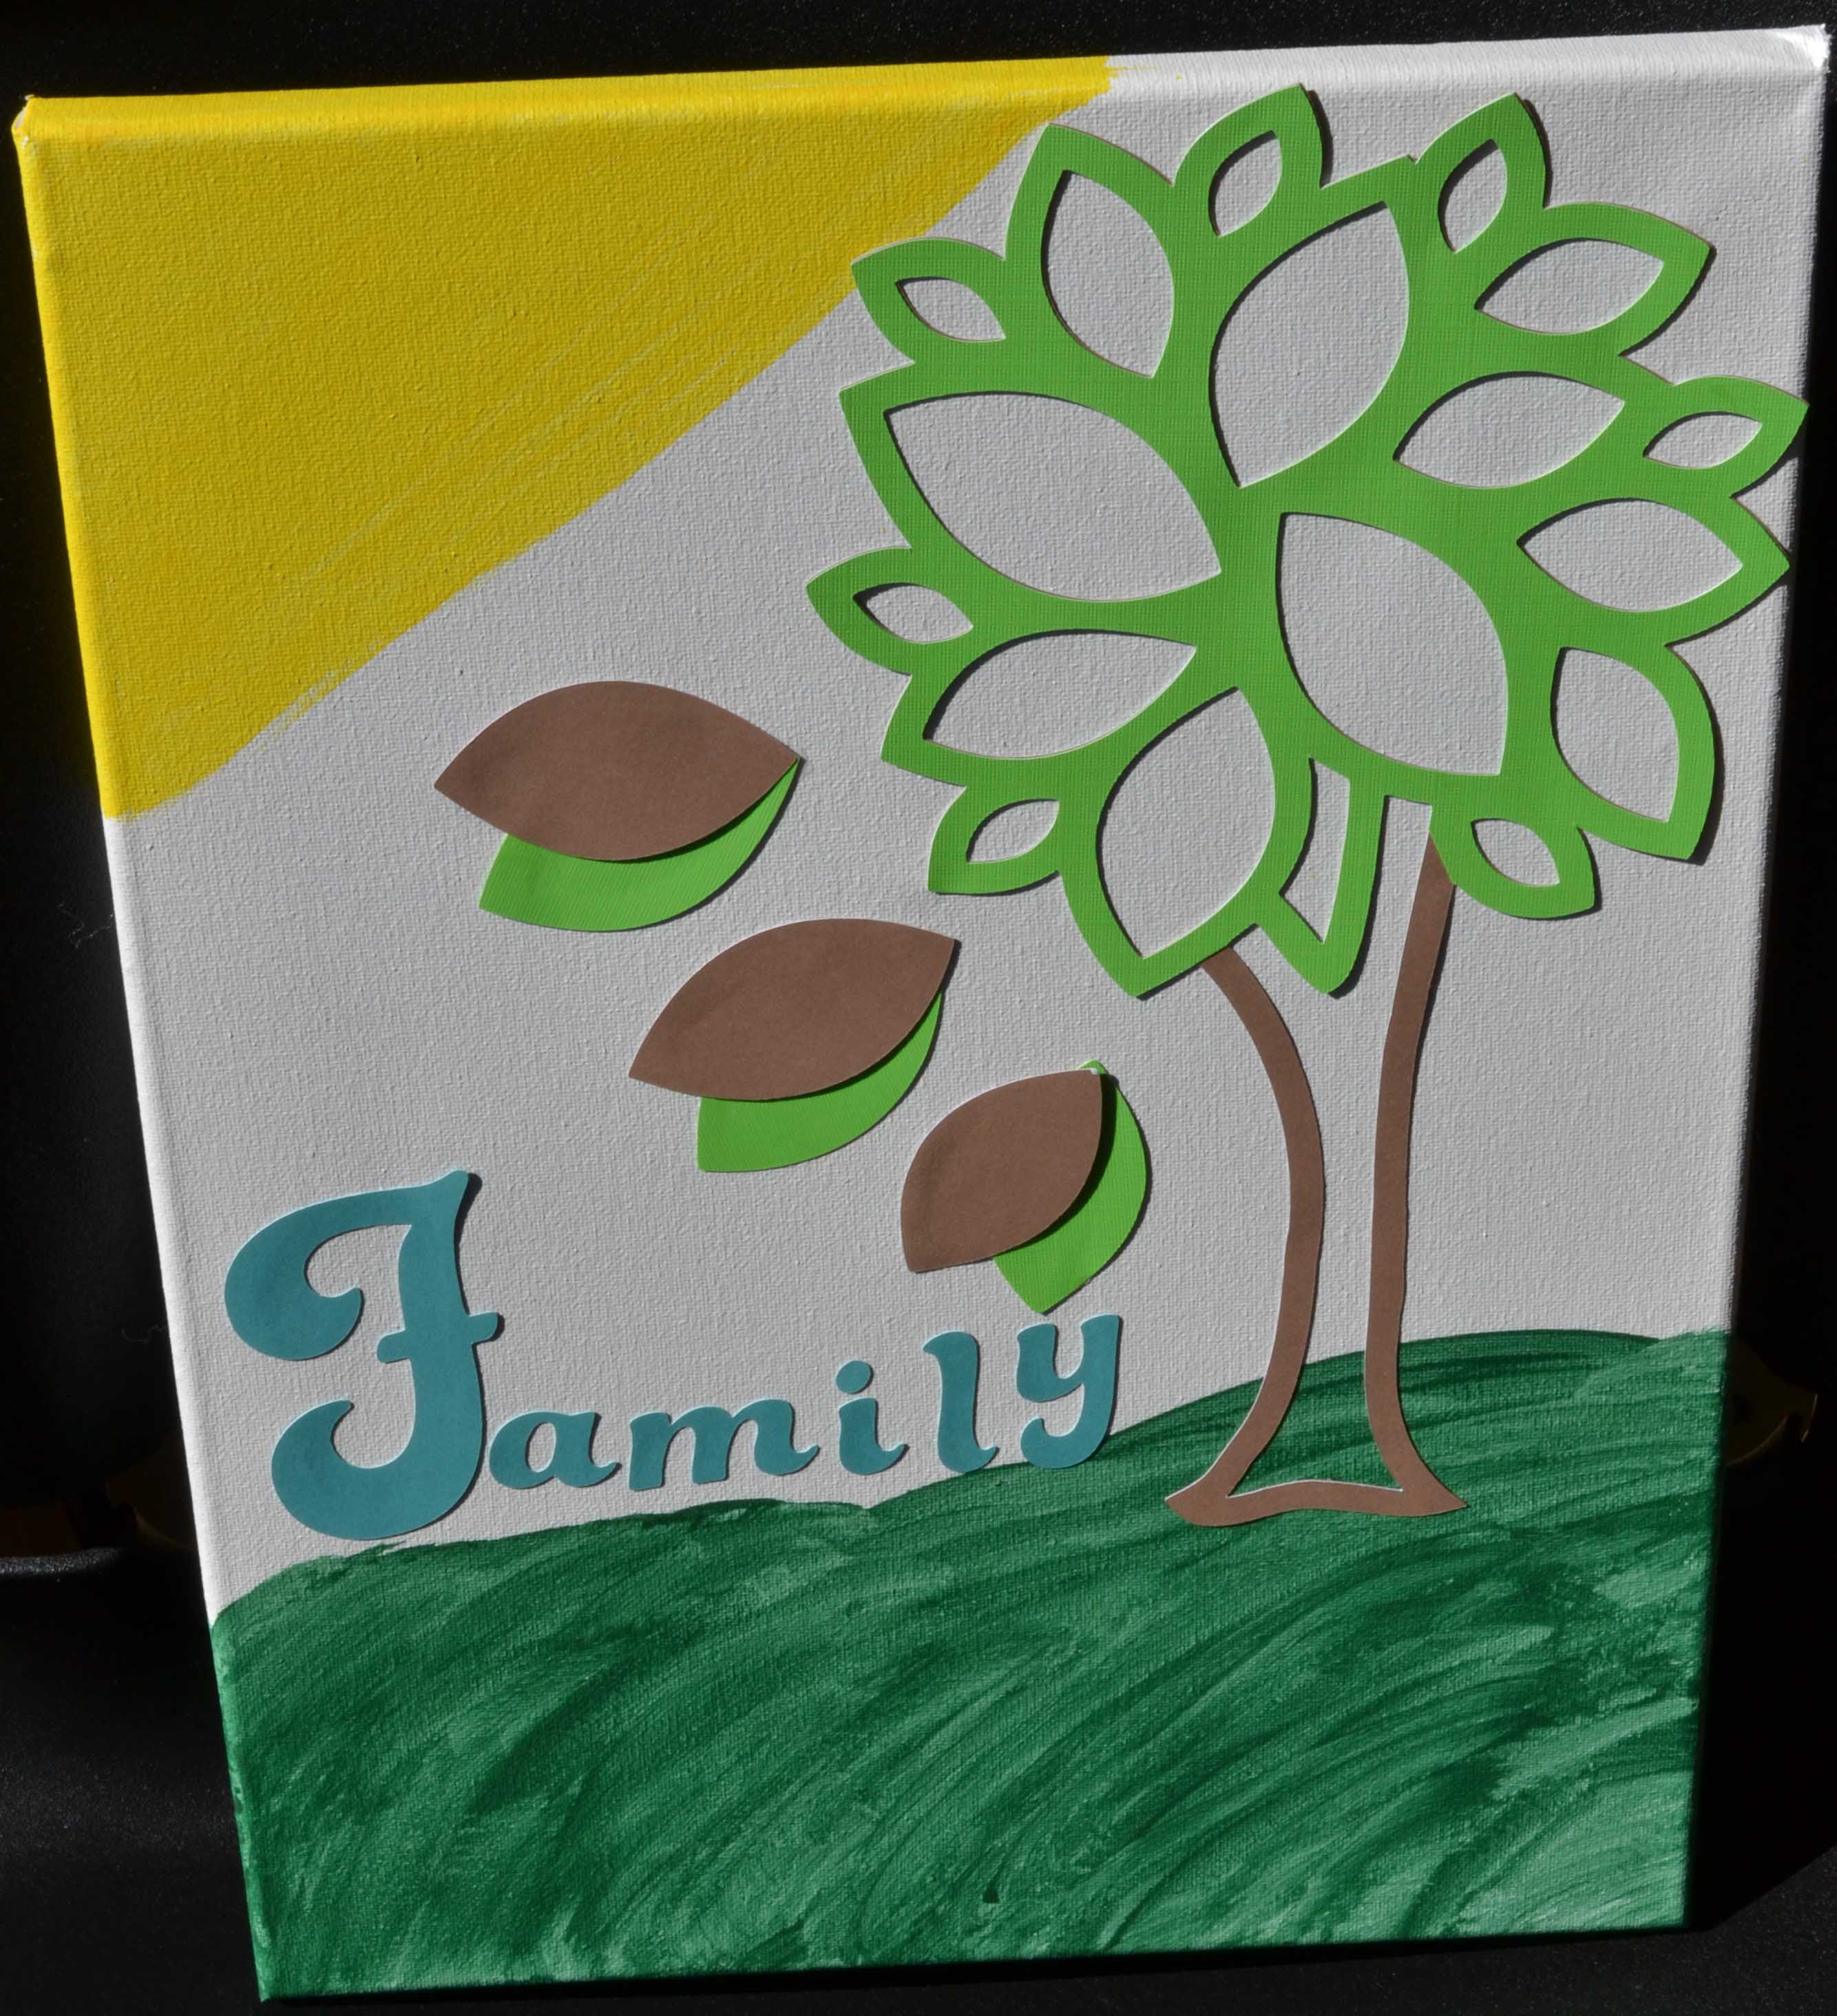
Here are some of the others that started with one inspiration piece, then went in various directions!

deb judy1 ShellyA couple of the gals really went to town using paper, dies and an amazing imagination. (The “flag” canvas wasn’t glued down as the artist had some tools for distressing at home that she wanted to use before completing it.)

karen Jil-Anne Jackie Canvas 1

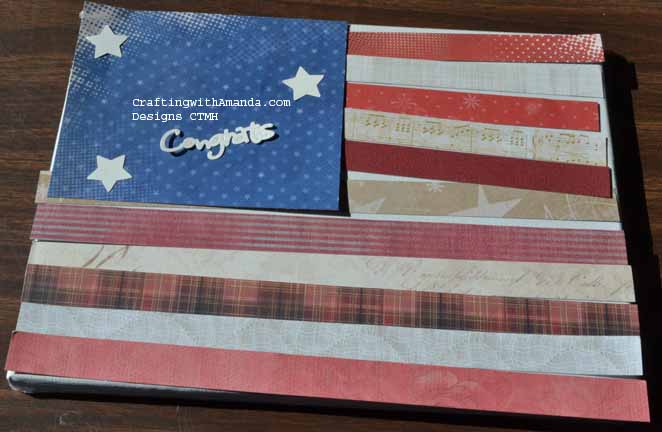
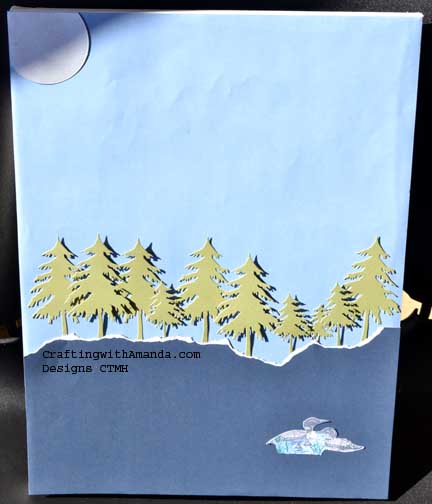
These next canvases kept it simple and elegant.  No paint or paper in the background, just the bare canvas with cricut cuts and punches used to create their artwork.  One is a wedding gift!

Carol Joanne Pam

Next up are combinations of paint and paper.  Each unique.

Lexii Lorna Shannon Stefanie stefanie2

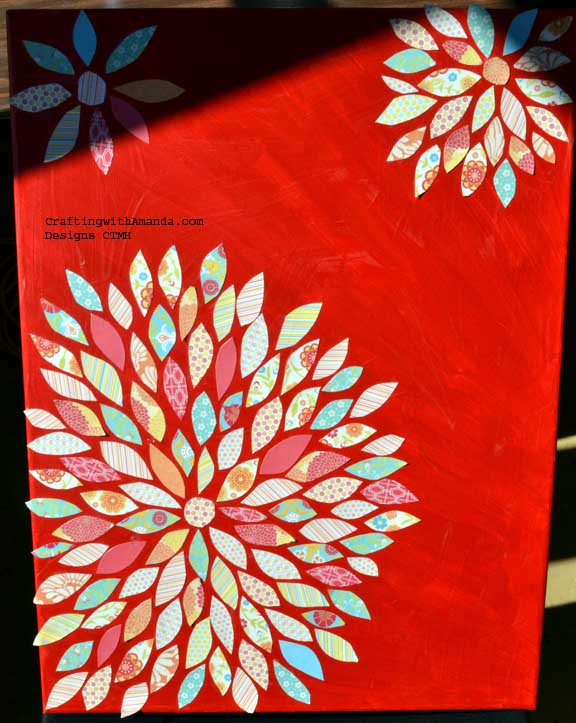
The red background canvas wasn’t done at the retreat.  We have a gal that is a Theuraputic Massage Therapist, and she did this for her living room.  She also had smaller versions hanging in her office and was probably one of the main reasons I felt we could tackle this kind of a project!

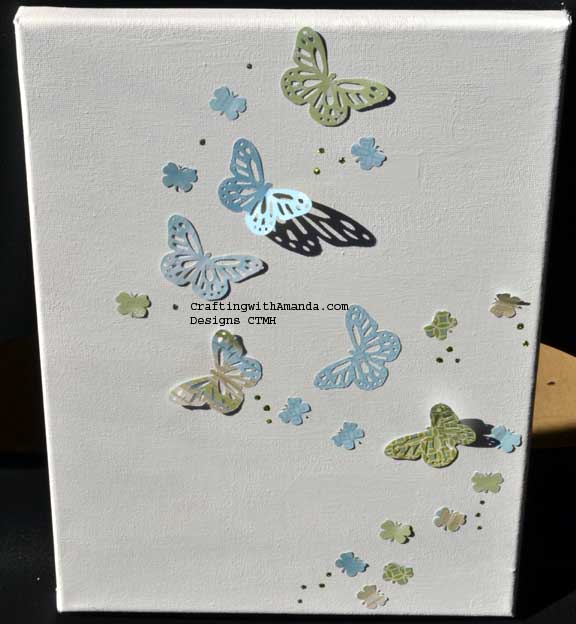
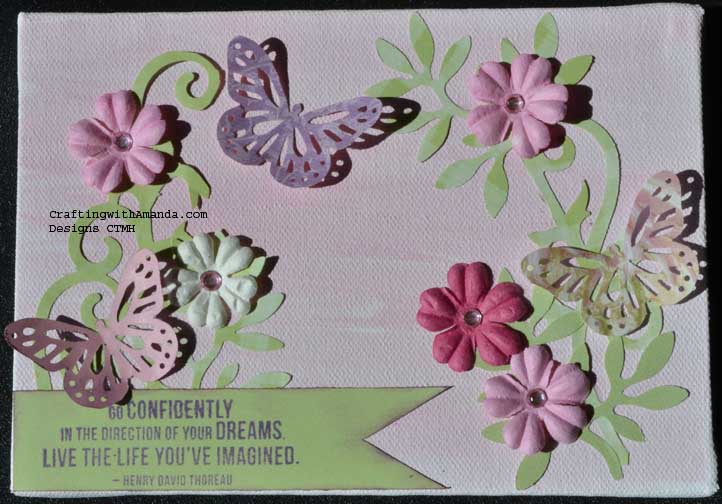
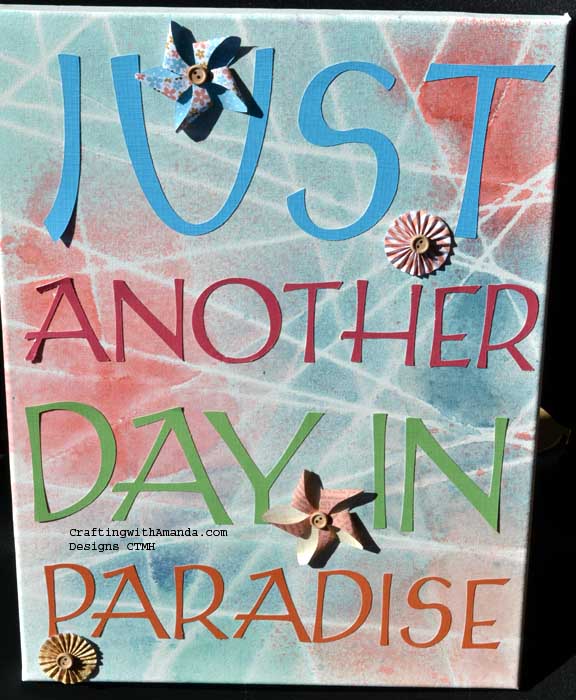
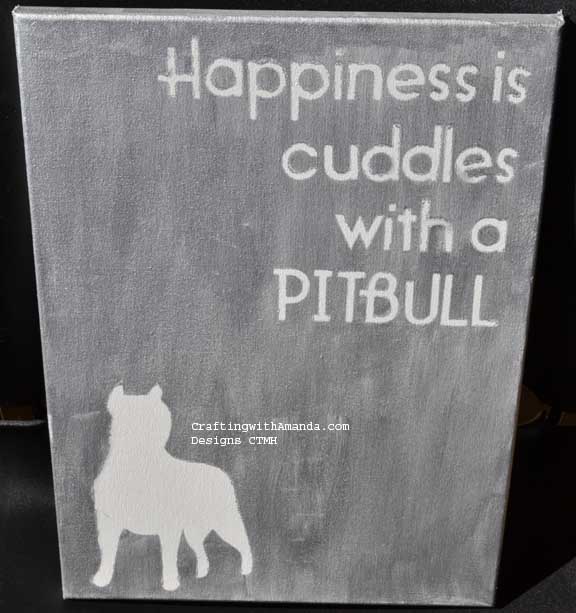
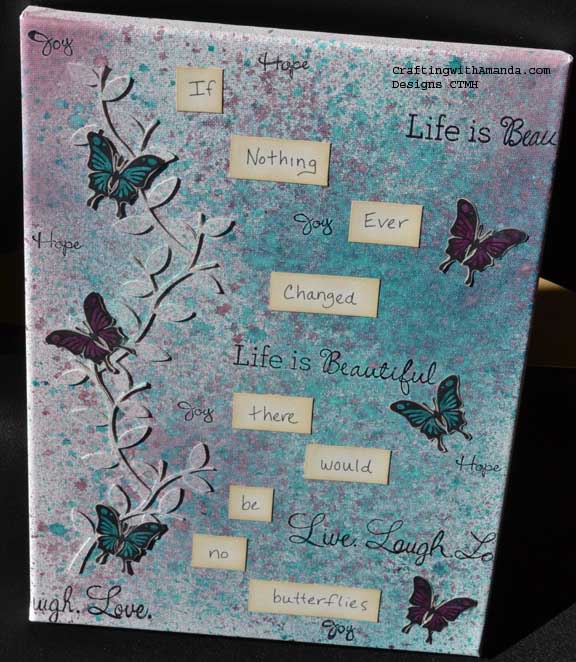
Our last group of photos each did something a little different.  The dog canvas artist cut vinyl letters on the cricut and used them as a mask before spray painting with silver.  After the paint dried she removed the vinyl.    The artist with the paradise canvas, first took twine and wrapped her canvas.  She then took re-inkers, rubbing alcohol and spray pens to create an airy background.    She removed the twine and added her lettering and embellishments.   The butterfly canvas also used spray pens and re-inker to create a lovely background, but she added a drop or two of pearl paint to give it a shimmery mist.

Angie Katie MB

I love how all the canvases turned out and the wide variety of techniques used to create them.   I am glad there are a few extras left over so I can lift some ideas and create some personal artwork for our home.   (It won’t be for a bit as I’m still unpacking from the weekend and haven’t seen the bottom of the laundry shoot yet!)

Happy Crafting!


Techniques #6 & #7

Pockets & Tags (to put in those pockets.)  That’s what we will talk about today.

Sometimes it’s fun to have an “inside joke”tag_pockets_samp as part of a card or scrapbook page.  By using pockets, you can easily accomplish this.  There are also times when journaling is very personal, and you don’t want to leave it out, but you don’t want it displayed either.  (Some photos are better in pockets so the squeamish can be protected.)
In this Seaside sample, I created pockets with a simple rectangle glued on three sides, a mini envelope and a shaped cut out in which I cut a slit.

Here’s another look with the contents of the pockets pulled out of their hiding places. tag_pockets_samp2tag_pockets_ins tagclub_pocketsYou can also cut a slit in your project itself and line the back with paper to create your hidden pocket.  So many fun things to do to create pockets.  You can see on my club night tag that I used a circle element to create the base of my pocket.  Did you notice the circle punch out in the circle pocket to make it easier to pull out the journaling?

Now that we know how to make pockets, let’s move onto tags to put in those pockets.

tag_tags_sampI used tags to make my tag title “Hello” and created a removable bookmark tag as well.tag_tags_bkmark

tag_tags_insHere are the stamp sets I’ve used in this example, and many of the other tags that we will be looking at in the upcoming posts:

C1605 Happy to Be Friends

D1632 Amour

I also used Seaside papers (X7192B)

Our awesome markers were also put to use throughout this process of creating the technique tags.

I’ll leave you with the tag samples from our club night book, and the information how you could win all 35 tags that will be shown in this series of technique tips blog.

tagclub_tags2 tagclub_tags1Contest Information:

Now you might want to know how you can earn chances to win this great prize.   There are several ways.  Write a comment on this post.  (1 entry)   Share this post link on your Facebook post and let me know on my FB page Crafting with Amanda that’s you’ve done it.  (1 entry per share).  Like my FB page.  (3 entries)  If your a pinterest person, for every technique tag you pin, you receive an entry.  (up to 35!)    At the end of the contest I will assign each entry a number and using a random number generator will pick a winner.  I will announce the winner on this blog, and then contact them to get the address where the tag book should be sent.

If you would like a copy of my technique instructions file,  leave a comment with your email and I will send it to you.

Happy Crafting and Good Luck!

Techniques #4 & #5

Two more great techniques today!  These will help you get some truly individual looks from the same stamp.  Tissue Inking and using Sponges.  (See the information at the end of this blog to learn how you could win all 35 of these technique tags in this series.)

Tissue Inking:

tag_tissue_ins You can do tissue inking in a couple different ways.   One way is to dab a tissue in the ink, then dab it on the stamp.  You can do this with multiple colors.  Keep in mind before you stamp on your project you will want to “huff” on your stamp to re-moisten the ink.

Another way to do this is to ink the whole stamp in one lighter color, then add the darker shades with tissues in the same manner as the first method.   You will also need to “huff” your stamp if you choose this method.

tag_tissue_samp tag_tissue_samp2In this sample I inked the whole tree in desert sand ink, then added honey, cranberry and pear ink with a tissue.   After I stamped the image, I used crinkled clear wrap to add the blue and green in the background.

Here is the tissue sample from my club night tag book.tagclub_tissueSponges Technique:

tag_sponges_sampSponges are a great way to add color to your backgrounds, stamps, or create a polka dot effect on your projects.  For this Seaside tag book sample I used sponges to color the image of the farm stamp and used them to add multiple colors to the shells & star fish stamps.

tag_sponges_insHere is the sample from our club night project.   In this one I used sponges to create colors around the floral stems and also some masking (another technique in a future post) to create a sand dune look.  (Hard to see in the photo, sorry)tagclub_sponges


Now you might want to know how you can earn chances to win this great prize.   There are several ways.  Write a comment on this post.  (1 entry)   Share this post link on your Facebook post and let me know on my FB page that’s you’ve done it.  (1 entry per share) Crafting with Amanda   Like my FB page.  (3 entries)  If your a pinterest person, for every technique tag you pin, you receive an entry.  (up to 35!)    At the end of the contest I will assign each entry a number and using a random number generator will pick a winner.  I will announce the winner on this blog, and then contact them to get the address where the tag book should be sent.

Here are the stamp sets I’ve used in this example, and many of the other tags that we will be looking at in the upcoming posts:

C1605 Happy to Be Friends

D1632 Amour

I also used Seaside papers (X7192B)

Our awesome markers were also put to use throughout this process of creating the technique tags.

If you would like a copy of my technique instructions file,  leave a comment with your email and I will send it to you.

Happy Crafting & Good Luck!


Techniques #2 & #3

Here they are, numbers two and three in our technique tag series.    (See the information at the end of this blog to learn how you could win all 35 of these technique tags in this series.)tag_bkgstamp_samp

Background Stamping: 

In this sample I rolled some clear plastic wrap to form “rosettes,”  (top left)  in the middle sample I crinkled up some clear plastic wrap and pounced it on the paper.  The last example I wrapped a piece of paper towel around a block, inked it then stamped on the paper.   Other items around your house that make for great backgrounds include onion bags, bubble wrap, orange sacks and many other everyday items.  I would love to see or hear about your creative background stampings.tagclub_bckgrdstamptag_bckstamp_ins

Sanding Cardstock:

Sanding cardstock is a great way to add texture or interest to your work.   With CTMH’s white core cardstock, you have great opportunities  to customize your work in several ways.    You can crinkle it then sand.  You can sand just the edges, sand over objects like a key, paperclips or coins, and you can play with directional sanding to bring interest to your work.

tag_sandingcs_samp tag_sandingcs_instagclub_sandcs

Here is the sample from club night.

Here are the stamp sets I’ve used in this example, and many of the other tags that we will be looking at in the upcoming posts:

C1605 Happy to Be Friends

D1632 Amour

I also used Seaside papers (X7192B)

Our awesome markers were also put to use throughout this process of creating the technique tags.

Contest Information:

Now you might want to know how you can earn chances to win this great prize.   There are several ways.  Write a comment on this post.  (1 entry)   Share this post link on your Facebook post and let me know on my FB page Crafting with Amanda that’s you’ve done it.  (1 entry per share).  Like my FB page.  (3 entries)  If your a pinterest person, for every technique tag you pin, you receive an entry.  (up to 35!)    At the end of the contest I will assign each entry a number and using a random number generator will pick a winner.  I will announce the winner on this blog, and then contact them to get the address where the tag book should be sent.

If you would like a copy of my technique instructions file,  leave a comment with your email and I will send it to you.

Happy Crafting and Good Luck!


Who Doesn’t Love to win Something?

tag_liquidglass_samp Not me. I am starting a series of blog posts around a technique tag book that my club night gals and I made over the last year. We did four techniques each month over nine months. 4 x 9 = 36 techniques right? Wrong. I duplicated one of the techniques, so one month we only did three new ones. What does all of this have to do with winning? You can win all 35 of the new technique tags that I am making just for this contest! Over the next several weeks, I will be posting a couple of techniques each day.

Now you might want to know how you can earn chances to win this great prize. There are several ways. Write a comment on this post. (1 entry) Share this post link on your Facebook post and let me know on my FB page that’s you’ve done it. (1 entry per share)(https://www.facebook.com/CraftingWithAmanda). Like my FB page. (3 entries) If your a pinterest person, for every technique tag you pin, you receive an entry. (up to 35!) At the end of the contest I will assign each entry a number and using a random number generator will pick a winner. I will announce the winner on this blog, and then contact them to get the address where the tag book should be sent.

I will be showing photos of the technique samples tags that I made for the club night gals, AND the brand new tags using Seaside papers & Skylark. With no further ado. . .

Technique #1

tag_tearroll_insCardstock paper Tearing & Rolling:

This is a great technique to add interest to your project without adding bulk. If your cardstock is white core, (like CTMH) you can also add contrast or help direct your focus to your photos or other focal point.

In my example I rolled the edges on one of my samples to help bring the focus to the flowers. On the beach image I used the torn edge to help balance the white of the image and help draw your eye to it.

tag_tearroll_sampHere are the stamp sets I’ve used in this example, and many of the other tags that we will be looking at in the upcoming posts:

C1605 Happy to Be Friends

D1632 Amour

I also used Seaside papers (X7192B)

Our awesome markers were also put to use throughout this process of creating the technique tags.

tagclub_tearroll This is the sample from our club night. Notice on this one I rolled all the edges of the framed image. I also showcased the tearing techniques for showing the white core (top) and not showing (bottom) of the cardstock running diagonal. It can be varied depending upon which way you tear the paper. (towards you or away from you.)

So. Remember to comment on this post, share on FB, and pin the tag to Pinterest to earn entries into this contest. You can share your pinterest shares with me on the FB page.

If you would like a copy of my technique instructions file, leave a comment with your email and I will send it to you.


Happy Crafting and Good Luck!