Hi Everyone!
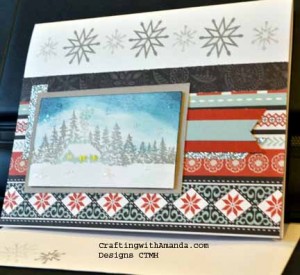
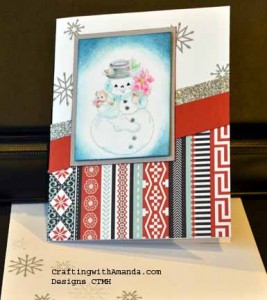
Here are the Snowhaven cards that I created using the guide from the workshop & adding the Christmas Post Stamp Set
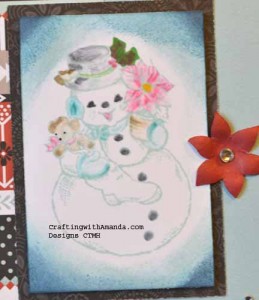
After I stamped the snowman, I did trim the sentiment & the mat. I then sponged the edges in glacier, Indian Corn(flower*) Blue, and Outdoor Denim inks. To color the snowman, I used our wonderful Shinhan markers! Instead of coloring directly on the stamped image, I made a spot of color on a block and picked up the color on the blender. Trying to keep in mind where I wanted the darker areas, I colored those first when the color was it’s deepest, then blended out to the edges. Hopefully there will be a tutorial in our future!
This is the close up of the snowman from the first card, and I’m not sure where the photo went, but as it is very similar to the workshop card, just changed the sentiment to a snowman, I am not going to worry about it!
I did create the pointsettia from the artist cartridge, added a little bling to the middle and shaped it with embossing stylus.
Here is the second card. In the workshop, they used the black side for the bottom portion of the card, but I liked more color.
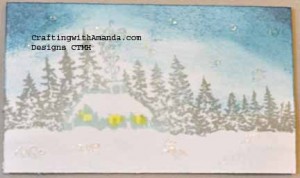
I rock and rolled inked the house in the trees starting with glacier then rolling the tree line in Slate. Just like the snowman, I softened the outer edge with sponging.
 Here is a closer look at the stamped image itself. Are you wondering how I got the lights in the windows to look like they are glowing? Well, wonder no more. I used a white chalk marker to color in the windows, then used yellow chalk on a cotton swab to make them glow! I used this on a Christmas tree too and it really makes the lights look like they are shinning.
One of the main reasons I changed up the stamp set was so that I could have some winter/Christmas thank you notes for the kids to use. I’m quiet pleased with how these look.
Happy Crafting!


I love the technique you used to make the windows glow. I must try this!